Snow has a charming way of making the neighborhood look like a holiday card while simultaneously turning your driveway into a cold, slippery obstacle course. That is where a snow blower earns its keep. Used correctly, it can clear a driveway faster, reduce back strain, and help you avoid the classic winter ritual of angrily poking compacted snow with a shovel while muttering things about moving to Arizona.
But here is the frosty truth: snow blowing is not simply “start machine, walk forward, hope for glory.” The best results come from planning your route, working with the wind, choosing the right speed, managing the discharge chute, and keeping safety at the center of the job. Whether you own a compact electric snow blower, a single-stage gas model, or a big two-stage machine that looks like it could chew through a glacier, the same goal applies: move snow once, move it safely, and avoid creating extra work.
This guide explains how to snow blow your driveway correctly and efficiently, from pre-storm preparation to post-job maintenance. By the end, you will know how to clear snow like a calm winter professional instead of a bundled-up panic penguin.
Why Proper Snow Blowing Technique Matters
A snow blower can save time and effort, especially on medium to large driveways or when snowfall is too heavy for comfortable shoveling. However, poor technique can turn a helpful machine into a frustrating snow cannon. Blowing snow against the wind, throwing it only halfway across the driveway, or waiting until wet snow becomes heavy can double your workload.
Correct snow blower operation also protects your property. A poorly aimed chute can blast snow onto cars, windows, garage doors, landscaping, or your neighbor’s freshly cleared sidewalk. The machine can also pick up gravel, sticks, toys, frozen newspapers, and other hidden objects, launching them farther than you expect. Snow may look soft and innocent, but a snow blower chute does not care about your feelingsor your porch light.
Efficiency is not just about speed. It is about clearing in a smart pattern, reducing repeated passes, keeping the machine from clogging, and preventing ice buildup afterward. A driveway cleared properly the first time is safer to walk and drive on, easier to maintain during the next storm, and much less likely to become a skating rink with a garage attached.
Choose the Right Snow Blower for Your Driveway
Before discussing technique, it helps to understand what kind of snow blower you are using. Different machines are designed for different snow depths, driveway sizes, and surfaces.
Single-Stage Snow Blowers
Single-stage snow blowers use an auger to scoop and throw snow in one motion. They are usually lightweight, easy to maneuver, and ideal for smaller paved driveways, sidewalks, patios, and light to moderate snow. Because the auger often contacts the ground, single-stage models are not usually the best choice for gravel driveways. They may scoop up rocks and fling them with enthusiasm, which is bad for windows, cars, pets, and neighborhood diplomacy.
Two-Stage Snow Blowers
Two-stage snow blowers use an auger to collect snow and an impeller to throw it through the chute. They are stronger, self-propelled in many cases, and better suited for long driveways, deeper snow, wet snow, and gravel surfaces. The adjustable skid shoes keep the auger housing slightly above the ground, which helps prevent the machine from scraping the surface or collecting rocks.
Three-Stage Snow Blowers
Three-stage models are built for heavy snow removal and faster clearing. They are useful for large properties, frequent storms, and deep accumulation. Most homeowners do not need this much machine, but if your driveway regularly disappears under plow piles that resemble small mountain ranges, a more powerful model may be worth considering.
Before the Storm: Prepare Your Driveway and Machine
The best snow blowing begins before the first flake lands. Preparation is the difference between a smooth clearing job and discovering, with great drama, that your snow blower will not start while six inches of snow laughs at you.
Mark Driveway Edges
Install driveway markers before the ground freezes, especially if your driveway curves, slopes, or borders landscaping. Snow can hide the edge of pavement, decorative stones, garden beds, and drainage areas. Markers help you stay on course and reduce the risk of scraping grass, chewing up mulch, or giving your shrubs an unwanted haircut.
Remove Hidden Obstacles
Before snow accumulates, clear the driveway of hoses, toys, extension cords, fallen branches, holiday decorations, and newspapers. If the object is hard, loose, and small enough to enter the auger, assume it can become a projectile. Your snow blower is not a treasure hunter; it is a machine with spinning parts and very little judgment.
Check Fuel, Oil, Battery, and Cords
For gas snow blowers, use fresh fuel and check the oil level before starting. Never refuel a hot or running engine. For battery-powered models, charge batteries indoors at room temperature when possible, because cold temperatures can reduce battery performance. For corded electric snow blowers, use a proper outdoor-rated extension cord and plan your path so the cord stays behind you and away from the auger.
Inspect Wear Parts
Look over belts, scraper blades, skid shoes, tires, shear pins, cables, and chute controls before the storm. A cracked belt, missing shear pin, or frozen chute crank can stop the job halfway through. Keeping spare shear pins on hand is especially useful for two-stage machines. They are designed to break when the auger hits an obstruction, protecting more expensive parts from damage.
Dress for Safety and Control
Snow blowing may be easier than shoveling, but it is still outdoor winter work. Wear insulated, water-resistant boots with good traction. Choose warm gloves that allow you to operate controls safely. Avoid loose scarves, dangling drawstrings, wide pant legs, or floppy clothing that could get caught near moving parts.
Eye protection is smart, especially when the wind is strong or icy snow is blowing back toward you. Hearing protection may also be useful with louder gas models. Dress in layers so you can stay warm without overheating. Sweating heavily in freezing temperatures can leave you chilled once you stop moving.
Plan Where the Snow Should Go
Efficient snow blowing is mostly about one question: where should the snow land? Before starting, decide where you want the snow piles to build. The best location is usually along the sides of the driveway, away from doors, garage entrances, mailboxes, vents, fire hydrants, sidewalks, and the street.
Never blow snow into the road. It can create hazards for drivers, violate local rules, and annoy snowplow operators who are already having a long day. Also avoid blowing snow onto your neighbor’s property unless you enjoy awkward eye contact over garbage cans.
Work With the Wind
Wind direction can make or break your snow blowing strategy. When possible, discharge snow downwind. If you blow snow into the wind, it may return immediately to your face, your coat, and the exact patch of driveway you just cleared. This is nature’s way of saying, “Try again, genius.”
On windy days, start on the upwind side of the driveway and work across so the snow continues moving away from the cleared area. Adjust the chute frequently as you turn. Efficient snow blowing requires chute awareness, not just forward motion.
The Best Snow Blowing Patterns for Driveways
The right pattern depends on driveway shape, wind direction, and where snow can safely be piled. The goal is to avoid throwing snow more than once. Every time you re-blow the same snow, it becomes denser and harder to move.
Pattern 1: Down the Middle, Then Outward
For a typical two-car driveway with little wind, start by making one pass down the center. Then work outward in loops or side-by-side passes, throwing snow to the outer edges. This pattern reduces chute adjustments because you can often keep snow moving consistently to one side.
Pattern 2: Side-to-Side Passes
For narrow driveways, straight side-to-side passes may be easiest. Start on the side where snow can be thrown safely, then work across the driveway. Turn the chute as needed so you are not blowing snow back over cleared pavement.
Pattern 3: Upwind to Downwind
For windy conditions, begin on the side the wind is coming from and discharge snow downwind. Move gradually away from the wind. This keeps blowback to a minimum and prevents you from wearing half the storm as a beard.
Pattern 4: Attack the Plow Pile Lastor First, If It Blocks You
The compacted pile at the end of the driveway is usually the heaviest snow you will face. If it blocks your ability to enter or exit, clear enough of it first to open a path. Otherwise, leave it until you have warmed up the machine and cleared lighter snow. Use slower speed, partial-width passes, and patience. The plow pile is not impressed by reckless heroics.
How to Operate the Snow Blower Efficiently
Once your route is planned and the chute is aimed safely, start the snow blower according to the owner’s manual. Let a gas engine warm briefly if recommended. Then begin clearing at a steady pace.
Use the Right Ground Speed
Moving too fast is one of the most common snow blower mistakes. If the machine bogs down, leaves snow behind, or clogs frequently, slow down. Heavy, wet, or deep snow requires a slower pace than light powder. Many self-propelled snow blowers offer multiple speeds. Use lower speeds for deep accumulation and higher speeds only for light snow.
Take Smaller Bites in Heavy Snow
If snow is deep or packed, do not force the full width of the machine into it. Overlap passes and take half-width cuts. This reduces strain on the auger and impeller, improves throwing distance, and helps prevent clogs. Think of it as eating a large sandwich: technically you could try it all at once, but nobody needs that kind of drama.
Throw Snow as Far as Practical
Aim to throw snow completely off the driveway on the first pass. If you throw it only halfway, you will have to move it again, and secondhand snow is heavier and more compacted. Adjust chute height and direction to send snow where it can stay for the rest of the season.
Overlap Slightly
Overlap each pass by a few inches to avoid ridges. Small ridges can freeze into stubborn strips of ice later. A clean, slightly overlapped path gives the driveway a neater finish and reduces the need for touch-up shoveling.
How to Handle Deep, Wet, or Icy Snow
Not all snow behaves the same. Light powder is easy. Wet snow is heavy. Crusty snow is stubborn. The slushy pile left by the street plow is basically winter concrete with tire tracks.
For Deep Snow
Raise the front slightly for the first pass if needed, then make a second lower pass to clean the surface. On two-stage machines, use a slow gear and let the auger work. Do not ram the snowbank. Snow blowers are strong, but they are not battering rams with handlebars.
For Wet Snow
Wet snow clogs chutes more easily. Move slowly, take narrower passes, and keep engine speed high if your machine has throttle control. Some homeowners use a snow blower-safe nonstick spray on the chute and auger before clearing wet snow. Always follow the product label and your machine’s manual.
For Icy Layers
Snow blowers are designed for snow, not solid ice. If ice has bonded to the driveway, clear loose snow first and then treat the remaining slick areas with an appropriate ice melt or traction material. Avoid forcing the auger into hard ice, which can damage parts.
Never Clear a Clogged Chute by Hand
This is the most important safety rule in the entire article: never put your hand in the chute or auger area. Even when the machine is off, built-up tension in the auger or impeller can release suddenly. Serious hand and finger injuries often happen when people try to clear clogs manually.
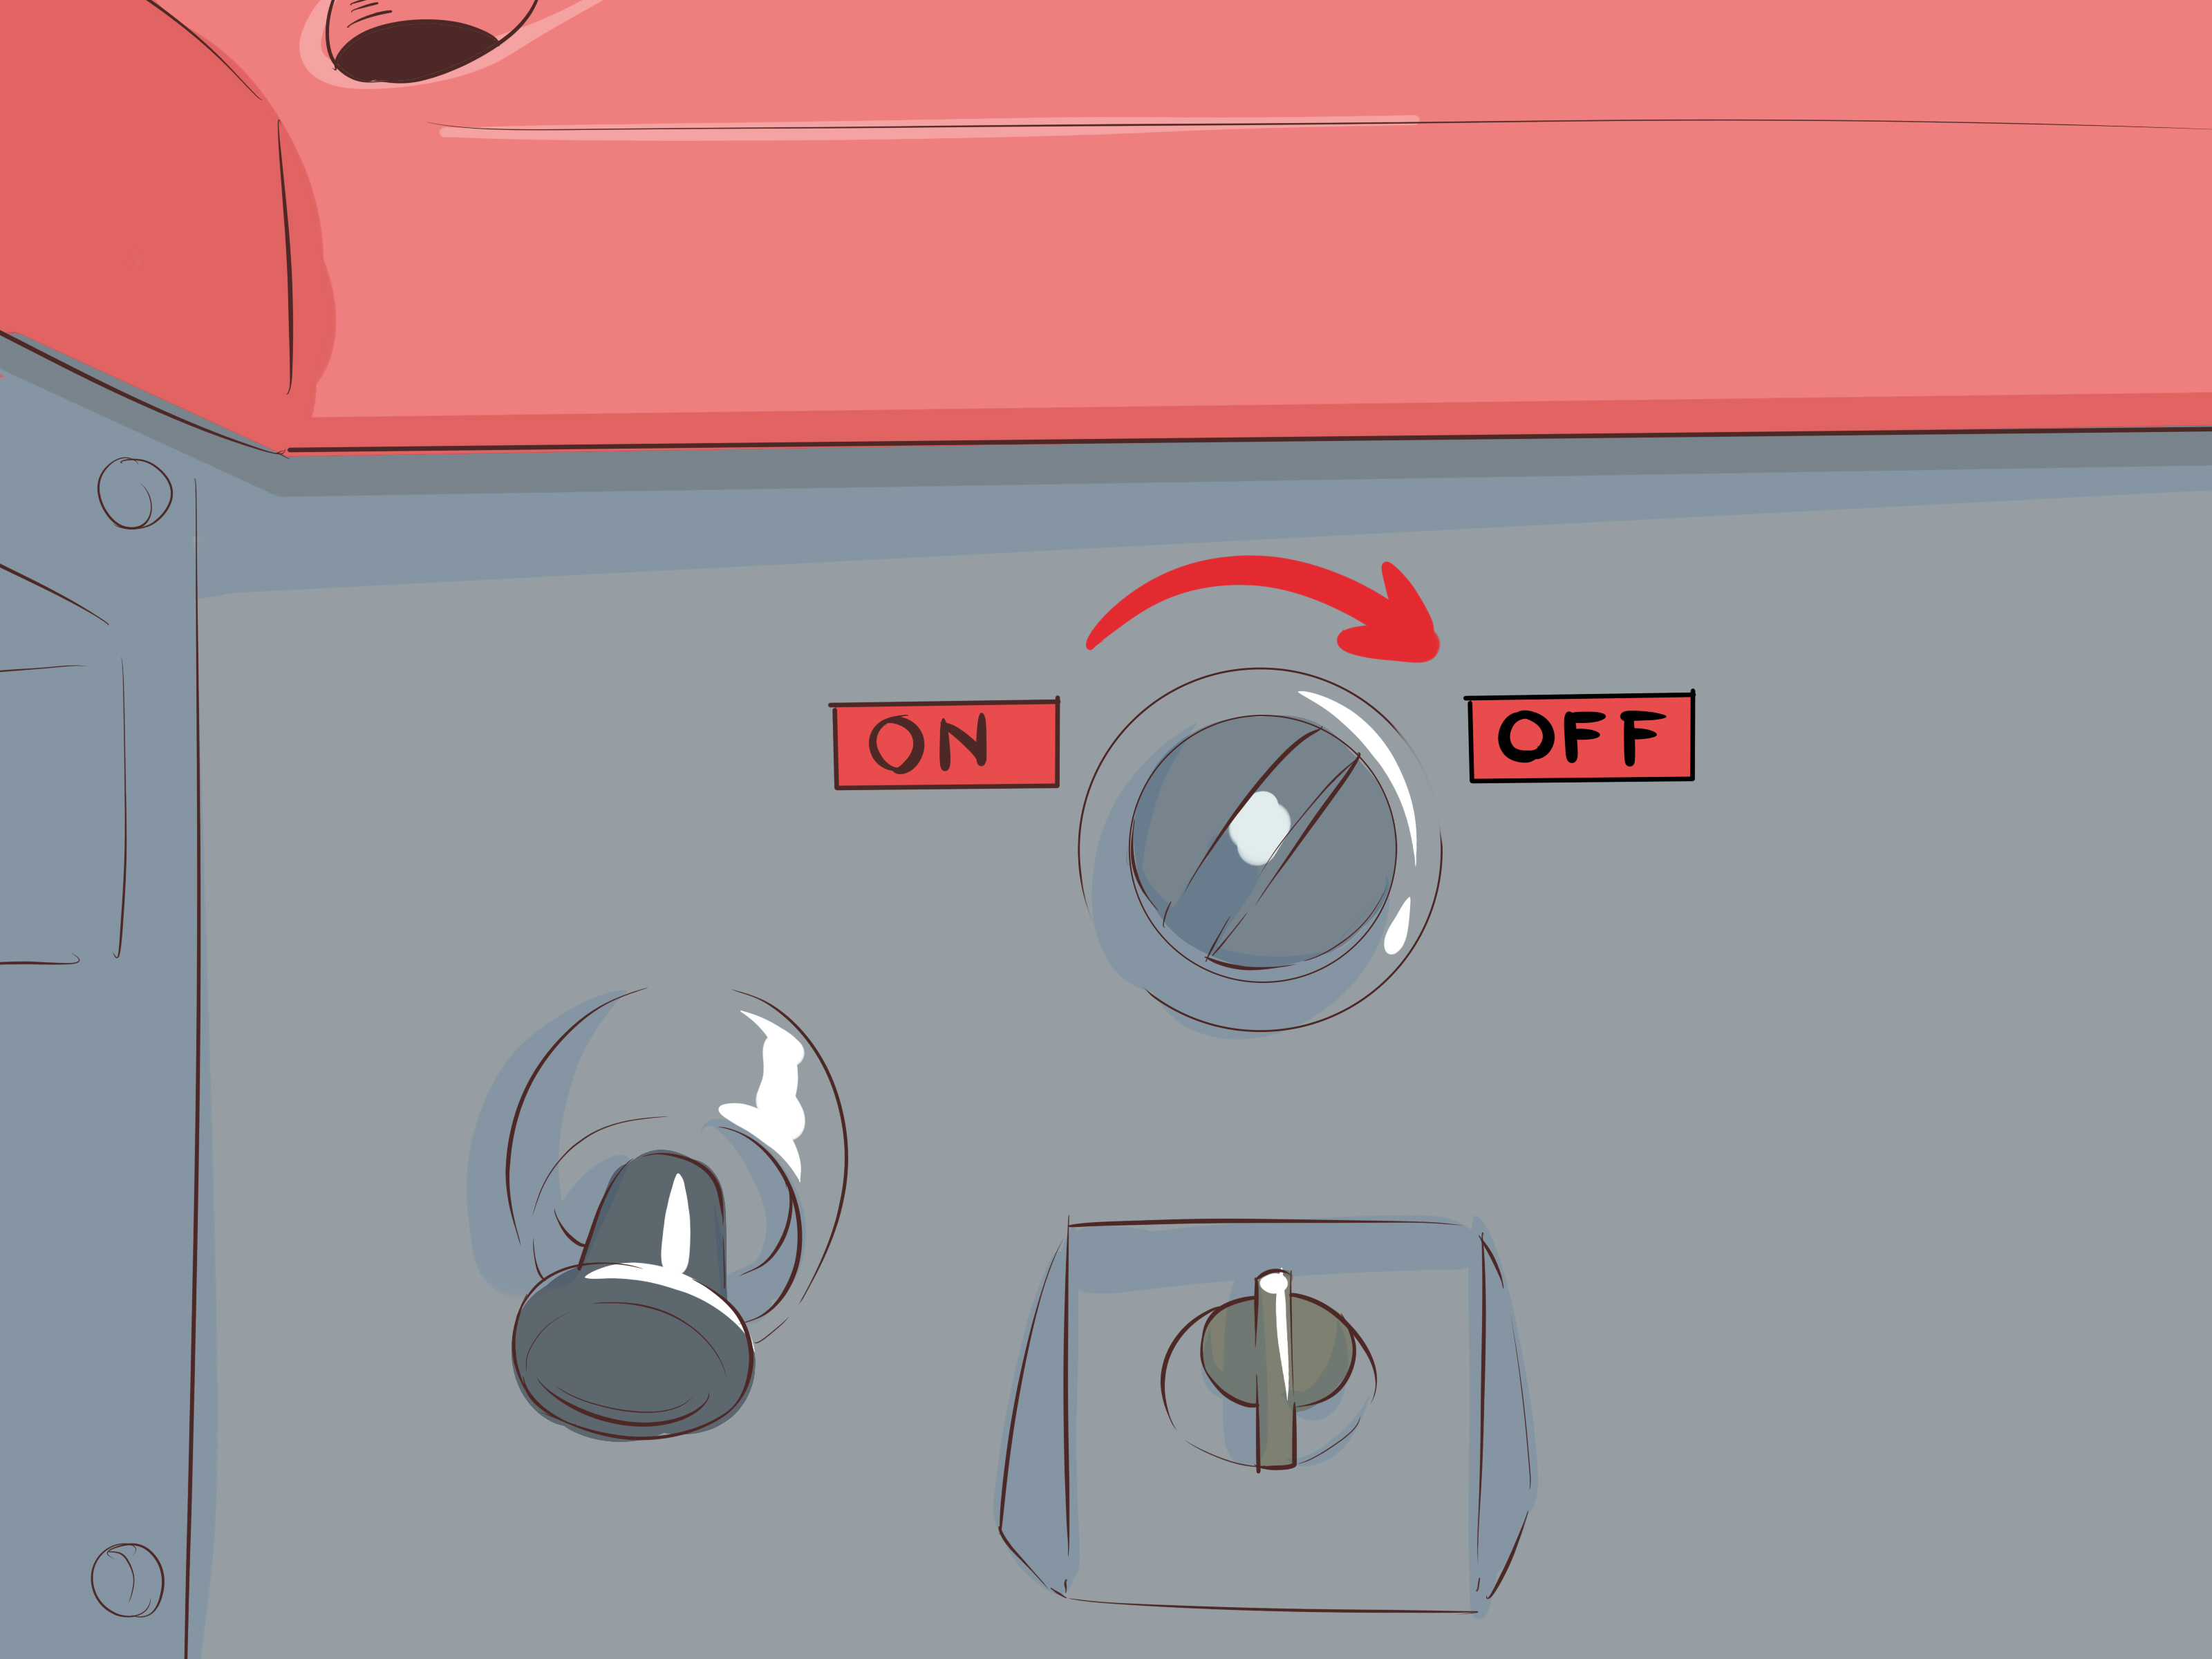
If the chute clogs, stop the machine, disengage the auger, turn off the engine or motor, remove the key or disconnect power, and wait for all moving parts to stop completely. Then use a clean-out tool or a long stick to remove packed snow. Many snow blowers come with a chute-clearing tool mounted on the housing. That tool is there for a reason. Use it. Your fingers are wonderfully useful and difficult to replace.
Special Tips for Gravel Driveways
Gravel driveways require extra care because loose stones can be picked up and thrown. A two-stage snow blower is usually better for gravel because the auger housing can ride above the surface on skid shoes.
Set the skid shoes high enough to leave a thin layer of snow over the gravel, especially early in the season before the driveway has a frozen base. Trying to scrape gravel perfectly clean is usually a mistake. You may end up moving more rocks than snow, and your lawn will mysteriously grow driveway pebbles in spring.
Once the gravel base freezes solid, you may be able to lower the skid shoes slightly. Still, proceed slowly and watch for loose stones, potholes, and uneven areas.
Clear the Driveway Entrance Smartly
The end of the driveway is where snow removal becomes personal. Street plows often leave a dense berm just after you have finished clearing, because winter enjoys comic timing.
To handle the driveway entrance efficiently, approach the pile in small sections. Angle the chute away from the road and toward your chosen snow storage area. If the berm is taller than the snow blower intake, shave it down in layers. Do not push the machine until it stalls. Let the auger and impeller process the snow gradually.
If your town plows from a predictable direction, clear a pocket on the upstream side of your driveway near the road. This gives the plow snow somewhere to drop before it reaches your entrance, reducing how much gets pushed back into your driveway.
After Snow Blowing: Final Cleanup and Ice Prevention
When the main clearing is done, inspect the driveway, sidewalk, steps, and garage apron. Use a shovel or broom for tight corners the snow blower cannot reach. Clear around the mailbox, trash bins, vents, and walkways.
If temperatures may drop, remove slush before it freezes. Apply ice melt only after clearing snow, and use the right product for your surface, pets, landscaping, and local conditions. More is not always better. Overusing salt can damage concrete, plants, and nearby soil.
Pay attention to drainage. If snow piles melt across the driveway during the day and refreeze at night, you may create a sheet of ice. Whenever possible, pile snow where meltwater drains away from walking and driving surfaces.
Post-Use Snow Blower Maintenance
A few minutes of care after each use can prevent hard starts, frozen controls, and mid-storm breakdowns.
Clear Snow From the Machine
Turn off the machine and wait for moving parts to stop. Brush snow from the auger housing, chute, wheels, handles, and controls. Packed snow left inside the auger or chute can freeze into a solid block before the next storm.
Store It Safely
Park the snow blower in a dry, ventilated area. For gas models, never run the engine in an enclosed garage for extended periods because exhaust contains carbon monoxide. If you need to start it, open the garage door and move the machine outdoors as soon as practical.
Check for Damage
After heavy use, inspect belts, shear pins, scraper blades, skid shoes, tires, and cables. Replace worn parts before the next storm. Snow blowers rarely break at convenient times; they prefer blizzard evenings, preferably when you are already late.
Common Snow Blowing Mistakes to Avoid
Even experienced homeowners can slip into bad habits. Avoid these common mistakes for safer, faster driveway clearing:
- Waiting too long during a major storm: If a large snowfall is expected, clearing once during the storm and again afterward can be easier than tackling the full depth at once.
- Blowing snow into the wind: Work with the wind whenever possible to avoid blowback and repeated clearing.
- Moving too fast: A slower pace can actually finish the job faster by reducing clogs and missed snow.
- Ignoring the chute direction: Always aim away from people, pets, cars, windows, roads, and neighboring property.
- Using hands to clear clogs: Stop the machine completely and use a tool, never your hands.
- Skipping maintenance: Fresh fuel, proper oil, good belts, and adjusted skid shoes matter more than people realize.
- Scraping gravel too low: Leave a small snow layer to avoid launching rocks.
Experience-Based Advice: What Actually Works in Real Driveways
After enough winter mornings, you learn that snow blowing is part technique, part timing, and part negotiation with the weather. The first real lesson is that early action beats heroic action. If the forecast calls for a foot of snow, clearing at six inches and then again later usually feels much easier than waiting until the storm is done. Fresh snow is lighter, the machine throws it farther, and you are less likely to clog the chute. Waiting can work with dry powder, but with wet snow, procrastination turns the driveway into mashed potatoes with a grudge.
Another practical lesson is to treat the wind like your unofficial supervisor. Before starting, toss a small handful of loose snow into the air or watch nearby trees and flags. That tiny check can save you from spending the next thirty minutes blowing snow directly into your own face. On calm days, the center-out method works beautifully. On windy days, forget your perfect pattern and obey the wind. Winter does not reward stubbornness.
It also helps to clear the “important lanes” first. Open a walking path to the door, clear enough space near the garage to move vehicles, and make a pass at the driveway entrance if someone needs to leave soon. Once the essential route is open, you can clean the rest more neatly. This approach is especially useful during morning storms when school, work, appointments, and trash pickup all seem to happen at exactly the wrong time.
For long driveways, do not aim for perfection on the first pass. Focus on removing the bulk of the snow efficiently, then come back for cleanup. Trying to scrape every inch perfectly while deep snow is still falling can waste time. Think of the first pass as opening the road and the second pass as making it pretty.
Wet snow requires patience. If the chute starts clogging repeatedly, slow down and take narrower bites. Many people push faster when the machine struggles, which is like shouting at a printer; emotionally understandable, mechanically useless. Let the snow blower work at its own pace. If the engine sounds overloaded or the throw distance drops dramatically, reduce the intake amount.
At the end of the job, spend two extra minutes cleaning off the machine. This is not glamorous, but it prevents frozen controls and blocked chutes next time. Brush snow away from the auger housing, chute, wheels, and handle area. If the machine is stored in a cold garage, any leftover slush can freeze solid. Tomorrow-you will be very annoyed with today-you.
Finally, know when to stop. If visibility is poor, ice is building, the wind is dangerous, or you are tired and losing focus, take a break. A snow blower is useful, but it still demands attention and respect. The driveway can wait a few minutes. Your hands, footing, and common sense are more important than achieving a magazine-cover driveway during a blizzard.
Conclusion
Learning how to snow blow your driveway correctly and efficiently comes down to preparation, pattern, pace, and safety. Mark the driveway, remove obstacles, inspect the machine, and plan where the snow should land before you start. Work with the wind, avoid moving snow twice, slow down in deep or wet conditions, and keep the chute aimed away from people, property, roads, and anything breakable.
The most efficient snow removal strategy is not always the fastest-looking one. Smaller passes, smart chute control, and mid-storm clearing can save time and reduce wear on your snow blower. Good maintenance also pays off: fresh fuel, checked oil, adjusted skid shoes, inspected belts, and cleared snow after each use can keep your machine ready when winter decides to show off.
Most importantly, never clear a clogged chute by hand. Stop the machine, wait for moving parts to stop, and use a proper clean-out tool. A clean driveway is nice. Keeping all your fingers is significantly nicer.