If you have ever looked at an asparagus fern and thought, “That looks delicate, dramatic, and slightly judgmental,” congratulationsyou understand this plant perfectly. With its airy, feathery foliage and fountain-like growth, the asparagus fern looks like a tiny indoor forest that went to finishing school. The good news? It is much tougher than it looks. The slightly sneaky news? It is not actually a fern.
Asparagus ferns belong to the Asparagaceae family, the same broad plant family as edible asparagus, but please do not invite this houseplant to dinner. The common types grown indoors include Sprengeri asparagus fern, foxtail fern, lace fern, and plumosa fern. They are loved for soft-looking foliage, fast growth, and the ability to bring texture to shelves, hanging baskets, patios, and bright indoor corners.
Learning how to care for an asparagus fern is mostly about balance: bright light without scorching sun, moist soil without swamp conditions, humidity without turning your living room into a rainforest documentary, and pruning without panic. Follow these 12 steps and your asparagus fern can stay lush, green, and far less crispy than your forgotten toast.
1. Understand What an Asparagus Fern Really Is
Before you start caring for your plant, it helps to know what you are dealing with. Despite the name, an asparagus fern is not a true fern. True ferns reproduce by spores, while asparagus ferns can produce flowers and berries under the right conditions. Their “leaves” are actually tiny leaf-like stems called cladodes or cladophylls, which create that soft, ferny appearance.
This matters because asparagus fern care is slightly different from typical fern care. It is usually more forgiving of occasional dryness than many delicate ferns, but it still dislikes neglect. Its thick, tuberous roots store water and nutrients, helping the plant bounce back after stress. Those same roots can also fill a pot quickly, so repotting becomes part of long-term care.
2. Choose the Right Variety for Your Space
Not every asparagus fern looks the same. The Sprengeri asparagus fern often has arching stems that spill beautifully over containers and hanging baskets. Foxtail fern, also known as Myers asparagus fern, grows upright plumes that look like green bottle brushes. Plumosa fern has finer, lace-like foliage and a more delicate, climbing habit.
If you want a trailing plant for a shelf or porch basket, Sprengeri is a classic choice. If you prefer a sculptural plant for a patio container, foxtail fern gives a bold, tidy look. If you want something soft and elegant for a bright bathroom or plant stand, plumosa fern can be stunning. Pick the variety that matches your space, because a happy plant starts with the right homenot with you whispering motivational quotes at it later.
3. Place It in Bright, Indirect Light
Asparagus ferns grow best in bright, indirect light indoors. An east-facing window is often ideal because the plant receives gentle morning sun without the harsh afternoon rays that can scorch delicate growth. A north-facing window may also work if the room is bright. Near a south- or west-facing window, place the plant a few feet back or filter the light with a sheer curtain.
Too little light can cause yellowing, thinning, and leaf drop. Too much direct sun can bleach or brown the foliage. If your asparagus fern begins looking pale, sparse, or tired, light is one of the first things to check. Think of it like choosing a beach seat: bright and cheerful is good, but roasting under the noon sun is a life choice your plant did not sign up for.
4. Use a Well-Draining Potting Mix
Good soil is the quiet hero of asparagus fern care. These plants prefer a loose, well-draining potting mix that holds some moisture but does not stay soggy. A standard indoor potting mix works well if improved with perlite, orchid bark, or coarse material to increase airflow around the roots.
A mix that stays wet for too long can lead to root problems, while a mix that dries out instantly can make watering difficult. Aim for soil that feels lightly moist after watering but never heavy, sour-smelling, or muddy. If your potting mix looks like chocolate cake batter, unfortunately, it is not dessertit is a drainage problem.
5. Pick a Pot With Drainage Holes
Drainage holes are not optional. They are the plant-care equivalent of emergency exits. Asparagus ferns like regular moisture, but they do not want their roots sitting in standing water. Choose a container with at least one drainage hole, and empty the saucer after watering.
If you love decorative cachepots, keep the asparagus fern in a plastic nursery pot inside the outer container. After watering, let the nursery pot drain completely before placing it back. This gives you style and plant health at the same time, which is basically the dream.
6. Water When the Top Inch of Soil Feels Dry
Watering is where many asparagus fern problems begin. The best approach is simple: check the top inch of soil with your finger. If it feels dry, water thoroughly until excess water drains from the bottom. If it still feels damp, wait a little longer.
During spring and summer, when the plant is actively growing, it may need water more often. In fall and winter, growth slows and the plant usually needs less. Indoor heating can dry the air quickly, so do not rely only on the calendar. Your plant does not care that your reminder app says “watering day.” It cares whether the soil is actually dry.
Signs of underwatering include crispy brown tips, shedding, and dry soil pulling away from the pot edges. Signs of overwatering include yellowing foliage, soggy soil, mushy roots, and a generally unhappy look that says, “Why am I living in soup?”
7. Keep Humidity Moderate to High
Asparagus ferns appreciate humidity, especially indoors where air conditioning and heating can make the air dry. Low humidity may lead to browning tips, shedding, and a dull appearance. You can increase humidity by grouping plants together, placing the pot on a pebble tray with water below the pot base, or using a small humidifier.
Misting can provide a temporary boost, but it is not a complete humidity strategy. If you mist, do it in the morning so the foliage has time to dry. A bright bathroom can be an excellent location for asparagus fern if there is enough natural light. Your plant gets moisture, you get spa vibes, and everybody wins.
8. Maintain Comfortable Indoor Temperatures
Asparagus ferns generally prefer warm, comfortable household temperatures. A range of about 60°F to 80°F works well for most indoor plants. Keep them away from cold drafts, heating vents, fireplaces, and air-conditioning blasts. Sudden temperature swings can cause yellowing or dropping foliage.
If you move your plant outdoors for summer, bring it back inside before chilly nights arrive. In many regions, asparagus fern is grown as a houseplant or seasonal container plant because it is not frost-hardy. A cold snap can damage foliage quickly, and no plant wants to be surprised by winter like it missed an important email.
9. Fertilize Lightly During the Growing Season
Asparagus ferns are not extremely heavy feeders, but they do benefit from light feeding during active growth. Use a balanced liquid houseplant fertilizer diluted to half strength once a month in spring and summer. If your plant is growing rapidly and receiving strong indirect light, it may appreciate slightly more frequent feeding, but avoid overdoing it.
Too much fertilizer can cause yellowing, salt buildup, or damaged roots. Skip or greatly reduce fertilizer in winter when growth slows. Fertilizer is food, not magic. Pouring more on a struggling plant rarely fixes the real issue if the problem is light, water, pests, or drainage.
10. Prune Dead, Yellow, or Leggy Stems Correctly
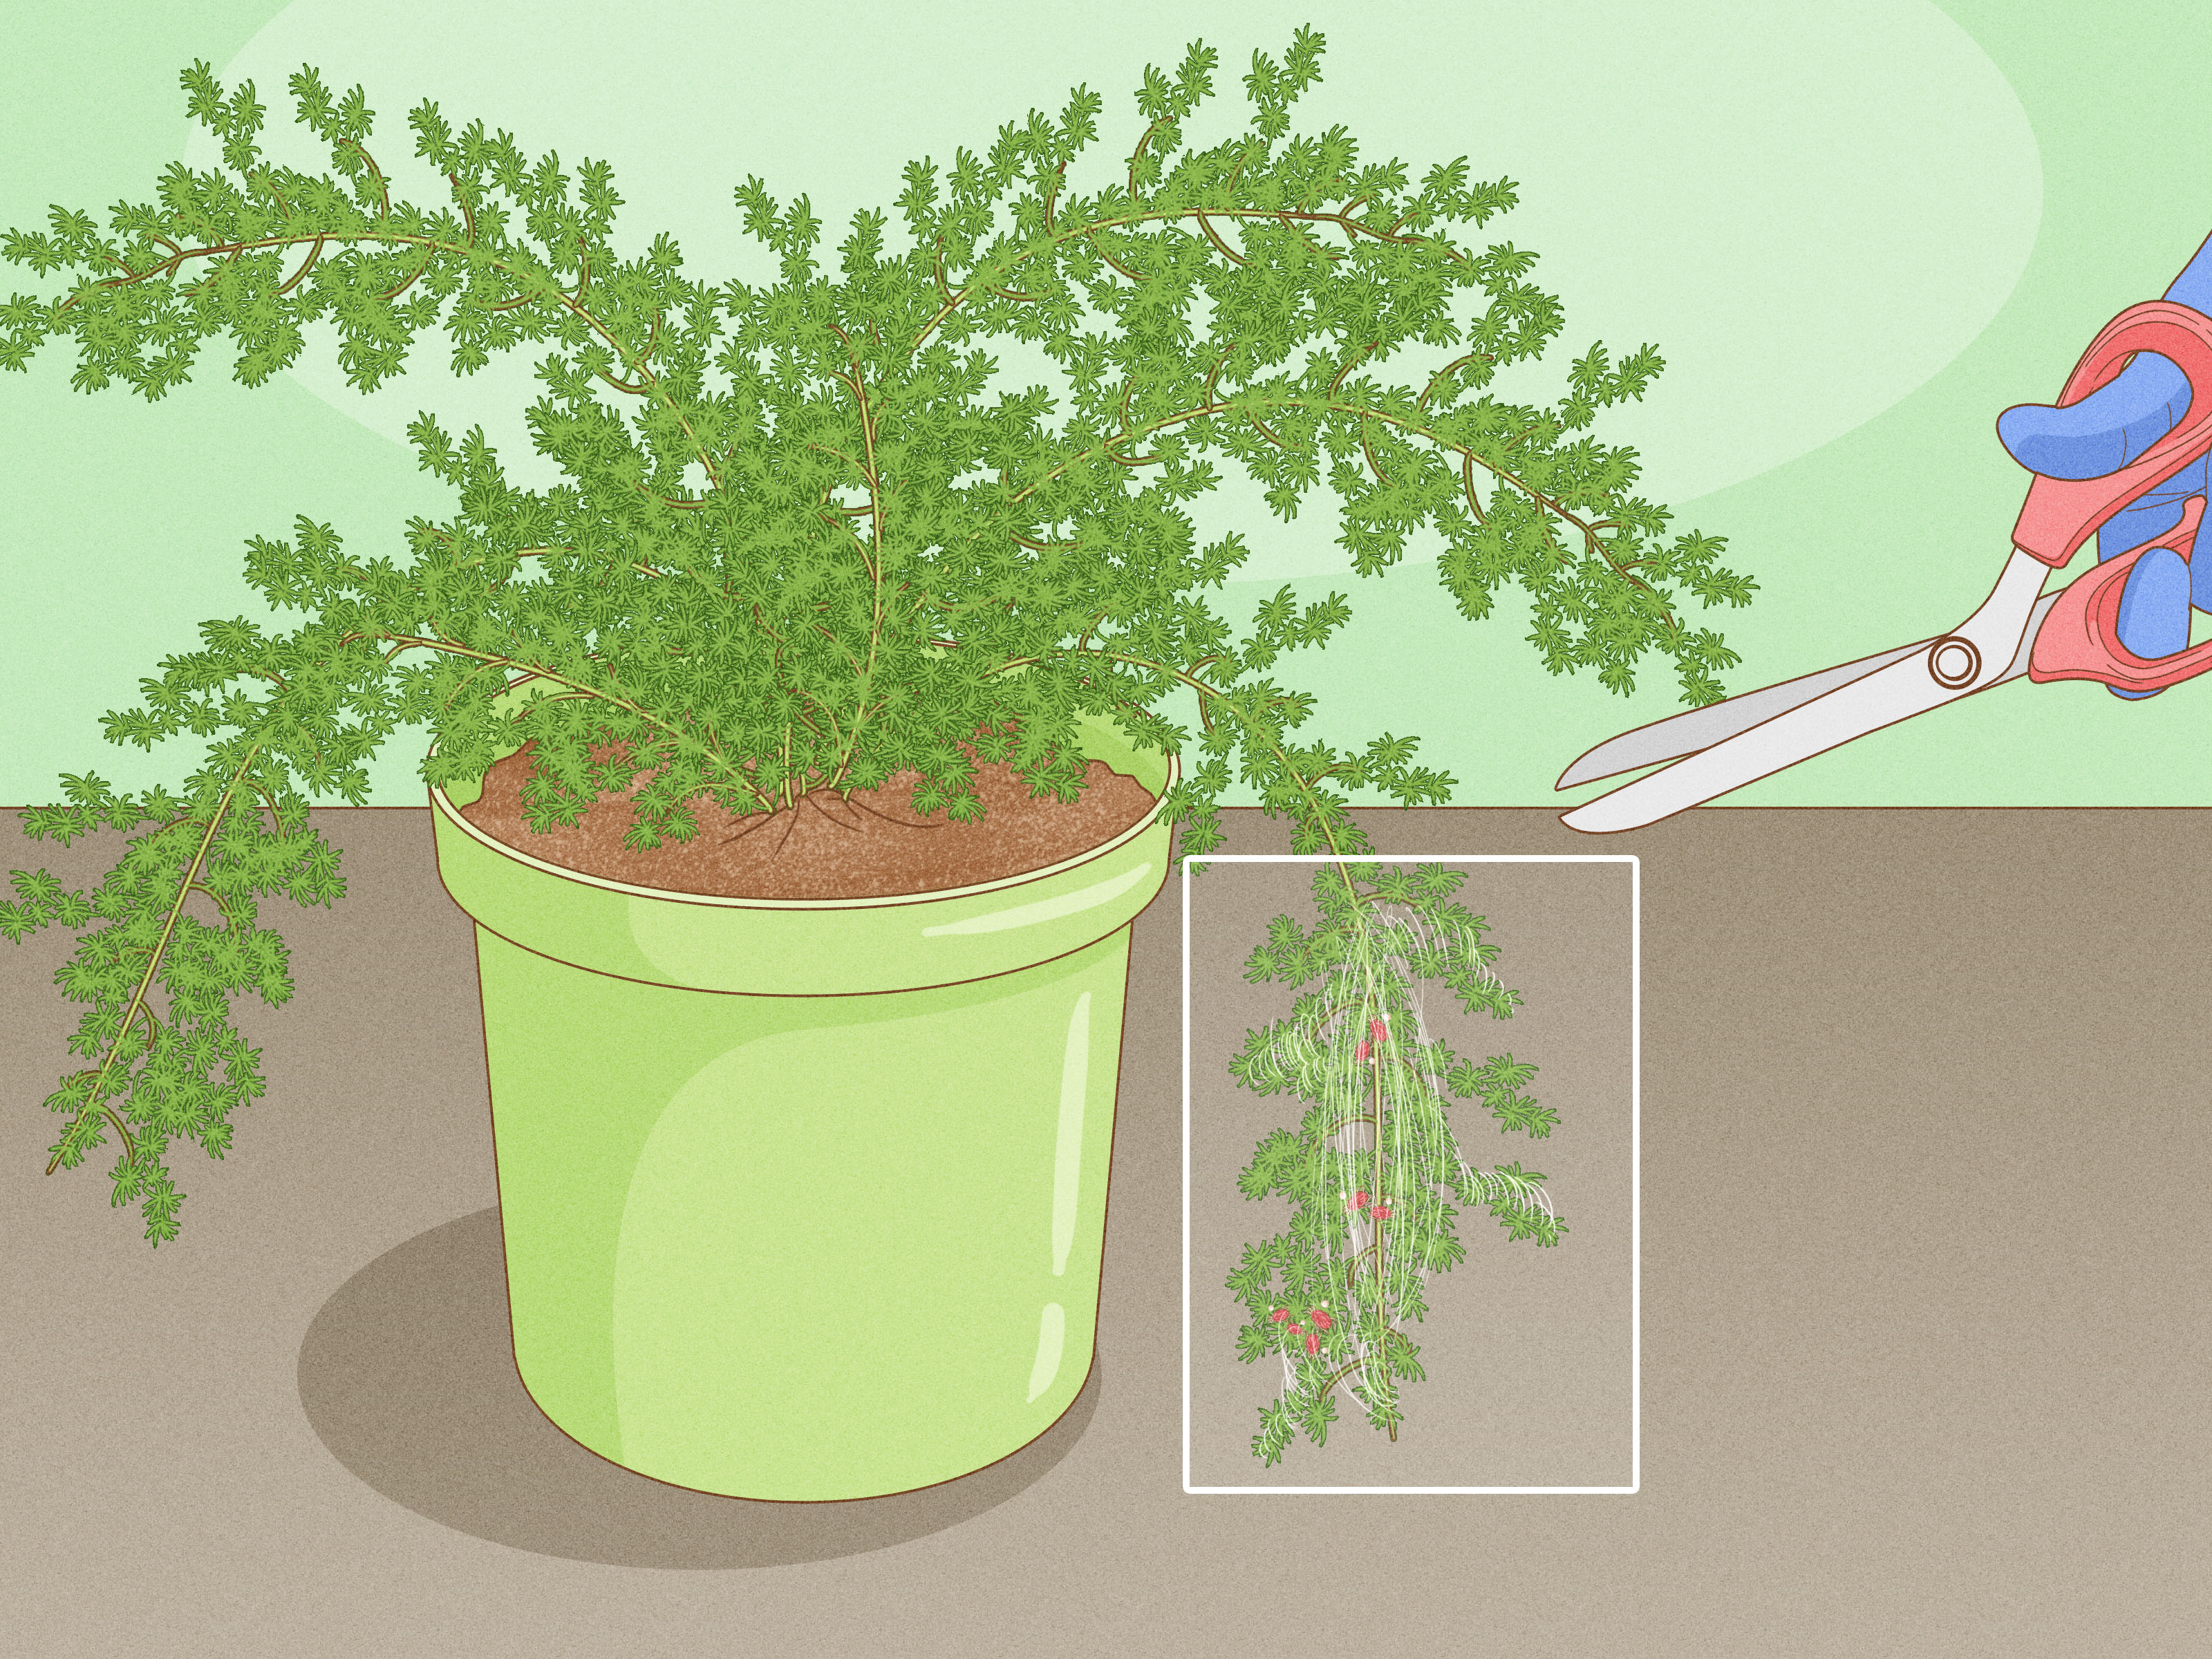
Pruning keeps asparagus fern looking fresh and full. Remove yellow, brown, damaged, or bare stems by cutting them all the way back near the soil line. Avoid simply trimming brown tips across the plant unless you are doing light shaping, because old damaged fronds will not turn green again.
For fuller growth, pinch or trim healthy stem tips lightly. Always use clean scissors or pruning shears. Mature asparagus ferns may have small thorns along the stems, so gloves are a smart idea. The plant may look soft and innocent, but it can scratch like a tiny green cat with excellent camouflage.
11. Repot When the Tuberous Roots Fill the Container
Asparagus ferns grow thick, tuberous roots that can become crowded over time. If water runs straight through the pot, roots are pushing out of drainage holes, the plant dries out unusually fast, or the pot looks distorted, it may be time to repot.
Spring is the best time to repot because the plant is entering active growth. Choose a pot only one size larger than the current container. A pot that is too large can hold excess moisture and increase the risk of root issues. Gently loosen the root ball, refresh the soil, and water well after repotting.
If the plant is very crowded, you can divide it. Use clean hands or a sterile knife to separate the root mass into sections, making sure each division has healthy stems and tubers. Repot each section in fresh mix. Division is the easiest way to propagate asparagus fern, and it also gives you more plantsbecause apparently one plant is how every indoor jungle begins.
12. Watch for Pests, Toxicity, and Outdoor Spread
Asparagus ferns are fairly resilient, but they can attract common houseplant pests such as spider mites, mealybugs, aphids, scale, and whiteflies. Check the stems and undersides of foliage regularly. Fine webbing, sticky residue, cottony white patches, or speckled yellowing can indicate pests.
For small infestations, rinse the plant gently and isolate it from other houseplants. Insecticidal soap may help when used according to label directions. Keeping the plant properly watered, humid, and well-lit reduces stress, which makes pest problems less likely to explode into a full botanical soap opera.
Also keep asparagus fern away from curious pets and children. The berries and plant parts can cause irritation or stomach upset if eaten, and the stems may irritate skin. If your plant produces red berries indoors or outdoors, remove them if pets are nearby.
In warm climates, some asparagus fern types can spread aggressively outdoors. If you live in a frost-free region, consider growing it in containers rather than planting it freely in the landscape. That way, your decorative plant does not wake up one day and decide it owns the neighborhood.
Common Asparagus Fern Problems and Fixes
Yellow Foliage
Yellowing can come from too much water, too little water, insufficient light, harsh direct sun, low humidity, or nutrient issues. Start by checking the soil moisture and light exposure. If the soil is soggy, let it dry and improve drainage. If the plant sits in a dark corner, move it to brighter indirect light.
Brown, Crispy Tips
Brown tips often point to dry air, underwatering, salt buildup from fertilizer, or direct sun. Increase humidity, water consistently, flush the soil occasionally with clean water, and move the plant away from harsh light.
Shedding Needles
Some shedding happens naturally, but heavy dropping usually means stress. Check for dry soil, sudden temperature changes, low humidity, pests, or a recent move. Once asparagus fern foliage turns yellow or brown, it will not recover, but new growth can appear from the base when conditions improve.
Leggy Growth
Leggy, stretched stems usually mean the plant wants more light. Move it closer to a bright window, rotate the pot regularly, and prune weak stems back to the soil line.
Best Indoor Locations for an Asparagus Fern
The best indoor spot is bright, warm, and away from drafts. Try placing your asparagus fern near an east-facing window, on a plant stand near filtered southern light, in a bright bathroom, or in a hanging basket where its stems can trail naturally. Avoid dark corners, radiator shelves, and windowsills that become scorching hot in summer or freezing cold in winter.
If you use grow lights, place the plant close enough to receive bright light but not so close that heat dries the foliage. Rotate the pot every week or two so growth stays even. Without rotation, asparagus fern may lean toward light like it is trying to overhear gossip outside the window.
Outdoor Care Tips for Patios and Porches
Asparagus ferns can make beautiful outdoor container plants during warm months. Place them in partial shade or bright filtered light. Morning sun is usually fine, but intense afternoon sun may burn the foliage, especially if the plant was grown indoors.
Outdoor pots dry faster than indoor pots, so check soil more frequently. Wind, heat, and terracotta containers can all increase water needs. Before moving an indoor plant outside, acclimate it gradually over one to two weeks. Start in full shade, then move it into brighter filtered light. A sudden move from living room to blazing patio is basically plant culture shock.
Experience-Based Tips: What Growing an Asparagus Fern Teaches You
After caring for asparagus ferns for a while, you begin to realize they are not difficult plants; they are honest plants. They show stress quickly, sometimes dramatically, but they also recover well when you fix the problem. One of the most common experiences is buying a lush, fluffy asparagus fern from a garden center, placing it in a dim room, and watching it slowly turn yellow while you wonder whether it is being personally rude. It is not being rude. It is asking for more light.
The first lesson is that “bright indirect light” is not just plant-care poetry. It means the room should be bright enough for you to read comfortably during the day without turning on a lamp. If the plant casts a soft shadow, that is usually a good sign. If the room feels gloomy at noon, the asparagus fern will probably thin out.
The second lesson is that watering should be based on touch, not habit. Many beginners water every Saturday because Saturday feels responsible. But asparagus fern soil may dry in three days during hot weather and take ten days in winter. The finger test is simple and reliable: if the top inch is dry, water; if it is damp, wait. This one habit prevents most watering disasters.
The third lesson is that humidity matters more than people expect. In a dry room, asparagus fern can become crispy even when the soil is watered correctly. Grouping it near other plants often helps. A pebble tray can help a little. A humidifier helps a lot. Bathrooms with good light can turn a fussy-looking plant into a green fountain.
The fourth lesson is that pruning is not punishment. Cutting dead or yellow stems back to the base may feel harsh at first, but it makes the plant look better and encourages fresh growth. Leaving crispy stems in place does not help the plant recover. It just makes the fern look like it survived a tiny indoor drought documentary.
The fifth lesson is that asparagus ferns love to outgrow their pots quietly. From the top, your plant may look calm. Under the soil, the tuberous roots may be staging a full takeover. If your plant dries out too fast or seems to rise out of the pot, check the roots. Repotting or dividing can completely refresh growth.
Finally, asparagus fern care teaches patience. When foliage drops, the plant may look disappointing for a while. Do not throw it away too quickly. Trim the damaged stems, correct the light and watering, and give it time. New shoots often emerge from the soil like little green apologies. With steady care, this plant can go from crispy drama queen to lush showpiece again.
Conclusion
Caring for an asparagus fern is not about perfection. It is about consistency. Give it bright indirect light, a draining pot, airy soil, regular watering, moderate humidity, gentle feeding, and occasional pruning. Keep it away from pets, protect it from cold, and repot when the roots get crowded. Do that, and your asparagus fern will reward you with soft, graceful greenery that makes your home feel fresher, calmer, and slightly more like a fancy conservatory.
Whether you grow a trailing Sprengeri fern, an upright foxtail fern, or a delicate plumosa fern, the same basic rule applies: watch the plant, not just the calendar. Its foliage will tell you when something is wrong, and its new growth will tell you when you finally got it right.