If your iPhone XR is still proudly doing its job in 2026, good news: it is not too old for modern mobile life. The iPhone XR supports eSIM in many regions, which means you can activate a cellular plan without sliding a tiny plastic SIM card into that equally tiny SIM tray while praying it does not disappear into the carpet.
An eSIM, short for embedded SIM, is a digital version of a SIM card built into your iPhone. Instead of inserting a physical card, you download a carrier plan directly onto the phone. For iPhone XR owners, this can be useful for switching carriers, adding a second number, testing a network, or using a travel data plan without removing your main SIM.
This guide explains four easy ways to enable eSIM on an iPhone XR, including carrier activation, QR code setup, eSIM Quick Transfer, and converting a physical SIM to eSIM. It also covers compatibility checks, common problems, and real-world tips so the process feels less like a secret Apple ceremony and more like a normal phone setup.
Before You Start: Does the iPhone XR Support eSIM?
Yes, the iPhone XR supports eSIM, but there are a few important conditions. Your iPhone must be running a compatible iOS version, your wireless carrier must support eSIM, and your specific iPhone model must not be one of the region-specific versions where eSIM is unavailable. Some iPhones sold for certain markets, especially mainland China, may use physical SIM arrangements instead of eSIM support.
To check whether your iPhone XR is ready for eSIM, open Settings, tap General, then tap About. Look for an EID number. The EID is the digital identifier used for eSIM activation. If you see it, your iPhone XR has eSIM hardware available.
Quick checklist before enabling eSIM
- Your iPhone XR is connected to Wi-Fi.
- Your iPhone is updated to a recent version of iOS.
- Your carrier supports eSIM for iPhone.
- Your phone is unlocked if you plan to use a different carrier.
- You have access to your carrier account, PIN, password, or verification method.
- You have your QR code, carrier app, or old iPhone nearby if needed.
That last point matters. eSIM activation often involves carrier security checks. Your carrier wants to know that you are really you, not someone trying to hijack a phone number while wearing sunglasses indoors like a movie villain.
Way 1: Enable eSIM on iPhone XR with Carrier Activation
The easiest way to enable eSIM on an iPhone XR is through carrier activation. With this method, your wireless provider assigns an eSIM plan directly to your iPhone. You may see a notification that says something like Carrier Cellular Plan Ready to Be Installed or Finish Setting Up Cellular.
This option is common when you buy a plan from a carrier, move a line to eSIM, or activate a new phone through your carrier account. In the United States, major carriers and many prepaid providers offer eSIM support, although the exact steps vary.
How to use carrier activation
- Connect your iPhone XR to Wi-Fi.
- Open the Settings app.
- Tap the carrier activation notification if it appears.
- Tap Continue when prompted.
- Follow the on-screen instructions to install the cellular plan.
- Make a test call or turn off Wi-Fi briefly to confirm cellular data works.
If you do not see a notification, open Settings > Cellular. Depending on your iOS version and carrier, you may see Set Up Cellular, Add eSIM, or another carrier-specific prompt.
Best for
Carrier activation is best for people starting a new plan, replacing a physical SIM, or activating service through a major carrier. It is also ideal if you dislike scanning QR codes or typing long activation details, which is reasonable because nobody wakes up excited to manually enter an SM-DP+ address.
Way 2: Enable eSIM on iPhone XR with a QR Code
The QR code method is one of the most common ways to activate eSIM on an iPhone XR. Your carrier provides a QR code by email, in your online account, inside its app, or on a printed activation card. Your iPhone scans that code and downloads the eSIM plan.
This method is especially useful for prepaid carriers, travel eSIM providers, and situations where your carrier cannot push the activation directly to your iPhone. It is simple, fast, and only slightly more dramatic than ordering coffee with a mobile app.
How to activate eSIM with a QR code
- Connect your iPhone XR to Wi-Fi.
- Open Settings.
- Tap Cellular.
- Tap Add eSIM or Set Up Cellular.
- Choose Use QR Code.
- Scan the QR code from your carrier.
- Tap Continue.
- Tap Add Cellular Plan when prompted.
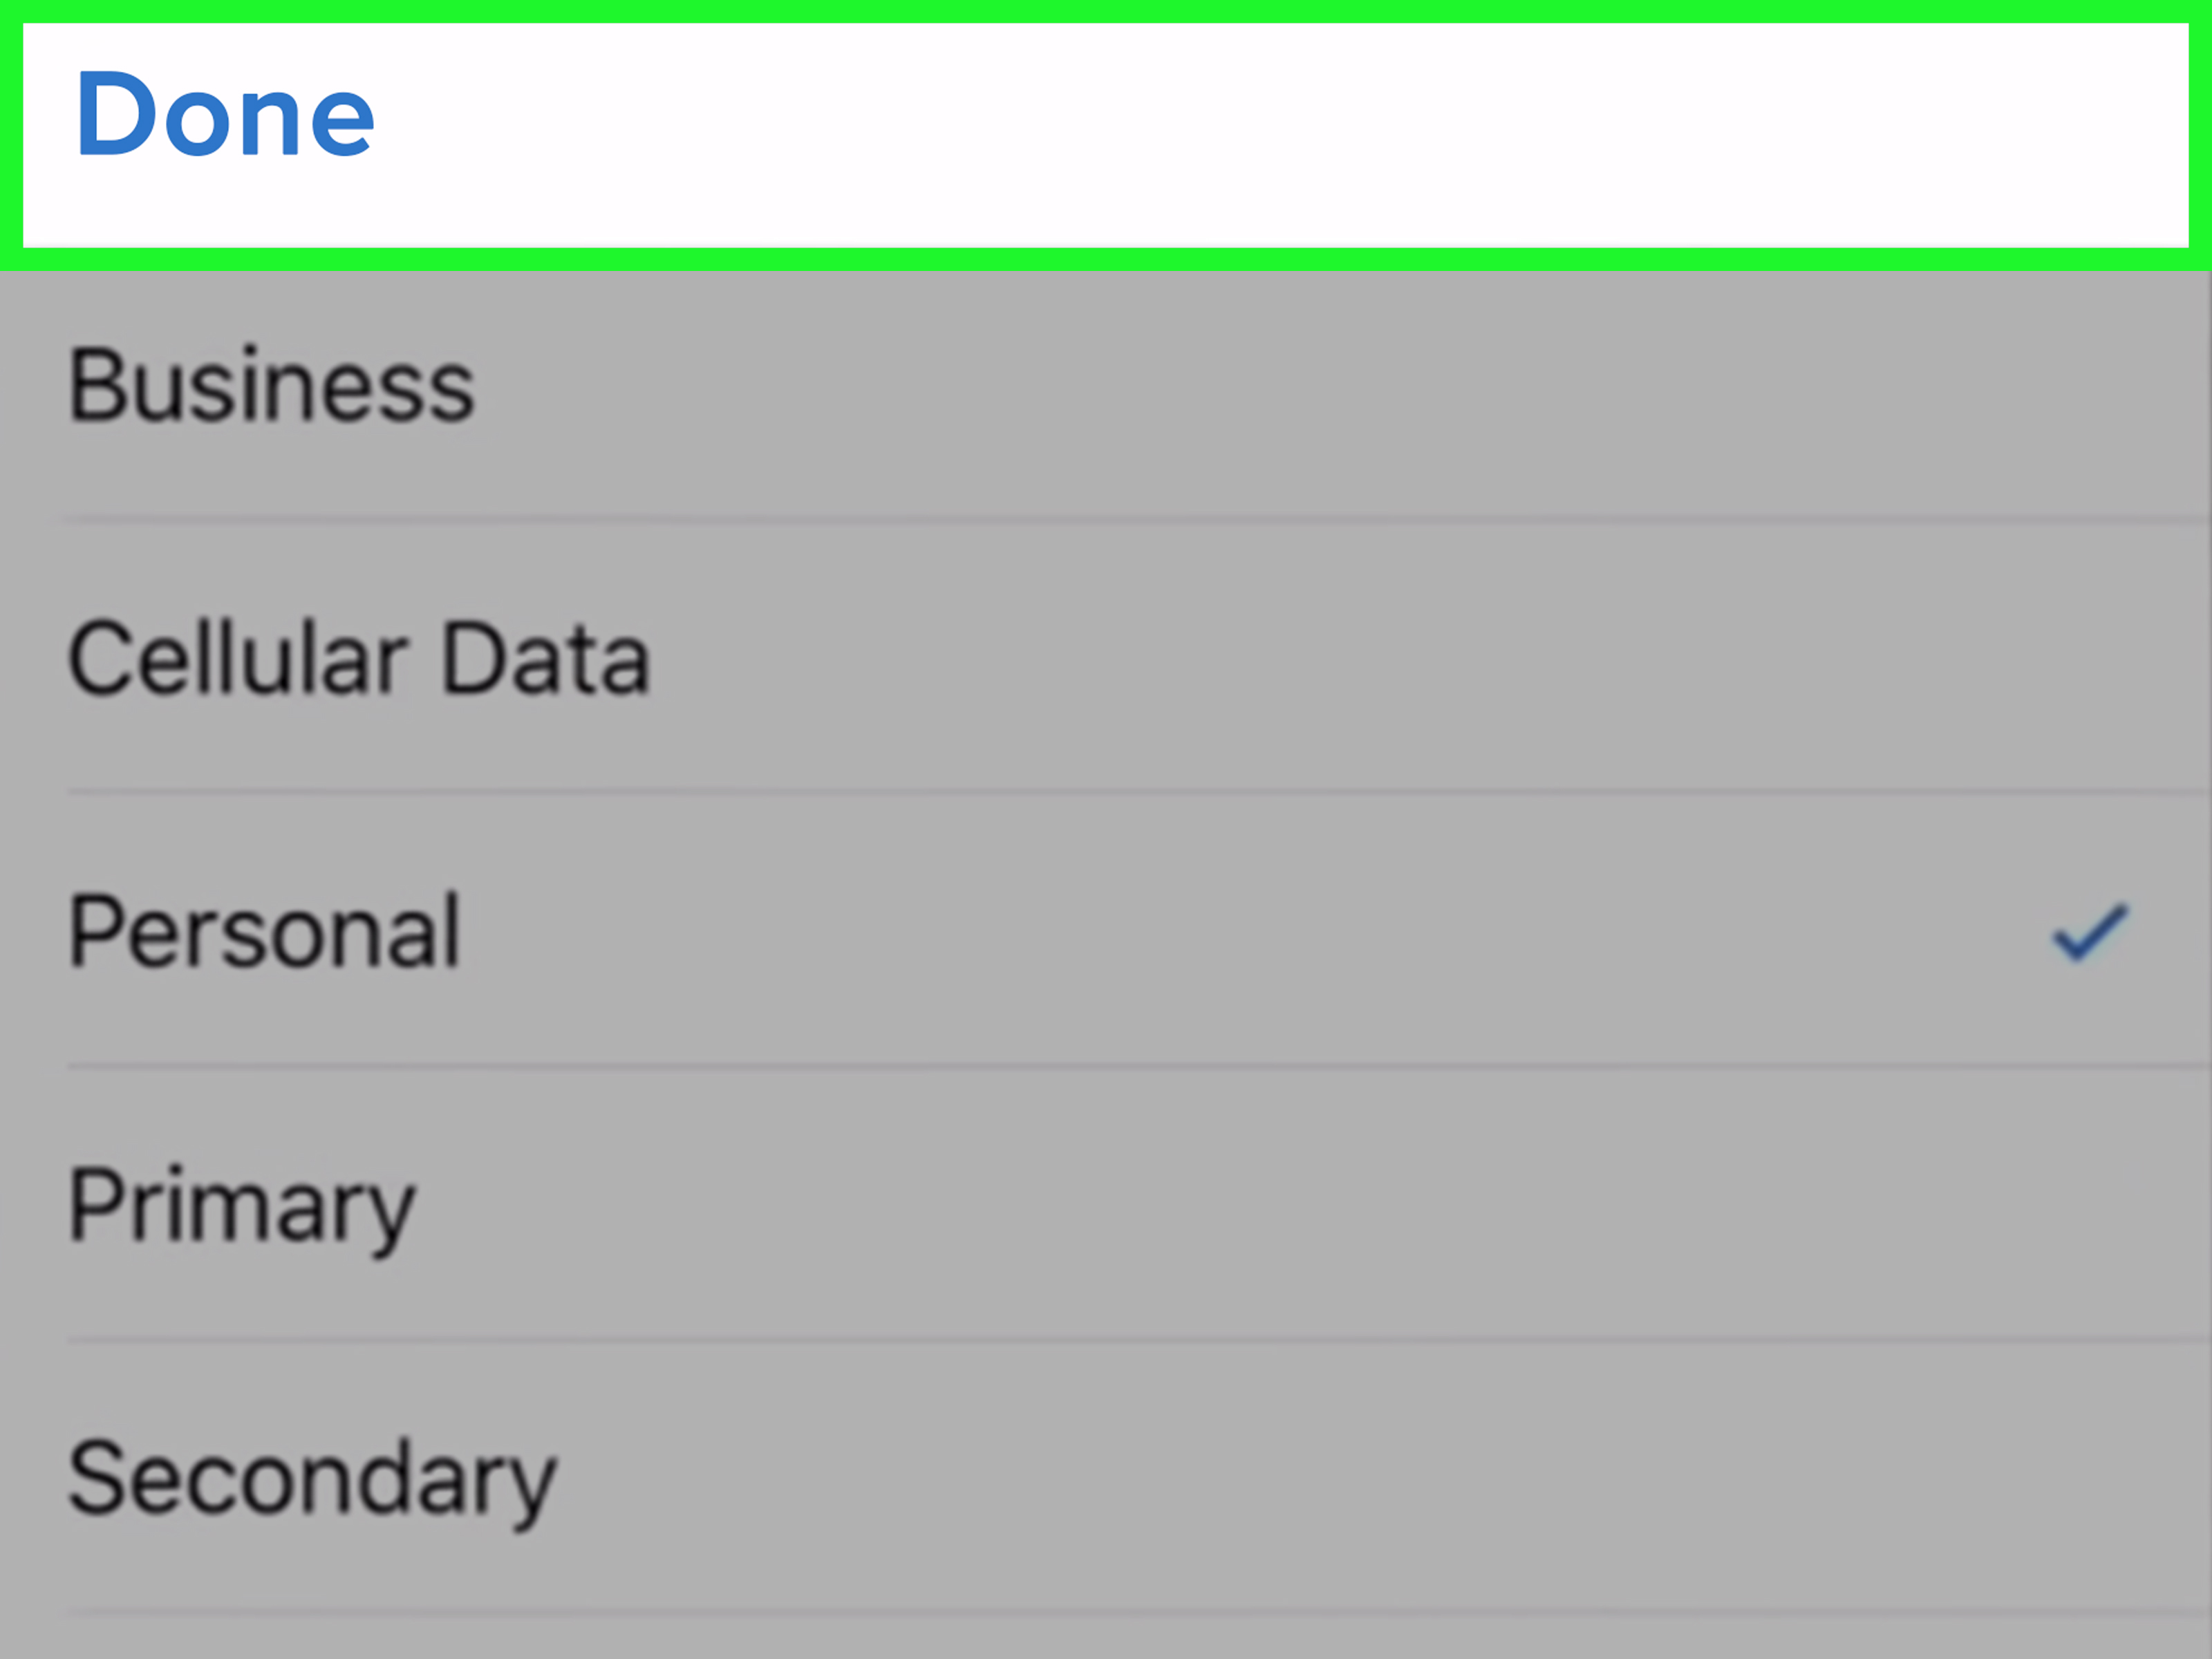
- Label the plan, such as “Personal,” “Business,” “Travel,” or “Data.”
- Choose your default line for calls, messages, and cellular data.
If the QR code does not scan, make sure the screen displaying the code is bright enough and not covered by glare. If you received the QR code on the same iPhone XR, open it on another device if possible. You cannot easily scan a QR code that is hiding inside the phone trying to scan it. That is technology’s version of looking for your glasses while wearing them.
Manual entry option
If scanning fails, many carriers allow manual setup. On the QR code screen, look for Enter Details Manually. You may need information such as the SM-DP+ address and activation code. These details must come from your carrier or eSIM provider.
Best for
QR code activation is best for users buying an eSIM plan online, switching to a prepaid carrier, adding a travel data plan, or setting up service when the carrier sends activation information by email.
Way 3: Enable eSIM on iPhone XR with eSIM Quick Transfer
eSIM Quick Transfer lets you move a phone number from another iPhone to your iPhone XR without needing a physical SIM card. When supported by your carrier, this can be one of the smoothest ways to enable eSIM because the transfer happens directly between devices.
This method requires both iPhones to be nearby, connected to Wi-Fi or cellular service, signed in properly, and protected with a passcode. Bluetooth should also be turned on. Think of it as introducing two iPhones at a very formal networking event: they need to be close enough to shake hands.
How to use eSIM Quick Transfer
- Place your old iPhone and iPhone XR near each other.
- Make sure both devices have Wi-Fi and Bluetooth turned on.
- On the iPhone XR, open Settings.
- Tap Cellular.
- Tap Add eSIM.
- Choose Transfer From Nearby iPhone if available.
- Follow the prompts on both devices.
- Confirm the transfer with your carrier if asked.
- Test calls, texts, and cellular data after the transfer completes.
Once the number transfers, it may stop working on the previous iPhone. That is normal. A phone number generally cannot be fully active on two iPhones at once unless your carrier has a special multi-device feature.
Best for
eSIM Quick Transfer is best for people moving from another iPhone to an iPhone XR, replacing a device, or shifting a number from a physical SIM or existing eSIM to a digital plan. It is also great if your carrier supports the feature and you want to avoid calling customer support, which is a hobby almost nobody chooses voluntarily.
Way 4: Convert a Physical SIM to eSIM on the Same iPhone XR
Some carriers let you convert your physical SIM into an eSIM directly on the same iPhone. This is convenient if your current number is already working on your iPhone XR through a nano-SIM card and you want to free the SIM tray, use dual SIM features, or modernize your setup.
Not every carrier supports physical SIM-to-eSIM conversion on iPhone XR, so do not panic if the option is missing. It usually means your carrier requires app activation, customer support, a QR code, or an account-based transfer instead.
How to convert physical SIM to eSIM
- Open Settings on your iPhone XR.
- Tap Cellular.
- Look for Convert to eSIM.
- Tap Convert Cellular Plan.
- Tap Convert to eSIM again to confirm.
- Wait for activation to complete.
- Remove the physical SIM card after the eSIM is active.
- Restart your iPhone if your carrier recommends it.
After conversion, keep the physical SIM somewhere safe for a short time, but do not expect it to keep working indefinitely. Once the carrier moves your line to eSIM, the old SIM is usually deactivated.
Best for
This method is best for users who already have active service on a physical SIM and want to move that same number to eSIM without changing plans. It is simple when supported, but carrier rules decide whether it appears on your iPhone.
How to Use Dual SIM on iPhone XR After Enabling eSIM
One of the best reasons to enable eSIM on an iPhone XR is dual SIM functionality. The iPhone XR can use one physical nano-SIM and one eSIM, allowing you to keep two phone numbers on the same device. This is useful for separating work and personal calls, using a local data plan while traveling, or testing a second carrier before switching.
After installing your eSIM, go to Settings > Cellular. You can label each plan, choose which line handles voice calls, select the number used for iMessage and FaceTime, and decide which plan provides cellular data.
Helpful dual SIM settings
- Default Voice Line: Choose the number used for normal calls.
- Cellular Data: Pick which plan provides mobile internet.
- Allow Cellular Data Switching: Let your iPhone switch data lines when useful.
- Line Labels: Name plans clearly so you do not text your boss from your vacation number.
Remember that the iPhone XR can use one cellular data network at a time. You can keep two lines available, but your mobile data comes from one selected line unless you allow data switching.
Common eSIM Problems on iPhone XR and How to Fix Them
Most eSIM activations are straightforward, but problems happen. The good news is that many issues are caused by simple things: weak Wi-Fi, outdated software, carrier locks, expired QR codes, or account verification delays.
No “Add eSIM” option appears
First, check for an EID under Settings > General > About. If there is no EID, your iPhone XR model may not support eSIM. If the EID is present, update iOS, restart the phone, and check again under Settings > Cellular.
The QR code will not scan
Increase brightness on the screen showing the QR code, clean your iPhone camera lens, and make sure the entire code is visible. If that fails, use manual entry if your carrier provides the activation details.
Activation is stuck
Stay connected to Wi-Fi and give the phone a few minutes. If it remains stuck, restart the iPhone and check your carrier account. Some carriers require identity verification before the eSIM becomes active.
Cellular data does not work after activation
Open Settings > Cellular and make sure the eSIM line is turned on. Then check that the correct line is selected for cellular data. You can also toggle Airplane Mode on and off, restart the phone, or reset network settings as a last resort.
The iPhone is locked to another carrier
If your iPhone XR is carrier-locked, an eSIM from another provider may not activate. Contact the original carrier and ask about unlocking requirements. In many cases, the device must be paid off and the account must meet the carrier’s unlocking policy.
Is eSIM Better Than a Physical SIM on iPhone XR?
For many users, yes. eSIM is convenient because there is no card to lose, no shipping delay, and no need to open the SIM tray. It is especially helpful for travel, secondary numbers, and quick carrier trials. If your iPhone is lost or stolen, an eSIM also cannot be removed as easily as a physical SIM card.
However, physical SIM cards still have advantages. They are easy to move between phones, they work well with older devices, and some carriers still handle physical SIM support more smoothly than eSIM support. The best choice depends on your carrier, travel habits, and how often you switch phones.
Practical Experiences: What It Is Really Like to Enable eSIM on an iPhone XR
In real life, enabling eSIM on an iPhone XR usually feels easier than expected, but only if you prepare correctly. The biggest mistake people make is starting the process without Wi-Fi, account access, or carrier verification ready. eSIM activation is digital, but it is still tied to your carrier account. If you cannot receive a verification code, remember your PIN, or log in to the carrier app, the process can slow down quickly.
One practical example is switching from a physical SIM to an eSIM before traveling. Many users keep their main U.S. number on eSIM and leave the physical SIM tray free for a local SIM card abroad. Others do the opposite: they keep their main number on the physical SIM and add a travel eSIM for data. On an iPhone XR, both setups can work, but you should label the lines clearly. “Primary” and “Travel Data” are much easier to understand than “Cellular Plan 1” and “Cellular Plan 2,” which sound like rejected robot names.
Another common experience is using eSIM to test another carrier. Some providers offer app-based activation or trial plans through eSIM. This is useful because you can check coverage in your neighborhood, school, workplace, or favorite coffee shop before switching your main number. Coverage maps are helpful, but your actual daily routine is the real test. A carrier that looks perfect on a map may mysteriously vanish in your bedroom, garage, or the one grocery store aisle where you need to compare cereal prices.
For iPhone XR users, patience matters during activation. Some eSIMs activate in minutes, while others take longer because the carrier must process the change. Avoid deleting the eSIM if activation seems slow unless your carrier tells you to. Deleting an eSIM does not always cancel the plan, and reinstalling it may require a new QR code or support request. In other words, do not treat the delete button like a magic reset button. It is more like a trapdoor with paperwork.
It is also smart to update iOS before beginning. Older software can hide newer setup options or cause compatibility quirks. After updating, restart the phone, connect to stable Wi-Fi, and keep the iPhone charged. If you are transferring a number from another iPhone, keep both devices nearby until the process finishes. Walking away with the old phone mid-transfer is like leaving the kitchen while pancakes are cooking: maybe fine, maybe smoke alarm.
Finally, save your carrier’s support information before making major changes. Most eSIM activations go smoothly, but if your line stops working, you may need another way to contact support. Keep a laptop, tablet, or another phone nearby. If your iPhone XR is your only device, write down important account information before starting. A few minutes of preparation can save an hour of frustration.
Conclusion
Enabling eSIM on an iPhone XR is usually simple once you know which method your carrier supports. You can activate through carrier activation, scan a QR code, transfer an eSIM from another iPhone, or convert a physical SIM to eSIM on the same device. The key is to check compatibility, update iOS, stay connected to Wi-Fi, and follow your carrier’s instructions carefully.
The iPhone XR may not be Apple’s newest model, but its eSIM support still makes it flexible, travel-friendly, and surprisingly modern. Whether you want a second number, a cleaner setup, or an easier way to switch plans, eSIM can help your iPhone XR feel refreshed without buying a new phone. That is a win for your budget, your pocket, and the tiny SIM ejector tool you will hopefully never have to find again.
Note: eSIM menus and activation steps may vary by iOS version, carrier, country, and account type. If your iPhone XR does not show an eSIM option, check for an EID in Settings and contact your carrier for model and plan support.