A projector can turn an ordinary wall into a movie screen… and your living room into a crime scene of dangling HDMI cords, power cables, and that one mystery wire you swear multiplies overnight. The good news: you don’t need to be an electrician, a carpenter, and a wizard (all at once) to make your setup look clean. With a little planningand the right hiding method for your roomyou can conceal projector wires so well your guests will assume your home theater runs on pure vibes. Let’s make the mess disappearwithout creating a safety issue or tearing your house apart.
Before You Hide Anything: Two Fast “Don’t Regret This Later” Checks
1) Identify which wires you’re dealing with
Most projector setups involve a mix of:
- Power (high-voltage): the projector’s power cord
- Signal (low-voltage): HDMI, Ethernet, audio, control cables
- Extras: streaming stick power, USB, speakers, subwoofer cables (if you’re going all-in)
Why it matters: hiding low-voltage cables is usually easier and safer than hiding power wiring. Some methods work for both, others are “signal only,” and a few are best left to pros.
2) Choose your goal: “pretty good” or “where did the wires go?”
If you want a quick win, surface solutions like cord covers and trim-routing will get you 80–90% of the way there in an afternoon. If you want the “floating projector” look, you’ll likely use an in-wall solution for cables and/or add a ceiling outlet near the mount. Either way, you can do this without turning your weekend into a drywall documentary.
1) Use a Paintable Cord Cover Raceway (Fastest + Most Popular)
If you want the “clean wall” look without opening the wall, a paintable cord cover (also called a raceway) is the easiest solution. It’s basically a slim channel that sticks or screws to the wall, and your cables snap inside it. When painted to match your wall, it visually disappearslike camouflage, but for cords.
How to do it (in real life)
- Map the route from projector to your source (AV receiver, streaming box, laptop, etc.). Keep it straight and minimal.
- Measure twice so you buy enough raceway for the full run (plus corners if you need them).
- Mount the base (adhesive is easiest; screws are strongest for textured walls).
- Lay cables in the channel with gentle curvesno sharp bends.
- Snap on the cover, then paint if needed.
Best for
- Renters (adhesive + removable options exist)
- Ceiling-mounted or shelf-mounted projectors where cables run along a wall
- People who want “clean” without “construction”
Pro tip
Use a raceway that’s slightly bigger than you think you need. HDMI ends are chunky, and you’ll be happier with a channel that closes easily instead of one that pops open like a fed-up toaster.
2) Hide Wires Along Baseboards or Crown Molding (The “Built-In” Look)
Trim is your secret passageway. Baseboards and crown molding already create visual boundaries in a room, which makes them perfect for disguising wire runs. In some rooms you can tuck cables behind existing trim gaps. In others, you can add foam molding or trim-style raceways that double as décor.
Two easy approaches
- Behind-the-trim tuck: If there’s enough space, carefully route low-voltage cables behind or just under trim. (Don’t force it; you don’t want bulges that scream “there’s a snake living in my baseboard.”)
- Trim-style raceway: Use molding designed to act like a wire channel. Paint it to match your trim and it looks intentional.
Best for
- Rooms where the projector source is across the room from the screen
- Long cable runs you don’t want to see at eye level
- People who love a tidy “architectural” finish
Pro tip
Keep low-voltage cables (HDMI/Ethernet) neatly bundled, but don’t tie them into a super-tight knot. Gentle bends help prevent signal issues and make future swaps easier.
3) Run Cables Behind Furniture (The “No One Will Ever Notice” Method)
Sometimes the best hiding place is… plain old furniture. If your projector source lives in a media console, a shelf, or a sideboard, you can route cables down a wall and behind the unit so the mess stays out of sight. This is especially effective when you pair it with small accessories like adhesive cable clips and fabric sleeves.
What you’ll use
- Adhesive cable clips (to guide the line neatly)
- A fabric cable sleeve or spiral wrap (to bundle multiple cords)
- A cable management box (to hide a power strip and extra slack)
Best for
- Projectors on a coffee table, shelf, or rear console
- Temporary setups you rearrange often
- Anyone who wants the room to look clean without drilling a single thing
Pro tip
“Slack” is the enemy. Use the shortest cables that comfortably reach and coil the extra inside a box behind the console. Your future self will thank you when you’re not untangling a cord rat’s nest at midnight.
4) Install a Ceiling Outlet Near the Projector (Shortest Power Cord = Cleanest Look)
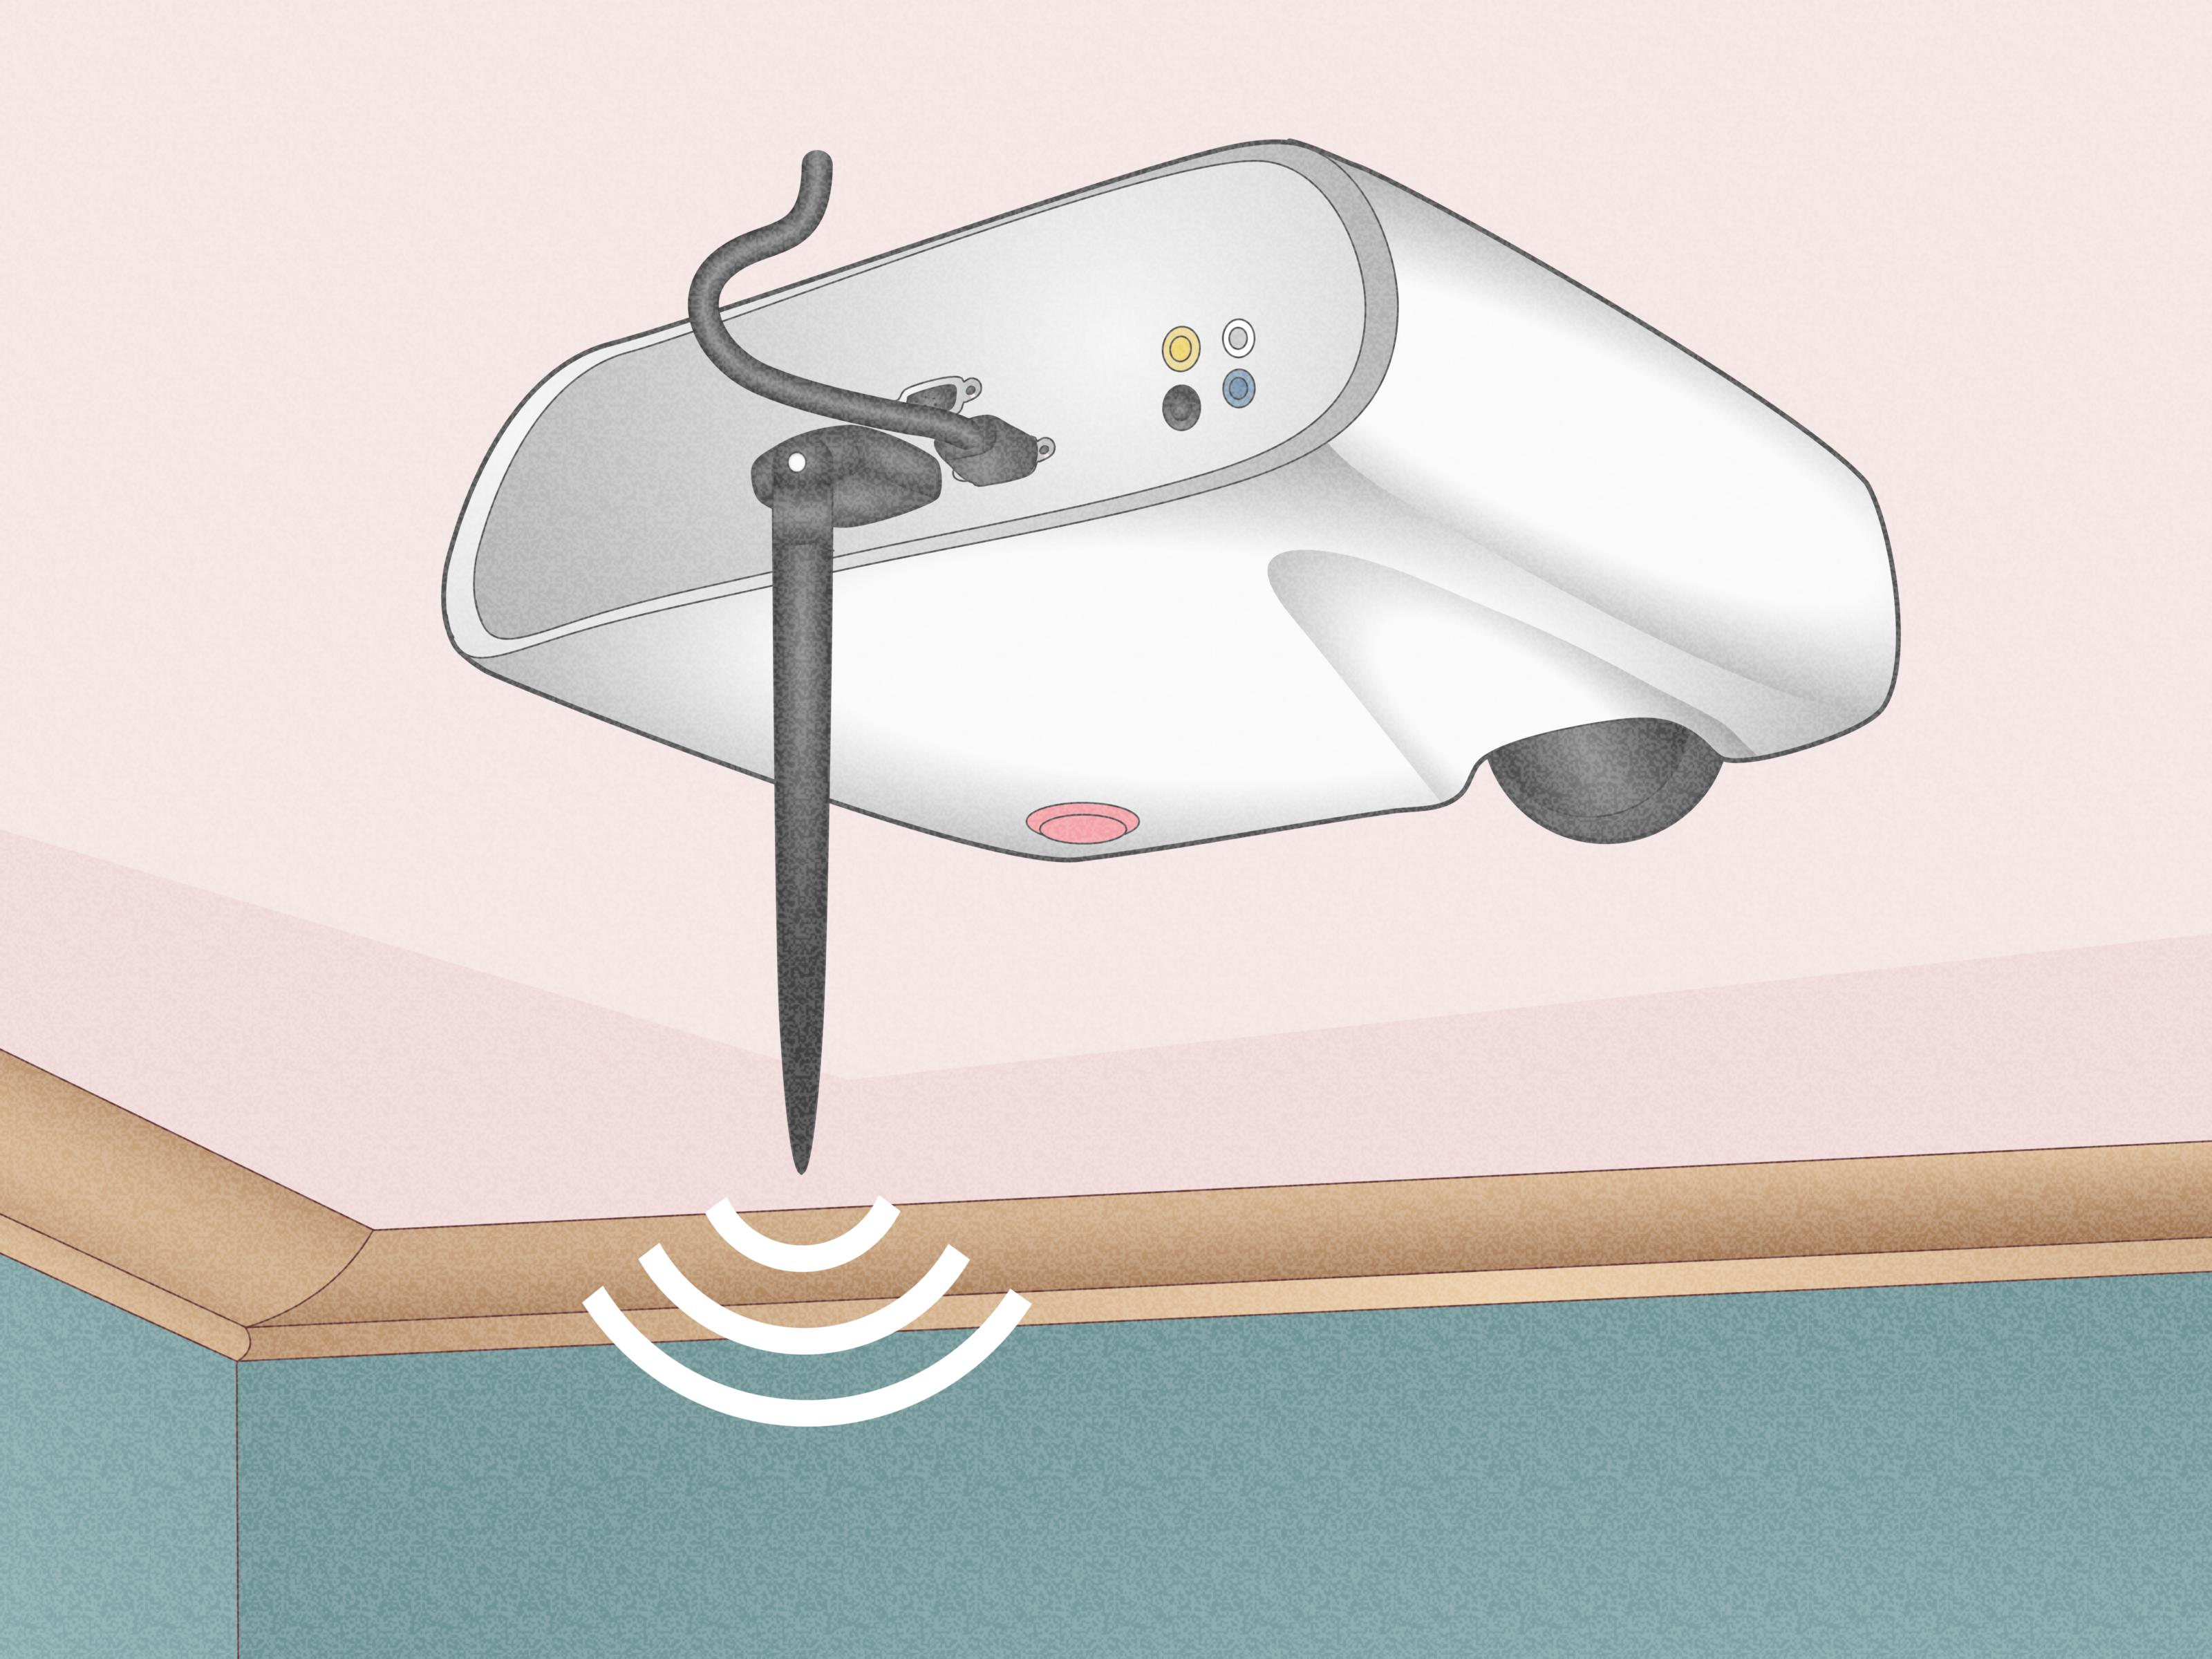
If your projector is ceiling-mounted, the biggest eyesore is often the power cable dangling down or running awkwardly across the ceiling. The cleanest approach is to have a power outlet installed near the projector location, so only a short power cord is visible. This is one of those upgrades that makes a setup look “professional home theater” instead of “science fair prototype.”
What this looks like in practice
- Projector mount on ceiling
- Outlet installed near the mount
- Short power cord routed neatly along the mount/ceiling line
Best for
- Ceiling-mounted projectors
- Rooms where you’re committed to the projector placement long-term
- People who want the “where’s the power coming from?” effect
Safety note
Power work is not the place to freestyle. If you’re adding an outlet, use a licensed electrician or follow local code requirements. Also: don’t treat extension cords as permanent wiringthere are fire-safety reasons this is discouraged.
5) Use an In-Wall Cable Kit or Conduit (Cleanest Finish for HDMI and Signal Cables)
When you want cables to vanish, routing them inside the wall is the ultimate move. For projector setups, this often means running HDMI (and possibly Ethernet) through an in-wall pathway. Even better: use a flexible conduit (often called “smurf tube”) so you can replace or upgrade cables later without opening the wall again.
Two options
- In-wall pass-through plates: Neat wall openings with brush-style plates that let cables pass through. Great for low-voltage cables.
- Conduit route: A protected pathway that makes future cable swaps much easierhighly recommended if you think you’ll upgrade HDMI versions over time.
Best for
- Dedicated home theater rooms
- Ceiling-to-wall runs where surface raceways would look obvious
- Anyone who hates redoing work (conduit = future-proofing)
Pro tip
If your projector is 4K/8K-capable or far from the source, consider cable type and length carefully. Longer runs may benefit from higher-quality HDMI solutions (and sometimes active/fiber options). The main win here: plan for the next upgrade, not just today’s picture.
6) Hide Wires Across the Floor with Low-Profile Covers (Trip-Proof + Pet-Proof)
Not every room allows a clean wall or ceiling route. If you’re using a portable projector on a table or moving it between spaces, you may end up with wires that cross walking areas. That’s where low-profile floor cord covers shine. They keep cords contained, reduce tripping risk, and protect cables from chair legs, pets, and that one friend who always drags their feet.
Smart ways to use floor covers
- Run along the perimeter (wall edge) when possible, not through the center of the room.
- Choose a cover wide enough for the bundlecrowded covers pop open over time.
- Use rugs strategically to visually blend the route (but avoid creating lumps that become a new trip hazard).
Best for
- Temporary setups
- Rentals where drilling is a no-go
- Rooms with open layouts and lots of foot traffic
Safety note
Don’t trap cords under heavy furniture in a way that pinches them, and don’t “seal” cords where heat can’t dissipate. Keep runs tidy, protected, and easy to inspect.
7) Reduce the Number of Wires (Wireless HDMI, Streaming at the Projector, or a Nearby Source)
The easiest wire to hide is the one you don’t have. Depending on your setup, you may be able to reduce wiring dramatically by moving the source closer to the projector, using a streaming stick at the projector, or trying wireless HDMI.
Options that actually work
- Streaming at the projector: Put a streaming device at the projector so you don’t need a long HDMI run from an AV cabinet. (You’ll still need powerand maybe a short HDMI jumper.)
- Wireless HDMI: Useful when you can’t run cable cleanly. Quality varies; expect tradeoffs like potential latency or interference.
- Relocate the source: A small shelf near the projector can turn a long cable run into a short one.
Best for
- People who rearrange their room often
- Spaces where running in-wall or surface covers would look awkward
- Minimalists who want fewer moving parts (and fewer tangles)
Pro tip
If you game, be cautious with wireless video solutionslatency matters more than you think. For movies and TV, it can be a great convenience win.
Quick Decision Guide: Which Wire-Hiding Method Should You Pick?
- Fastest and cleanest DIY: Paintable cord cover raceway
- Most “built-in” look without drywall work: Baseboard/crown molding routing
- Best for rentals: Furniture + clips + sleeves + cable box
- Most professional finish: Ceiling outlet near mount + in-wall cable kit for signal cables
- Safest for foot traffic: Low-profile floor cord covers
- Least wiring overall: Put your streaming/source near the projector or go wireless HDMI
Conclusion: A Cleaner Setup You’ll Actually Enjoy Using
Hiding projector wires isn’t just about aesthetics (though yes, it’s deeply satisfying to see a clean wall). It’s also about making your setup safer, easier to maintain, and less likely to get yanked loose the moment someone walks by with a bowl of popcorn. Start with the simplest method that fits your spaceraceways and trim routes solve most problems quickly. If you’re building a more permanent home theater, consider in-wall cable management and a ceiling outlet for that “pro install” finish. Your projector deserves better than the dreaded Cable Waterfall.
Experience-Based Notes: What People Commonly Learn After Hiding Projector Wires (500+ Words)
Once you start hiding projector wires, you discover something funny: the “hard part” usually isn’t the hidingit’s deciding what you want your room to feel like afterward. Many people begin with a simple goal (“I just don’t want to see the HDMI cable”), then realize the real win is creating a setup that’s easy to live with: quick to turn on, easy to troubleshoot, and not held together by hope and a twist tie from 2017.
One of the most common experiences is underestimating cable bulk. HDMI connectors, power bricks, and chunky adapters take up more space than you’d expect, especially when you’re trying to tuck them into a slim raceway. People often find that a slightly wider channel looks cleaner than an overstuffed narrow one, because the cover stays closed and the run stays straight. The lesson: choose capacity first, invisibility secondbecause a popped-open cover is basically a tiny billboard that says, “I tried.”
Another frequent “aha” moment: cable length matters more than brand hype. Many setups look messy not because the wires are unavoidable, but because the wires are too long. Excess cable tends to coil into a spaghetti pile behind the media console, then somehow escapes to the front like a toddler who learned to open gates. People who switch to properly sized cablesor at least manage slack inside a cable boxusually report the biggest visual improvement per minute of effort. It’s not glamorous, but neither is tripping over an HDMI loop like you’re auditioning for a slapstick film.
In rooms with ceiling-mounted projectors, the most satisfying upgrade tends to be solving power. When power is handled cleanlyoften by placing an outlet near the mount the whole installation suddenly looks intentional. Viewers stop noticing the “technology part” and start noticing the “movie part.” People also learn quickly that certain shortcuts create long-term annoyance: for example, treating an extension cord like it’s a permanent in-wall solution. Even when it “works,” it can create safety concerns and makes the setup feel temporary, like it’s always one tug away from chaos.
Folks who try in-wall cable routing often discover the value of future-proofing. HDMI standards change, devices upgrade, and the cable you routed perfectly today can become the cable you desperately want to replace tomorrow. That’s why many home theater enthusiasts prefer conduit: it turns “replace a cable” from a drywall project into a simple pull-and-swap task. The experience here is less about perfection and more about reducing future pain. If you’ve ever tried to re-run a cable through a tight path while standing on a ladder, you already understand why convenience becomes a lifestyle.
Finally, there’s a shared experience almost everyone has: once the wires are hidden, you notice everything else. The projector looks nicer, sure but so does the whole room. The wall looks cleaner, the console area feels calmer, and the setup becomes something you’re happy to leave “out” even when guests come over. That’s the real payoff. Not just hidden wires, but a space that feels finishedlike your home theater belongs there, not like it crashed on the couch and never left.