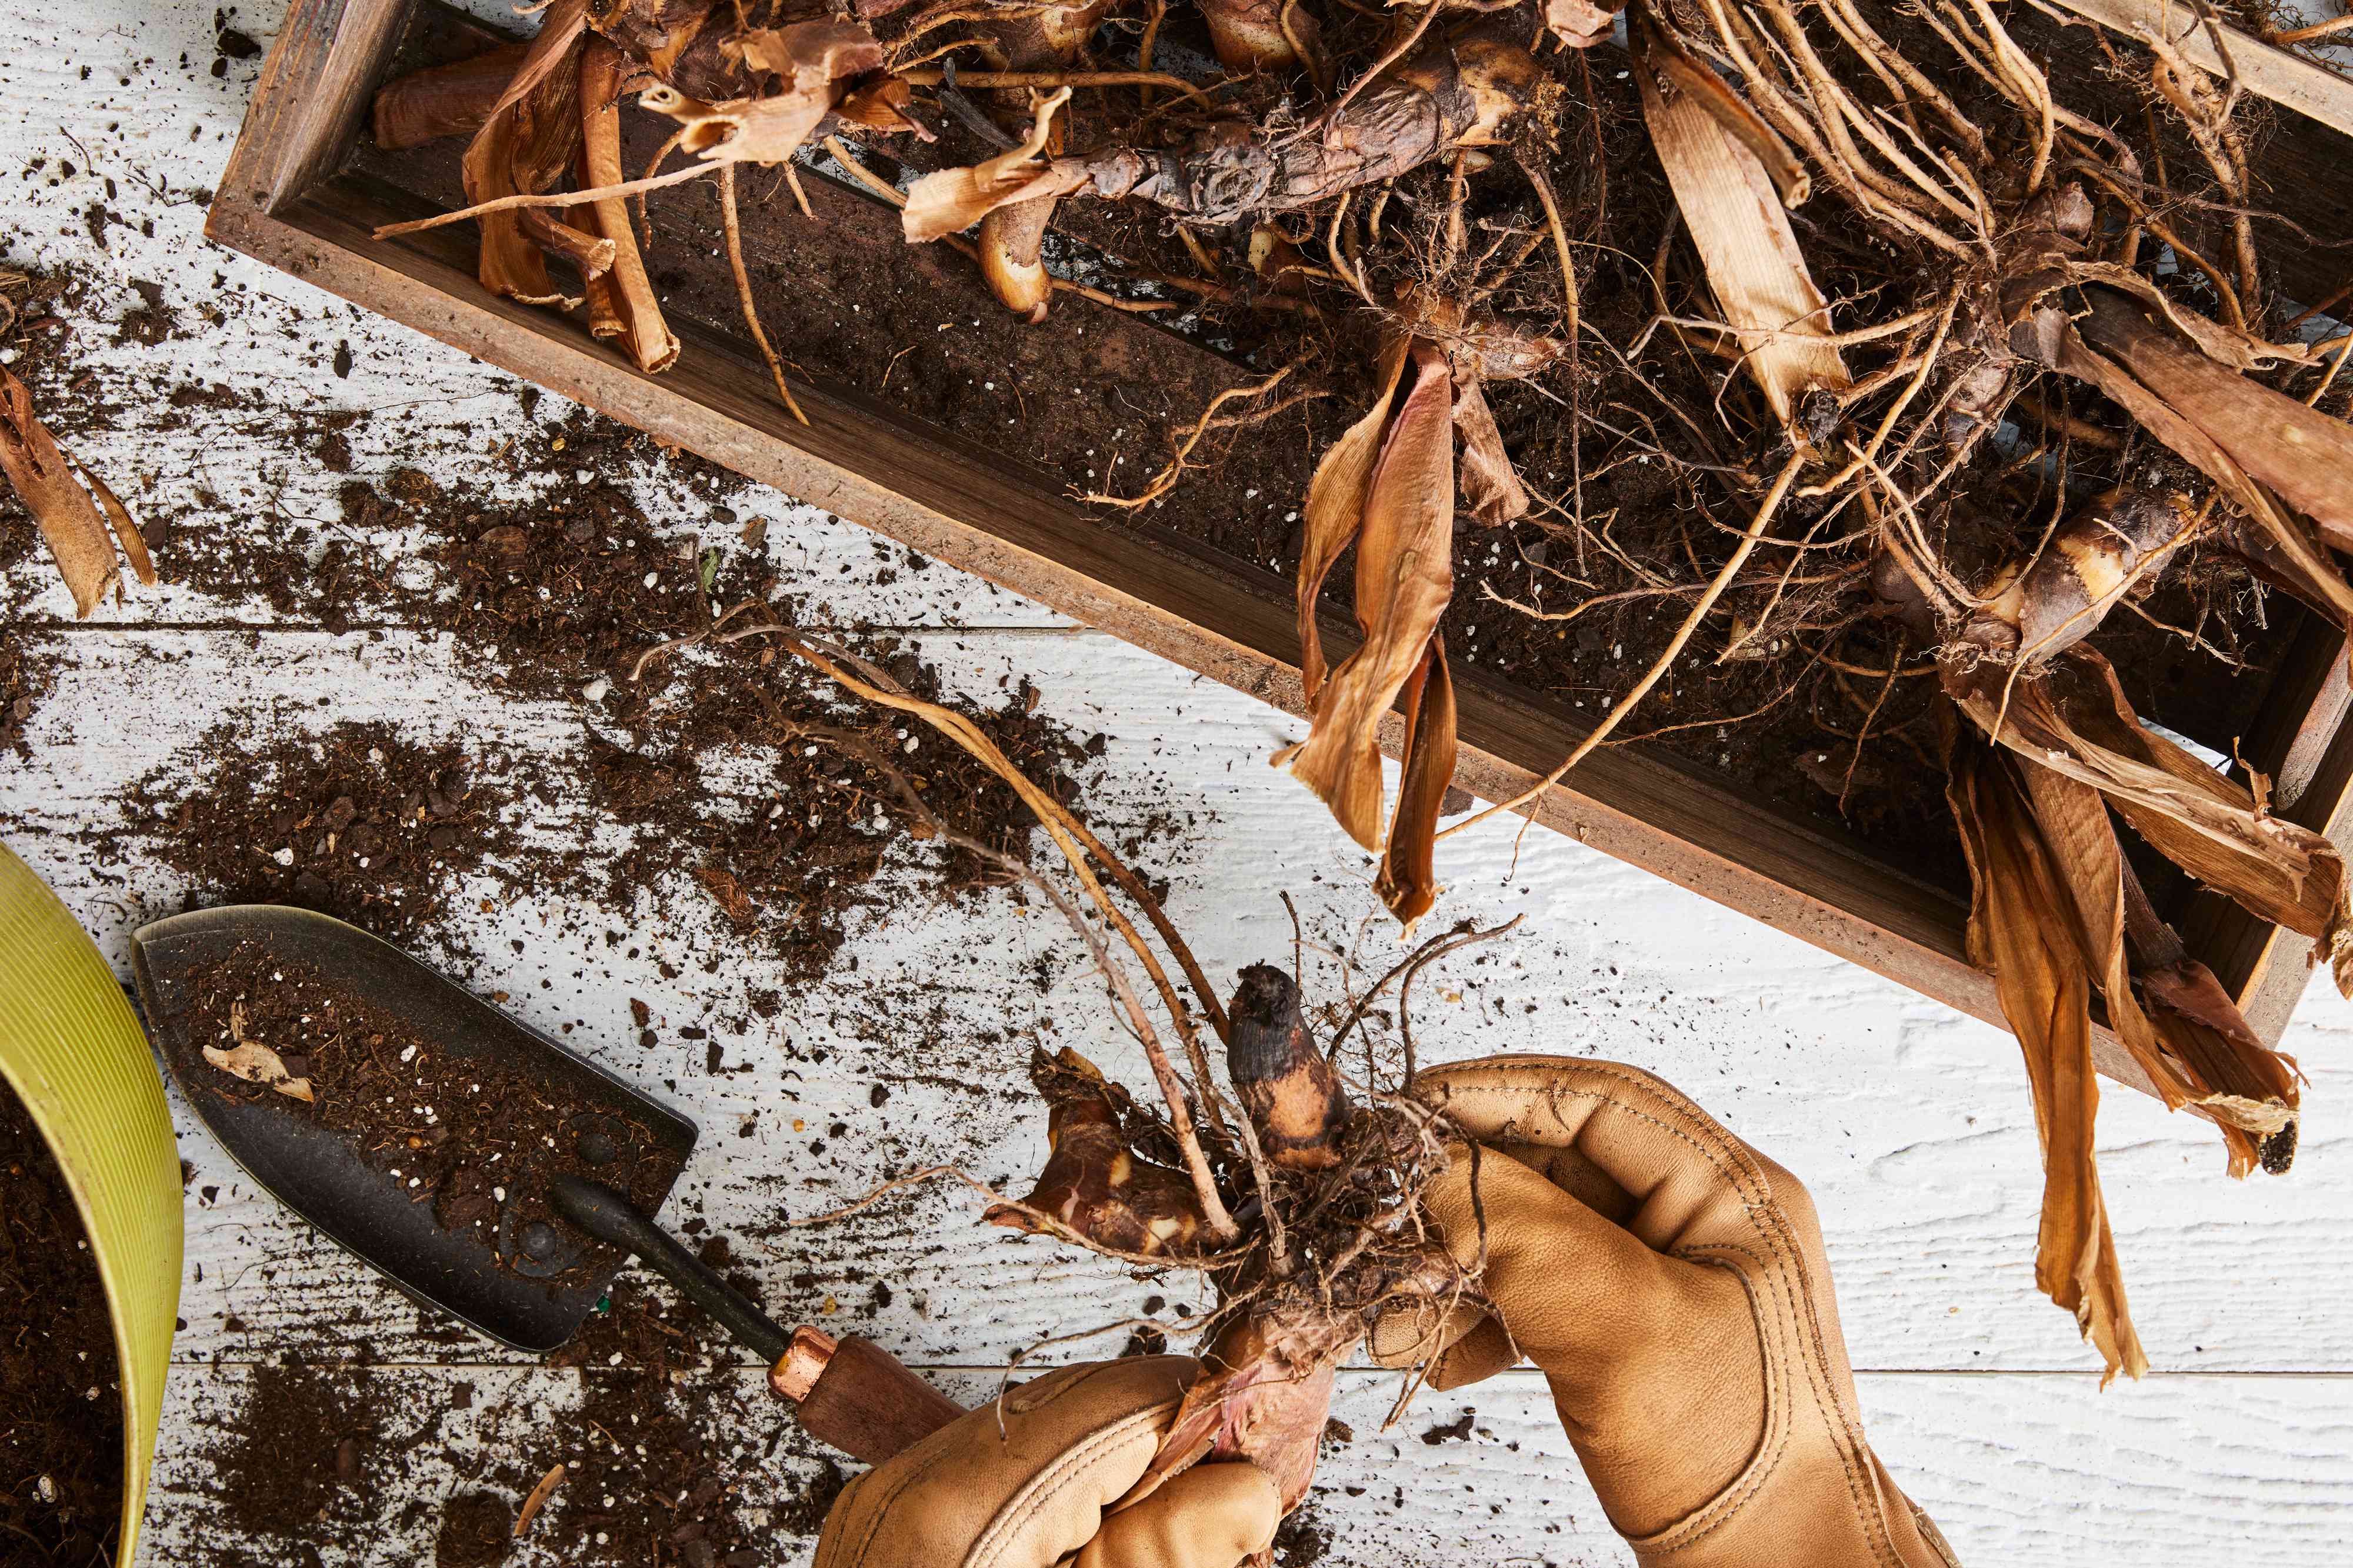
If summer flowers had a group chat, tender bulbs would absolutely be the ones who vanish for months and then pop back in like, “Heyyyy… did you miss me?” Dahlias, gladiolus, cannas, caladiums, callas, elephant ears, tuberous begoniasthese warm-weather stars can’t handle a real winter in much of the U.S., so they need a cozy indoor “nap” to return with the kind of blooms that make your neighbors suspicious you hired a secret garden consultant.
The good news: storing bulbs (and bulb-like thingsmore on that in a second) isn’t hard. The bad news: it’s easy to do almost right and still end up with a box of shriveled “sad potatoes.” This guide breaks down what to lift, when to lift it, how to cure it, and how to store it so it wakes up in spring ready to perform.
First: “Bulbs” Aren’t Always Bulbs (and That’s Okay)
Gardeners call a lot of things “bulbs,” but summer-blooming favorites often belong to different storage clubs:
- True bulbs (layers like an onion): some callas, some ornamentals
- Corms (solid inside): gladiolus
- Tubers (starchy storage organs): dahlias, tuberous begonias
- Rhizomes (horizontal stems): cannas
- Tubers/corm-like: elephant ears (varies by species)
Why it matters: different “bulbs” prefer different storage temperatures and moisture levels. The overall workflow stays the same, but the details (especially temperature) can make or break spring success.
Do You Need to Dig Them Up at All?
Not every bulb belongs in a box in your basement. Use this quick rule:
- Hardy spring bulbs (tulips, daffodils, crocus): usually stay in the ground and actually need winter chill to bloom.
- Tender summer bloomers (dahlias, gladiolus, cannas, caladiums, many callas, tuberous begonias, elephant ears): often need lifting and indoor storage in cold-winter regions.
Zone reality check: If your soil freezes solid where you live, plan to lift tender types unless you’re in a reliably warm zone and your plant is known to overwinter in-ground there. When in doubt, lifting one “test plant” your first year is a smart compromiseless work than lifting everything, less heartbreak than losing everything.
When to Lift: Timing Is the Difference Between “Dormant” and “Doomed”
For most tender bulbs, you’re waiting for the plant to slow down naturallybut not so long that you risk a hard freeze. Here’s the sweet spot:
- After a light frost blackens the foliage (common for dahlias and cannas), you can dig soon after.
- Before a killing freeze in areas where the ground freezes quicklydon’t gamble if winter comes in like it has a grudge.
- For gladiolus, many gardeners lift after foliage yellows and before hard freezes, then cure thoroughly.
- For tropicals like caladiums, lift when temperatures trend below their comfort zone (often before frost), since cold + wet is the fast lane to rot.
The Core Process: Dig, Dry (Cure), Pack, Store, Check
Step 1: Dig Like You’re Handling a Priceless Artifact
Use a garden fork or spade and give yourself a wide “safe circle.” Many tubers and rhizomes sit farther out than you think. Lift from the outside, gently pry up the clump, and shake off loose soil. If something snaps, don’t panicsome plants bounce back from minor breaksbut your goal is intact, unbruised storage organs.
Step 2: Cut Back the Tops (But Don’t Get Overzealous)
Trim stems/leaves down to a short stub. For some plants, leaving a little stem helps you handle the tubers without poking the crown. Compost the healthy tops; discard any foliage that’s diseased.
Step 3: Cure (Dry) to Toughen Skins and Reduce Rot
Curing is basically “air-drying with a purpose.” Spread your bulbs/tubers in a warm, dry, well-ventilated spot out of direct sun. This allows the outer skin to dry and minor surface wounds to callus over. Depending on the plant, curing may take about 1–3 weeks.
Pro tip: If you wash off soil (some people do for dahlias), make sure they dry completely afterward. Moisture trapped in crevices is the tiny villain behind many winter rot stories.
Step 4: Inspect and Sort
Before packing, do a quick “bouncer at the door” check:
- Keep: firm, plump, unblemished bulbs/tubers/corms.
- Discard: soft spots, obvious mold, bad smell, or extensive damage.
- Trim cautiously: small rotten areas can sometimes be cut away on thick rhizomes/tubers; let the cut surface dry before storage.
Step 5: Pack to Prevent Both Shriveling and Rot
The goal is a Goldilocks environment: not wet, not bone-dry, and with good airflow. Common packing materials include dry peat moss, vermiculite, wood shavings, sand, sawdust, or coconut coir. Pick something clean and dry.
Use a breathable container when possiblecardboard boxes, crates, paper bags, mesh bags, or ventilated bins. Lay bulbs in a single layer or separated by packing material so they aren’t touching. If one goes bad, you don’t want it hosting a rot family reunion.
Step 6: Store Cool, Dark, and Stable
Most tender bulbs store best in a cool spot that doesn’t freezethink unfinished basement corner, root cellar, or a consistently cool closet/garage area. Aim for steady temperatures and moderate humidity. Too warm encourages sprouting and disease; too cold can freeze tissues; too dry shrivels; too damp rots.
Temperature & Storage Cheat Sheet (Because Guessing Is Stressing)
Use these as practical targets, then adjust based on what you see during monthly check-ins:
Dahlias (tubers)
- When to lift: after frost kills tops; allow a short “curing” period, then dig.
- Cure: dry briefly after cleaning.
- Store: about 40–50°F in dry packing material (vermiculite/peat/wood shavings work well).
- Watch for: shriveling (too dry) or mold (too damp). Adjust packing dryness accordingly.
Gladiolus (corms)
- When to lift: after foliage yellows; before hard freezes.
- Cure: about 2–3 weeks in a warm, dry, ventilated space.
- Store:</strong 35–45°F in mesh bags or breathable containers.
- Extra detail: after curing, remove the old “mother” corm under the new one and save cormels if you want to propagate.
Cannas (rhizomes)
- When to lift: after frost darkens foliage; before ground freezes.
- Cure: dry briefly so surfaces aren’t wet.
- Store:</strong generally 40–60°F, dark, with slightly more tolerance for humidity than some othersstill not wet.
- Common win: some gardeners “repot” rhizomes into fresh dry media and store the whole pot in a cool place to prevent excessive drying.
Tuberous begonias (tubers)
- When to lift: within days of a killing frost.
- Cure:</strong about 2–3 weeks in a cool, dry spot.
- Store:</strong 40–50°F in peat/vermiculite/sawdust, kept dark.
Caladiums (tubers)
- When to lift: before frost; when temperatures fall consistently toward their lower comfort range.
- Cure: dry about a week until foliage yellows and can be trimmed.
- Store:</strong 60°F+ (warmer than most), in a well-ventilated area.
- Big caution: storing too cool invites rotcaladiums want “Florida closet,” not “Michigan basement.”
Elephant ears (tubers/corm-like, varies by type)
- When to lift: after first frost in many regions, before hard freezes.
- Cure: 1–2 weeks warm and dry.
- Store:</strong some do best surprisingly warmoften around 70°F for certain typespacked in dry peat or shavings.
Note: If your storage space can’t hit every “perfect” temperature, prioritize stability and the needs of your most temperature-sensitive bulbs (often caladiums and some elephant ears). You can create microclimates: a spare closet for warm-storage bulbs, and a cool basement corner for dahlias and gladiolus.
Where to Store: Picking a Spot Your Bulbs Will Actually Like
Bulbs don’t need luxury. They need consistency.
- Good choices: root cellar, cool basement corner, spare fridge (not used for fruit), insulated garage that never freezes.
- Risky choices: attics (temperature swings), garages that freeze, laundry rooms (warm/dry air), places with moisture issues.
Keep bulbs away from ripening fruit (especially apples) if you’re chilling or storing nearbyethylene gas can interfere with bulb performance. If you’re using a refrigerator for pre-chilling or storage, dedicate a drawer or a separate unit if possible.
Label Like a Future You Who’s Tired and Busy
Spring is chaotic. Nobody wants to play “mystery tuber roulette.” Label varieties with durable tags, and include color/height notes if you’re prone to garden amnesia (which is most of us). If you divided clumps, label each portion.
Monthly Check-Ins: The 5-Minute Habit That Saves a Season
Once a month, open containers and do a quick scan:
- If you see rot: remove the affected bulb immediately; check neighbors.
- If bulbs are shriveling: your environment is too dryadd a slightly less-dry packing medium or move to a spot with a bit more humidity.
- If you see mold: too damp or poor airflowremove moldy pieces, increase ventilation, and use drier packing material.
- If bulbs sprout early: storage is too warm or brightmove cooler/darker.
Spring Wake-Up: Getting from “Dormant” to “Bloom Machine”
When the danger of frost is passing and soil temps are warming:
- Inspect again: firm is good, mushy is gone.
- Divide if needed: dahlias often do best when divided so each piece has a viable “eye” at the crown.
- Pre-sprout selectively: you can pot up dahlias or begonias indoors a few weeks early if your season is shortbright light, gentle watering, and patience.
- Don’t rush tropicals: caladiums especially hate cold soil; planting too early can stunt or rot them.
Common Mistakes (a.k.a. How Bulbs Quiet-Quit Your Garden)
Mistake 1: Storing Wet
If it goes into storage damp, it’s basically a rot subscription. Cure thoroughly and use dry packing material.
Mistake 2: Storing Too Warm
Warmth encourages early sprouting and disease. Dahlias and gladiolus want cool storage; save the warm nook for caladiums and some elephant ears.
Mistake 3: Sealing Everything Airtight
Airflow matters. A tightly sealed plastic bin can trap moisture and turn one bad tuber into a science project. If you use bins, add ventilation and keep packing material dry.
Mistake 4: Forgetting to Check
Bulb storage isn’t “set it and forget it.” It’s “set it and set a monthly reminder so future-you gets flowers instead of regret.”
Quick FAQ
Can I store bulbs in the same box?
You can, but separate by type and temperature preference. Cool-storage bulbs (dahlias, gladiolus, tuberous begonias) don’t love sharing space with warm-storage bulbs (caladiums, some elephant ears).
What packing material is best?
Dry, clean, and lightweight wins: vermiculite, peat, wood shavings, coir, sawdust. The “best” is what stays dry and lets you separate bulbs so they don’t touch.
Is a refrigerator a good storage spot?
It can be, especially for cool-storage bulbsjust keep bulbs away from fruit to avoid ethylene exposure, and make sure the fridge isn’t too humid.
Conclusion: A Little Winter Prep = A Loud Summer Payoff
Storing bulbs for winter is less about fancy gear and more about three boring superpowers: timing, drying, and temperature control. Lift tender bulbs before freezing weather wrecks them, cure them until they’re truly dry, pack them so they won’t touch (and won’t suffocate), and store them at the right temperature for their type. Then do quick monthly check-ins to catch rot or shrivel early. Do that, and next summer your garden won’t just bloomit’ll show off.
Experience Add-On: Real-World Lessons That Make Bulb Storage Way Easier (About )
Here’s the funny thing about bulb storage: the instructions are simple, but the “feel” takes a season or two. Most gardeners don’t struggle because they’re carelessthey struggle because bulbs don’t send dramatic warning texts. They just quietly change from “fine” to “why is this a raisin?” while you’re busy living your life.
One of the most common “aha” moments is realizing that your storage space is the real main character. People start with the perfect planpeat moss, labeled boxes, a tidy shelfthen discover their basement runs warmer than seeps. That’s when dahlias sprout in January like they’re auditioning for a spring show. The fix usually isn’t buying special equipment; it’s moving the box two feet to a cooler corner, away from the furnace, or switching to a more breathable container. Sometimes it’s as simple as placing cool-storage bulbs on the concrete floor (protected from moisture) where temperatures stay more stable than on a high shelf.
Another frequent lesson: packing material is not a one-size-fits-all blanket. Some gardeners pack everything deeply in peat “for safety,” then open the box in February to find moldbecause the bulbs were cured, but the container trapped humidity. Others go the opposite direction: they store bare tubers in paper bags, and everything shrivels by March. The sweet spot often comes from testing and adjusting: a light layer of vermiculite for tubers that tend to shrivel, a slightly drier medium for bulbs that tend to rot, and always leaving room for airflow. It’s not failure if you tweakit’s calibration.
Gardeners also learn to appreciate the power of the monthly check-in. It feels unnecessary at first (“They’re sleeping, right?”). But the first time you catch one rotting tuber and remove it before it infects a whole box, the habit becomes non-negotiable. It’s five minutes, maybe ten if you’re chatting with yourself about how you’ll “definitely label better next year.” And yes, you should label better next year.
There’s also a surprisingly emotional lesson: save extras of finicky varieties. Some dahlia cultivars store like champions; others are drama-prone. If you grow a variety you’d be truly sad to lose, store a couple extra tubers or take a cutting/backup plant if you do that sort of thing. Not because you’re pessimisticbecause you’re smart and you like flowers.
Finally, many gardeners find the “win” is building a tiny system: one warm spot for caladiums and warm-loving elephant ears, one cool spot for dahlias and gladiolus, and one labeled bin for “check monthly.” Once you have that rhythm, winter bulb storage stops feeling like a chore and starts feeling like a quiet little promise to your future summer self.