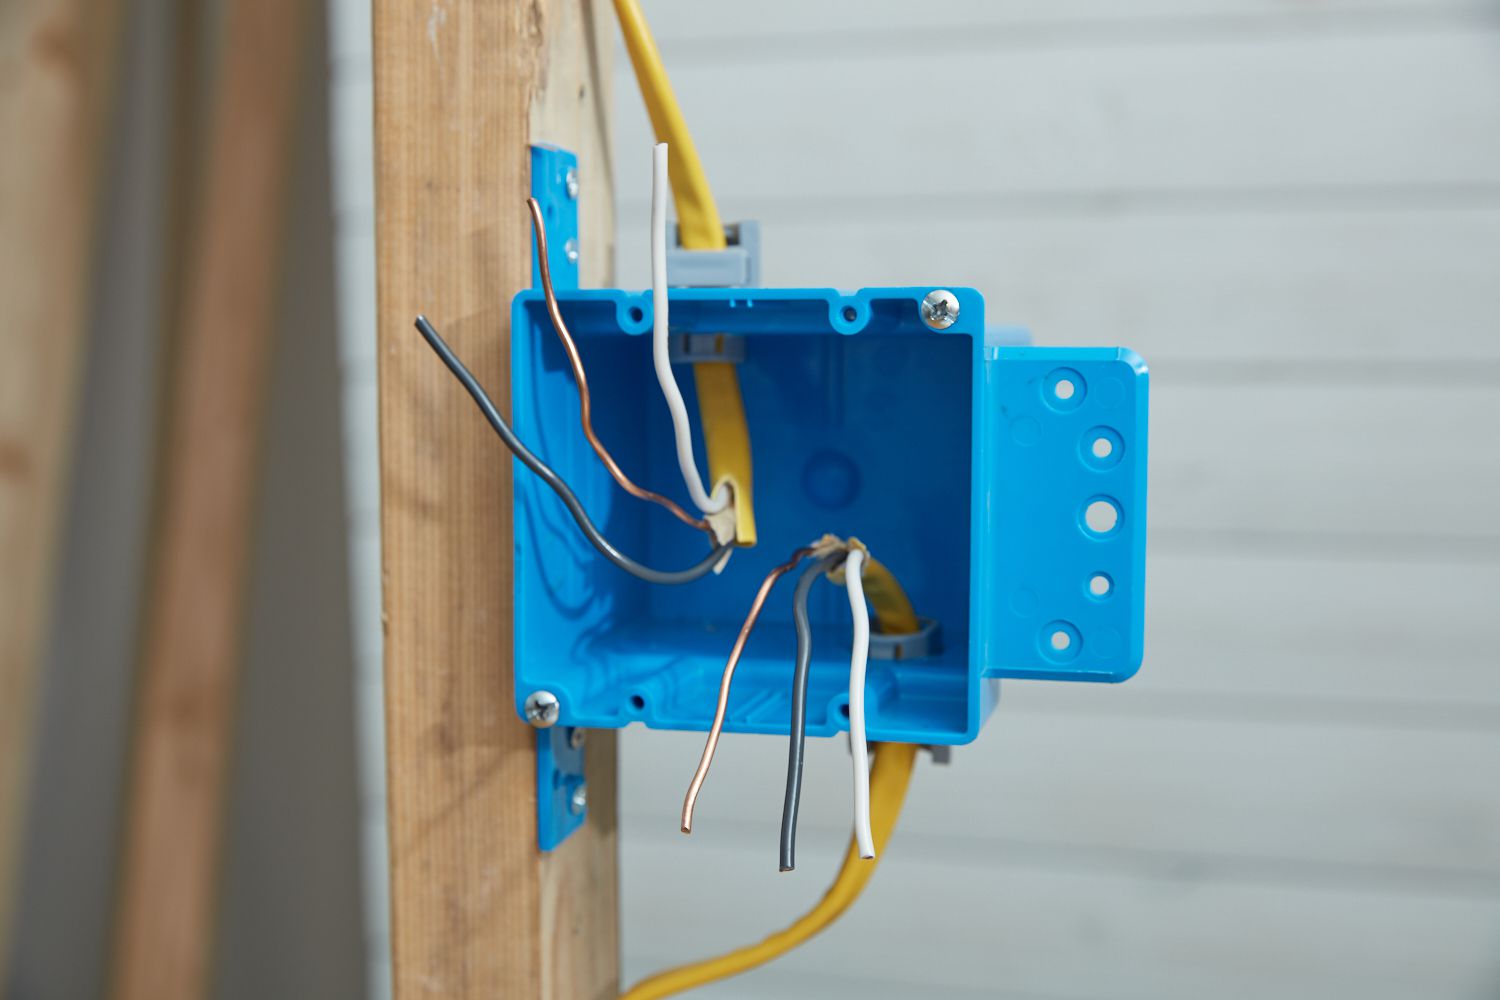
Splicing electrical circuit wires is one of those jobs that looks suspiciously easy from ten feet away. Twist a few wires together, cap them off, stuff them back in the box, and boom—done, right? Not exactly. A good splice is neat, mechanically secure, electrically solid, properly insulated, and protected inside the right enclosure. A bad splice, on the other hand, is how you end up with flickering lights, mystery outages, overheated wires, and a very unwelcome conversation with an electrician.
The good news is that wire splicing is absolutely learnable when the project is simple, the circuit is properly identified, and the work stays within the limits of safe residential DIY. The trick is to respect the boring details. In electrical work, the boring details are the exciting part. They are also the part that keeps your house from smelling like toasted plastic.
This guide explains how to splice electrical circuit wires the right way, when a splice is appropriate, what tools you need, how to choose the right connector, which mistakes to avoid, and when to stop being brave and call a licensed electrician. If you want a clear, practical explanation without the usual intimidation routine, you are in the right place.
What Wire Splicing Actually Means
A wire splice is simply a connection between two or more conductors that allows electricity to continue along a circuit. In homes, splices are commonly used when extending a circuit, adding a receptacle or light, repairing a damaged section of cable, creating pigtails inside a box, or tying multiple conductors to a device.
But not every “join these wires somehow” situation counts as a proper splice. House wiring splices should be made with approved methods and connectors, enclosed where required, and matched to the conductor type and size. That means you do not get extra points for creativity. Electrical work rewards following instructions, not improvising like a garage-band drummer.
When You Can Splice Wires—and When You Should Back Away Slowly
Before you touch a wire stripper, decide whether this is a reasonable DIY job. A straightforward splice in an accessible junction box on a standard residential branch circuit may be manageable for a careful homeowner. A mystery splice in an old house with mixed wiring types is a different story.
Reasonable DIY situations
- Extending a standard copper branch-circuit wire in an accessible junction box
- Making pigtails for a switch or receptacle
- Repairing a short damaged section when the repair can be made in a proper box
- Connecting fixture wires according to the fixture manufacturer’s instructions
Situations that usually call for an electrician
- Aluminum branch-circuit wiring
- Service-panel work
- Knob-and-tube wiring
- Wet-location or underground repairs without a listed splice kit
- Overfilled boxes, overheated conductors, or any signs of arcing
- Unidentified wires, nonstandard colors, or circuits that do not behave logically
If you uncover brittle insulation, scorched copper, melted wirenuts, or a tangle that looks like three decades of “good enough,” stop. That is not a beginner splice. That is a detective novel.
Basic Safety Rules Before You Splice Anything
Electrical safety starts long before the wires touch. The most important habit is shutting off the correct breaker and then verifying that the circuit is actually dead with a voltage tester. Flipping a breaker is good. Proving the circuit is de-energized is better. Assuming it is off because the kitchen went dark is how people earn new respect for electricity.
Work with dry hands, on a dry floor, with good lighting. Use insulated tools when possible. Keep kids, pets, and curious spectators away from the area. If you are working in an older box, take a moment to photograph the existing connections before disassembly. That photo may save you from a “why do I have one extra wire left over?” moment later.
Also remember this: flexible cords and extension cords are not a substitute for permanent house wiring. If the job is really “I need power here permanently,” the answer is usually a proper wiring method and a proper box, not a creative cord rescue mission.
Tools and Materials You Will Want Nearby
A clean splice job usually requires only a small set of tools, but each one matters.
- Non-contact voltage tester or approved test equipment
- Wire strippers sized for the conductors you are using
- Lineman’s pliers or combination pliers
- Needle-nose pliers
- Screwdrivers
- Approved wire connectors or splicing connectors
- Electrical box or junction box, if one is required
- Cable clamps or connectors for the box
- Electrical tape, where permitted and useful, but not as a substitute for a connector
- Extra wire for pigtails if needed
The exact connector matters. Some are made for solid copper conductors, some for stranded wire, some for inline splices, some for underground use, and some for combinations of conductor types and sizes. The package instructions are not decoration. Read them.
How to Splice Electrical Circuit Wires Step by Step
1. Turn off the power and test
Shut off the breaker that feeds the circuit. Then verify that the conductors you will be handling are de-energized. Test before touching the wires, and if you are using a meter or tester with leads, confirm the tool is functioning properly as directed by the manufacturer.
2. Open the box or install one where required
If the splice will be in existing wiring, remove the cover plate or box cover carefully. If no proper enclosure exists, this is the moment to fix that. Splices should not float loose in a wall or ceiling cavity like little electrical secrets. They belong in an approved, accessible box with a cover.
3. Check the cable condition and identify conductors
Inspect the insulation. If it is brittle, nicked, melted, or cracked back too far, trim and re-strip as needed. Identify the conductors before disconnecting anything. On many standard 120-volt residential circuits, black or red conductors are hot, white is neutral, and bare or green is equipment ground. But colors are clues, not guarantees. Switch loops, travelers, and older work can get weird fast.
4. Make sure the box has enough room
Do not overstuff the box. Crowded boxes make clean splicing harder and can stress insulation and devices. If the box is too small for the number of conductors, connectors, and devices involved, upgrade to a larger box before continuing. Stuffing wires into a too-small box is the electrical version of forcing a suitcase shut and pretending the zipper is fine.
5. Strip the right amount of insulation
Use the strip gauge on the connector packaging or on the device when available. Too little stripped wire can lead to a weak connection. Too much stripped wire leaves exposed conductor where it does not belong. A nice splice looks almost boring: just enough exposed metal to make the connection, not enough to create drama.
6. Match wire type, size, and connector
Before joining conductors, confirm that the connector you are using is rated for the number, gauge, and type of wires in the splice. Do not casually combine copper and aluminum conductors unless the connector is specifically identified for that use. Do not assume every push-in connector, lever connector, or wirenut handles every scenario. Some do; many do not.
7. Join ground wires first
Ground conductors usually get connected before the current-carrying conductors. If you are working with a metal box, you may need a grounding pigtail from the splice to the box’s grounding screw. That extra little wire is not optional flair. It is part of keeping fault current on a safe path instead of letting the box become a surprise lesson.
8. Splice hot-to-hot and neutral-to-neutral
Join like conductors together using the approved connector. If using a twist-on connector, align the stripped ends as directed by the connector manufacturer, twist or install according to instructions, and perform a gentle tug test afterward. If using a lever-style connector, strip to the specified length, insert fully, close the lever, and verify each conductor is seated correctly through the inspection area if the connector allows it.
When making a pigtail connection for a receptacle or switch, the splice may include the feed conductor, the onward conductor, and a short pigtail that lands on the device terminal. That way, if the device fails or is removed later, the rest of the circuit can remain continuous once safely reconnected.
9. Neatly fold the wires into the box
Once the splices are complete, fold the wires back into the box carefully. Avoid sharp kinks, avoid crushing connectors, and keep grounds arranged neatly. A tidy box is not just prettier. It is easier to troubleshoot later, less likely to stress the conductors, and much more convincing when someone else opens it someday.
10. Install the cover and restore power
Put the device, blank plate, or junction-box cover back on. Do not leave an open box. Restore power at the breaker and test the circuit operation. If something does not work correctly, shut the breaker off again before reopening the box. Never troubleshoot by poking live conductors because “it will only take a second.” That sentence has a terrible safety record.
Choosing the Right Splice Connector
The phrase “wire connector” covers a lot of territory. Here are the big categories homeowners run into most often.
Twist-on wire connectors
These are the classic wirenuts. They are common, reliable when used correctly, and available in different sizes for different conductor combinations. The key is using the correct size and following the manufacturer’s stripping and installation instructions.
Lever connectors
These have become increasingly popular because they are easy to inspect, reusable in many cases, and often convenient in tight boxes. They can be excellent for the right conductor types and sizes, especially when you want precise strip length and clear visual confirmation.
Push-in splicing connectors
These are fast and compact, but they are not universal. Some are designed for specific conductor materials or solid conductors only. Always check compatibility rather than assuming “small plastic connector equals close enough.”
Butt splices and crimp connectors
These are common in fixtures, low-voltage work, automotive applications, and some special electrical repairs. For household branch-circuit work, use them only where they are appropriate and listed for the application.
Underground or wet-location splice kits
If the splice is outdoors, underground, or in a wet location, standard indoor connectors are not enough. You need a listed kit or connector specifically intended for those conditions. Water has a talent for finding the weak point in every “should be fine” repair.
Common Splicing Mistakes That Cause Problems Later
- Hiding a splice behind drywall: If it cannot be accessed, it should not be there.
- Using the wrong connector: Not every connector fits every wire type or gauge.
- Mixing copper and aluminum carelessly: This is a known hazard and not a casual DIY experiment.
- Leaving too much bare conductor exposed: Exposed copper invites shorts and contact hazards.
- Skipping the box cover: A junction box without a cover is not “basically finished.” It is unfinished.
- Overcrowding the box: Tight boxes can damage insulation and make safe terminations harder.
- Using damaged wire: If the conductor is scorched or nicked badly, trim back to sound material.
- Using extension cords as permanent wiring: Temporary is not the same as forever.
Examples of Safe, Practical Splice Jobs
Example 1: Extending a short wire in a switch box. A homeowner removes an old switch and finds the conductors are too short to comfortably land on the new device. The fix is often to add properly sized pigtails with approved connectors inside the box, assuming the box fill remains compliant.
Example 2: Repairing a damaged cable section in an accessible area. If cable insulation is damaged in a basement or utility area, the repair may involve cutting back to sound cable, installing approved boxes, and making the splice inside those enclosures rather than wrapping the damaged section with tape and hoping for the best.
Example 3: Adding a light fixture. Fixture wires are commonly spliced to branch-circuit conductors in the outlet box using the connector type specified or accepted by the fixture instructions. This is routine, but it still requires proper grounding, proper box support, and correct conductor matching.
What Experience Teaches About Splicing Electrical Circuit Wires
Anyone who has spent time around home wiring learns the same lesson sooner or later: a splice is rarely the problem by itself. The real problem is usually everything surrounding it. The breaker was not labeled. The box was too small. The wires were cut too short. The connector was “something left over in the garage.” The previous person believed electrical tape had magical properties. It does not.
One of the most common real-world experiences with wire splicing is discovering that older homes love surprises. You open a box expecting one cable in and one cable out, and instead you find three generations of wiring ideas sharing the same space. There might be solid copper, stranded fixture wire, a mystery white wire used as a hot conductor, and one wirenut that looks like it has seen things. That is the moment when experience matters most, because experienced people know that confusion is a warning sign, not an invitation to guess.
Another lesson from hands-on work is that neatness is not cosmetic. It is diagnostic. A tidy splice is easier to inspect, easier to test, and easier to revisit years later. Electricians who make clean joints and fold conductors carefully into the box are not doing it for art appreciation. They are doing it because a disciplined layout reduces mistakes. It keeps ground conductors where you expect them, keeps neutral splices distinct, and prevents the kind of wire wrestling match that can loosen a connector or nick insulation.
Experience also teaches patience with stripping and connector selection. Many bad splices begin with rushing. Someone strips too much insulation, nicks the copper, uses the wrong gauge opening on the stripper, or grabs a connector that is almost right. “Almost right” is a dangerous phrase in electrical work. Conductors need the correct strip length, the correct connector range, and the correct insertion depth. A five-second shortcut can become a five-year intermittent fault.
There is also a practical lesson about pigtails: they are tiny heroes. In crowded device boxes, a well-made pigtail often creates a stronger, calmer, more serviceable installation. Instead of landing multiple conductors under a device in an awkward way, you splice the feed-through conductors together and use a short lead to the switch or receptacle. The result is usually cleaner and less stressful on the device terminals. It is not glamorous, but neither is calling an electrician because one loose backwire connection took out half the room.
People with real wiring experience also become deeply suspicious of hidden splices. If a repair requires covering the splice with drywall, paneling, or ceiling material, that is your clue that the repair plan is wrong. Accessible boxes are not just a code formality. They acknowledge a simple truth: electrical connections may need future inspection, testing, or repair. Hiding them turns a serviceable installation into a scavenger hunt.
Finally, experience teaches humility. Plenty of competent DIYers can make safe splices on ordinary copper branch circuits. But experience also says there is no shame in stopping when the job changes shape. Aluminum wiring, overheated neutrals, wet-location conductors, or unexplained voltage readings are not signs that you need more confidence. They are signs that you need more expertise. The smartest move in electrical work is often knowing exactly where your comfort zone ends.
Conclusion
If you want to splice electrical circuit wires safely, think less like a daredevil and more like a careful editor. Cut the power, verify the circuit is dead, use the right box, choose the right connector, match the conductors correctly, and keep everything tidy and accessible. A proper splice should not be exciting. It should be solid, boring, code-conscious, and dependable.
That may not sound glamorous, but dependable is the whole point. Good electrical work disappears into the background and quietly does its job for years. Bad electrical work makes itself known at 10:30 p.m. when half the room goes dark and something smells hot. Choose boring. In wiring, boring is beautiful.