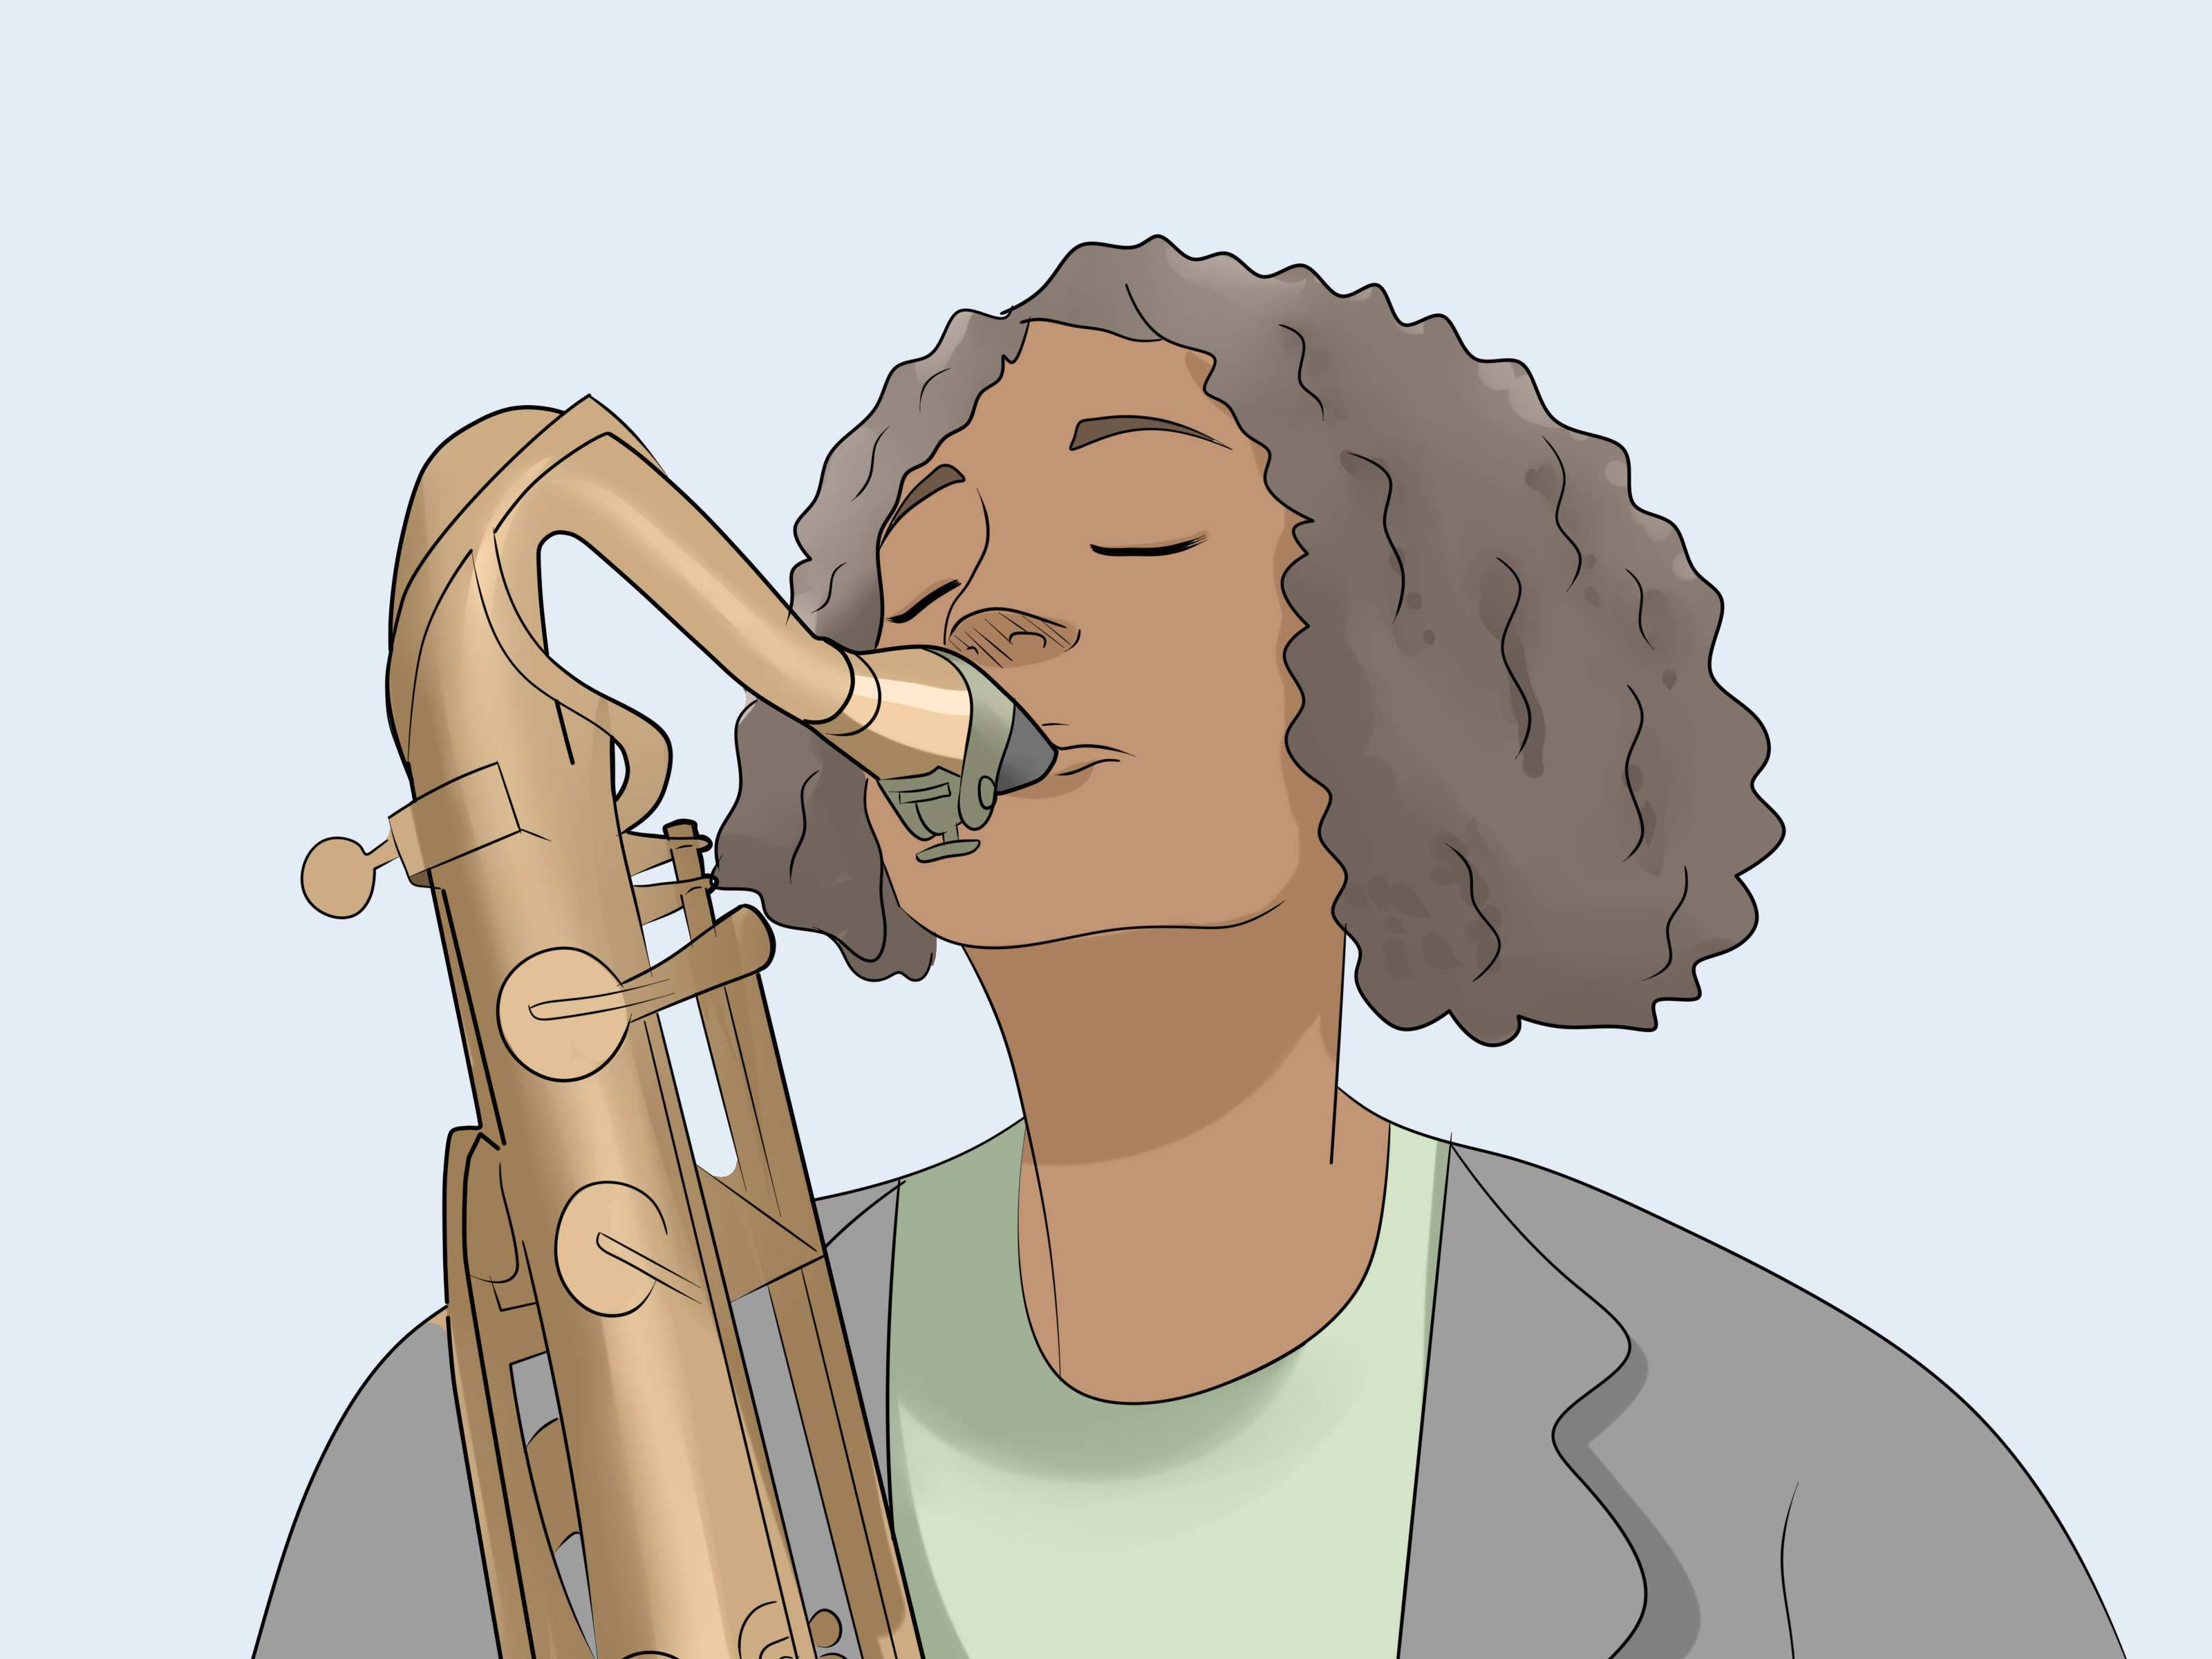
The tenor saxophone is the musical equivalent of showing up to a party in a great jacket: warm, bold, and somehow both
classy and dangerous. It can whisper in a ballad, growl in the blues, and absolutely carry a funk bandonce you learn
to control the basics.
This guide breaks learning tenor sax into eight practical steps. We’ll cover setup, embouchure, airflow, fingerings,
articulation, practice strategy, and maintenanceplus a longer “what it feels like” section at the end so you know what’s
normal (spoiler: squeaks are basically a rite of passage).
Step 1: Get the Right Setup (So You’re Not Fighting Your Gear)
Before you play a single note, set yourself up for successbecause the tenor sax is already busy being a saxophone. You
don’t need extra drama from the wrong reed or missing accessories.
What you need to start
- Tenor saxophone (renting is often a smart first move if you’re brand-new).
- Mouthpiece + ligature + cap (a reliable student mouthpiece is totally fine at first).
- Reeds (buy a small box; reeds vary like potato chipssome are great, some are… learning opportunities).
- Neck strap or harness (tenor is heavier than it looks).
- Cork grease (tiny tube, huge quality-of-life upgrade).
- Tuner/metronome (phone apps work).
- Swab and cleaning cloth (future-you will thank you).
Beginner reed strength: keep it friendly
If you’re just starting, a slightly softer reed is usually easier to blow and helps you get a sound without clenching your
face like you’re opening a stubborn jar. Many beginners start around the “2” range, then adjust based on response and tone.
If it feels like you’re blowing through a milkshake straw, go softer; if it feels like the sax is yelling at you for
breathing, also go softer.
Pro tip that saves pain
Put a small mouthpiece patch on top where your teeth rest. It improves comfort and controland prevents the “why do my front
teeth feel like they just did leg day?” phenomenon.
Step 2: Assemble Your Tenor Sax (Slowly, Carefully, and Without Hero Moves)
Most “mysterious” beginner problems are actually “my reed is crooked” or “my mouthpiece is barely on the cork.”
Good assembly makes everything easier.
Basic assembly checklist
- Neck strap first. Clip it on before you lift the sax. Your neck and your repair tech agree on this.
-
Insert the neck. Loosen the neck screw, gently twist the neck into place, then snug the screw (snug, not
“I’m bench-pressing a screw”). - Grease the cork (lightly). A little goes a long way. The goal is “slides on smoothly,” not “butter sculpture.”
- Slide on the mouthpiece with a gentle twist until it’s secure.
- Moisten the reed (a quick soak in your mouth or clean water). Dry reeds are squeak factories.
-
Align the reed. A common starting point: the reed tip lines up very close to the mouthpiece tipoften nearly
flush. Tiny adjustments matter, but crooked is always bad. -
Place the ligature so it grips the reed on the thicker, smooth section (not squeezing the delicate tip).
Tighten until secureno need to crush it like you’re trying to extract secrets.
Quick self-check (the “light test”)
Hold the mouthpiece/reed up to a light source. You want the reed centered and even. If the reed is visibly off to one side,
fix it now. Your future tone depends on it.
Step 3: Build Your Embouchure and Air Support (Tone Starts Here)
Tenor sax tone is not “luck.” It’s a repeatable recipe: stable embouchure + steady air + relaxed throat. Think of your job
as creating a comfortable seal and letting the reed vibrate freely.
Embouchure basics (single-reed setup)
- Bottom lip: gently cushions the reed (not rolled into a thick blanket, not stretched thin like plastic wrap).
- Top teeth: rest on the mouthpiece (mouthpiece patch helps a lot).
- Corners: firm and forward (imagine saying “ooo,” not “eeee”).
- Jaw: stable, not clamped. Biting = thin tone, sharp pitch, and squeaks with confidence.
Air support: “warm air,” not “panic air”
Take a full, relaxed breath (like you’re fogging a mirrorminus the mirror). Then blow a steady stream of air through the
instrument. If your sound starts and stops like a flickering lightbulb, it’s usually an air consistency issue, not a “bad sax”
issue.
Common beginner mistake
If you’re tightening your face to get a note out, back up: check reed alignment, try a slightly softer reed, and focus on
steady air. Tenor sax should feel like controlled airflow, not like you’re trying to inflate a car tire by sheer willpower.
Step 4: Make Your First Sound (Long Tones = Fast Progress)
Your first goal isn’t a fancy riff. It’s a clean, steady note. Long tones are the saxophone version of brushing your teeth:
not glamorous, wildly effective, and the fastest way to avoid future regret.
Start with an easy note
Many beginners start around middle-range notes because they speak easily. Choose a comfortable note (often “G” with the left
hand main keys) and aim for a steady sound for 4–8 seconds.
Long tone mini-routine (5 minutes)
- Play a note softly for 4 counts.
- Hold steady pitch and tone for 4–8 counts.
- Rest. Then repeat.
- Use a tuner or drone tone if you can (it teaches your ears faster than guessing).
What “good” feels like
You should feel steady air, a stable mouth shape, and a clear vibrationnot a frantic struggle. If the note cracks or squeaks,
pause and troubleshoot: reed alignment, embouchure pressure, and air consistency are the big three.
Step 5: Learn Basic Notes and Fingerings (Your Fingers Need a Map)
Saxophone keys look like a shiny puzzle, but the system is logical: left hand on top, right hand on bottom, plus an octave key
for upper notes. Start simple and build confidence.
Hand position essentials
- Left hand: top stack keys (index, middle, ring).
- Right hand: bottom stack keys (index, middle, ring).
- Thumbs: left thumb works the octave key; right thumb supports the instrument on the thumb rest.
Beginner note path (a practical order)
Start with a small set of notes you can play cleanly, then expand:
- First set: G, A, B (middle range)
- Next: C, D, E
- Then: F, low notes, and octave transitions
Use a fingering charton purpose
Keep a fingering chart nearby and treat it like GPS: it’s not cheating, it’s navigation. Over time, your hands memorize the
shapes, and the chart becomes a backup instead of a crutch.
Reading music (quick reality check)
The tenor sax is a transposing instrument (it reads in a different key than concert pitch). You do not need to master
music theory on day one. You just need consistency: note name → fingering → sound. Theory will make more sense once your hands
and ears have some mileage.
Step 6: Add Tonguing, Dynamics, and Control (So Notes Don’t All Blur Together)
Without articulation, everything sounds like one long musical sentence with no punctuation. Tonguing gives your playing clarity
and styleeven at beginner level.
How tonguing works on sax
- The tip of your tongue lightly touches the reed (near the tip) and releases.
- Think “t” or “d” syllables, but keep it gentle.
- Air stays steady; the tongue just shapes the start of the note.
Try this: “doo-doo-doo” on one note
- Pick an easy note.
- Play 4 short notes at a slow tempo (metronome helps).
- Keep tone consistentno “first note nice, next three terrified.”
Dynamics without chaos
Getting louder should come from faster air, not biting. Getting softer should come from slower,
supported air, not collapsing your embouchure. If your pitch goes wildly sharp when you get loud, you’re probably
clamping down.
Step 7: Practice Like a Musician (Not Like a Copy Machine)
Good practice isn’t “play it 50 times.” Good practice is “fix one thing at a time, on purpose.” The tenor sax rewards
thoughtful repetition, not frantic repetition.
A simple 25–30 minute practice plan
- 5 minutes: breathing + long tones
- 8 minutes: scales or easy note patterns (slow and clean)
- 8 minutes: a short melody or method-book exercise
- 5 minutes: articulation practice (tongued eighth notes, slow tempo)
- 2–4 minutes: “fun time” (improv, play-along, your favorite riffyes, you’ve earned it)
Make tough spots easier (smart repetition tricks)
- Change the rhythm: long-short / short-long patterns help your fingers coordinate.
- Remove complexity: practice notes without articulation first, then add tonguing.
- Go backwards: practice the last measure first so endings feel confident.
- Record yourself: your phone hears things your brain politely ignores.
Example goal (specific and measurable)
Instead of “practice sax,” try: “Hold a steady G for 8 seconds with stable pitch three times in a row,” or “Play a G major
scale at 60 bpm without missed keys.” Small targets create fast winsand fast wins create consistency.
Step 8: Care for Your Saxophone (Because Repairs Are Not a Hobby)
Saxophones collect moisture. Moisture causes problems. The solution is a short cleaning routine that takes less time than
scrolling social media “for five minutes” (which is famously never five minutes).
After every session (the 3–6 minute routine)
- Remove the reed, rinse it briefly if needed, and store it in a reed guard so it dries flat.
- Dry the mouthpiece with a cloth or mouthpiece swab.
- Swab the neck to remove moisture.
- Swab the body (run the swab through the instrument to dry the inside).
- Gently wipe the exterior with a clean cloth (especially if you have sweaty hands).
- Store it in the case with keys not being pressed or squished.
Reed care and replacement (aka “why does this reed suddenly stink?”)
Reeds wear out. Rotate through several reeds instead of using one until it becomes a sad, soggy memory of tone. If your sound
gets fuzzy, response feels harder, or the reed looks chipped/warped, it’s time to move on.
When to visit a repair tech
- Notes that used to play easily suddenly won’t speak.
- Keys feel sticky or pads look damaged.
- You suspect a leak (the sax feels “leaky” and resistant across many notes).
Putting It All Together: A Fast “First Month” Roadmap
If you want a simple progression:
- Week 1: assembly + embouchure + long tones + a few notes (G-A-B)
- Week 2: expand notes + simple songs + steady rhythm with metronome
- Week 3: articulation basics + a full easy scale + cleaner transitions
- Week 4: dynamics + smoother tone + record yourself weekly to track progress
The magic isn’t a secret techniqueit’s consistency. Ten minutes a day beats one heroic two-hour session followed by six days
of “I’ll practice tomorrow.”
Conclusion
Learning tenor sax is a mix of mechanics and personality. You’ll build tone with long tones, clarity with articulation,
confidence with finger patterns, and real musicality by playing actual music early. Follow the eight steps, keep your setup
simple, and treat practice like a series of small experiments. Your sound will improve faster than you think.
Real-Life Beginner Moments and “Yep, That’s Normal” Experiences (Bonus ~)
When you’re learning tenor sax, progress often shows up in weird, everyday momentsnot just in “I can play a scale now”
milestones. One day you’ll put the reed on perfectly and the sax suddenly feels easy, and you’ll wonder if you accidentally
became a different person overnight. (You didn’t. You just aligned the reed and stopped biting. Congratulations on joining
the civilization.)
Expect squeaks. Not because you’re “bad,” but because the saxophone is basically a physics experiment you hold in your hands.
A squeak can come from a reed that’s too dry, a reed that’s slightly crooked, embouchure pressure that’s uneven, or air that
starts in bursts instead of a steady stream. The encouraging part? Those problems are fixable. Over time, you stop panicking
when something sounds wrong and start diagnosing it like a musician: “Is the reed lined up? Is my air steady? Am I clenching?”
That mindset shift is a big step forward.
Another common experience: your face gets tired fast in the beginning. That’s normal. Your embouchure uses small muscles you
probably haven’t trained before, and tenor sax is a larger mouthpiece than alto, so it can feel like you’re learning a new
“grip” with your mouth. The solution isn’t to push until you’re exhausted; it’s to practice in shorter, focused bursts and
rest. Ten minutes of high-quality long tones beats thirty minutes of “my lips have left the chat.”
You’ll also notice intonation surprises. A note that sounds fine one day might sound sharp the next, and it can feel random.
It’s not randomit’s your body learning consistency. Tiny changes in jaw pressure, mouthpiece placement, and air speed affect
pitch. This is why long tones with a tuner (or a steady drone) are so powerful: they train your ears and your control at the
same time. Eventually, you start adjusting instinctively, and your sound becomes more centered without you “trying harder.”
Fingers can feel clumsy at first, tooespecially when you add the octave key. You might know the fingering in your head but
miss a key because your hands are still learning the choreography. This is normal motor learning. Slow practice is the cheat
code: it gives your brain time to build reliable pathways. If you ever feel stuck, go slower than you think you should, then
repeat until it feels easy. Speed is what happens after accuracy becomes automatic.
Finally, there’s the confidence moment: the first time you play along with a backing track, or with another musician, and your
tone blends instead of sticking out like a squeaky door hinge. That’s when the tenor sax starts to feel like a real voice
instead of a complicated object. Keep chasing that feeling. Stay consistent, keep your gear clean, rotate reeds, and remember:
almost every great saxophonist once made a sound that startled a nearby household pet. You’re in good company.