A concrete pond is the backyard upgrade that says, “Yes, I do enjoy peaceful water sounds, and no, I did not want another patch of lawn to mow.” Built well, it can become a clean-lined water garden, a wildlife-friendly oasis, a koi pond, a reflecting pool, or the dramatic centerpiece your patio has been secretly begging for. Built poorly, it becomes a very expensive birdbath with commitment issues.
The good news: learning how to build a concrete pond is not mysterious. It is a practical sequence of planning, digging, forming, reinforcing, pouring, curing, waterproofing, plumbing, and testing. The not-so-good news: concrete is heavy, water is stubborn, and shortcuts have a charming way of becoming leaks. This guide walks you through 12 realistic steps for building a durable concrete pond while keeping safety, drainage, filtration, and long-term maintenance in mind.
Before you begin, remember that local codes, utility lines, frost depth, electrical requirements, and child-safety rules can vary. A small decorative pond may be a manageable DIY project. A deep koi pond, raised pond, or pond near a structure may require a contractor, electrician, engineer, or permit. Translation: do the homework now so your future self does not have to learn waterproofing while holding a mop.
Step 1: Choose the Right Location
The best pond location is visible, accessible, and practical. Choose a spot where you can enjoy the pond from a patio, kitchen window, or seating area. Avoid placing it directly under messy trees unless you enjoy removing leaves as a spiritual practice. Some shade is helpful because it slows algae growth and keeps water cooler, but full shade may limit aquatic plant choices.
Look for level ground with good drainage around the pond. Avoid low spots where stormwater naturally collects, because runoff can carry fertilizer, pesticides, soil, and lawn debris into the water. If the pond will hold fish, think carefully about sun exposure, predator access, aeration, and water volume. Fish ponds need more planning than purely decorative water features because water quality matters every day, not just when guests are admiring your landscaping.
Step 2: Check Utilities, Codes, and Safety Rules
Before any digging, contact 811 in the United States so underground utilities can be marked. This is not optional “grown-up paperwork”; it is the step that helps you avoid gas lines, electrical lines, water pipes, cable lines, and the kind of afternoon that ends with flashing lights.
Also check your city, county, homeowners association, and local building department. Some areas regulate pond depth, electrical work, setbacks, fencing, drainage, and water discharge. If children may access the yard, consider barriers, locking gates, covers, alarms, or other safety measures. A pond may look smaller than a pool, but standing water still requires serious respect.
Step 3: Design the Pond Shape, Size, and Depth
Sketch the pond before you touch a shovel. Decide whether you want a formal rectangle, a curved natural pond, a raised concrete pond, or a partially in-ground design. Formal ponds are easier to form and finish. Natural shapes look softer but require more careful reinforcement and waterproofing.
For a simple water garden, a depth of 18 to 24 inches may work well. For fish, especially koi, deeper water is usually better because it offers more stable temperatures and more swimming room. Many successful fish ponds are at least 3 feet deep, depending on climate and species. In cold regions, ask local pond professionals about frost depth and winter survival. A pond that freezes solid is not a pond to a fish; it is a very rude freezer.
Plan shelves if you want marginal aquatic plants. A shelf 8 to 12 inches below the waterline can hold plant baskets, while a deeper central basin supports water volume. Avoid making every edge shallow, because shallow, still water can warm quickly, collect debris, and invite mosquitoes.
Step 4: Plan Plumbing, Pump, Filter, and Overflow
A concrete pond should be designed around water movement. At minimum, plan for a pump, filter, tubing, an accessible electrical source, and an overflow path. Many pond owners aim to circulate the pond volume about once per hour, though fish load, waterfalls, climate, and filter type can change the ideal flow rate.
Use this simple volume estimate:
Average length × average width × average depth × 7.5 = approximate gallons
For example, a pond averaging 8 feet long, 5 feet wide, and 2.5 feet deep holds about 750 gallons. A pump near 750 gallons per hour may be a reasonable starting point, but head height matters. If the pump must lift water to a waterfall, choose a model rated for that lift height.
Include a mechanical filter to trap debris and a biological filter to support beneficial bacteria. Fish ponds need biological filtration because fish waste produces ammonia, and the pond ecosystem needs time and surface area to process it. Also plan an overflow pipe or spillway so heavy rain does not send water toward your foundation, patio, or neighbor’s prize tomatoes.
Step 5: Gather Tools and Materials
Your materials depend on the design, but a typical concrete pond project may include concrete mix or ready-mix concrete, gravel base, compactable sub-base, reinforcing steel or welded wire mesh, form boards, stakes, screws, PVC pipe, bulkhead fittings, a bottom drain or cleanout system, pond-safe waterproof coating, concrete bonding agent if needed, trowels, floats, shovel, tamper, level, wheelbarrow, protective gloves, eye protection, and dust protection.
If the pond is large, strongly consider ready-mix delivery or hiring a concrete crew. Hand-mixing dozens of bags sounds heroic until bag number 37, when your arms begin negotiating for new employment.
Step 6: Mark and Excavate the Pond
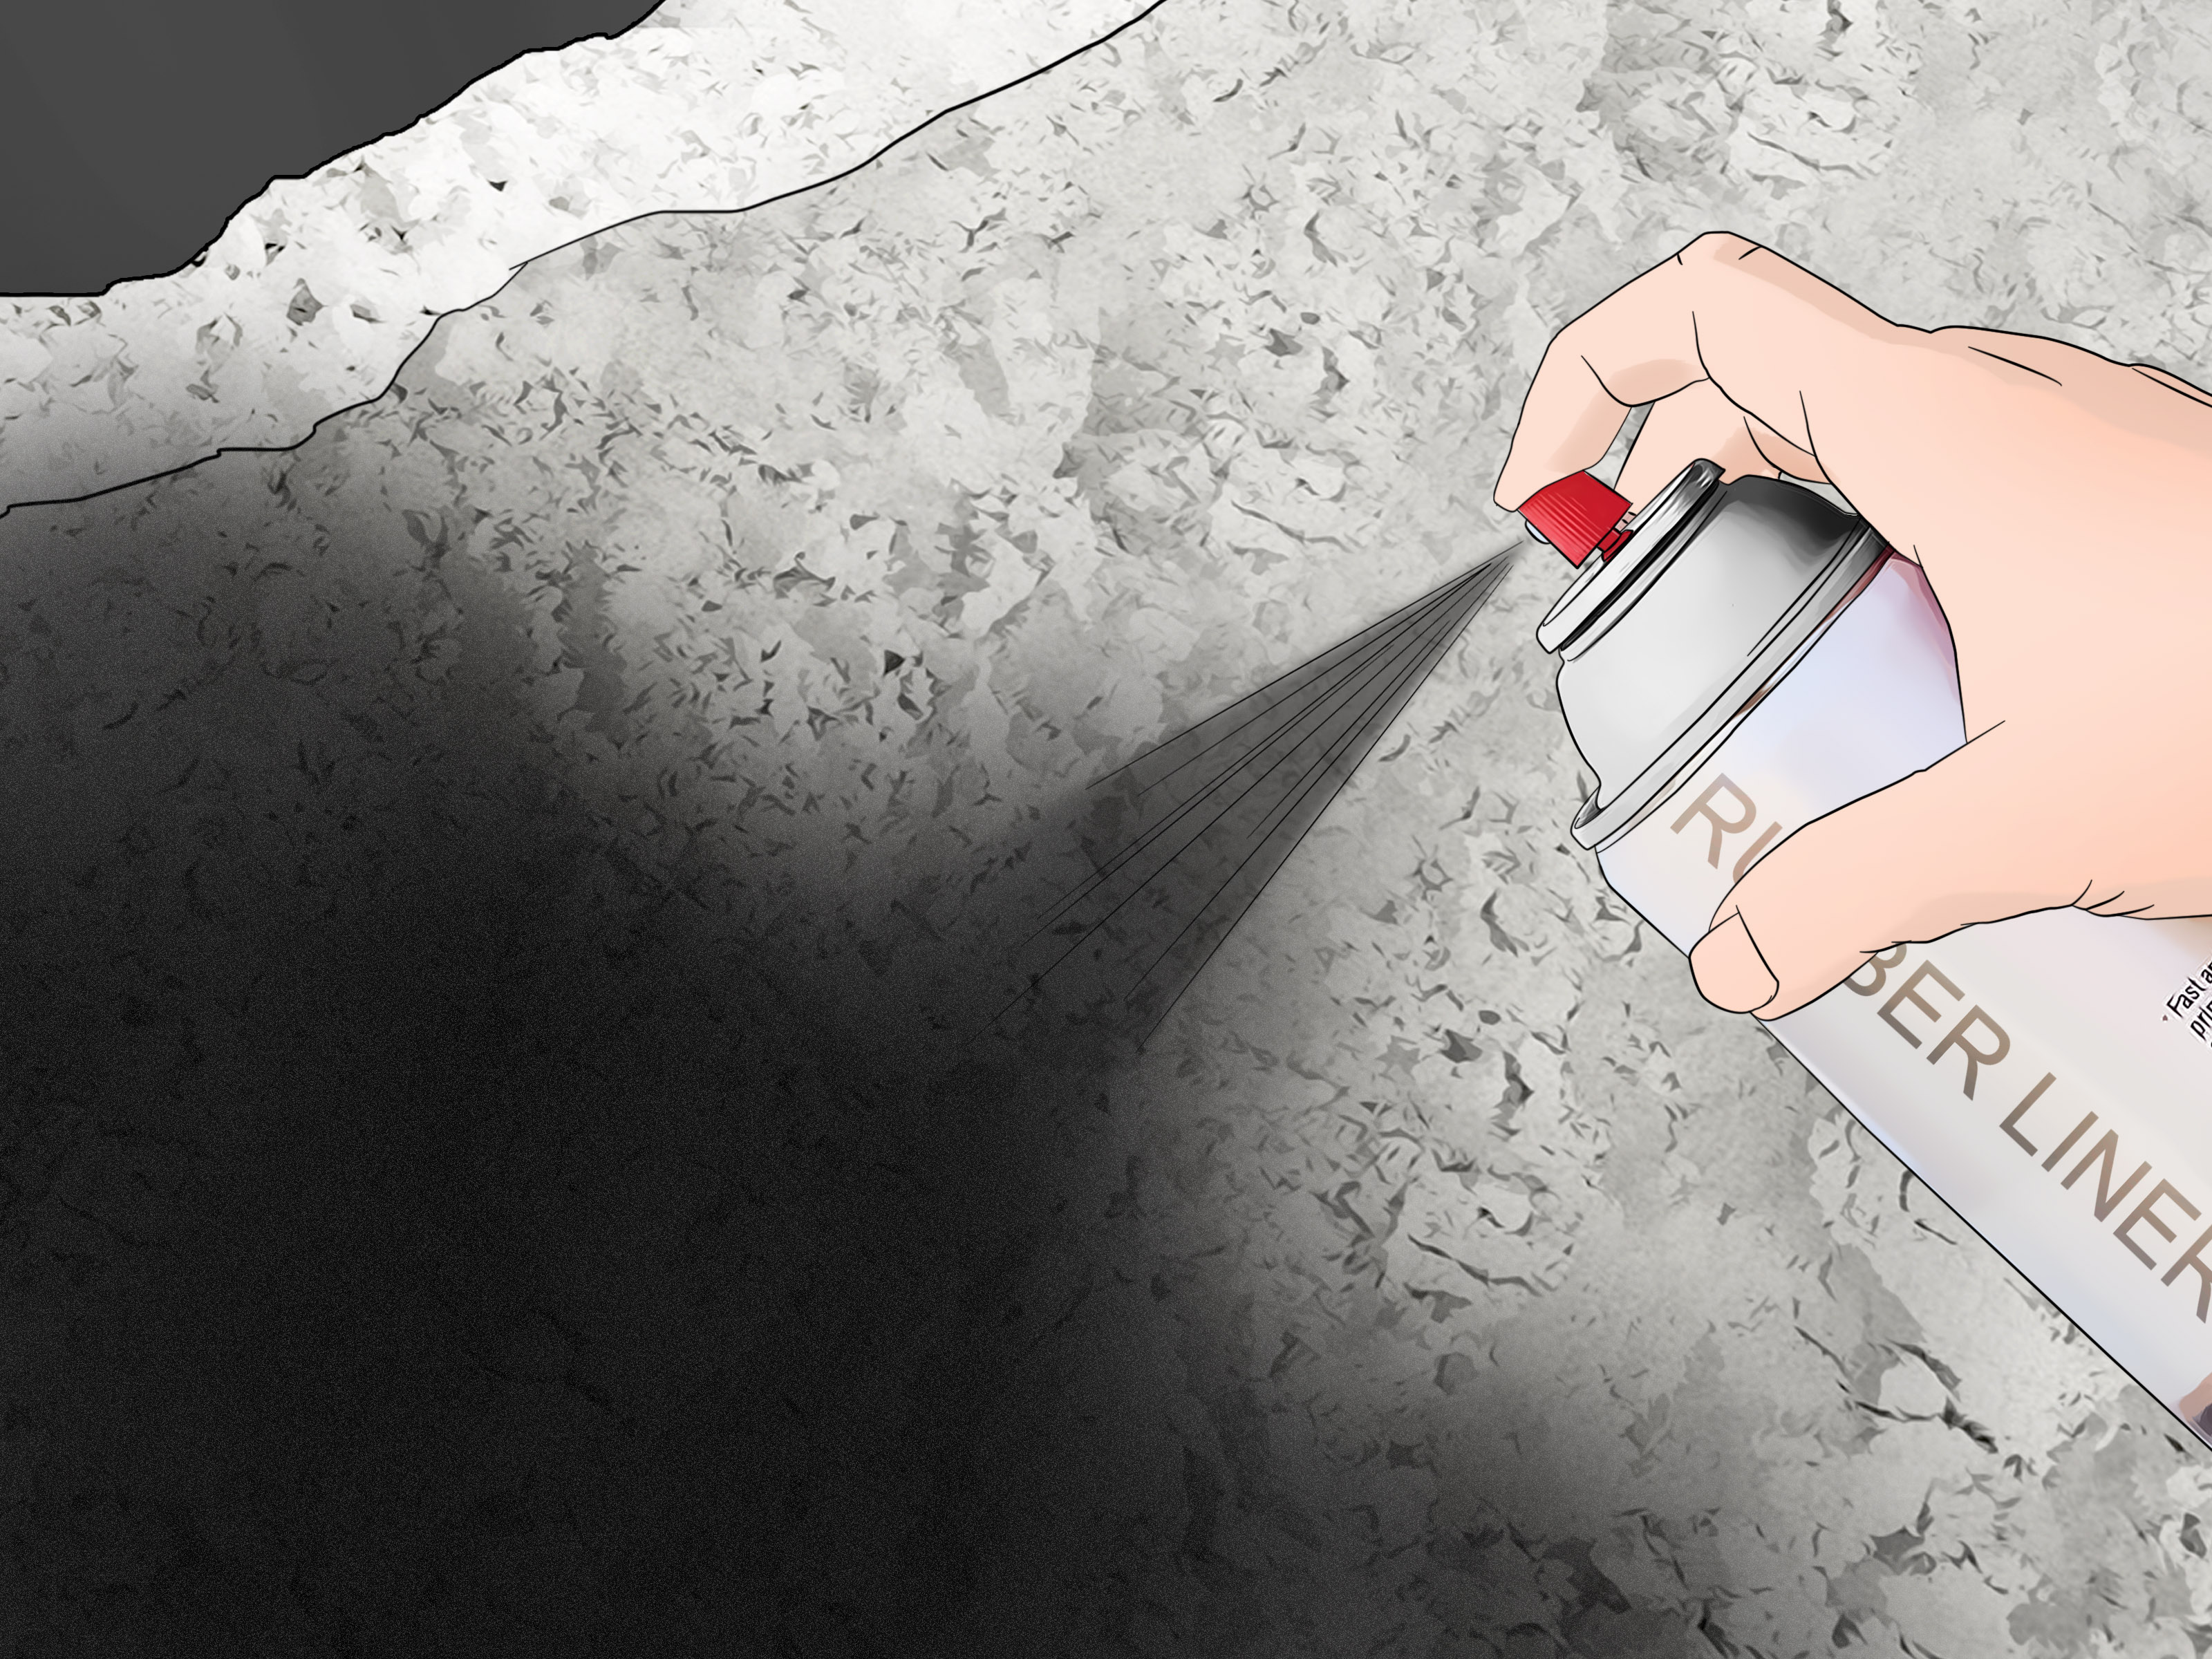
Mark the outline with spray paint, rope, or a garden hose. Add extra space outside the finished pond dimensions for forms, working room, and plumbing trenches. Dig gradually and check depth often. Shape plant shelves, vertical walls, and the floor according to your plan.
For in-ground ponds, remove roots, rocks, soft soil, and organic material. Compact the base well. Add a layer of gravel where appropriate to improve stability and drainage beneath the slab. The pond floor should slope gently toward a drain or low point so cleaning is easier. Even if you skip a formal bottom drain, designing a low collection area will make maintenance less annoying later.
Step 7: Build Strong Forms and Install Plumbing Sleeves
Concrete does not care what shape you imagined. It follows gravity, pressure, and weak forms. Build sturdy forms from plywood or dimensional lumber, brace them well, and check that they are level, square, and secure. For curved ponds, flexible plywood or segmented forms can work, but they need extra bracing.
Install plumbing penetrations before the pour. This may include pump lines, return jets, skimmer openings, bottom drains, overflow fittings, and conduit sleeves. Use pond-appropriate fittings and leave access for future repairs. Every pipe penetration is a potential leak point, so plan them carefully and seal them correctly.
Step 8: Add Reinforcement
Concrete is strong in compression but weak in tension, which is why reinforcement matters. Use rebar or welded wire mesh according to the pond size and structure. Raised walls, vertical sides, deep ponds, and heavy stone edging need stronger reinforcement than a shallow decorative basin.
Keep reinforcement centered within the concrete rather than sitting directly on the dirt or form surface. Use chairs, small concrete blocks, or supports to hold rebar in position. Tie rebar intersections securely. If you are building a large raised concrete pond, a professional design is wise because water pressure increases with depth. Water may look calm, but structurally speaking, it is always leaning on things.
Step 9: Pour or Place the Concrete
Place concrete in a continuous, organized process whenever possible. Start with the floor, then walls, or use a monolithic pour if your design and crew can handle it. Consolidate the concrete to reduce voids and air pockets, especially around reinforcement and plumbing penetrations. Do not add extra water to make the mix soupy. Overwatered concrete is easier to place but weaker and more likely to crack.
For walls, use forms that can resist pressure from wet concrete. Tap forms lightly or use proper vibration methods to help settle the mix, but avoid over-vibrating. Finish the interior surface smoothly enough that waterproof coatings can bond well and fish will not scrape themselves on rough ridges. Rounded inside corners are better than sharp corners because they are easier to coat and clean.
Step 10: Cure the Concrete Properly
Curing is where patience earns its paycheck. Concrete hardens because cement hydrates, and hydration requires moisture. If fresh concrete dries too quickly in sun, heat, or wind, it can lose strength, shrink, crack, or become dusty at the surface.
Keep the concrete damp according to the product directions. Many concrete products recommend moist curing for several days, and full concrete strength develops over a longer period. Covering with plastic sheeting, misting gently, or using approved curing methods can help. Protect the pond from freezing, heavy rain, direct scorching sun, and foot traffic during the early curing period.
If you plan to apply a waterproof coating, read the coating manufacturer’s instructions carefully. Many coatings require the concrete to cure for a specific number of days, reach a certain moisture condition, or be cleaned and etched before application. Rushing this step is like frosting a cake while it is still batter.
Step 11: Waterproof and Seal the Pond
Concrete is not automatically watertight. It can absorb water, develop hairline cracks, and leak through weak joints. For a pond, use a waterproofing method designed for continuous water immersion and safe for fish or aquatic life if the pond will hold animals.
Common options include cementitious waterproof coatings, pond-safe epoxy coatings, polyurea liners, integrated waterproofing admixtures, or a flexible pond liner installed over the concrete shell. The best choice depends on climate, budget, pond size, soil movement, and whether fish are involved. In freeze-thaw climates or unstable soils, flexible systems may handle movement better than rigid coatings.
Pay special attention to corners, wall-floor joints, drains, skimmers, returns, and pipe penetrations. Use compatible sealants and gaskets. Do not mix random products and hope they become friends underwater. Chemistry is not a team-building exercise.
Step 12: Test, Fill, Cycle, and Finish the Pond
Once the waterproofing has cured, rinse the pond thoroughly. Fill it and let it sit while you monitor the water level. Mark the waterline and check for drops over 24 to 48 hours, remembering that evaporation can cause minor loss. If the level falls quickly, inspect fittings, seams, and penetrations before adding plants or fish.
For fish ponds, test pH and water quality. New concrete can raise pH if it was not properly cured, rinsed, or sealed. Drain and refill as needed until readings stabilize. Run the pump and filter before adding fish. Add aquatic plants after the water is stable, and introduce fish slowly rather than dumping in a whole underwater marching band on day one.
Finish the edges with stone, coping, tile, gravel, or plantings. Make sure edging is secure and does not create trip hazards. Hide filters and hoses without blocking access. The prettiest pond equipment is the equipment you can still reach when something clogs on a Sunday evening.
Concrete Pond Maintenance Tips
Keep Water Moving
Moving water improves oxygen exchange, supports filtration, discourages mosquitoes, and creates that soothing sound people pretend not to fall asleep to. Use a pump, fountain, waterfall, or aerator to prevent stagnant corners.
Control Leaves and Nutrients
Leaves, lawn clippings, fertilizer runoff, and fish overfeeding can all feed algae. Skim debris often and avoid placing the pond where every autumn leaf in the county reports for duty. If algae becomes a recurring problem, reduce nutrients, add shade plants, improve filtration, and check fish feeding habits.
Use Aquatic Plants Wisely
Aquatic plants can shade the water, absorb nutrients, shelter fish, and make the pond look alive rather than like a concrete cereal bowl. Use native or non-invasive species suited to your region. Avoid plants banned in your state, because some popular floating plants can escape and become environmental headaches.
Inspect Cracks Early
Hairline cracks may be harmless or may become leak paths. Inspect the pond seasonally, especially after freeze-thaw cycles, soil settlement, or earthquakes in areas where that is relevant. Repair small problems before they become expensive personality traits.
Common Mistakes to Avoid
Skipping reinforcement: Unreinforced concrete ponds are more vulnerable to cracking, especially with vertical walls or shifting soil.
Ignoring overflow: Rainwater needs somewhere safe to go. Without overflow planning, a pond can flood nearby landscaping or structures.
Using the wrong coating: Not every concrete sealer is safe for constant immersion or fish. Choose products specifically rated for pond or potable-water-style exposure when appropriate.
Adding fish too soon: New concrete, unstable pH, and immature filters can stress or kill fish. Let the system stabilize first.
Making maintenance impossible: Filters, pumps, drains, and valves must be reachable. A hidden filter is charming until it needs cleaning.
Field Experience: What Building a Concrete Pond Teaches You
After working through a concrete pond project, most DIY builders discover that the pond itself is only half the job. The other half is decision-making. Where will the pump sit? How will the filter be cleaned? What happens during a power outage? Where does rainwater overflow? Can the pond be drained without turning the yard into a swamp audition? These questions sound small on paper, but they determine whether the finished pond feels relaxing or needy.
One useful experience is to walk the site at different times of day before building. Morning light may show one mood; late afternoon sun may reveal glare, heat, or a better viewing angle. A pond near a seating area becomes part of daily life. A pond hidden behind shrubs may become something you only remember when the pump makes a suspicious noise.
Another lesson is that edge design matters more than beginners expect. A rough concrete lip can make the pond look unfinished, while a thoughtful coping stone, brick border, or planted edge makes it feel intentional. The edge also affects safety. Loose rocks can shift. Slippery surfaces invite falls. Overhanging stones may hide liner or coating edges, but they should be stable enough to handle weather and curious feet.
Builders also learn that waterproofing is not the place to be creative in the “let’s see what happens” sense. Follow the product instructions exactly. Surface prep, cure time, temperature range, film thickness, and recoating windows all matter. A coating that fails because the concrete was dusty, damp, oily, or uncured will not care how beautifully the pond is landscaped.
Plumbing access is another hard-earned lesson. If you bury every hose and fitting under rock, future maintenance becomes archaeology. Use unions, valves, cleanouts, and access panels where possible. Label lines if the system is complex. The future version of you holding a flashlight at dusk will appreciate it.
Finally, give the pond time to become a pond. New water features often look bare at first. Plants need time to grow, beneficial bacteria need time to colonize, and water chemistry needs time to settle. Resist the urge to overstock fish or overdecorate the first weekend. A concrete pond matures best when treated as a living system, not just a container. With patience, the water clears, plants soften the edges, dragonflies visit, and the whole feature begins to feel like it has always belonged there.
Conclusion
Building a concrete pond is a serious project, but it is also one of the most rewarding backyard upgrades you can make. The secret is not one magic product or one clever trick. It is the full sequence: smart location, safe digging, solid excavation, strong forms, proper reinforcement, careful concrete placement, patient curing, reliable waterproofing, good filtration, and slow startup.
Do it right, and your concrete pond can last for years as a calm, attractive, low-drama water feature. Do it in a rush, and you may spend those same years chasing leaks, algae, cracks, and pump problems. Water always tells the truth eventually. Build the pond so the truth sounds like a waterfall, not a repair bill.