Mirrored walls have a funny way of making a room feel both larger and louder. One minute they are bouncing light around like an interior design magician; the next, they are reflecting your laundry pile, your snack cabinet, and that one chair everyone pretends is not a closet. If your home has a wall of mirrors from a previous decade, a rental apartment makeover, or a bathroom that believes it is a dance studio, you may be wondering how to cover mirrored walls without creating a home-improvement disaster.
The good news: you do not always have to remove the mirrors. In many cases, covering mirrored walls is faster, safer, cleaner, and more budget-friendly than pulling glass off the wall. Whether you want a temporary renter-friendly fix or a more permanent transformation, there are practical ways to disguise, soften, or completely hide mirrored panels.
This guide explains quick and effective ways to cover mirrored walls using peel-and-stick wallpaper, removable film, curtains, fabric panels, wood-look panels, framed art, decorative trim, and smart furniture placement. Think of it as a rescue mission for your walls, minus the dramatic soundtrack.
Before You Cover Mirrored Walls, Inspect the Mirror
Before buying wallpaper, fabric, panels, or enough curtains to start a small theater, take a close look at the mirror wall. This step is not glamorous, but it prevents regret, wasted money, and the classic DIY phrase: “Well, that escalated.”
Check for cracks, loose panels, and moisture
If the mirror is cracked, loose, bowing, or damaged around the edges, do not simply cover it and hope for the best. Large glued mirrors can be difficult and risky to remove because they may be attached with strong adhesive. If the glass is unstable, call a professional mirror or glass installer before adding coverings over it. Safety beats aesthetics every time.
Also check for moisture, especially in bathrooms, basements, and older homes. Covering a damp surface can trap humidity and cause adhesive failure, mildew, or peeling materials. The mirror should be clean, dry, and firmly attached before you start.
Decide whether you want temporary or permanent results
Your best method depends on how long you want the change to last. Renters usually need removable options such as curtains, tension rods, static-cling film, fabric panels, or lightweight framed art. Homeowners may prefer decorative paneling, custom trim, painted frames, or permanent wall systems built over the mirror.
Ask yourself three simple questions: Do I need to remove this later? Can I attach anything to the surrounding wall or ceiling? Do I want the mirror completely hidden or simply toned down? Once you answer those, the right solution becomes much clearer.
1. Use Peel-and-Stick Wallpaper for a Fast Makeover
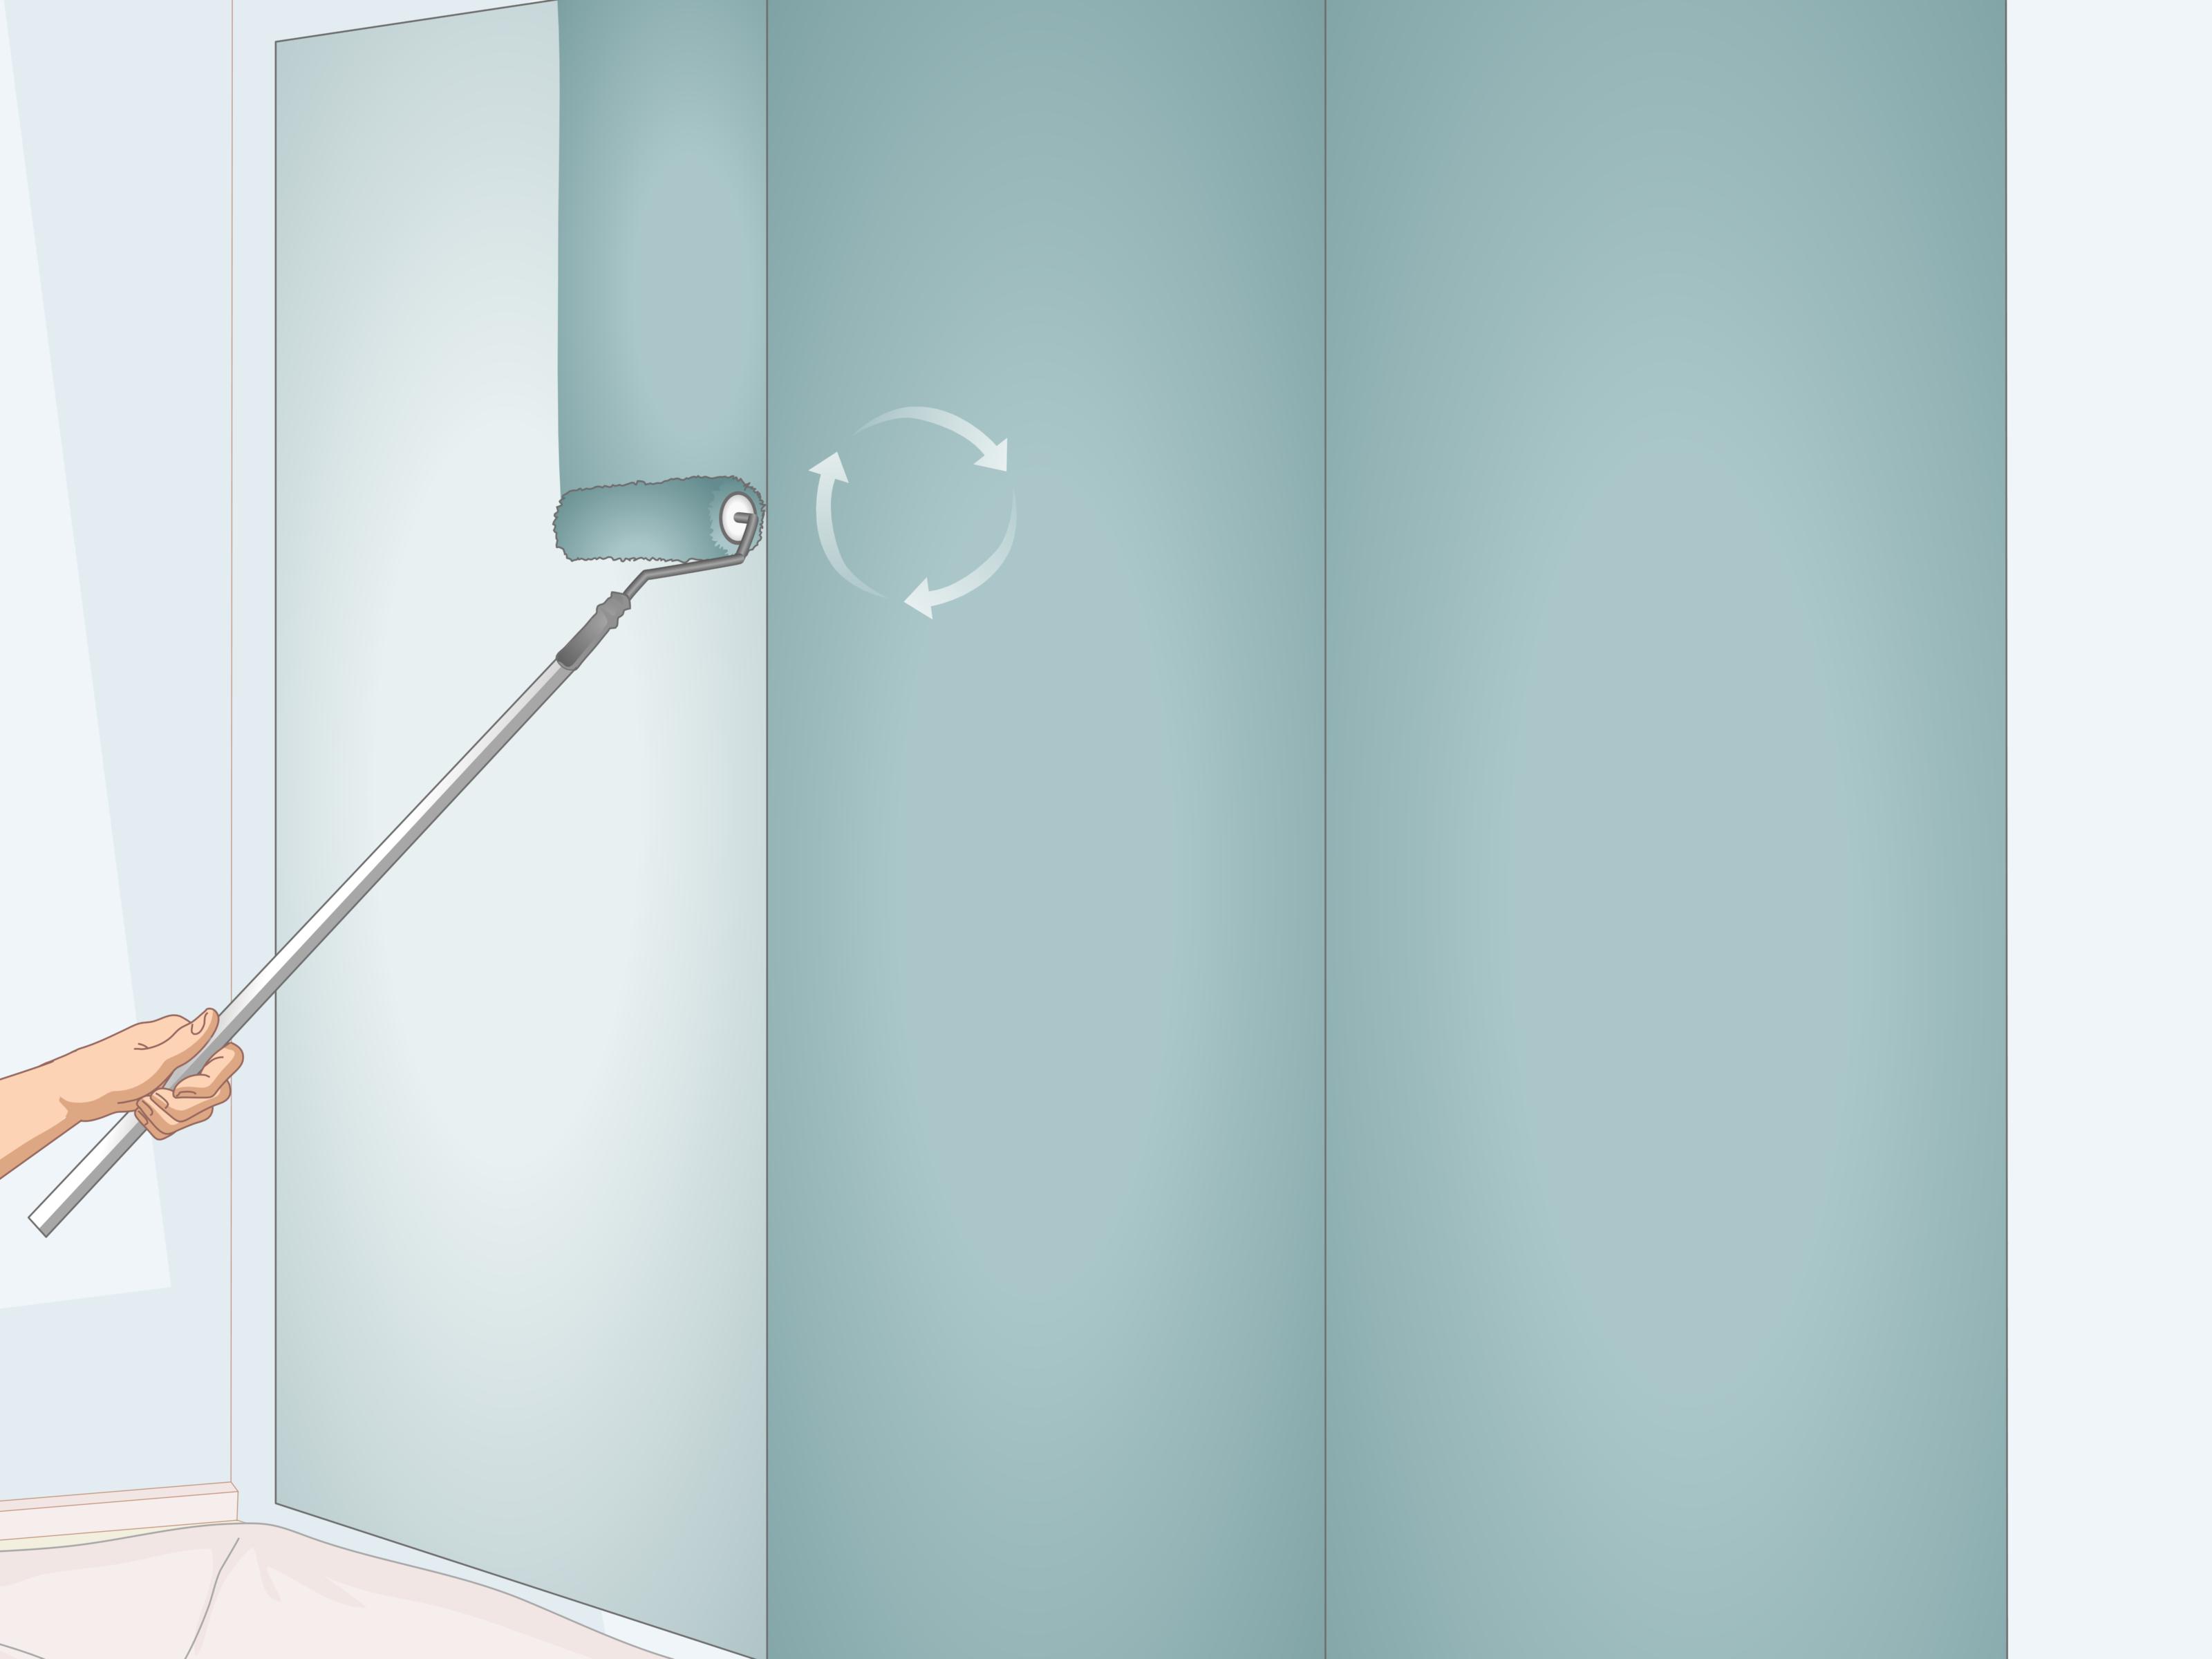
Peel-and-stick wallpaper is one of the quickest ways to cover mirrored walls because it gives you pattern, color, and texture without paste, buckets, or the emotional journey of traditional wallpaper. It works especially well on smooth mirror surfaces because glass gives adhesive a flat surface to grip.
For best results, clean the mirror with glass cleaner or rubbing alcohol, then dry it completely with a lint-free cloth. Measure the wall carefully, cut panels slightly longer than needed, and apply from top to bottom while smoothing out bubbles with a plastic smoother. Choose a removable wallpaper if you may want to take it down later.
Light patterns, grasscloth looks, linen textures, soft geometrics, and subtle florals can make the wall feel intentional instead of covered-up. If your room is small, avoid extremely dark or busy designs unless you want the wall to shout, “I am the main character.”
Best for:
Bedrooms, dining rooms, entryways, rental apartments, and living rooms where you want a quick visual transformation.
Watch out for:
Cheap wallpaper can bubble, stretch, or peel at the seams. Always order extra material for pattern matching and test a small hidden section first.
2. Apply Decorative Window Film or Frosted Film
Decorative window film is another smart way to cover mirrored walls without completely removing the reflective quality. Frosted film, rice-paper film, reeded-glass film, and translucent patterns soften the mirror while still bouncing some light around the room.
This method is ideal when you want privacy, softness, or texture rather than a full wall-covering effect. Many films are removable and can be cut with a utility knife or scissors. Some use adhesive, while others use static cling. Static-cling film is usually better for renters because it is easier to remove.
To install, spray the mirror lightly with water if the product instructions recommend it, position the film, and push out bubbles with a squeegee. Trim the edges carefully for a clean finish. The final effect can make a mirrored wall look like frosted glass, which is much calmer than seeing your own reflection every time you walk past with cereal.
Best for:
Bathrooms, closet doors, home gyms, small apartments, and modern spaces where you still want light reflection.
Watch out for:
Highly glossy or metallic films may make the wall look busier, not calmer. Choose matte or frosted finishes if your goal is to reduce reflection.
3. Hang Floor-to-Ceiling Curtains
Curtains are one of the most effective ways to cover a mirrored wall without touching the glass. They add softness, color, texture, and sound absorption. They also make the room feel more finished, as if the mirror wall was actually a design choice and not a leftover from a disco-adjacent era.
Install a curtain rod near the ceiling, or use a ceiling track for a sleek hotel-style look. Hang the curtains wider than the mirror so the fabric fully covers the edges. Linen, velvet, cotton canvas, and textured polyester blends all work well depending on the room’s mood.
If you want a relaxed look, choose neutral linen panels. For drama, go with velvet or heavier fabric. For a small room, use curtains close to the wall color so the space feels calm and continuous. The biggest advantage is flexibility: open the curtains when you want light and reflection, close them when the mirror starts acting like a surveillance camera for clutter.
Best for:
Rentals, bedrooms, living rooms, dining areas, and anyone who wants a no-glue solution.
Watch out for:
Measure carefully. Curtains that are too short can make the whole project look accidental. Aim for panels that kiss the floor or puddle slightly if you like a softer style.
4. Create a Fabric Wall Covering
Fabric can turn a mirrored wall into a cozy, custom-looking feature. You can attach fabric to lightweight boards, hang it from rods, or use removable adhesive methods depending on your wall and rental rules. Fabric is especially useful when you want warmth and texture but do not want the commitment of wallpaper.
For a clean result, stretch fabric over foam board, insulation board, or thin plywood panels and place them over the mirror. You can lean large upholstered panels against the wall, secure them to surrounding trim, or mount them carefully if you own the space. This approach works beautifully behind beds, in dining rooms, or anywhere you want a soft accent wall.
Choose fabric with enough weight to hang smoothly. Thin cotton may show wrinkles, while upholstery fabric, linen blends, or textured weaves look more polished. If you are covering a large mirror, repeating panels can look intentional, almost like a boutique hotel headboard wall.
Best for:
Bedrooms, reading corners, dining rooms, and spaces where you want warmth and acoustic softness.
Watch out for:
Fabric collects dust, so use a vacuum with a soft brush attachment or choose washable materials when possible.
5. Install Lightweight Wall Panels
If you want a more architectural solution, lightweight wall panels can cover mirrored walls and make the room look completely new. Options include peel-and-stick wood planks, faux shiplap panels, PVC panels, acoustic slat panels, beadboard sheets, and thin MDF designs.
This method works best for homeowners or renters with permission because paneling may require adhesive, screws, bracing, or attachment to nearby surfaces. You should avoid drilling directly into mirror glass. Instead, panels are usually attached to surrounding walls, trim, ceiling tracks, or a separate frame built in front of the mirror.
Wood-look slats can make a room feel modern and warm. Beadboard gives a cottage or coastal effect. Smooth paintable panels can create a clean contemporary wall. If the mirror is in a dining room or hallway, paneling can make the space look like it received a serious upgrade instead of a clever cover-up.
Best for:
Permanent home updates, accent walls, entryways, dining rooms, and large mirror installations.
Watch out for:
Weight matters. Do not attach heavy materials directly to glass unless the product is designed for that use and you understand the load limits. When in doubt, hire a professional.
6. Use Large-Scale Art or Gallery Walls
You do not always need to cover every inch of a mirrored wall. Sometimes the smarter move is to distract the eye. Large artwork, oversized canvas prints, framed textiles, woven wall hangings, or a gallery wall can break up the reflection and make the mirror feel like a background element.
Use removable picture-hanging strips if the art is lightweight and the mirror surface is clean. For heavier pieces, attach hardware to the surrounding wall or ceiling rather than the mirror itself. A large canvas centered on the mirror can instantly reduce the “wall of reflection” effect.
This is a great option if you still like some brightness from the mirror but do not want to stare at one huge reflective plane. The art gives your eye somewhere to land. In design terms, that is called creating a focal point. In normal human terms, it means your wall finally stops looking like a department-store fitting room.
Best for:
Living rooms, hallways, dining rooms, and rental spaces where full coverage is not necessary.
Watch out for:
Heavy frames and glass-covered artwork can be risky on mirror surfaces. Keep it lightweight or use proper wall-mounted support.
7. Frame the Mirror Instead of Covering It
If the mirrored wall is not terrible but feels unfinished, framing may be the best solution. Decorative trim can make a large mirror look custom instead of dated. You can use peel-and-stick molding, lightweight wood trim, PVC trim, or mirror-framing kits to divide the mirror into sections.
For example, add thin black trim to create a grid and suddenly the mirror looks more like an industrial-style window wall. Add warm wood trim and it feels more organic. Add painted molding and it can look traditional or elegant. This method works well when the mirror itself is in good condition but lacks character.
Clean the glass first, measure carefully, and use a level. Nothing ruins a mirror grid faster than crooked lines reflecting more crooked lines. The mirror will double the visual mistake. It is ruthless like that.
Best for:
Bathrooms, dining rooms, entryways, and mirrored closet doors.
Watch out for:
Some adhesive trim may be difficult to remove. Renters should test first and avoid products that leave residue.
8. Place Furniture in Front of the Mirror
Furniture placement is the easiest no-install way to reduce the impact of mirrored walls. A console table, bookcase, upholstered headboard, folding screen, tall plants, or storage cabinet can cover a major portion of the mirror while adding function.
In a dining room, place a sideboard in front of the mirror and style it with lamps, art, vases, or books. In a bedroom, use a tall upholstered headboard or folding screen. In a hallway, a narrow console table with art leaning against the mirror can look stylish and intentional.
This approach is not full coverage, but it is fast and reversible. It also helps control what the mirror reflects. Instead of reflecting a random corner, it reflects a styled vignette. That is a major upgrade from “surprise laundry basket.”
Best for:
Anyone who wants an instant improvement without adhesives, tools, or landlord conversations.
Watch out for:
Do not place furniture so tightly against the mirror that it scratches or pressures the glass. Leave a small gap when possible.
9. Try Removable Vinyl Decals or Contact Paper
Removable vinyl decals and contact paper are useful for small mirrored sections, closet doors, or decorative updates. You can create stripes, arches, borders, faux window panes, geometric patterns, or partial coverage without hiding the entire mirror.
For a modern look, apply vertical strips of matte vinyl to create the illusion of panels. For a playful room, use removable shapes or decals. For a calm bathroom, try frosted contact paper across the lower half of the mirror. This method is affordable and beginner-friendly, but patience is required. Vinyl loves bubbles the way toddlers love snacks.
Use a squeegee, work slowly, and peel back small sections at a time. If you are covering a large wall, choose wider rolls to reduce seams.
Best for:
Closet doors, bathrooms, kids’ rooms, rentals, and budget makeovers.
Watch out for:
Not all contact paper removes cleanly. Test a corner first, especially in rentals or on old mirror coatings.
10. Build a Freestanding Screen or Room Divider
A freestanding screen is perfect when you cannot attach anything to the mirror or surrounding wall. Folding screens, bookcase dividers, fabric partitions, or DIY wood frames can sit in front of the mirrored wall and block reflection instantly.
This is especially helpful in apartments, dorm-style rooms, temporary homes, or spaces where you need flexibility. A folding screen can cover part of the mirror during the day and move out of the way when needed. Choose a screen tall enough to cover the most visible part of the mirror, usually from eye level down.
For extra function, use a bookshelf or open shelving unit. Add baskets, plants, and books, and the mirror becomes background sparkle instead of the star of the show.
How to Choose the Best Method
The fastest method is curtains. The most wallpaper-like method is peel-and-stick wallpaper. The most modern method is slat paneling or framed trim. The most renter-friendly method is usually curtains, freestanding screens, static-cling film, or lightweight art. The most budget-friendly method is contact paper or furniture styling.
If you are covering mirrored walls in a bathroom, choose moisture-resistant materials. If you are working in a bedroom, fabric and curtains create softness. If the mirror wall is in a dining room or entryway, framed trim, paneling, or large-scale art can make the space feel more expensive.
Common Mistakes to Avoid
Skipping surface cleaning
Dust, oil, and glass cleaner residue can prevent adhesive products from sticking. Clean the mirror thoroughly and let it dry before applying film, wallpaper, vinyl, or trim.
Using heavy materials on glass
Mirrors are not drywall. Do not treat them like a normal wall. Heavy panels, shelves, and framed art need proper support from studs, surrounding walls, ceiling tracks, or freestanding structures.
Forgetting about seams
Large mirrored walls often have panel seams. Plan your wallpaper, film, or trim layout so seams look intentional rather than accidental.
Choosing glossy materials
If your goal is to reduce reflection, avoid shiny wallpaper, metallic contact paper, or high-gloss panels. Matte finishes are usually more calming.
Experience Notes: What Actually Works in Real Homes
In real-life rooms, the best way to cover mirrored walls is usually the method that fits your lifestyle, not the method that looks best in a perfectly staged photo. A peel-and-stick wallpaper wall may look amazing online, but if the mirror sits in a steamy bathroom with poor ventilation, that adhesive may eventually start to complain. And by complain, I mean peel at the corners like it has somewhere better to be.
For renters, curtains are often the safest first move. They are forgiving, easy to change, and do not require sticking large sheets of anything to glass. A ceiling-mounted track with simple fabric panels can make a mirrored wall disappear in an afternoon. Even better, curtains add texture and absorb sound, which helps if the room feels echoey or cold. In bedrooms, this solution can make the space feel calmer immediately.
For homeowners who want a finished look, framed trim is surprisingly powerful. A plain mirrored wall can look dated, but divide it into large rectangles with slim black or wood trim and it suddenly feels designed. This method works especially well with mirrored closet doors or dining room mirror panels. It does not hide the mirror, but it makes the reflection feel structured and intentional.
Peel-and-stick wallpaper is best when you want the mirror gone visually. The trick is to choose a pattern that forgives seams. Grasscloth-style prints, linen textures, small organic patterns, and soft geometrics are easier to line up than giant murals or bold stripes. If you choose a dramatic pattern, order more than you think you need. Pattern matching eats extra material like a very stylish little monster.
Window film is underrated. Frosted or reeded-glass film can turn a harsh mirror into a soft, glowing surface. It is especially good in bathrooms, narrow hallways, and closet areas. It keeps some brightness without reflecting every object in the room. If the mirror wall makes your space feel too busy, film is one of the most elegant compromises.
Furniture styling also works better than people expect. A console table, two lamps, and a large piece of leaning art can transform a mirror wall without actually covering the entire thing. The key is to control the reflection. Mirrors are not the enemy; random reflections are. If the mirror reflects plants, art, warm light, or a clean area of the room, it becomes much easier to live with.
The biggest lesson is this: do not start with demolition unless the mirror is damaged, unsafe, or truly unwanted. Covering mirrored walls can save money, reduce mess, and protect the wall behind the glass. Removal may lead to drywall repair, repainting, and professional costs. Sometimes the smartest renovation is not removing the problem; it is outsmarting it with fabric, film, wallpaper, trim, or clever styling.
Conclusion
Learning how to cover mirrored walls gives you more options than simply tearing them out. You can go soft with curtains, quick with peel-and-stick wallpaper, subtle with frosted film, cozy with fabric panels, polished with trim, or architectural with lightweight wall panels. The right choice depends on your budget, whether you rent or own, the condition of the mirror, and how permanent you want the change to be.
Start with safety, clean the surface well, test removable products, and choose materials that match the room’s function. A mirrored wall does not have to make your home feel outdated. With the right cover-up strategy, it can become a stylish backdrop, a hidden surface, or even a design feature that looks completely intentional.