Note: Source links intentionally omitted for web publication.
If you have ever looked at a charcoal smoker and thought, “That thing seems one wrong move away from becoming a very expensive campfire,” welcome. You are among friends. Learning how to use a charcoal smoker is not hard, but it does require a little patience, a little airflow wisdom, and the emotional strength to stop opening the lid every six minutes “just to check.”
The good news is that charcoal smoking is one of the most rewarding ways to cook. It delivers deep smoky flavor, gorgeous bark, tender meat, and the kind of backyard confidence that makes you casually say things like, “I’m running the pit today,” even if you are still Googling vent settings with sauce on your hands. This step-by-step tutorial will show you how to use a charcoal smoker from setup to shutdown, with beginner-friendly instructions, practical examples, and troubleshooting tips that actually help.
What a Charcoal Smoker Actually Does
A charcoal smoker cooks food low and slow using indirect heat, live charcoal, and wood smoke. Unlike direct grilling, where food sits over the hottest part of the fire, smoking relies on steady heat and circulating smoke. The goal is not to blast food with flames. The goal is controlled patience.
Most charcoal smokers work by separating the fire from the food. In a vertical water smoker, the charcoal sits at the bottom, a water pan helps moderate heat in the middle, and the food cooks on upper grates. In a kettle or offset setup, the coals stay on one side while the food cooks on the other. In both cases, airflow controls temperature. More oxygen means a hotter fire. Less oxygen means a slower burn.
What You Need Before You Start
Basic gear
- Charcoal smoker
- Charcoal briquettes or lump charcoal
- Wood chunks or chips for smoke flavor
- Chimney starter
- Fire starter cubes or crumpled paper
- Long tongs or heat-safe gloves
- A reliable meat thermometer
- A grate-level or pit thermometer if your smoker does not already have one
- Water pan if your setup uses one
Best fuel for beginners
If you are new, charcoal briquettes are usually easier to manage because they burn more evenly. Lump charcoal can burn hotter and faster, but the pieces vary in size, which makes temperature control a little less predictable. Neither one is wrong. Briquettes are simply more forgiving when you are learning.
Best woods to start with
Use mild to medium woods while you build confidence. Apple and cherry are friendly choices for chicken and pork. Hickory is stronger and classic for ribs or shoulder. Oak is versatile and balanced. Mesquite is powerful and can get bossy fast, so beginners often do better using it lightly.
Step 1: Set Up the Smoker for Indirect Heat
The first rule of smoking is simple: keep the fire and the food from acting like roommates. You want indirect heat.
If you are using a vertical charcoal smoker, assemble it according to the manufacturer’s setup: charcoal in the bottom chamber, water pan in place, grates above, food on top. If you are using a kettle-style charcoal smoker setup, pile the coals on one side or around the edges and leave the food side empty. Place a pan of water on the cool side if the design allows it.
The water pan helps in two ways. First, it catches drippings, which means fewer flare-ups and less cleanup drama. Second, it helps stabilize temperature during longer cooks. You do not need to turn your smoker into a bathtub, but you do want enough water to last for a good stretch of cooking.
Step 2: Light the Charcoal the Easy Way
The easiest and cleanest way to light charcoal is with a chimney starter. Fill the chimney with charcoal, place a fire starter or crumpled paper underneath, and light it. Wait until the top coals are partially ashed over and the fire is clearly established. This usually takes around 15 to 20 minutes, depending on weather and fuel.
Do not drench charcoal in lighter fluid unless you enjoy your barbecue with a side of regret. A chimney starter is more reliable and avoids off flavors.
For long cooks, many pitmasters place a small amount of lit charcoal on top of a larger bed of unlit charcoal so the fire burns gradually over time. For shorter beginner cooks like chicken thighs or ribs, a modest amount of lit charcoal is often enough to get you going without overshooting your target temperature.
Step 3: Add Wood for Smoke Flavor
Once the charcoal is lit and positioned, add your wood. For a beginner cook, start with two or three fist-sized wood chunks, or a small handful of chips if your smoker design uses chips more effectively. More smoke does not always mean better food. Too much wood can make your food taste harsh, bitter, or like it lost a fight with a bonfire.
What you want is clean smoke, not a thick cloud that looks like your smoker is sending distress signals. Thin, light smoke is usually the sweet spot. Let the fire settle for a few minutes after adding fuel so the heat and smoke become more stable before you add the food.
Step 4: Preheat and Dial In Your Temperature
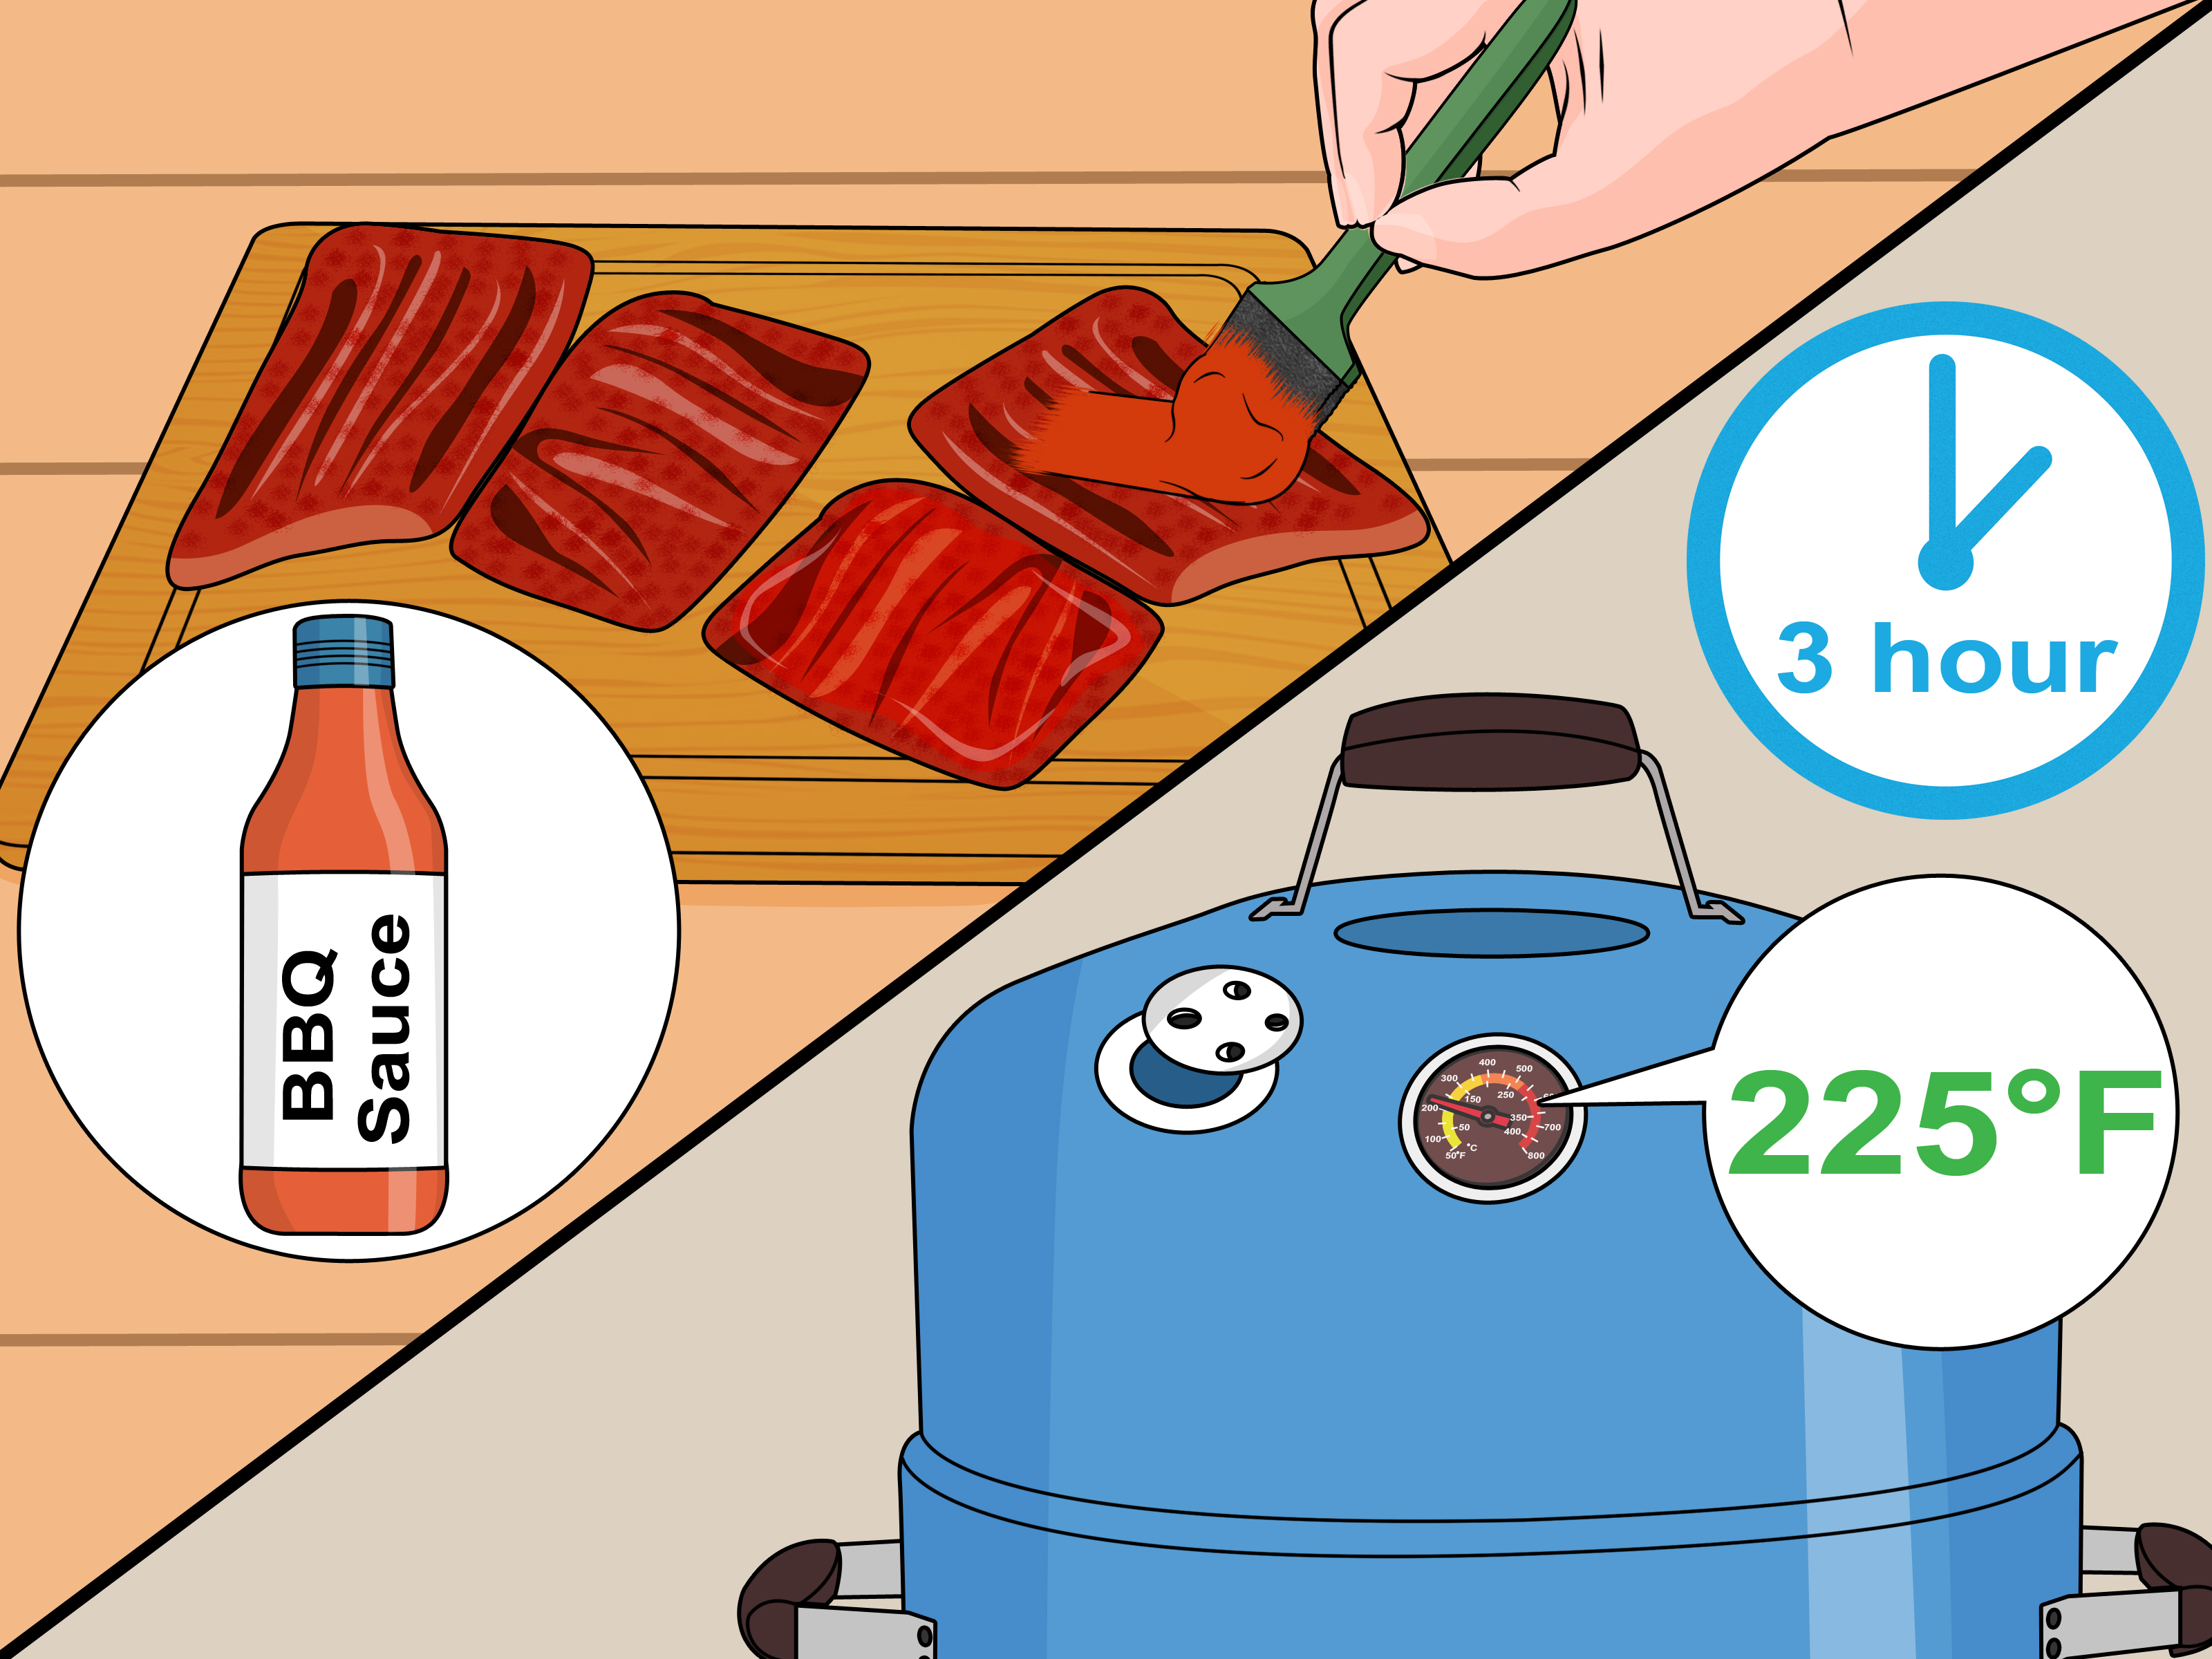
For most barbecue, a target smoker temperature of about 225°F to 275°F works well. Many beginners aim for 250°F because it is a nice middle ground: hot enough to keep the cook moving, gentle enough to build smoke flavor and tenderness.
Here is the vent rule that saves a lot of frustration: use the bottom vents for bigger temperature changes, and use the top vent mostly to let smoke escape. Many charcoal smoker guides recommend leaving the top vent mostly or fully open and adjusting the lower vents to control oxygen flow. If the smoker is running too hot, close the bottom vents a bit. If it is running too cool, open them slightly.
Small changes matter. Do not swing the vents wide open, then slam them shut like you are negotiating with a stubborn garage door. Make small adjustments and wait several minutes before judging the result. Charcoal smokers respond slowly, which is annoying only until you realize that patience is basically the secret ingredient in barbecue.
Step 5: Add the Food and Leave It Alone
Once the smoker is stable, put the food on the grate over indirect heat and close the lid. Position thicker cuts in the center of the grate if that area runs most evenly in your cooker. Insert a probe thermometer if you have one, and start monitoring both pit temperature and internal temperature.
Now comes the part that separates calm pitmasters from lid-flipping chaos agents: keep the lid closed. Every time you open it, you dump heat, mess with airflow, and extend the cook. Think of the lid as a trust exercise.
Beginner-friendly foods to smoke first
- Chicken thighs: quick, flavorful, forgiving
- Pork ribs: classic charcoal smoker training material
- Pork shoulder: long cook, but highly forgiving because of its fat content
- Sausages: easy way to practice temperature control without a full-day commitment
Step 6: Manage the Fire During the Cook
Using a charcoal smoker is really a series of tiny decisions: add fuel, adjust vents, check water, and resist panic. Over the course of a longer cook, your charcoal bed will shrink and your smoker temperature may drift. That is normal.
When to add more charcoal
If the smoker temperature keeps falling and vent adjustments are not bringing it back, add more fuel. For longer cooks, add unlit charcoal to extend the burn or a small amount of lit charcoal if the fire is fading quickly. Add wood only as needed. You do not need to keep feeding chunks constantly once the meat has taken on a good smoke profile.
When to refill the water pan
If your smoker uses a water pan, check it during longer sessions and top it off carefully. Warm water is convenient because it does not drop the smoker temperature as dramatically as cold water. Do this quickly and safely, because hot steam and ash are not known for their hospitality.
What to do if the temperature spikes
If your charcoal smoker shoots past your target, do not hose down the fire or start performing emergency barbecue surgery. First, close the bottom vents partway to reduce oxygen. Then wait. If you added too much fuel, the heat may settle once the initial surge passes. Temperature control in a charcoal smoker is more steering than stomping on the brakes.
Step 7: Cook to Temperature, Not Just Time
One of the biggest beginner mistakes is assuming that a recipe time is a guarantee. It is not. Weather, fuel, airflow, smoker size, and meat thickness all affect cooking speed. Time is a guideline. Internal temperature is the decision-maker.
Safe internal temperature examples
- Poultry: 165°F
- Ground meats: 160°F
- Whole cuts like pork chops, steaks, and roasts: 145°F minimum, then rest as appropriate
For barbecue cuts like ribs, brisket, and pork shoulder, tenderness matters as much as temperature. A pork shoulder may be technically safe long before it becomes shreddable. That is why pitmasters often cook large tough cuts until they feel tender when probed, not just until they hit a basic safety number.
Step 8: Rest the Meat Before Serving
After smoking, let the meat rest. This gives juices time to settle and helps the texture stay moist instead of turning into a cutting board flood. Smaller cuts may need 10 to 15 minutes. Larger cuts can benefit from a longer rest.
Then slice, shred, or serve. Try not to say “wow” too dramatically in front of your guests, even if the bark looks glorious and the smoke ring is making you emotional.
Common Charcoal Smoker Mistakes to Avoid
Using too much wood
Too much smoke can make food taste bitter. Start lighter than you think you need.
Opening the lid too often
This dumps heat and oxygen shifts the fire. Check only when necessary.
Ignoring thermometers
The lid thermometer, if your smoker has one, may not match the grate temperature exactly. A reliable digital thermometer can save a cook and your mood.
Chasing every tiny temperature fluctuation
A charcoal smoker does not need to sit at one exact number every second. A small range is normal. Relax unless the trend is clearly moving away from your target.
Starting with a huge expensive brisket
You can, of course. You can also learn to drive in a race car. But chicken thighs and ribs are usually kinder teachers.
A Simple Beginner Cook Example
Let’s say you want to smoke bone-in chicken thighs.
- Fill a chimney about halfway with briquettes and light it.
- Set up your charcoal smoker for indirect cooking and fill the water pan.
- Pour the lit charcoal into the fire area and add one or two small wood chunks, such as apple or cherry.
- Let the smoker settle around 250°F.
- Season the chicken and place it on the grate away from direct heat.
- Cook until the internal temperature reaches 165°F in the thickest part.
- If you want crispier skin, finish briefly over higher heat at the end.
This kind of cook gives you practice with fuel, smoke, lid discipline, and thermometer use without requiring a full-day backyard marathon.
How to Clean Up After Using a Charcoal Smoker
After the cook, close the vents to help extinguish the fire. Let the smoker cool completely before cleaning. Remove ash, empty the water pan, brush the grates, and wipe out excess grease. Too much leftover ash can interfere with airflow on your next cook, and too much grease is basically an invitation for future nonsense.
You do not need to make the smoker sparkle like a showroom display after every session, but you do want it clean enough to run safely and predictably.
Final Thoughts
Learning how to use a charcoal smoker is really about learning the rhythm of fire, fuel, and airflow. Once you understand those three things, the whole process becomes far less mysterious. Start with a simple cut, use a chimney starter, keep the top vent open enough for clean airflow, control heat with the lower vents, and trust your thermometers more than your guesswork.
Your first cook does not need to be perfect. It just needs to teach you something. Every session with a charcoal smoker makes the next one easier, and before long, what once felt like fire-powered chaos starts to feel like backyard craft. Delicious, smoky, slightly obsessive backyard craft.
Experience Notes: What It Really Feels Like to Learn on a Charcoal Smoker
The first time many people use a charcoal smoker, the experience is equal parts excitement and unnecessary suspense. You light the chimney, feel wildly competent for about eight minutes, and then immediately wonder whether the smoker is too hot, too cold, too smoky, or somehow offended by your presence. That is normal. Charcoal smoking has a learning curve, but it is a friendly one if you treat each cook like practice instead of a final exam.
One of the most common early experiences is realizing that temperature control is slower than expected. On a kitchen stove, you turn a knob and get an almost instant response. On a charcoal smoker, you adjust a vent and then wait. Then you wait some more. Then you question all your life choices. A few minutes later, the smoker finally responds. That delayed reaction teaches an important lesson: tiny adjustments beat dramatic ones. Once beginners understand that, their cooks usually improve fast.
Another very real experience is the temptation to keep opening the lid. It feels productive. It feels responsible. It feels like “monitoring.” In reality, it often turns into a sneaky habit that drags out the cook. Most people discover this the hard way after spending an afternoon checking ribs every 20 minutes and then wondering why dinner is late. The breakthrough usually comes on the cook where they finally leave the smoker closed and trust the thermometer. Suddenly the entire process feels calmer, and the food often turns out better.
Fuel management is another area where experience changes everything. Beginners often start with either too little charcoal and watch the temperature fade, or too much charcoal and accidentally create a meat sauna on the surface of the sun. After a few cooks, you start recognizing the signs. You learn what a healthy fire looks like, what kind of smoke signals clean combustion, and how much charcoal your particular smoker needs on a mild day versus a windy one. Those details are hard to memorize from a chart alone. They become obvious once you have watched your smoker behave in real conditions.
Then there is the emotional journey of the first successful cook. Maybe it is a batch of chicken thighs with bronze skin and just the right kiss of apple wood. Maybe it is ribs that finally stop tasting like smoke-flavored confusion and start tasting like actual barbecue. That moment matters because it turns the smoker from an intimidating metal cylinder into a tool you understand. Confidence starts replacing guesswork.
Experienced charcoal smoker users also learn that every cook does not have to be a giant weekend production. Some of the best practice sessions come from shorter, simpler meals: sausages, wings, chicken halves, pork tenderloin. These cooks teach you how to light, stabilize, season, and finish without burning through an entire day. Over time, those smaller wins build the instincts you need for longer cooks like pork shoulder or brisket.
In the end, the experience of learning how to use a charcoal smoker is part cooking lesson, part patience training, and part backyard science project with tastier results. You do not need perfection. You need repetition. The more often you use the smoker, the more natural it becomes, and the more fun it is to turn a pile of charcoal, a little wood, and a humble cut of meat into something that makes everyone hover near the cutting board “just for a sample.”