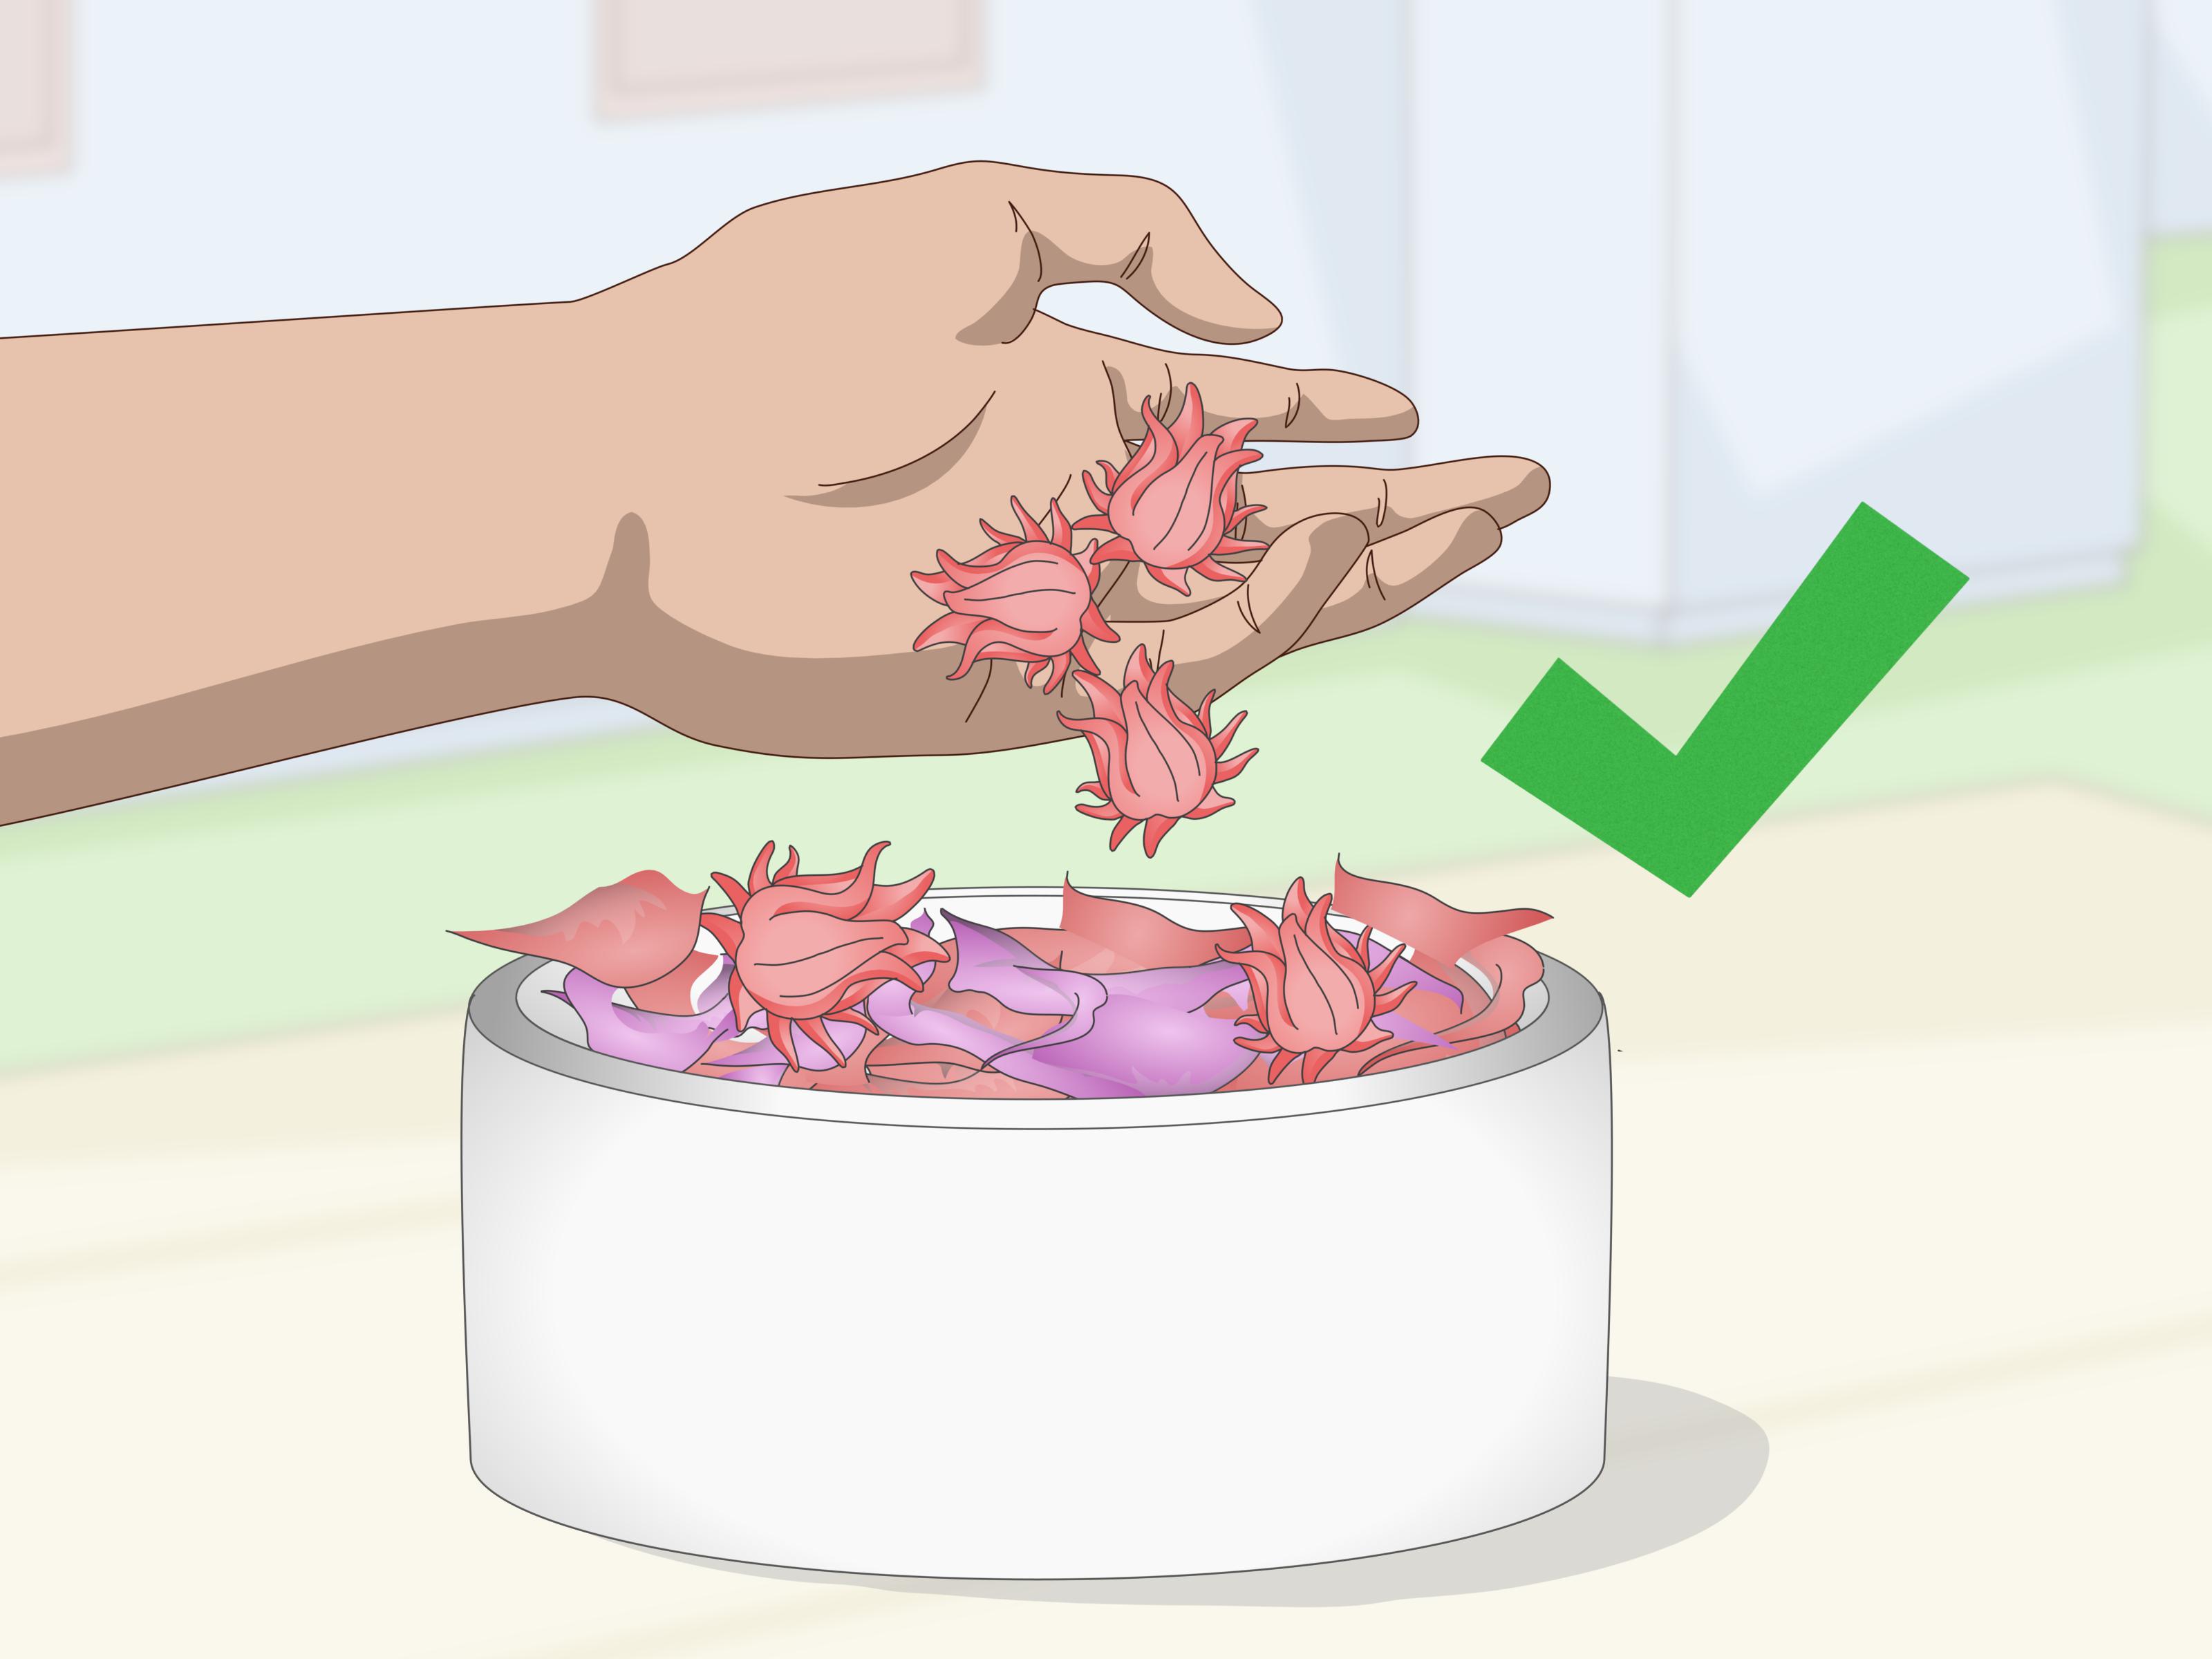
Drying hibiscus flowers is one of those delightfully old-fashioned skills that feels fancy but does not require a cottage, a straw hat, or a soundtrack of birds politely chirping in the background. Whether you want to preserve a bright bloom for crafts, save roselle calyces for homemade hibiscus tea, or keep a little piece of summer in a jar, learning how to dry a hibiscus flower is simple once you know which method matches your goal.
The trick is this: hibiscus is beautiful, but it is also dramatic. Fresh petals are delicate, full of moisture, and quick to wilt. Roselle hibiscus, the type commonly used for tart red tea, is usually dried for its fleshy calyces rather than the showy petals. Ornamental hibiscus flowers, on the other hand, are often dried for decoration, pressing, potpourri, or craft projects. Same family, different mission. Think of it as the difference between a party dress and a pantry staple.
In this guide, you will learn three practical ways to dry hibiscus flowers: air drying, dehydrator or low-oven drying, and silica gel drying for shape preservation. Each method has its own personality. Air drying is slow and easy. Dehydrating is neat and efficient. Silica gel is the diva treatment for flowers you want to keep pretty. Choose your drying method based on whether you want flavor, color, shape, or speed.
Before You Start: Choose the Right Hibiscus
Not every hibiscus flower should end up in your teacup. The hibiscus most commonly used for tea, syrups, jams, punches, and “hibiscus flowers” sold in dried form is usually Hibiscus sabdariffa, also called roselle. Its red calyces have a cranberry-like tartness and are widely used in herbal tea blends. Tropical ornamental hibiscus can be dried for crafts, but unless you are completely sure the plant is edible, untreated, and correctly identified, use it for decoration rather than food.
Pick at the right time
For the best dried hibiscus, harvest in the morning after dew has evaporated but before the sun has roasted the flowers into floral confetti. Choose blooms or calyces that are clean, fresh, and free from browning, mold, bug damage, or pesticide exposure. If you are drying roselle calyces for tea, remove the seed pod and keep the fleshy red calyx. If you are drying whole ornamental flowers, handle them gently because hibiscus petals bruise faster than an overripe peach.
Wash only when needed
If the hibiscus will be used for tea or food, rinse it under cool running water and gently pat it dry. Do not use soap, detergent, or produce wash. Extra moisture slows drying, so let the flowers or calyces sit on a clean towel until surface water disappears. If the blooms are purely decorative and already clean, you can skip rinsing and simply shake off dust or tiny garden hitchhikers.
Method 1: Air Drying Hibiscus Flowers
Air drying is the most low-tech way to dry hibiscus flowers. No gadget. No electricity. No oven babysitting. Just airflow, patience, and a place where the flowers can dry without getting blasted by direct sunlight. This method works best for roselle calyces, loose petals, and smaller hibiscus pieces. Whole hibiscus blooms can be air dried too, but they often wrinkle, shrink, and lose their original shape.
Best for
Air drying is ideal for people who want a natural drying method for hibiscus tea, potpourri, homemade bath blends, or decorative dried petals. It is also a good choice if you live in a dry climate. If your home is humid enough to make crackers go soft in ten minutes, air drying may test your patience and your flower’s will to survive.
How to air dry hibiscus
- Remove damaged petals, stems, insects, and debris.
- For roselle, separate the red calyx from the seed pod.
- Spread petals or calyces in a single layer on a drying screen, mesh rack, cooling rack, or paper towel-lined tray.
- Place the tray in a warm, dry, well-ventilated area away from direct sunlight.
- Turn the pieces once a day so they dry evenly.
- Dry until the petals feel crisp and the calyces feel firm, leathery, or brittle depending on thickness.
Air drying usually takes several days to two weeks. The exact time depends on humidity, flower thickness, air circulation, and how much moisture the plant material contains. Roselle calyces are plump and may need more time than thin petals. Do not rush the process by placing them in harsh sun unless you are comfortable losing some color and aroma. Shade drying generally helps preserve better color than hot direct sunlight.
How to know they are dry
Dried hibiscus should not feel cool, damp, sticky, or flexible in a fresh-plant way. Petals should crumble or crackle when rubbed. Calyces should no longer feel juicy in the center. If you seal hibiscus in a jar and see condensation inside the glass, it is not dry enough. Congratulations, you have made a tiny greenhouse. Open the jar immediately and continue drying.
Method 2: Dry Hibiscus in a Food Dehydrator or Low Oven
A food dehydrator is the most reliable method for drying hibiscus for tea because it controls both temperature and airflow. It is also faster than air drying, which is helpful when you have a large harvest or live somewhere humid. A low oven can work too, though it requires more attention because many home ovens run hotter than their dial suggests. Hibiscus is not a casserole. It does not appreciate surprise heat.
Best for
This method is best for roselle calyces, hibiscus petals intended for tea, and anyone who wants consistent drying with less risk of mold. It is also useful when the weather refuses to cooperate. A dehydrator is the hero of rainy weeks, sticky kitchens, and impatient gardeners.
Food dehydrator steps
- Rinse edible hibiscus or roselle calyces under cool running water if needed.
- Pat dry thoroughly with a clean towel.
- Spread petals or calyces in a single layer on dehydrator trays.
- Set the dehydrator to a low herb-drying temperature, usually around 95°F to 115°F. In very humid conditions, up to 125°F may be needed.
- Dry until the pieces are crisp, brittle, or fully dry in the thickest areas.
- Cool completely before storing.
Thin petals may dry in a few hours. Thick roselle calyces can take longer, sometimes overnight depending on their size and moisture content. Check periodically. Rotate trays if your dehydrator has hot spots. The goal is to remove moisture without cooking away the bright tart flavor and deep ruby color that make dried hibiscus so useful.
Low-oven steps
- Set the oven to its lowest temperature. If possible, aim for 170°F or lower.
- Line a baking sheet with parchment paper.
- Spread hibiscus petals or calyces in one thin layer.
- Leave the oven door slightly ajar if safe to do so, which helps moisture escape.
- Check every 20 to 30 minutes and turn the pieces as needed.
- Remove when completely dry, then cool before storing.
Oven drying is faster, but it can dull color if the heat is too high. If the petals darken quickly, smell cooked, or become brown around the edges, the oven is too hot. Hibiscus should dry, not audition for a role as herbal toast.
Method 3: Dry Hibiscus with Silica Gel for Crafts
If your goal is to preserve the shape of a hibiscus flower, silica gel is the best option. Air drying and dehydrating are excellent for tea and storage, but they usually flatten or wrinkle large blooms. Silica gel surrounds the petals and pulls moisture out while supporting the flower’s form. This method is popular for dried flower arrangements, resin crafts, shadow boxes, keepsakes, wreaths, and other decorative projects.
Best for
Use silica gel when you want dried hibiscus flowers to look as close as possible to fresh blooms. It is especially helpful for large, open flowers that would collapse if hung upside down. However, hibiscus dried in craft silica gel should be treated as decorative only, not food. Do not use silica-dried flowers for tea unless you are working with a food-safe desiccant system specifically intended for edible plants and you can avoid contamination. For most home projects, keep silica gel in the craft lane.
How to dry hibiscus in silica gel
- Choose a fresh hibiscus bloom with no bruised or wet petals.
- Trim the stem, leaving about one inch if needed for handling.
- Pour a layer of silica gel into an airtight container.
- Place the flower face up on the silica gel.
- Gently spoon more silica gel around and over the petals until the bloom is completely covered.
- Seal the container tightly.
- Check after a few days. Drying time varies by bloom size and moisture level.
- When dry, carefully pour off the silica gel and use a soft brush to remove remaining crystals.
Patience matters here. Pulling the flower out too soon can damage petals that are still soft. Leaving it too long may make petals overly brittle. Start checking after two or three days, then continue as needed. If you are drying multiple flowers, label the container with the date, because “I’ll remember” is the famous last sentence of every craft project.
How to Store Dried Hibiscus
Proper storage is what separates beautifully dried hibiscus from a sad jar of faded mystery flakes. Once the hibiscus is fully dry and completely cool, store it in an airtight glass jar, metal tin, or food-safe container. Keep it in a cool, dark, dry cabinet away from sunlight, steam, and heat. A kitchen shelf above the stove is convenient, but it is also a sauna. Choose a calmer location.
For tea, store dried roselle calyces whole when possible and crush them right before brewing. Whole pieces tend to hold flavor, color, and aroma better than powder. For crafts, keep decorative dried flowers in a sealed box with tissue paper and avoid squeezing them. Silica-dried hibiscus can be delicate, so treat it like a tiny museum artifact with petals.
Common Mistakes When Drying Hibiscus
Using flowers from treated plants
Never use hibiscus for tea if the plant has been sprayed with pesticides, fungicides, or unknown garden chemicals. Decorative flowers from florists and garden centers may be treated too. When in doubt, use them for crafts only.
Drying flowers in direct sun for too long
Sun can dry hibiscus, but it can also fade color and reduce quality. A warm, shaded, airy space is better for preserving the flower’s natural beauty. Sun drying may be useful in some climates, but it needs protection from dust, insects, and sudden weather changes.
Packing the tray too tightly
Hibiscus needs airflow. If petals or calyces overlap in a thick pile, moisture gets trapped and drying becomes uneven. Spread everything in a single layer. Give each piece a little personal space. Even flowers need boundaries.
Storing before fully dry
This is the biggest mistake. Hibiscus may look dry on the outside but still hold moisture inside thick calyces. If stored too soon, it can mold. Always test the thickest pieces before sealing them in a jar.
How to Use Dried Hibiscus
Dried hibiscus is wonderfully versatile. Roselle calyces can be steeped into hot tea, iced tea, agua fresca-style drinks, syrups, sauces, jams, and mocktails. The flavor is tart, fruity, and refreshing, often compared to cranberry or rhubarb. A small handful goes a long way, especially if the hibiscus is deeply colored and aromatic.
For a simple hibiscus tea, steep dried roselle in hot water for 10 to 15 minutes, then strain. Add honey, lemon, orange peel, cinnamon, ginger, mint, or a splash of lime. Serve it hot in winter or chilled over ice in summer. It is caffeine-free, bold in color, and dramatic enough to make plain water feel underdressed.
Dried ornamental hibiscus can be used in pressed flower art, handmade cards, resin trays, bookmarks, framed botanical displays, potpourri, and wreaths. If using dried flowers in resin, make sure they are completely dry first. Any trapped moisture can cause discoloration or bubbles, and nobody wants their craft project to look like it is quietly fermenting.
Personal Experience: What Drying Hibiscus Teaches You
Drying hibiscus sounds like a simple chore until you actually do it and realize the flower has opinions. The first lesson is that hibiscus does not wait politely. Fresh blooms fade quickly, so the best results come from working with them soon after harvest. I like to think of hibiscus as the friend who shows up looking fabulous but must leave the party early. If you want to preserve that color and shape, you need to act while the petals are still fresh.
The easiest experience is air drying, especially when working with roselle calyces. After removing the seed pods, spreading the calyces on a screen feels almost too simple. The challenge is not the technique; it is patience. You check them on day one and they look the same. Day two, still stubborn. Then suddenly they become darker, lighter in weight, and leathery. A few days later, they are ready for the jar. It feels a little like gardening magic, except the wand is good airflow.
The dehydrator method is my favorite when consistency matters. It turns hibiscus drying into a neat little system: clean, spread, set temperature, check, cool, store. The color often stays better than expected, and the finished calyces are easy to use for tea. The biggest lesson is not to overload the trays. A crowded dehydrator dries unevenly, and some pieces will finish while others still hold moisture. If you have ever pulled laundry from a dryer and found one damp sock hiding inside a sheet, you understand the problem.
Oven drying works, but it asks for attention. It is useful when you do not own a dehydrator, yet it can go from “almost dry” to “oops, herbal potato chips” very quickly. Low heat is essential. Checking often is not optional. If the oven smells strongly cooked, the hibiscus is probably getting too hot. A slightly open oven door can help moisture escape, but safety comes first, especially in a busy kitchen. Keep kids, pets, towels, and curious elbows away from the oven door.
Silica gel drying feels completely different because the goal is beauty rather than flavor. The first time you bury a hibiscus bloom in silica gel, it feels wrong, like tucking a flower into sparkly sand and hoping for the best. But when it works, the result is impressive. The flower keeps more shape than it ever would by hanging upside down. The trade-off is fragility. A silica-dried hibiscus is not something you toss into a craft bin. It needs gentle handling, a soft brush, and a storage spot where it will not be crushed by scissors, glue sticks, or that one mystery object every craft drawer contains.
The biggest practical takeaway is to decide your purpose before choosing your method. For tea, dry clean edible roselle calyces with air drying or a dehydrator. For quick pantry storage, choose the dehydrator. For decorative flowers, use silica gel. For experiments, try all three and label your results. Hibiscus is forgiving enough to teach you, but delicate enough to remind you that nature does not always follow your schedule. That is part of the fun.
Conclusion
Learning how to dry a hibiscus flower gives you more than a pretty jar of petals. It helps you preserve color, flavor, and garden abundance in a practical way. Air drying is simple and natural, a food dehydrator or low oven is faster and more controlled, and silica gel is best for keeping whole blooms beautiful for crafts. The best method depends on your goal: tea, storage, decoration, or experimentation.
Start with clean, fresh, untreated flowers or roselle calyces. Dry them slowly enough to protect their quality, but thoroughly enough to prevent mold. Store them in airtight containers away from light and moisture. Do that, and your hibiscus will be ready for bright red tea, handmade gifts, botanical art, or simply the satisfaction of saying, “Yes, I dried those myself,” which is a small but very real flex.