Editor’s note: This closet makeover is for anyone who has ever opened a closet door, stared into the fabric abyss, and quietly decided that wearing the same hoodie for the third day in a row was “minimalism.”
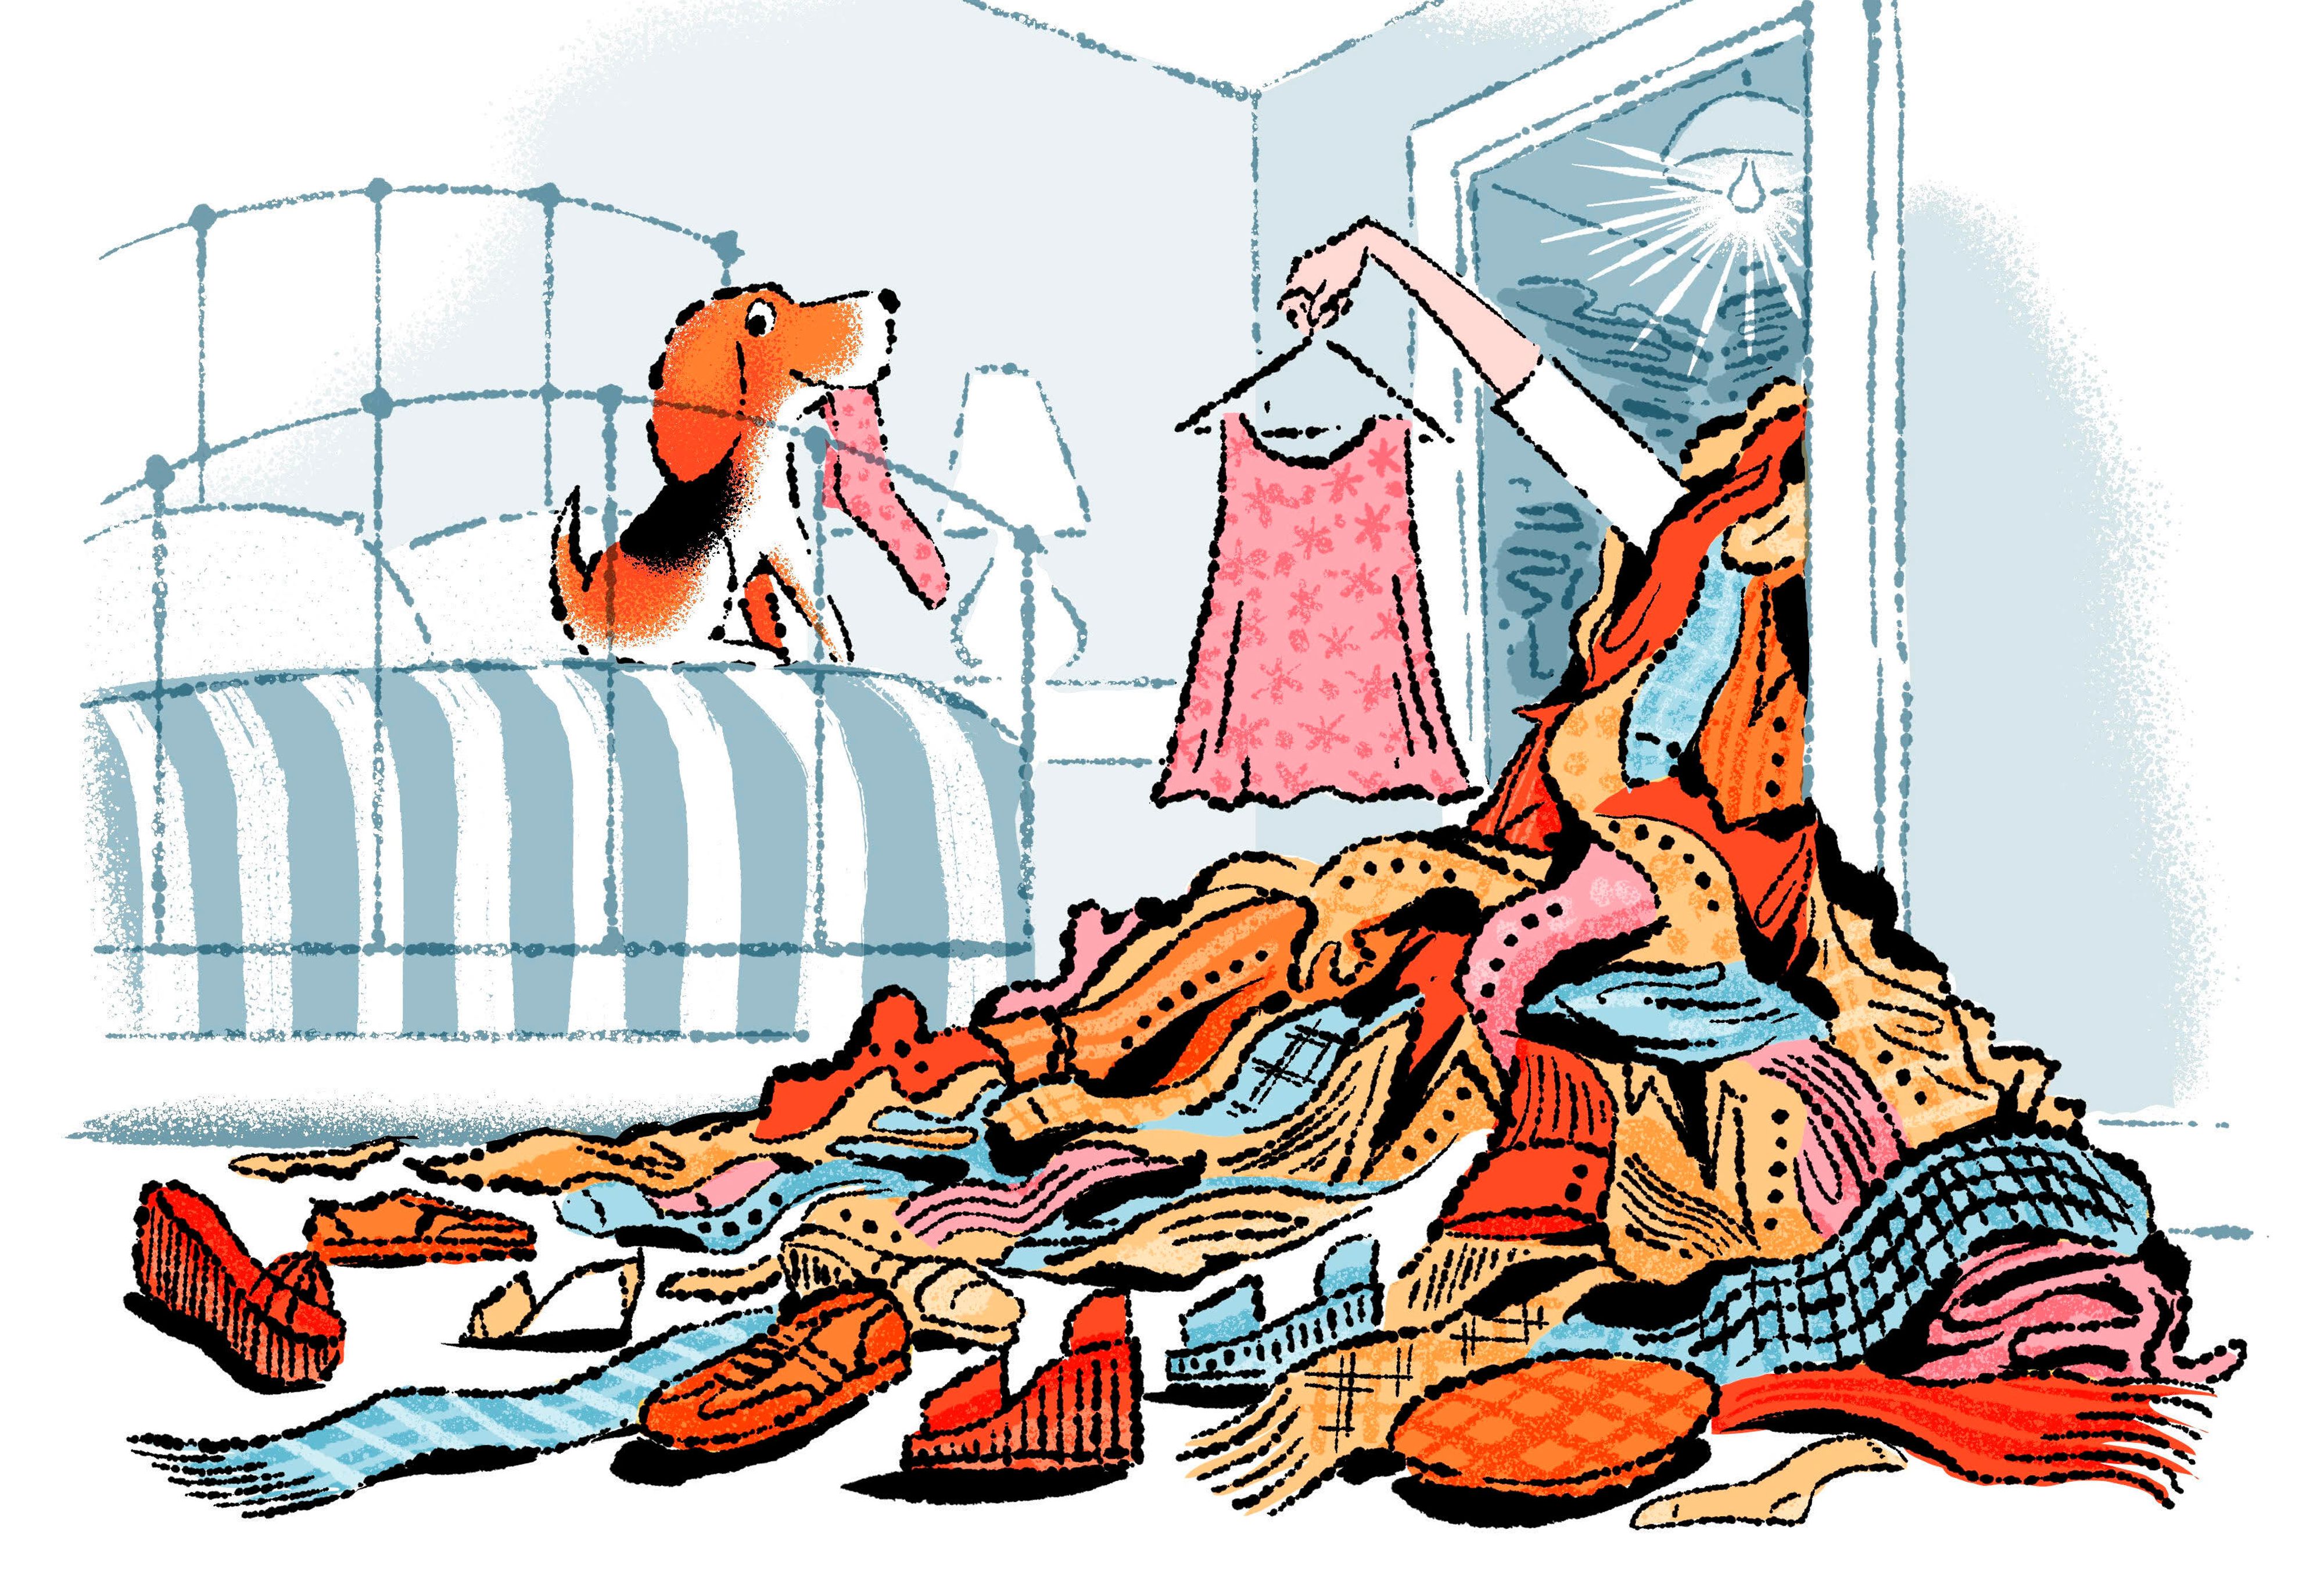
My messy closet finally got a complete makeover, and honestly, it was long overdue. For months, my closet had been less of a storage space and more of a textile avalanche waiting for one brave pair of shoes to shift the wrong way. Clothes were jammed onto hangers, sweaters were stacked like unstable pancakes, and there was a mysterious bag in the back that seemed to contain either scarves, old receipts, or possibly a portal to 2016.
The good news? A closet makeover does not require a luxury walk-in wardrobe, a professional organizer on speed dial, or a budget that makes your wallet fake its own death. What it does require is a practical plan: decluttering, sorting, zoning, storage tools, and a maintenance routine that works in real lifenot just in dreamy home makeover photos where nobody owns laundry.
This guide walks through the exact process of turning a messy closet into a functional, calm, and surprisingly good-looking space. Along the way, we will cover closet organization ideas, small closet storage solutions, wardrobe decluttering tips, and the tiny habits that keep the mess from staging a comeback.
Why My Closet Became a Disaster in the First Place
Before the makeover, my closet had three main problems: too much stuff, no clear system, and a habit of treating empty corners like emergency storage zones. That combination is how a closet goes from “a little full” to “please wear protective gear before opening.”
The biggest issue was that I had never decided what the closet was supposed to hold. Everyday clothes lived beside formalwear, seasonal jackets, old shoes, sentimental T-shirts, travel bags, random linens, and one box labeled “miscellaneous,” which is basically a confession. When every item has equal priority, nothing is easy to find.
The Closet Was Working Against My Morning Routine
A messy closet is not just a visual problem. It wastes time, creates decision fatigue, and makes perfectly good clothes disappear. I owned outfits I forgot about simply because they were buried behind items I did not wear. Getting dressed felt like a treasure hunt, except the treasure was usually wrinkled and slightly annoyed.
The makeover goal was simple: create a closet where the clothes I actually wear are easy to see, easy to reach, and easy to put away. That last part matters. If a closet system is too complicated, it will collapse the first time real life gets busy.
Step 1: I Took Everything Out
The first step in any successful closet makeover is also the most dramatic: remove everything. Not some things. Not the things in front. Everything. The shoes, the hangers, the bins, the mystery tote, the belts tangled together like a leather octopusout they came.
Emptying the closet created an instant reality check. It showed how much I had been storing and how little of it deserved prime closet real estate. It also gave me a clean slate, which made the project feel less like “tidying up” and more like rebuilding a useful space from the ground up.
Cleaning the Closet Before Reorganizing
Once the closet was empty, I vacuumed the floor, wiped down shelves, dusted corners, and cleaned the baseboards. This step sounds small, but it changes the energy of the project. A clean closet makes you more selective about what you put back inside. Suddenly, that stretched-out sweater with a coffee stain starts looking less like “maybe someday” and more like “thank you for your service.”
Step 2: I Sorted Clothes Into Clear Categories
After everything came out, I sorted items into categories: tops, pants, dresses, jackets, workout clothes, shoes, bags, accessories, seasonal pieces, donate, repair, and toss. This made the closet organization process much easier because I could see duplicates and patterns.
For example, I discovered I owned several nearly identical black shirts, but only two of them actually fit well. I also found shoes I had not worn in years, a blazer that belonged to a job I no longer had, and jeans that seemed to have shrunk emotionally as well as physically.
The Four-Pile Decluttering Method
The most useful system was dividing items into four piles:
- Keep: Clothes that fit, feel good, and match my current lifestyle.
- Donate or sell: Items in good condition that I no longer wear.
- Repair: Pieces that need a button, hem, zipper, or minor fix.
- Discard: Worn-out, stained, damaged, or unusable items.
The key was honesty. If I had not worn something in a year, I asked why. Sometimes the answer was practical: wrong size, uncomfortable fabric, hard to style. Other times the answer was emotional: it was expensive, it was a gift, or it represented an imaginary version of me who casually wears linen trousers without wrinkling them before noon.
Step 3: I Used the “Real Life” Test
A closet makeover should support your actual life, not your fantasy calendar. I had to stop organizing for the person I thought I might become and start organizing for the person who works, runs errands, does laundry imperfectly, and occasionally eats cereal for dinner.
The real-life test was simple: Would I wear this again in the next season? Does it fit today? Can I style it with clothes I already own? Is it comfortable enough that I will not regret putting it on by lunchtime?
If an item failed every question, it did not go back into the closet. This freed up more space than any storage bin could have.
What I Learned About “Just in Case” Clothes
“Just in case” clothes are sneaky. Just in case I get invited to a themed party. Just in case I need five old hoodies. Just in case low-rise jeans make a personal comeback in my life. The problem is that “just in case” items often crowd out the clothes you use every week.
I kept a small number of special-occasion pieces, but they moved to a less accessible zone. Everyday clothing earned the easiest spots. That single decision made the closet feel more intuitive immediately.
Step 4: I Created Closet Zones
One of the best closet organization ideas is zoning. Instead of putting clothes back randomly, I grouped items by how often I use them and what they are used for. This made the closet easier to navigate and easier to maintain.
Zone 1: Everyday Favorites
The most accessible area became the home for everyday clothes: T-shirts, blouses, jeans, workwear, and the pieces I reach for constantly. These items went at eye level and within easy arm’s reach.
Zone 2: Occasional Items
Less frequently used pieces, such as dressy outfits, structured jackets, and special-event clothing, moved to the side sections of the closet. They stayed visible but did not compete with daily essentials.
Zone 3: Seasonal and Rarely Used Items
Out-of-season clothing went into labeled bins on higher shelves. Heavy winter layers, holiday outfits, and travel accessories no longer needed to take up the most valuable space in the closet. This one change made the closet feel twice as large, even though no walls moved and no magic contractor appeared.
Step 5: I Swapped the Hangers
Mismatched hangers made my closet look chaotic even after decluttering. Some were plastic, some were wire, some were wooden, and a few looked like they had survived a laundry room battle. Replacing them with matching slim hangers instantly made the closet feel more polished.
Matching hangers are not just about looks. Slim hangers save space, help clothing hang at the same height, and make it easier to slide items back and forth. Velvet-style hangers also help slippery tops stay in place, which means fewer surprise clothing landslides on the closet floor.
Why Wire Hangers Had to Go
Wire hangers from the dry cleaner were the first to leave. They bend easily, create shoulder bumps, and make even nice clothes look neglected. Once they were gone, the closet looked calmer, cleaner, and more intentional.
Step 6: I Added Bins, Baskets, and Shelf Dividers
Storage tools are helpful, but only when they solve a specific problem. I did not want to buy a cart full of containers and then create a new problem called “Where do I store all these baskets?” Instead, I matched each organizer to a category.
Fabric bins held seasonal accessories. Clear containers stored items I needed to identify quickly. Shelf dividers kept folded sweaters from leaning into each other like sleepy commuters. A small basket corralled belts and scarves. Another bin held travel pouches and packing cubes.
Labels Made the System Easier to Keep
Labels may sound fussy, but they are secretly practical. A label turns a bin from “random storage” into “this exact category belongs here.” I labeled seasonal sweaters, scarves, handbags, travel items, and donation items. The labels also made it much easier to put things away quickly.
Step 7: I Used Vertical Space
One reason my messy closet felt so cramped was that I was using the floor and rod but ignoring vertical space. Once I looked upliterallyI saw storage opportunities on shelves, doors, and side walls.
Over-the-door organizers can hold shoes, accessories, scarves, small bags, or seasonal extras. Hooks can store belts, hats, robes, or frequently used tote bags. Stackable bins can make high shelves more useful. Shelf risers can create a second level for folded items.
Small Closet Storage Ideas That Actually Help
If your closet is small, focus on storage that uses height, not floor space. Double-hanging rods can work well for shirts and pants. Clear shoe boxes can stack neatly. Slim hangers create more room on the rod. Hooks make use of awkward side walls. The goal is to stop treating the closet floor like a storage solution, because the floor is where organization goes to nap.
Step 8: I Reorganized Shoes and Accessories
Shoes were one of the messiest parts of my closet. Before the makeover, they were scattered in pairs, half-pairs, and “I swear the other one is here somewhere” situations. I sorted them by type: everyday shoes, dress shoes, seasonal shoes, and shoes to donate.
Everyday shoes stayed near the bottom front of the closet. Dress shoes moved into clear boxes. Off-season shoes went higher up. Damaged or uncomfortable shoes left the closet completely. If shoes hurt every time I wore them, they were no longer shoes; they were decorative foot traps.
Accessory Storage Prevented Tiny Clutter
Accessories can create major visual clutter because they are small and easy to scatter. I used simple containers for belts, scarves, hats, and small bags. The goal was not perfection. It was visibility. If I can see what I own, I am much more likely to use it.
Step 9: I Made the Closet Easier to Maintain
A closet makeover is only successful if it survives ordinary life. So I built in simple maintenance habits. Every item needed a home. Every category needed a limit. Every new purchase needed space before it came in.
The most important rule was the five-minute reset. At the end of the day, I hang up clean clothes, return shoes to their spot, and put accessories back in their bins. Five minutes is much easier than waiting until the closet becomes a dramatic before photo again.
The One-In, One-Out Rule
To prevent future clutter, I started using a one-in, one-out rule. When I buy a new sweater, an old or unused sweater leaves. When I add new shoes, a pair I do not wear gets donated or recycled if possible. This keeps the closet from slowly expanding back into chaos.
Budget-Friendly Closet Makeover Ideas
A complete closet makeover does not have to be expensive. In fact, decluttering is free, and it usually creates the biggest transformation. After that, small upgrades can make a big difference.
- Use matching slim hangers for a cleaner look and more rod space.
- Repurpose baskets, bins, or boxes you already own.
- Add hooks to unused wall or door space.
- Use shelf dividers for sweaters, bags, and linens.
- Store off-season items in labeled containers.
- Move rarely used items to high shelves or under-bed storage.
- Keep a donation bag in or near the closet for quick edits.
My favorite budget trick was using what I already had before buying anything new. I found two baskets in another room, repurposed a clear bin from the laundry area, and reused a small tray for jewelry and watches. The closet looked better without turning into a shopping spree disguised as organization.
Common Closet Makeover Mistakes to Avoid
Closet organization can go wrong when the focus is only on making the space look pretty. A closet can be beautiful and still useless if it does not match your habits.
Buying Organizers Before Decluttering
This is the classic mistake. Buying bins before sorting your clothes often means you end up organizing items you should have removed. Declutter first, then buy storage only for what remains.
Keeping Too Many Sentimental Clothes
Sentimental clothing can be meaningful, but it should not take over your everyday closet. I kept a few special pieces in a memory box and let go of items that no longer served a purpose.
Ignoring Laundry Habits
If you hate folding, do not create a system that requires perfect folding. If you toss shoes off quickly, make the shoe area easy to use. A good closet makeover works with your habits, not against them.
The Final Result: A Closet That Finally Makes Sense
After the complete makeover, my closet looked brighter, cleaner, and far less judgmental. I could see my clothes. I could find my shoes. I could get dressed faster. Most importantly, I no longer felt a tiny wave of dread every time I opened the door.
The makeover also changed how I shop. I became more aware of what I actually wear, which colors I reach for, which fabrics I avoid, and which pieces earn their space. A tidy closet makes your wardrobe more useful because it reveals what you already own.
My messy closet finally got a complete makeover, but the real win was not just the tidy shelves or matching hangers. It was creating a system that made daily life easier. That is the secret of great closet organization: it should feel less like a magazine shoot and more like a helpful friend who says, “Your favorite jeans are right here.”
Extra Experience: What This Closet Makeover Taught Me
The biggest lesson from my closet makeover was that clutter is often delayed decision-making. Every shirt I was unsure about, every pair of shoes I kept “just in case,” and every bag stuffed onto a shelf represented a decision I had postponed. Once I understood that, the process felt less like cleaning and more like editing my life.
I also learned that a closet should not be a guilt museum. I had kept clothes because they were expensive, because someone gave them to me, or because I remembered liking them at one point. But guilt is not a good enough reason to let something take up valuable space. If a piece does not fit, flatter, function, or make you feel like yourself, it may be time to let it go.
Another surprising discovery was how much easier mornings became. Before the makeover, choosing an outfit involved digging, sighing, and occasionally negotiating with a wrinkled blouse. Afterward, I could build outfits quickly because everything was visible and grouped logically. Work clothes were together. Casual clothes were together. Accessories had homes. Shoes were paired like responsible adults.
The makeover also helped me identify wardrobe gaps. I realized I had plenty of tops but not enough comfortable everyday pants. I had several jackets but only one I truly loved. I had too many “almost right” items and not enough reliable basics. Instead of shopping randomly, I could make better decisions based on what my closet actually needed.
Maintenance became easier once I stopped chasing perfection. My closet does not look flawless every single day, and that is fine. The difference is that now it has a structure to return to. When things get messy, I know where they belong. That makes cleanup faster and less frustrating.
My favorite habit is keeping a small donation bag nearby. Whenever I try something on and immediately take it off because it feels wrong, I do not put it back on the hanger. I put it in the donation bag. This tiny habit prevents clutter from rebuilding one “maybe” item at a time.
I also learned that visibility matters more than abundance. When my closet was packed, I felt like I had nothing to wear. Once it was edited and organized, I felt like I had more options, even though I owned fewer things. That is because useful clothes were no longer buried behind clutter.
If your closet is messy right now, start small. Choose one category, such as shoes or sweaters. Set a timer. Pull everything out. Keep only what fits your life today. You do not need to finish the entire makeover in one afternoon. Progress counts, even if your closet only becomes 20 percent less chaotic. That is still 20 percent fewer chances of being attacked by a falling handbag.
In the end, my complete closet makeover was not really about having a perfect closet. It was about creating a space that supports my routines, reflects my current life, and makes getting dressed feel easier. And yes, it is also nice to open the closet door without whispering, “Please don’t fall.”
Conclusion
My messy closet finally got a complete makeover, and the process proved that great closet organization starts with honest decluttering, not expensive storage products. By emptying the closet, sorting every item, creating practical zones, using matching hangers, adding smart bins, and building simple maintenance habits, even a chaotic closet can become functional and calm.
The best closet makeover is not the one that looks perfect for one day. It is the one that keeps working after laundry day, busy mornings, and real-life outfit changes. When every item has a place and every place has a purpose, your closet becomes more than storage. It becomes a daily tool that helps you feel prepared, confident, and slightly less likely to wear the same sweater because everything else is hiding.