Granite is the tuxedo of countertop materials: classy, durable, and somehow still able to collect toast crumbs in places you swear you just wiped. Whether your granite countertop has lost its showroom sparkle or your bathroom vanity looks a little sleepy, polishing can bring back that smooth, glossy finishwhen it is done the right way.
The important phrase here is the right way. Granite is tough, but it is not invincible. Vinegar, lemon juice, bleach, ammonia, scouring powders, steel wool, and mystery cleaners from the back of the cabinet can dull the finish, weaken the sealer, or leave scratches that require professional restoration. In other words, granite may be hard as a rock, but it still has feelings.
This guide explains four practical ways to polish granite at home: routine cleaning and buffing, commercial granite polish, a gentle paste method for stubborn dull spots, and professional polishing for deeper damage. You will also learn how to prepare the surface, test the seal, avoid common mistakes, and keep your granite shiny longer without turning your kitchen into a chemistry experiment.
Before You Polish Granite: Know What You Are Really Fixing
Before grabbing a polish bottle, figure out why your granite looks dull. A cloudy countertop does not always need polishing. Sometimes it is simply covered with soap film, hard-water residue, cooking grease, or a weak layer of old cleaner. Polishing over grime is like putting perfume on a gym sock: technically something happened, but nobody is impressed.
Start by cleaning the granite with warm water, a few drops of mild dish soap, and a soft microfiber cloth. Rinse with clean water and dry thoroughly. If the surface immediately looks better, the “dullness” was likely residue. If it still looks flat, uneven, or patchy, the issue may involve the sealer, surface wear, stains, or scratches.
Do the Water Test
Place a few drops of water on several areas of the granite and let them sit for about 15 to 30 minutes. If the water beads up, the sealer is probably doing its job. If the stone darkens or absorbs the water, it may need resealing before polishing. A weak sealer can cause polish to look uneven, and it leaves the stone more vulnerable to stains from coffee, wine, oil, cosmetics, and other everyday villains.
Gather the Right Supplies
For most home granite polishing jobs, you will need microfiber cloths, mild dish soap, warm water, a pH-neutral stone cleaner, a granite-safe polish, painter’s tape if working near wood or painted edges, and a dry buffing cloth. Avoid abrasive pads, powdered cleansers, vinegar, lemon juice, glass cleaner, bleach, ammonia, and general-purpose cleaners that are not labeled safe for natural stone.
Way 1: Clean and Buff Granite for a Natural Shine
The first and safest way to polish granite is also the least dramatic: clean it properly and buff it dry. This method works beautifully when the granite is not damaged but looks dull because of fingerprints, water spots, soap haze, or kitchen grease. It is the countertop version of washing your face before deciding you need a makeover.
Step 1: Remove Crumbs and Grit
Use a dry microfiber cloth to remove crumbs, dust, and grit. Granite can handle plenty, but dragging tiny particles across the surface while wiping can create micro-scratches over time. Pay attention to edges, corners, and areas around appliances, where crumbs seem to hold secret meetings.
Step 2: Wash with Mild Soap and Warm Water
Mix warm water with a small amount of mild dish soap. Dampen a microfiber cloth or soft sponge, wring it out well, and wipe the granite in gentle circular motions. Do not flood the surface. Granite countertops are usually sealed, but excess water around seams, sink edges, and backsplashes can still cause problems.
Step 3: Rinse and Dry
Soap residue is one of the biggest reasons granite looks cloudy after cleaning. Wipe the surface again with a clean cloth dampened with plain water. Then dry immediately with a fresh microfiber towel. This step prevents water spots and streaks, especially on dark granite where every tiny mark acts like it has a spotlight.
Step 4: Buff Until It Shines
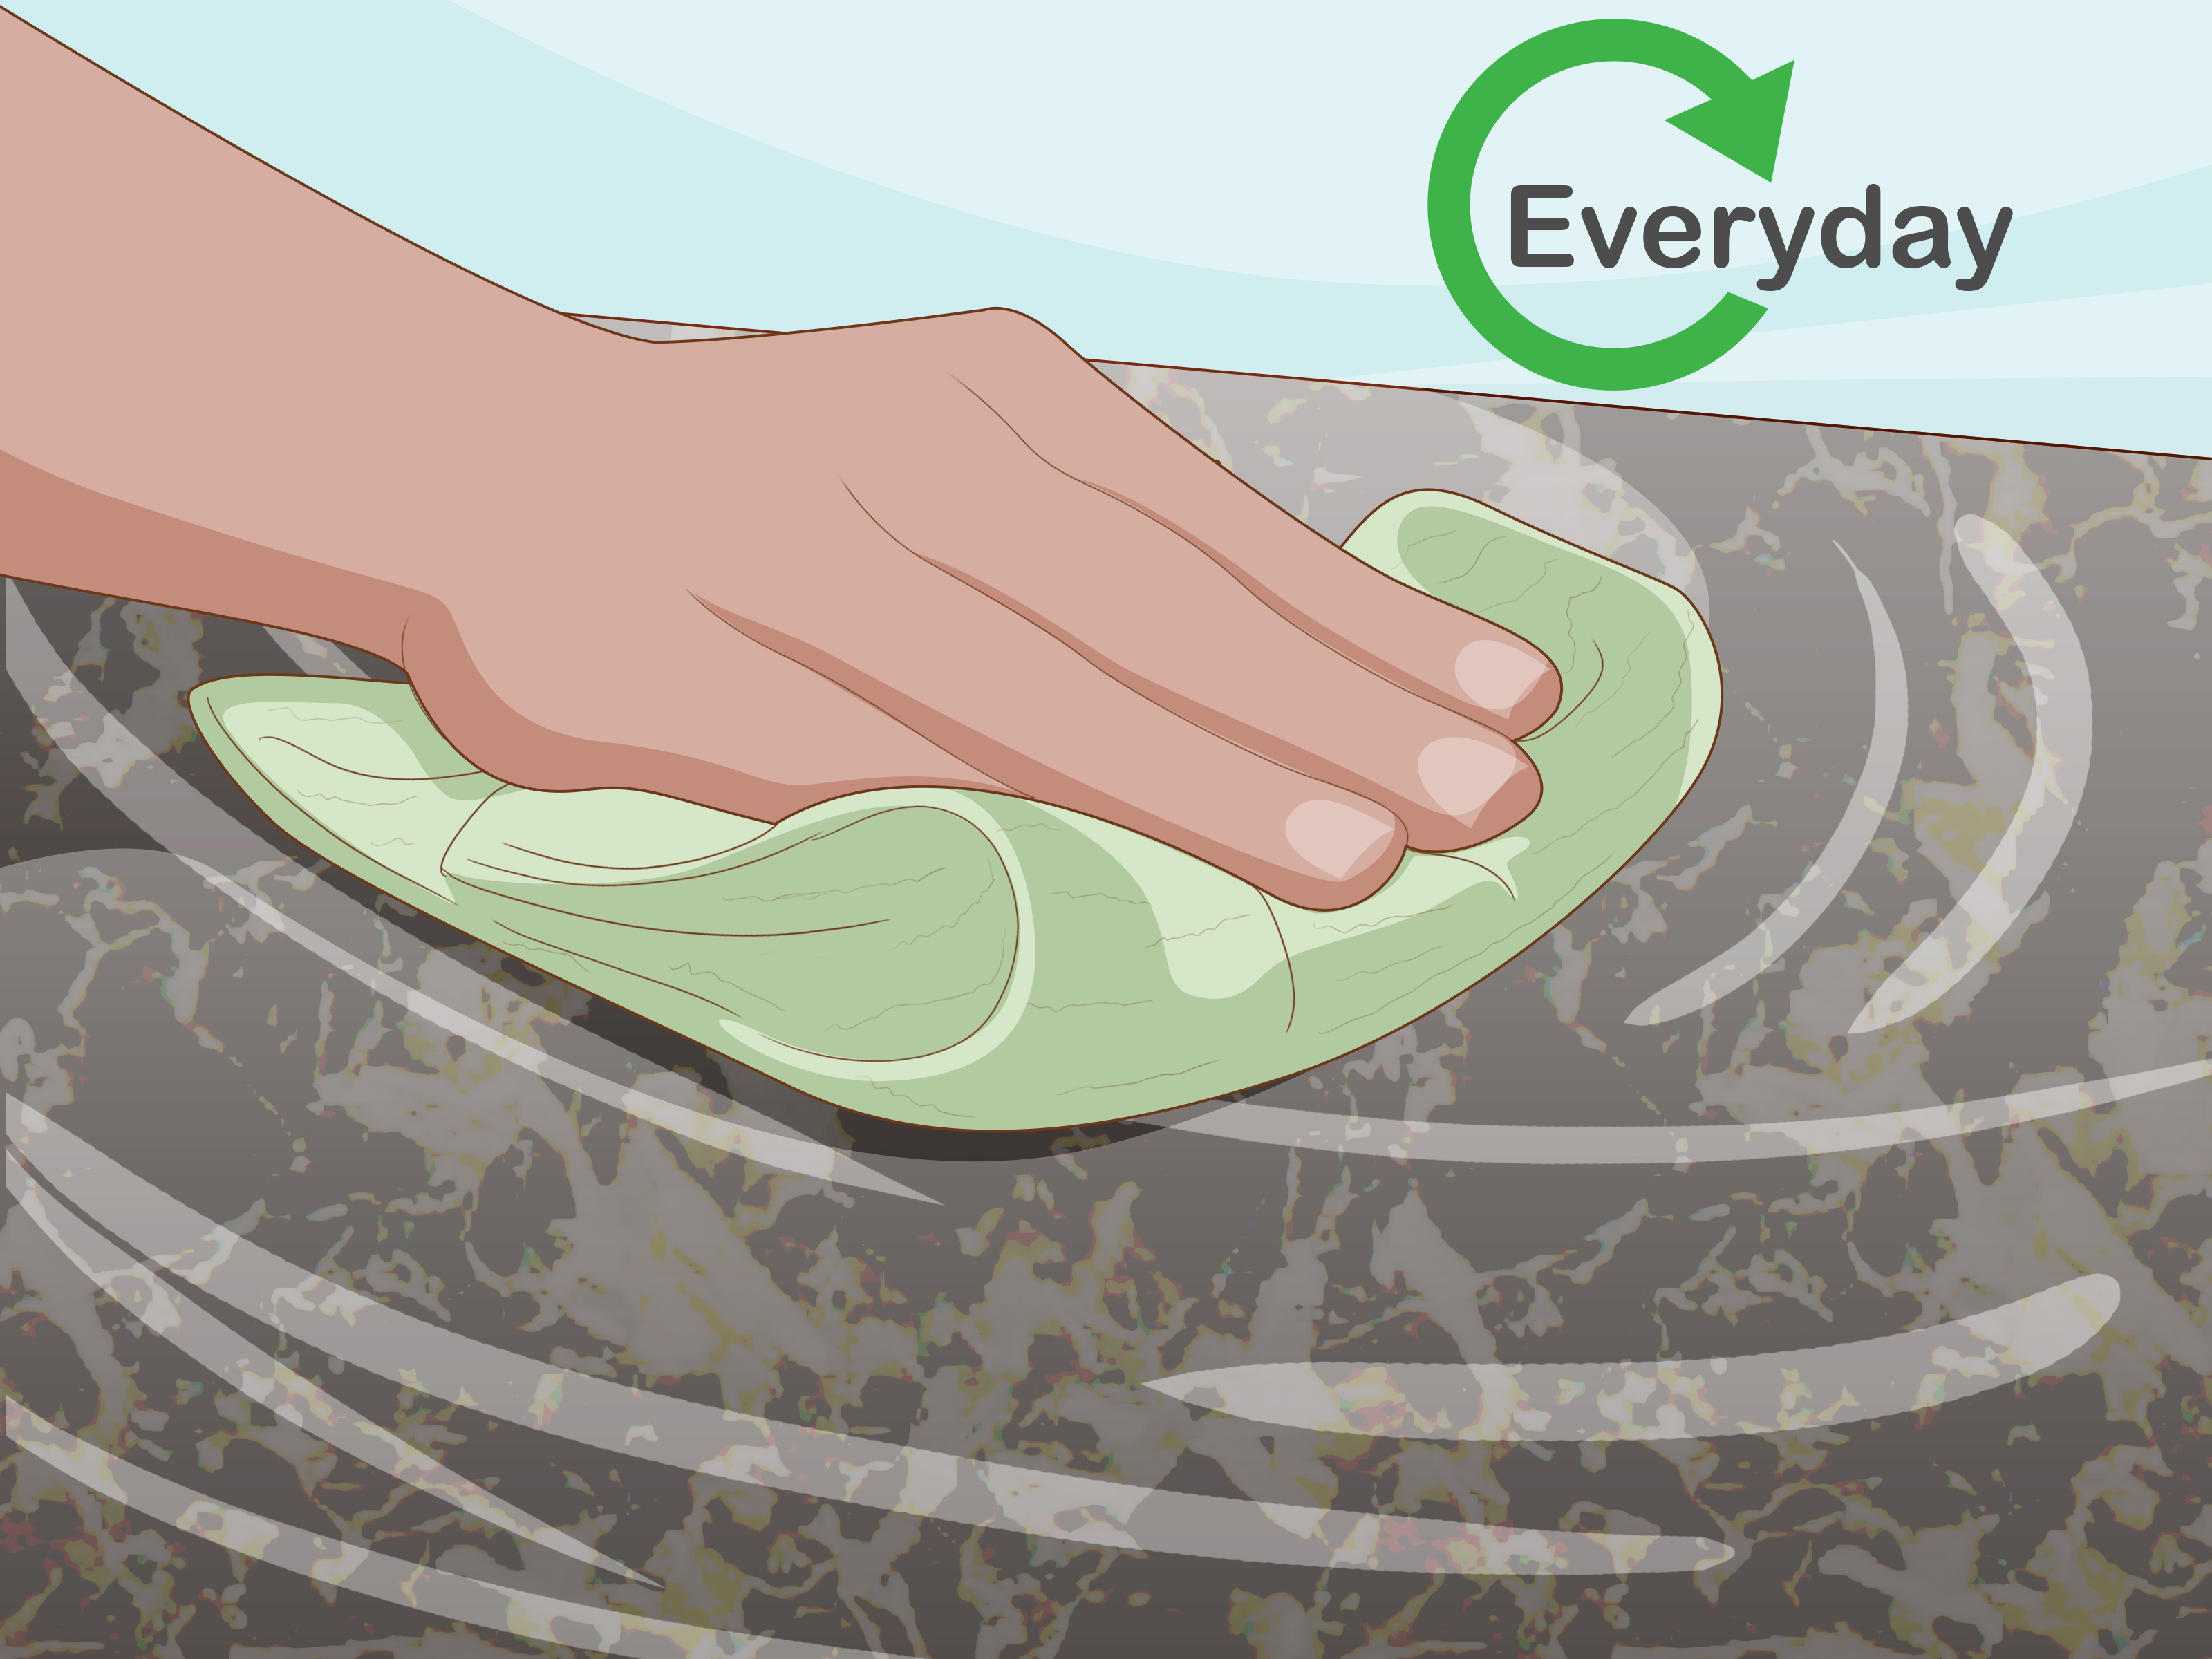
Use a dry microfiber cloth and buff the surface in overlapping circles. You are not grinding the stone; you are removing remaining moisture and residue while enhancing the existing finish. For daily maintenance, this simple clean-rinse-dry-buff routine is often enough to keep polished granite looking bright.
Way 2: Use a Commercial Granite Polish
If cleaning and buffing are not enough, a granite-safe commercial polish can add a richer shine. Choose a product specifically labeled for granite or natural stone. Many granite polishes are designed to enhance gloss, reduce fingerprints, and support the protective sealed surface. They are not the same as furniture polish, car wax, or that suspicious spray under the sink with the label half peeled off.
Step 1: Clean First
Granite polish should never be applied to a dirty countertop. Clean the surface with a pH-neutral stone cleaner or mild dish soap and water. Rinse well and dry completely. If the counter feels greasy, sticky, or gritty, keep cleaning. Polish works best on a spotless surface.
Step 2: Work in Small Sections
Spray or apply the polish according to the product directions. Work in manageable sections of about two to three square feet. This helps you apply an even coat before the product dries. If you try to polish the whole island at once, you may end up racing around the kitchen like a contestant on a home-improvement game show.
Step 3: Buff with a Lint-Free Cloth
Use a dry microfiber or lint-free cloth to buff the polish into the surface. Move in circular motions, then finish with straight passes for a streak-free look. Turn the cloth frequently so you are not spreading excess product around. The goal is a clean, smooth sheennot a slippery film.
Step 4: Inspect from Different Angles
Granite reflects light differently depending on its pattern, color, and mineral content. Step back and look across the counter from several angles. If you see streaks, buff again with a clean dry cloth. If you see dull patches that do not improve, the issue may be a weak sealer, residue, etching, or surface wear rather than a lack of polish.
Way 3: Use a Gentle Paste for Small Dull Spots and Stains
Sometimes granite looks dull because a stain, hard-water mark, or greasy patch is sitting on or just below the surface. A gentle paste can help draw out certain stains and improve the appearance before you polish. This method is best for small areas, not for resurfacing an entire countertop.
For Light Residue or Greasy Spots
Make a soft paste using baking soda and water. Apply it to the affected area and gently rub with a microfiber cloth. Do not scrub aggressively. Baking soda is mild, but pressure plus repetition can still create dullness on some finishes. Rinse thoroughly and dry the area completely.
For Oil-Based Stains
For a stubborn oil mark, apply a slightly thicker baking soda and water paste over the stain. Cover it with plastic wrap, tape the edges, and let it sit for several hours or overnight. As the paste dries, it may help pull oil out of the stone. Remove the paste, rinse with clean water, dry thoroughly, and then buff.
For Water Spots Around Sinks
Water spots often come from minerals left behind after water evaporates. Try cleaning the area with a pH-neutral stone cleaner, rinsing well, and drying immediately. If a faint mark remains, use a granite-safe polish and buff lightly. Avoid vinegar, even though it is popular for hard-water stains on other surfaces. Granite and vinegar are not friends; they are more like coworkers who should not be left alone in a meeting room.
When Not to Use a Paste
Do not use a paste on cracked stone, loose seams, unsealed granite, or large areas of dullness. Do not use acidic stain removers, abrasive powders, or rough pads. If the stain is deep, the stone is etched, or the finish looks physically worn, call a stone-care professional before experimenting further.
Way 4: Hire a Professional for Diamond Polishing or Restoration
Some granite problems cannot be fixed with a spray bottle and enthusiasm. If the countertop has deep scratches, widespread dullness, uneven shine, damaged edges, or a finish that looks cloudy no matter what you do, it may need professional polishing. Professionals use specialized diamond abrasives, polishing compounds, pads, and equipment to restore the surface in controlled stages.
When Professional Polishing Makes Sense
Call a professional if you see scratches you can feel with a fingernail, dull traffic patterns on granite floors, cloudy patches that remain after cleaning, chips near the sink, stains that keep returning, or uneven shine after resealing. A pro can determine whether the issue is residue, sealer failure, etching, mechanical wear, or damage from the wrong cleaner.
Why DIY Power Tools Can Be Risky
Power buffers and polishing pads may look simple online, but granite restoration requires the right grit sequence, speed, pressure, water control, and product choice. Too much pressure or the wrong pad can create swirl marks, heat damage, or an uneven finish. If your countertop cost a small fortune and caused three family debates during the remodel, do not let a random drill attachment become the villain of the story.
Ask the Right Questions
Before hiring a stone restoration contractor, ask what process they use, whether they work with natural granite regularly, if they will test a small area first, whether sealing is included, and how long the surface should cure before normal use. A reputable professional should explain the difference between cleaning, polishing, honing, sealing, and full restoration.
Common Granite Polishing Mistakes to Avoid
Using Vinegar, Lemon, or Acidic Cleaners
Vinegar and lemon juice may be natural, but natural does not always mean granite-safe. Acidic cleaners can dull the finish and weaken the protective sealer. Save vinegar for salad dressing and glass jars, not your granite countertop.
Using Bleach or Ammonia
Bleach and ammonia can damage sealers and may discolor or dull stone over time. They are also unnecessary for routine granite polishing. Use pH-neutral cleaners or mild soap and water instead.
Skipping the Rinse
Soap left behind creates streaks and a cloudy film. Always rinse after cleaning, then dry immediately. This one small habit can make granite look dramatically better.
Polishing Granite Floors Until They Are Slippery
Polished granite floors can become dangerously slick, especially in kitchens, bathrooms, and entryways. For floors, focus on proper cleaning and sealing. If the floor needs shine restoration, consult a professional who can balance appearance with slip resistance.
Assuming Polish Replaces Sealer
Polish can enhance shine, but it does not replace a penetrating stone sealer. If water absorbs into the granite, resealing should come before polishing. Think of sealer as the raincoat and polish as the nice haircut. Both help, but they do different jobs.
How Often Should You Polish Granite?
For most granite countertops, daily cleaning and drying are more important than frequent polishing. A commercial granite polish can be used weekly, biweekly, or monthly depending on traffic, product directions, and how much shine you want. Busy kitchens may benefit from more regular polishing, while low-use bathroom vanities may need only occasional attention.
Sealing schedules vary. Some granite needs sealing once a year, while dense, darker stones may go longer. Lighter or more porous granite may need more frequent sealing. The water test is more useful than guessing based on the calendar. If water beads, you are probably fine. If it darkens the stone, it is time to reseal.
Simple Maintenance Tips to Keep Granite Shiny Longer
Use cutting boards instead of cutting directly on granite. The stone may resist scratches, but your knives will not enjoy the challenge. Place trivets under hot pans, especially near seams or resin-filled areas. Use coasters under citrus drinks, wine, coffee, and alcohol. Blot spills instead of wiping them across the surface. Store cooking oils, lotions, perfumes, and hair products on trays rather than directly on bathroom or kitchen granite.
Most importantly, dry the countertop after cleaning. Water spots and streaks are the tiny drama queens of stone care. A 20-second dry buff with a microfiber cloth can make the difference between “nice countertop” and “did you just remodel?”
Real-Life Experience: What Actually Works When Polishing Granite
The most useful lesson from polishing granite in real homes is that shine usually starts before the polish. People often reach for a shiny product first, but the best results come from cleaning patiently, rinsing thoroughly, and drying like you mean it. In one busy kitchen, the granite island looked dull near the cooktop, and the first assumption was that the stone had worn down. After two careful rounds with warm water, mild dish soap, and a microfiber cloth, the “damage” turned out to be a thin layer of cooking oil mixed with cleaner residue. Glamorous? No. Satisfying? Very.
Another common experience is discovering that dark granite shows streaks more dramatically than lighter stone. Black and deep green granite can look stunning, but they also reveal oily fingerprints, water spots, and uneven polish. The trick is to use less product than you think you need. A light mist of granite polish, spread thinly and buffed with a clean cloth, usually works better than soaking the surface. Too much polish creates haze, and then you end up polishing the polish, which is a strange little household comedy nobody asked to star in.
A third lesson: the cloth matters. Old towels can leave lint. Paper towels can work in a pinch, but some leave fibers behind. Microfiber cloths are the dependable friend in this story. Use one cloth for cleaning, one damp cloth for rinsing, and one dry cloth for buffing. Mixing those roles is how streaks sneak back in and pretend they were invited.
Experience also teaches that stains should be handled before shine. If there is a dark oil mark near the stove or a cloudy ring near the sink, polishing over it will not solve the problem. A gentle poultice or paste may help with small stains, but patience is key. Let the paste do the work. Scrubbing harder rarely improves the result and may make the finish look worse.
Finally, there is no shame in calling a professional. Homeowners sometimes keep trying new products when the real issue is a damaged finish, worn sealer, or scratches that need mechanical restoration. If the granite has deep dull patches, rough spots, or visible scratches, a stone-care pro can often restore it faster and safer than a weekend of guesswork. DIY granite care is excellent for maintenance. Professional polishing is better for rescue missions.
Conclusion
Polishing granite is not complicated, but it does reward patience and the right products. Start with the safest method: clean, rinse, dry, and buff. If the surface still needs help, use a granite-safe polish in small sections. For stains or small dull spots, try a gentle paste method before polishing. For deep scratches, widespread dullness, or uneven shine, bring in a professional.
The golden rule is simple: protect the finish first, chase the shine second. Avoid harsh chemicals, acidic cleaners, abrasive pads, and random miracle products. Keep the stone sealed, wipe spills quickly, and buff with microfiber. Do that, and your granite will keep looking elegant, glossy, and ready to impress guestseven the ones who secretly inspect countertops.