If you have ever stood in a checkout line holding a pair of sneakers, a skincare splurge, or a cart full of “I definitely came in for one thing” items, you have probably wondered whether you could split the payment without opening a new credit card. That is exactly where Afterpay comes in. And yes, using Afterpay in store is real, doable, and surprisingly simple once you set it up correctly.
This guide walks you through how to use Afterpay in store, from downloading the app to tapping your phone at the register like the financially responsible wizard you were born to be. We will cover the setup process, what you need before you shop, how checkout works, common problems, returns, and a few smart tips so your “buy now, pay later” moment does not turn into a “why did I do this to myself” moment.
What Is Afterpay In Store?
Afterpay is a buy now, pay later service that usually splits your purchase into four payments over six weeks. For in-store shopping, the U.S. setup typically works through the Afterpay app and a digital Afterpay Card added to your Apple Wallet or Google Wallet. Once it is set up, you tap your phone at checkout and the purchase is scheduled into installments.
That sounds fancy, but the experience feels familiar. If you have used Apple Pay or Google Wallet before, the in-store Afterpay flow feels like their budget-conscious cousin. Same tap. Same checkout line. Different payment structure.
One important detail: not every store that accepts Apple Pay or Google Wallet automatically accepts standard Afterpay in store. For the regular Afterpay Card flow, you should check the Afterpay app for participating retailers before you shop. In other words, your phone may be ready, your wallet may be ready, your shopping impulse may be extremely ready, but the store still has to be part of the program.
What You Need Before You Can Use Afterpay In Store
Before you head to the register, make sure you have the basics covered. Here is your in-store Afterpay starter pack:
- An Afterpay account in good standing
- The latest version of the Afterpay app
- A compatible iPhone or Android phone
- Apple Wallet or Google Wallet set up properly
- A debit or credit card linked to your Afterpay account
- Any required identity or eligibility verification completed
In the U.S., eligibility matters. Afterpay generally requires shoppers to be 18 or older, live in the United States, and meet additional approval criteria. For in-store access, you may also need extra verification. So if the app tells you to verify something, do not ignore it and hope for the best. That strategy works for leftovers in the fridge, not payment setup.
How to Set Up Afterpay In Store: Step-by-Step
1. Download the Afterpay app and sign in
Start by downloading the official Afterpay app. If you already have it, update it first. Logging into an outdated app and expecting a smooth setup is like trying to stream 4K video on airport Wi-Fi. Technically possible. Emotionally risky.
2. Go to the In-Store tab
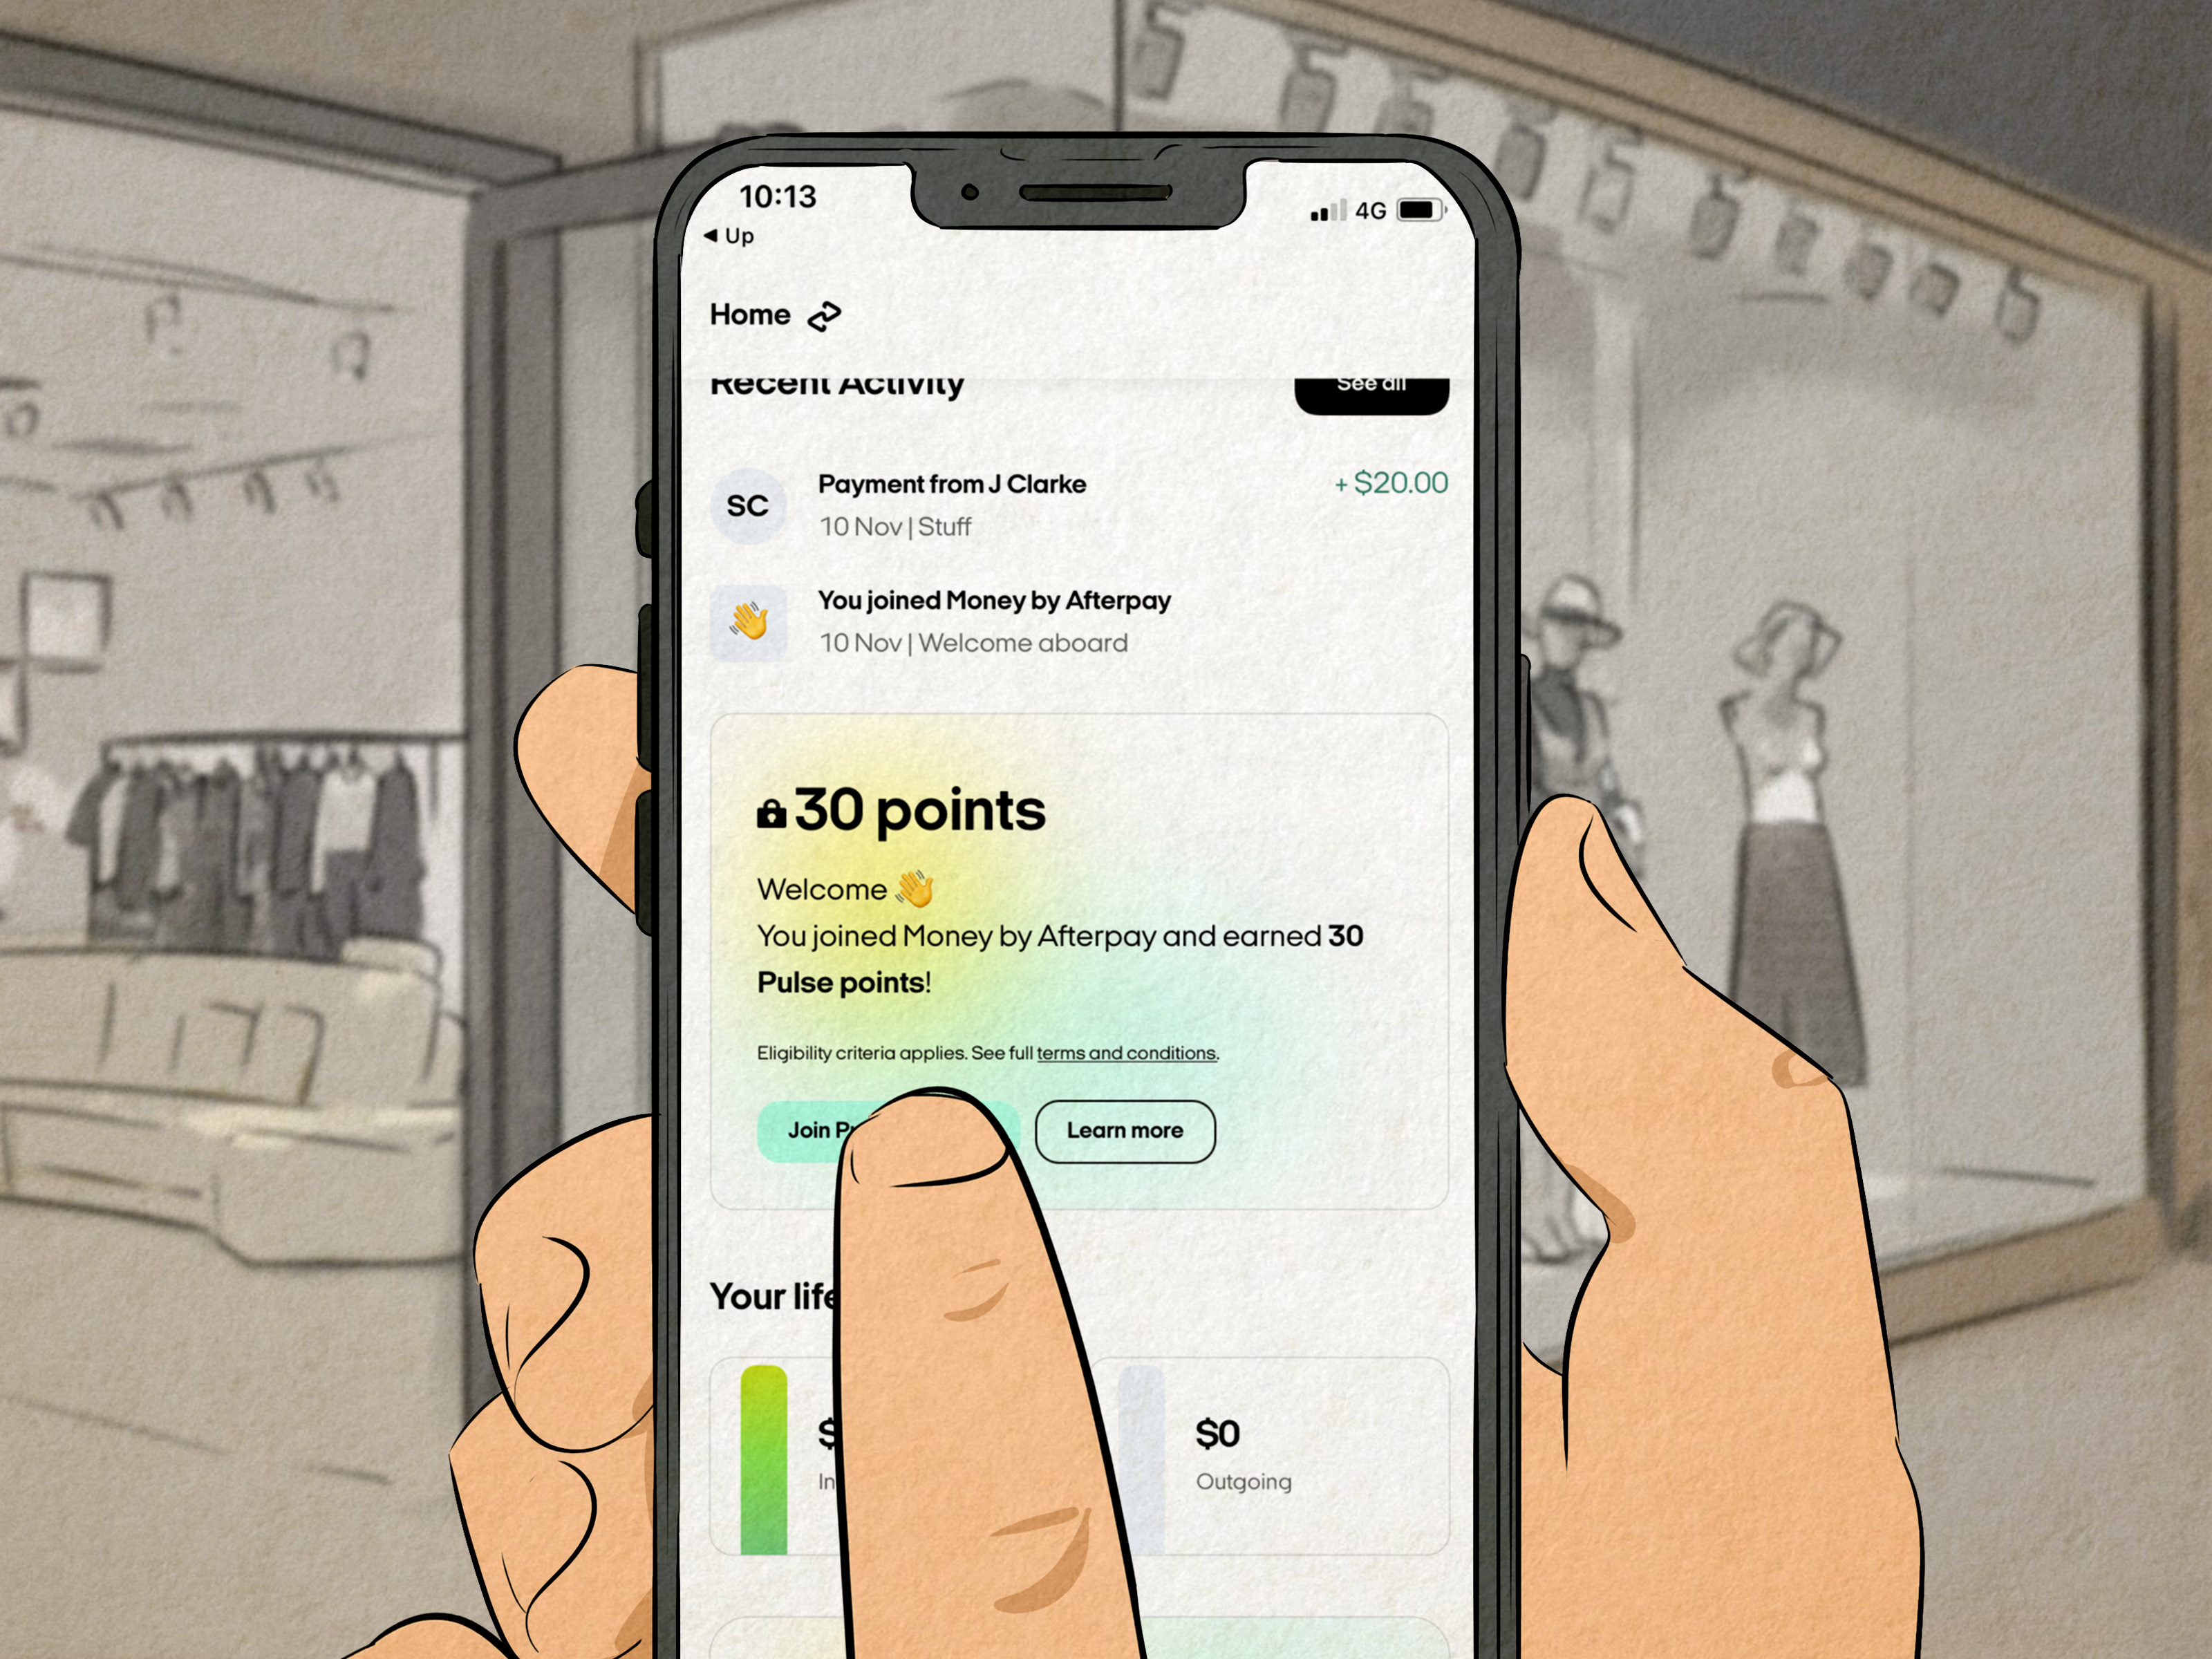
Inside the app, head to the In-Store section. This is where Afterpay guides U.S. shoppers to set up the digital Afterpay Card. Depending on the app screen or update, you may also see a card-related section that shows your estimated spending amount and launches the wallet payment flow.
3. Add the Afterpay Card to Apple Wallet or Google Wallet
Follow the prompts to add your digital Afterpay Card to your phone’s wallet. This is the heart of the setup. Without this card in your wallet, there is no tap-to-pay magic, only awkward staring at the terminal.
If you are using an iPhone, Apple Pay requires a compatible device, an Apple Account signed in, and device security like Face ID, Touch ID, or a passcode. If you are on Android, Google Wallet requires NFC to be turned on, and in some cases Google Wallet should be set as your default contactless payment app.
4. Complete any requested verification
Afterpay may ask for personal details such as your name, phone number, date of birth, address, and payment card information. Some users will also need additional verification before in-store use is approved. This part is normal. It is not the app being dramatic. It is the app making sure you are you.
5. Check your estimated spend amount
After setup, the app may show a pre-approved spending amount. Treat this as a helpful estimate, not a royal decree. It gives you a sense of what you may be able to spend, but final approval still happens at the time of purchase.
6. Find eligible stores in the app
Before driving across town for a “quick stop” that becomes a 90-minute shopping expedition, browse the Afterpay app to find nearby stores that accept Afterpay in person. This step is worth doing because it saves you from discovering at the register that the store takes Apple Pay but not the standard Afterpay in-store card flow.
How to Use Afterpay At the Register
Once your setup is complete, using Afterpay in store is refreshingly easy:
- Shop as usual and bring your items to checkout.
- Open the Afterpay app if needed and launch the wallet payment flow.
- Open Apple Wallet or Google Wallet and select the Afterpay Card.
- Tap your phone on the payment terminal.
- Wait for approval and complete your purchase.
Your first payment is usually due at checkout, and the remaining three payments are spread over the next six weeks. If everything goes through, you walk out with your purchase immediately while the payments are staggered. That is the whole appeal: instant gratification with a calendar attached.
Important Things to Know Before You Pay
Approval is not guaranteed every time
Even if your account looks healthy and the app shows spending power, each purchase is still subject to approval. Basket size, merchant rules, account history, and eligibility checks can all play a role.
Minimum purchase amounts may apply
Afterpay does not always set a universal minimum at checkout, but some retailers may have their own purchase requirements. If you are trying to split the cost of one candle and a pack of gum, the answer may be “not today.”
On-time payments matter
Afterpay promotes Pay in 4 as interest-free when you pay on time. That is the key phrase: when you pay on time. If you miss a payment, late fees may apply, and Afterpay says those fees are capped rather than unlimited. Translation: this is more forgiving than traditional revolving debt, but it is still not free money.
Cash App Afterpay is related, but not the same in-store setup flow
Some shoppers search for Afterpay and land on Cash App pages. Cash App Afterpay is part of the same broader ecosystem, but its official consumer guidance currently emphasizes online checkout and eligible past Cash App Card purchases. If your goal is the classic tap your phone in a physical store experience, the official U.S. Afterpay pages still point shoppers to the Afterpay app and digital wallet card flow.
Troubleshooting: Why Isn’t Afterpay Working In Store?
If your phone is at the terminal and nothing is happening except your stress level rising, check these common issues:
Your wallet is not set up properly
Make sure the Afterpay Card was actually added to Apple Wallet or Google Wallet. It sounds obvious, but checkout lines have a unique ability to erase memory.
NFC is off on Android
Google Wallet needs NFC enabled for tap-to-pay. If it is turned off, your phone will behave like a very expensive paperweight.
The wrong card is selected
Check that you selected the Afterpay Card in your wallet, not your regular debit card, your travel card, or the loyalty pass for a coffee shop you visited once in 2022.
The retailer is not eligible for standard in-store Afterpay
This is a big one. A contactless terminal alone does not guarantee the standard Afterpay Card will work there. Use the app to confirm participating stores beforehand.
The terminal asks for a PIN
If the payment terminal prompts for a PIN, the issue may be how the payment was run at the register. Afterpay guidance notes that the card does not have a PIN or CVV, and in some cases the cashier may need to retry the transaction using the debit card option instead of credit.
Your purchase was declined
Purchase approval can fail for several reasons, including eligibility, order amount, merchant restrictions, or account review. If it happens, do not panic. It does not always mean your account is broken. Sometimes it simply means that particular purchase was not approved under the available terms.
How Returns and Refunds Work
Returns on Afterpay purchases generally follow the retailer’s standard return policy. That means the store still controls whether your item can be returned, exchanged, or refunded. After that, the Afterpay side updates based on what the merchant processes.
For in-store returns made with the Afterpay Card, Afterpay’s help flow directs you to open the app, go to the in-store return instructions, select the return option, open the digital wallet card, and tap your phone at the register to process the refund. That is an important detail because some shoppers assume the store can simply reverse it like any other card without the Afterpay return flow.
Refund timing can vary. In many cases, once the merchant processes the return, the update flows to your Afterpay account, and any amount owed back to your payment card may take several business days to appear.
Also, retailer policies can differ in messy, wonderfully human ways. For example, some merchants may handle exchanges in store more easily than direct Afterpay account adjustments, and some buy online, pick up in store purchases can have different refund treatment. So if your purchase involved pickup, shipping, or a mixed payment method, always check the store’s policy before you march up to the counter with confidence and a receipt.
Best Practices for Using Afterpay In Store Without Regret
- Check the app before shopping: confirm the store participates and review your estimated spend limit.
- Keep your phone ready: update your operating system, wallet app, and Afterpay app before you leave home.
- Use it for planned purchases: a budgeted purchase works better than a random “well, it was on sale” moment.
- Track due dates: Pay in 4 is easiest when you already know the payment schedule.
- Save your receipt: it makes returns and troubleshooting much easier.
- Know your merchant’s policy: not every return, exchange, or pickup order is handled the same way.
Final Takeaway
If you want the simplest answer to how to use Afterpay in store, here it is: download the Afterpay app, set up the digital Afterpay Card, add it to Apple Wallet or Google Wallet, confirm the store participates, and tap to pay at checkout.
That is the clean version. The smarter version is this: set it up before you shop, understand that approval is not guaranteed for every purchase, and treat installment payments like real bills with real dates. Used well, Afterpay in store can be convenient, flexible, and less painful than putting everything on a high-interest card. Used poorly, it becomes a very modern way to buy things you forgot you bought.
So yes, go ahead and enjoy the convenience. Just bring your phone, your budget, and perhaps a tiny bit of self-control. The phone is mandatory. The self-control is more of a premium feature.
Real-World Experiences Using Afterpay In Store
For many shoppers, the first in-store Afterpay purchase feels weirdly anticlimactic in the best possible way. You expect a complicated financing process. What you get is a normal checkout with a slightly smarter payment method. That is why so many first-time users describe the experience as surprisingly easy once the setup is already done.
A common scenario goes like this: someone downloads the app the night before buying something practical, like work shoes, a pet supply haul, or skincare that somehow costs as much as a utility bill. They add the Afterpay Card to their wallet, check the store list in the app, and head out thinking, “This will either be smooth or deeply embarrassing.” At checkout, they open their wallet, tap the terminal, and it works in seconds. The result is usually equal parts relief and overconfidence.
Another very real experience is the difference between prepared shoppers and spontaneous shoppers. Prepared shoppers tend to have the best results because they already confirmed the store participates, updated the app, and checked their estimated spending amount. Spontaneous shoppers, on the other hand, are more likely to discover annoying little roadblocks. Maybe NFC is off. Maybe the wrong card opens in the wallet. Maybe the store accepts contactless payments but is not part of the standard Afterpay in-store network. Suddenly the quick checkout turns into a tiny tech support session under fluorescent lighting.
Returns are another area where shopper experiences can get interesting. People often assume an Afterpay purchase will refund exactly like a normal debit card transaction. Sometimes it feels that simple. Other times, the process is more specific, especially for in-store Afterpay Card returns. Shoppers who keep their receipt and use the guided return flow inside the app usually have a smoother time. Shoppers who toss the receipt into a mysterious purse pocket dimension tend to have a much more “character-building” afternoon.
There is also the budgeting side of the experience, which is where Afterpay can either feel brilliant or mildly dangerous. Used for planned purchases, it often feels helpful. Splitting a necessary expense into four scheduled payments can make cash flow easier without the sting of carrying a revolving credit balance. But when shoppers start using it as a permission slip to buy five “little treats” in one weekend, the experience changes fast. The separate installments may be small, but together they can stack up and turn future-you into present-you’s least favorite coworker.
Perhaps the most useful real-world lesson is that Afterpay works best when it feels boring. Boring is good. Boring means the app is already set up, the store is confirmed, the payment plan fits your budget, and the checkout takes ten seconds. The more boring the process, the more successful the experience usually is. So if you want a smooth in-store Afterpay routine, do the setup ahead of time, use it for purchases you actually planned, and keep your expectations sensible. The goal is not to feel like you hacked the financial system. The goal is to buy what you need without making next month unnecessarily dramatic.