When the temperature drops and your furnace refuses to cooping three hoodies indoors?” surprisingly fast. If you own an older gas furnace with a standing pilot light, the solution may be as simple as safely relighting that small flame.
However, not every furnace should be lit by hand. Most modern gas furnaces use an electronic ignition system, such as a hot-surface igniter or spark igniter. These systems automatically light the burners when the thermostat calls for heat. Attempting to light a modern furnace manually can damage the equipment or create a serious fire, explosion, or carbon monoxide hazard.
This guide explains how to light a furnace in six careful steps, but it applies only to gas furnaces specifically designed with a manually operated standing pilot. Always follow the lighting instructions printed on your furnace or provided in its owner’s manual. Those model-specific directions take priority over any general guide.
Safety guidance synthesized from CPSC, NFPA, CDC, EPA, DOE, ENERGY STAR, AGA, AHRI, Carrier, Lennox, Trane, Xcel Energy, and Metropolitan Utilities District resources. e>
Important safety note: Do not attempt to light the furnace if you smell rotten eggs or suspect a gas leak. Do not touch light switches, thermostats, phones, plugs, or other electrical devices inside the building. Get everyone outside, move a safe distance away, and contact the gas utility or emergency services from outdoors.
First, Determine What Kind of Furnace You Have
Before hunting for matches like a character in an old mystery movie, confirm that your furnace actually has a standing pilot. Older furnaces may have a small flame that remains lit continuously. Modern systems normally use electronic ignition and have no continuously burning pilot flame.
Signs of a standing-pilot furnace
- A gas control knob has clearly marked OFF, PILOT, and ON positions.
- The furnace label includes manual pilot-lighting instructions.
- You can identify a small pilot burner and a nearby thermocouple.
- The furnace previously had a small blue flame that stayed on between heating cycles.
Signs of an electronic-ignition furnace
- The label says the furnace automatically lights its burners.
- The instructions specifically say not to light the burners by hand.
- You see a glowing igniter or hear repeated sparking during startup.
- The furnace has an electronic control board with a diagnostic light or error code.
If your furnace has electronic ignition, do not apply a lighter or match to the burner compartment. You may check simple issues such as the thermostat setting, furnace power switch, circuit breaker, access-panel position, and air filter. If the furnace still will not ignite, call a qualified HVAC technician.
Modern furnaces commonly use automatic ignition, and manufacturer instructions warn against manual burner lighting. hat You May Need
Relighting a standing pilot requires very little equipment. The most important tool is not a fancy gadget; it is the ability to stop when something seems wrong.
- The furnace owner’s manual or lighting label
- A flashlight
- A long fireplace match or long-reach utility lighter, if the unit has no built-in igniter
- Clean, dry hands
- A working carbon monoxide alarm in the home
Do not use a short cigarette lighter that forces your fingers close to the pilot assembly. Do not improvise with rolled paper, candles, torches, or anything else that turns a routine task into a potential audition for the fire department.
How to Light a Furnace in 6 Steps
Step 1: Lower the Thermostat and Read the Furnace Instructions
Set the thermostat to its lowest temperature or turn the heating mode off. This prevents the thermostat from unexpectedly calling for heat while you are working near the furnace.
Next, locate the manufacturer’s lighting instructions. They are often printed on a label inside or near the furnace access panel. Read the complete procedure before touching any controls. Gas valves and ignition sequences vary, so the label on the appliance is the final authority.
If the instructions say that the burners light automatically, stop. You have an electronic-ignition furnace, and this manual pilot-lighting procedure does not apply.
Step 2: Perform a Gas and Carbon Monoxide Safety Check
Before opening the furnace, pause and check the area. Do you smell a sulfur-like or rotten-egg odor? Is a carbon monoxide alarm sounding? Does anyone in the home have an unexplained headache, dizziness, nausea, weakness, chest pain, or confusion?
If the answer to any of those questions is yes, do not try to restart the furnace. Leave the building immediately. Call emergency services, the fire department, or your gas utility from a safe outdoor location. Carbon monoxide itself has no color or odor, so never assume that the absence of a gas smell means the furnace is operating safely.
You should also stop if you see soot, scorch marks, melted wiring, heavy corrosion, a damaged vent pipe, water inside the burner compartment, or a visibly cracked component. These are repair issues, not invitations to “give it one more try.”
Gas-leak evacuation and CO symptom guidance. tep 3: Locate the Pilot Assembly and Gas Control
Turn off electrical power to the furnace if the manufacturer directs you to do so before removing the access panel. Some furnaces have a nearby service switch that resembles a regular light switch. Others are controlled at the electrical panel.
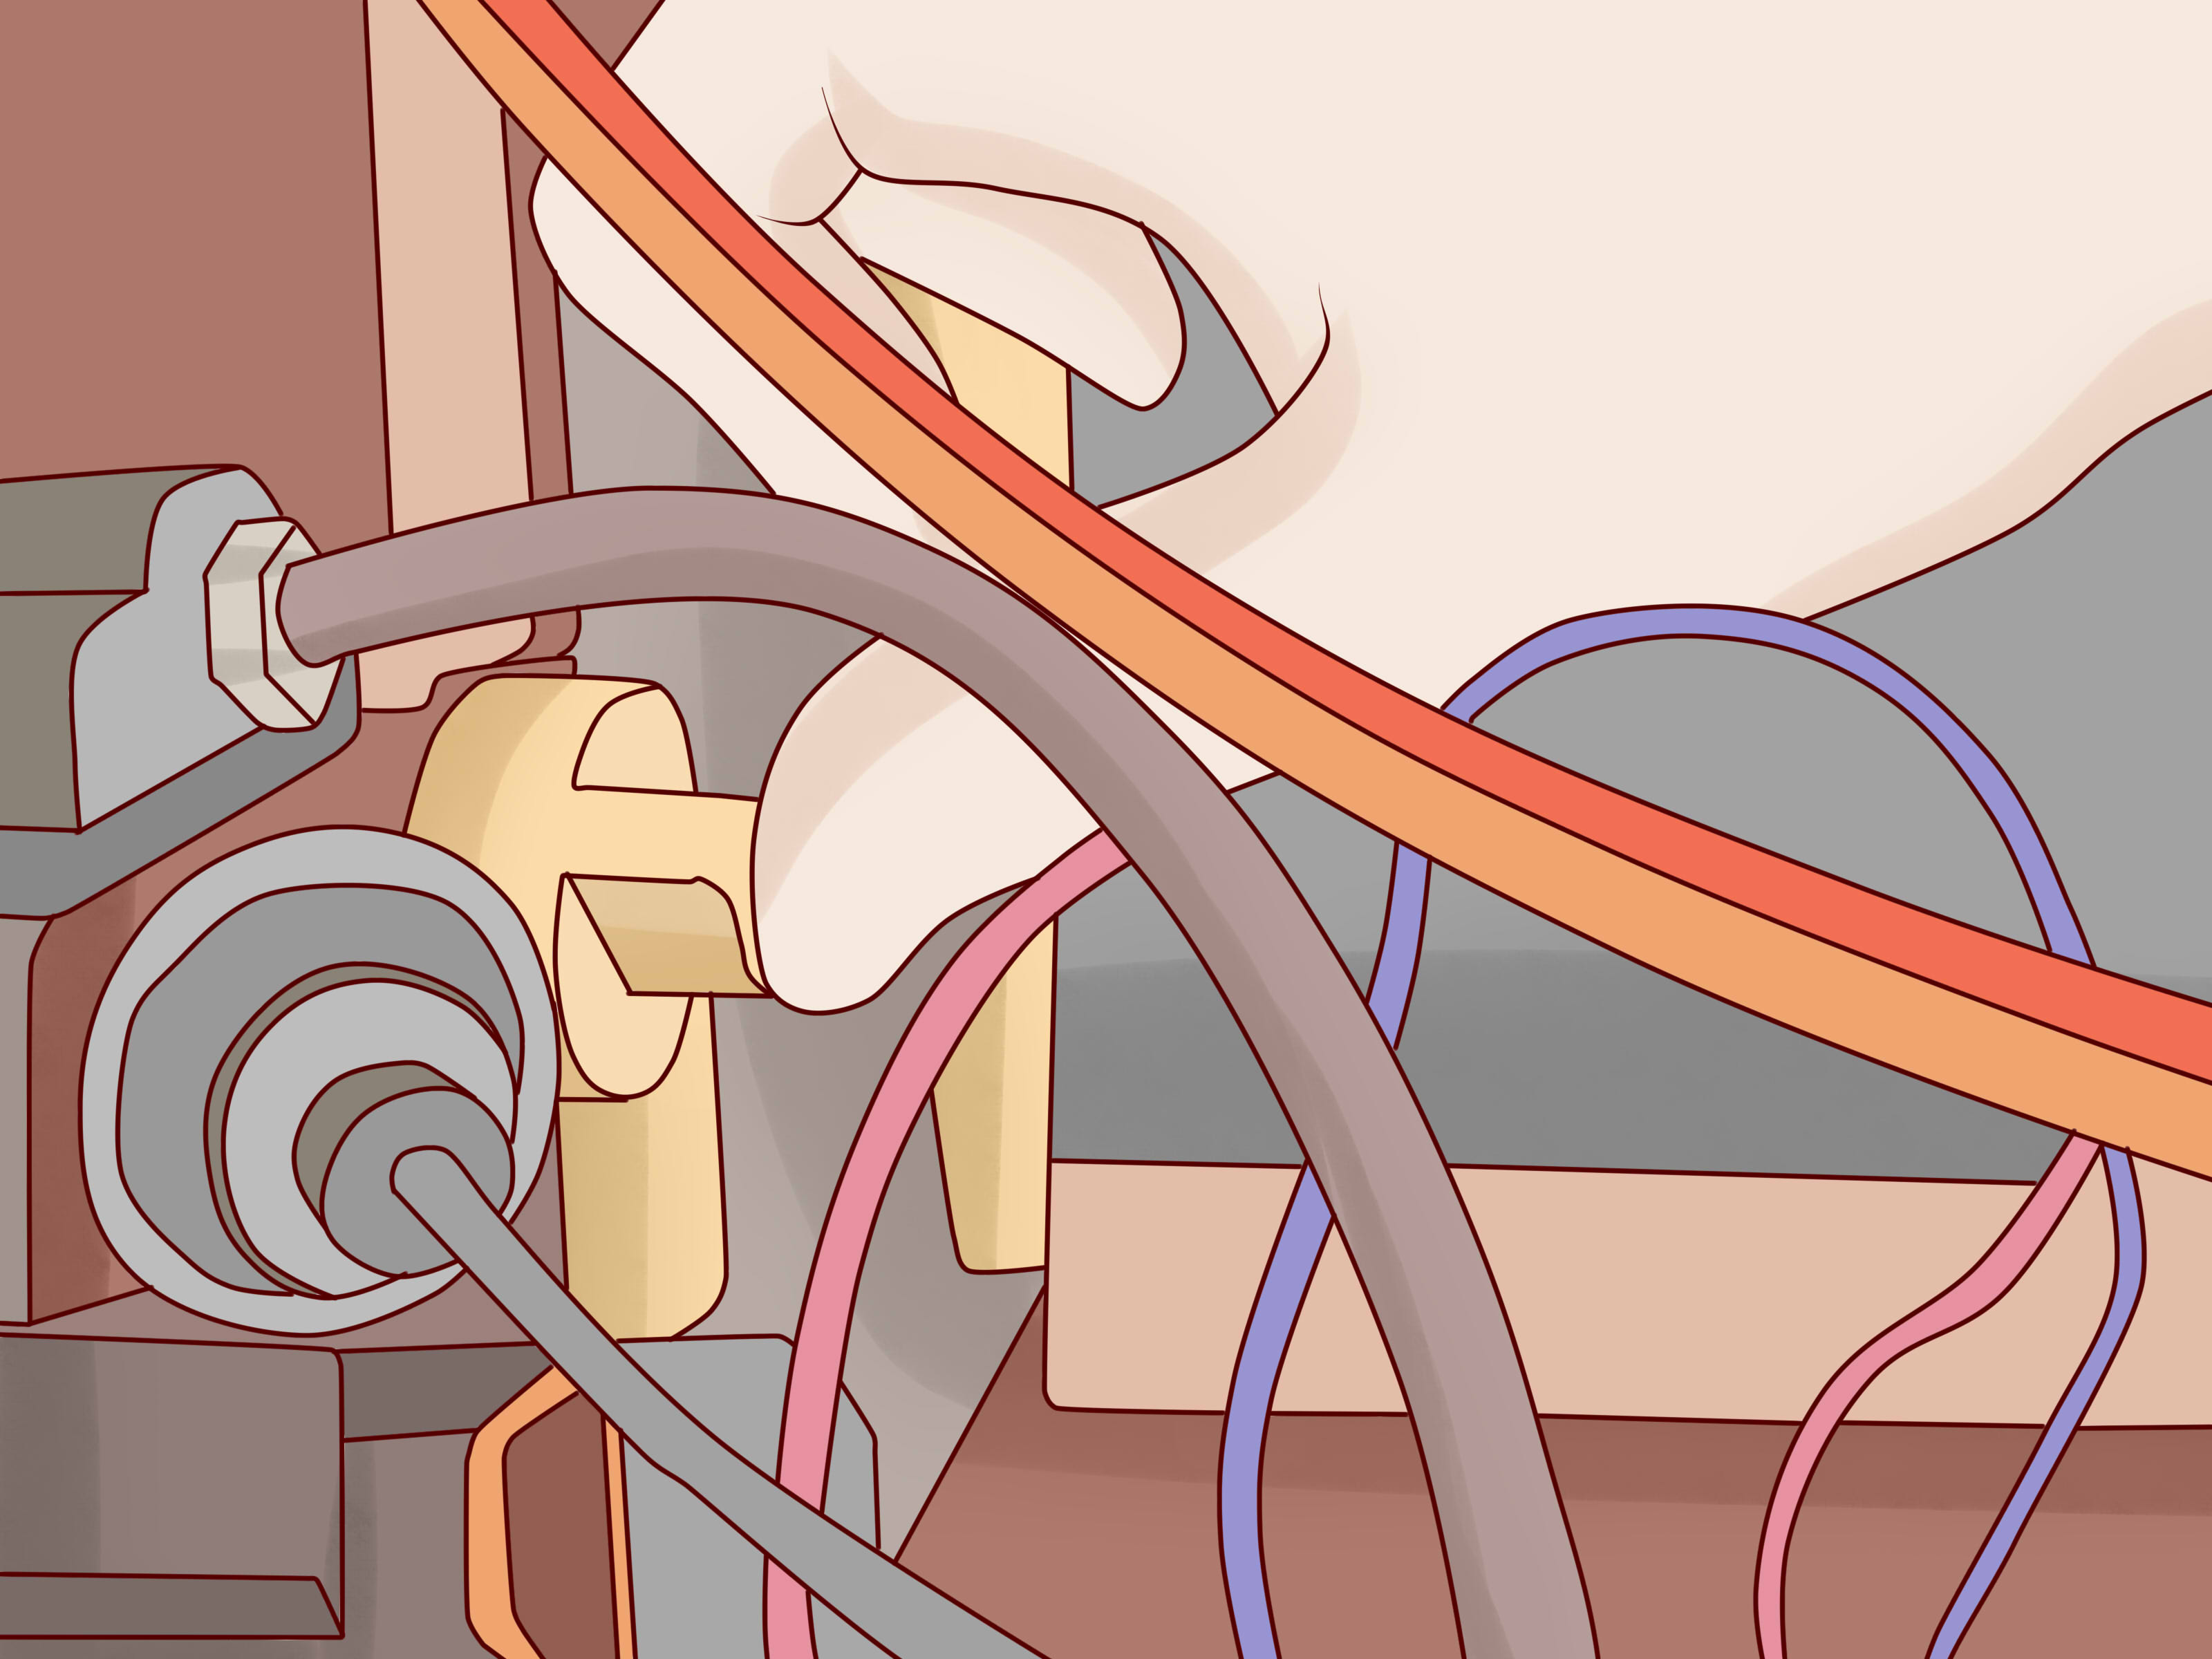
Remove the appropriate access panel and locate the gas control valve. On a standing-pilot furnace, the valve normally has an OFF–PILOT–ON control. Follow the small pilot gas tube toward the burner area to find the pilot opening. A thin metal sensor called a thermocouple is usually positioned beside the pilot flame.
Do not loosen tubing, adjust the gas valve, bend the thermocouple, clean the burner with sharp objects, or disassemble anything. The goal is to operate the controls exactly as designed, not to perform exploratory furnace surgery.
Step 4: Turn the Gas Control to OFF and Wait
Turn the appliance’s gas control knob to OFF. Do not force the knob. If it will not move normally, stop and call a professional.
Wait at least five full minutes, or longer if the furnace label specifies a longer waiting period. This allows any unburned gas in the combustion area to disperse. Use an actual clock rather than counting quickly while shivering. Five nervous seconds are not five minutes.
After waiting, check again for a gas odor near the furnace and close to the floor. Natural gas is lighter than air, while propane is heavier and may collect in low areas. If you smell gas at any point, leave immediately and contact the gas utility from outside.
Appliance instructions commonly require turning the control off and waiting at least five minutes before another lighting attempt. tep 5: Set the Control to PILOT and Ignite the Flame
If there is no gas odor, turn the control knob from OFF to PILOT. Press and hold the control knob or separate reset button, depending on the furnace design. Holding it down temporarily allows gas to flow to the pilot burner.
While continuing to hold the control, press the built-in ignition button repeatedly if the furnace has one. If the appliance instructions permit manual lighting, place a lit long-reach lighter or fireplace match at the pilot opening. Keep your face and loose clothing away from the burner compartment.
The pilot should ignite as a small, mostly blue flame. Do not continue releasing gas if the pilot does not light promptly. Turn the control back to OFF, wait for the full period required by the label, and review the instructions. Repeatedly flooding the compartment with gas is dangerous.
Step 6: Hold the Control, Switch to ON, and Test the Furnace
After the pilot ignites, continue holding the reset button or control knob for the amount of time stated by the manufacturer. Many standing-pilot systems require approximately 30 to 60 seconds. This gives the thermocouple time to heat up and confirm that a stable flame is present.
Release the control slowly. The pilot should remain lit. If it stays on, turn the gas control knob to ON. Replace the access panel securely, restore electrical power if you switched it off, and set the thermostat several degrees above the current room temperature.
The main burners should ignite, followed by the blower after a brief delay. Observe the furnace through its viewing opening if one is provided, but keep all covers installed as required. Confirm that warm air begins flowing from the supply registers.
If the pilot goes out when you release the control, do not keep repeating the process. A dirty pilot opening, weak thermocouple, defective gas valve, inadequate gas pressure, improper airflow, or venting problem may require professional diagnosis.
Thermocouples generally need time to heat before the pilot safety valve remains open. hat Should a Healthy Furnace Pilot Flame Look Like?
A properly operating natural-gas pilot is generally steady and mostly blue. A small yellow tip may be normal on some systems, but a weak, flickering, predominantly yellow, orange, or sooty flame can indicate contamination, poor combustion, an obstructed pilot opening, or another condition that needs service.
The flame should make firm contact with the thermocouple. If it barely reaches the sensor, the thermocouple may cool and shut the gas valve, causing the pilot to go out repeatedly.
Do not adjust the pilot flame, air shutter, gas pressure, burner alignment, or valve unless you are trained and authorized to service gas equipment. Flame appearance can provide a clue, but it is not a complete combustion test. HVAC professionals use proper instruments to evaluate combustion and carbon monoxide production.
Why the Furnace Pilot Light May Keep Going Out
A pilot that repeatedly goes out is usually a symptom rather than the entire problem. Common possibilities include:
- A worn, dirty, loose, or improperly positioned thermocouple
- A clogged or damaged pilot tube
- A weak or unstable pilot flame
- Drafts affecting the burner compartment
- Insufficient combustion air
- A venting or chimney problem
- Low gas pressure or an interrupted fuel supply
- A malfunctioning gas control valve
- Water, rust, dirt, or debris around the burner assembly
Replacing a filter or correcting a thermostat setting is ordinary homeowner maintenance. Repairing a gas valve or altering a combustion system is not. If the pilot will not remain lit after one careful attempt performed exactly according to the furnace label, schedule professional service.
When to Stop and Call an HVAC Professional
Contact a qualified technician or gas utility when:
- You smell gas before, during, or after the lighting procedure.
- A carbon monoxide alarm sounds.
- The furnace has electronic ignition and will not start normally.
- The pilot will not ignite or stay lit.
- The flame is yellow, irregular, unusually large, or producing soot.
- The burners ignite with a delayed bang, boom, or rollout of flame.
- The furnace repeatedly starts and stops.
- You see corrosion, damaged wiring, water, soot, or venting defects.
- The appliance has not received professional maintenance within the past year.
Annual furnace inspections help identify venting failures, combustion problems, deteriorated heat exchangers, ignition faults, and carbon monoxide risks before they become emergencies. A successful pilot-light relight does not prove that every part of the furnace is safe.
Federal safety agencies recommend annual inspection of fuel-burning heating equipment and properly located CO alarms. ractical Experiences and Lessons From Furnace Relighting
Real-world furnace problems are rarely dramatic at first. More often, the first clue is a quiet house, cold air from the vents, or a family member asking why the thermostat says 72 while the living room feels like a refrigerated produce aisle. That ordinary beginning can tempt homeowners to skip the safety checks and rush straight to the lighter.
One common scenario occurs after a furnace has been shut down for the summer. The homeowner remembers an old routine, finds the gas knob, and assumes every model works the same way. The trouble is that furnaces can be replaced or modified over time. A newer electronic-ignition unit may sit where a standing-pilot furnace once stood. The best first habit is therefore identification, not ignition: read the label, find the model information, and confirm what kind of system you are dealing with.
Another frequent experience involves releasing the pilot button too soon. The flame appears, the homeowner immediately lets go, and the pilot disappears. This does not necessarily mean the system is broken. The thermocouple may simply need more time to warm. Holding the control for the full period stated on the labeloften 30 to 60 secondscan make the difference. Rushing this step saves almost no time and usually results in performing the entire sequence again.
The opposite mistake is making attempt after attempt when the pilot refuses to stay lit. One retry after carefully rereading the instructions may be reasonable if no gas odor is present and the manufacturer permits it. Five, six, or ten attempts are not a troubleshooting strategy. They are a signal that the furnace needs a technician. Persistent failure may involve the thermocouple, pilot assembly, gas pressure, safety controls, or venting.
Homeowners also sometimes focus so closely on the pilot that they miss obvious warning signs around it. Black soot, rust flakes, water stains, loose vent connections, scorched wiring, and unusual burner noise all matter. A pilot flame can remain lit even when another part of the heating system is unsafe. Relighting should therefore include a visual inspection, not merely a successful flame.
A working carbon monoxide alarm provides another important lesson. People occasionally remove an alarm battery because the device chirps, intending to replace it later. “Later” then quietly becomes several months. Before heating season begins, test every smoke and carbon monoxide alarm, replace expired units, and install alarms according to current manufacturer and local-code guidance. A carbon monoxide alarm is not a substitute for furnace maintenance, but it is a critical additional layer of protection.
Finally, successful furnace relighting should feel boring. There should be no gas odor, flash, delayed boom, rolling flame, heavy soot, or repeated shutdown. The pilot should remain stable, the main burners should ignite smoothly, and warm air should arrive after the normal blower delay. In gas-appliance work, boring is excellent. Excitement belongs in holiday movies, not inside the burner compartment.
Conclusion
Learning how to light a furnace can restore heat quickly when an older standing pilot has gone out. The safe process is to identify the furnace type, check for gas and carbon monoxide hazards, locate the correct controls, turn the gas control off and wait, ignite the pilot according to the appliance label, and verify normal operation.
Never manually light a modern electronic-ignition furnace, ignore a gas odor, repeatedly attempt a failed ignition, or treat an unstable flame as normal. When the pilot will not stay lit or the furnace shows signs of combustion, electrical, gas-supply, or venting trouble, turn the system off and call a qualified HVAC professional.
Note: This article provides general educational information for older gas furnaces with standing pilot lights. Furnace designs and lighting procedures vary. Follow the instructions attached to your appliance and all applicable local safety requirements.