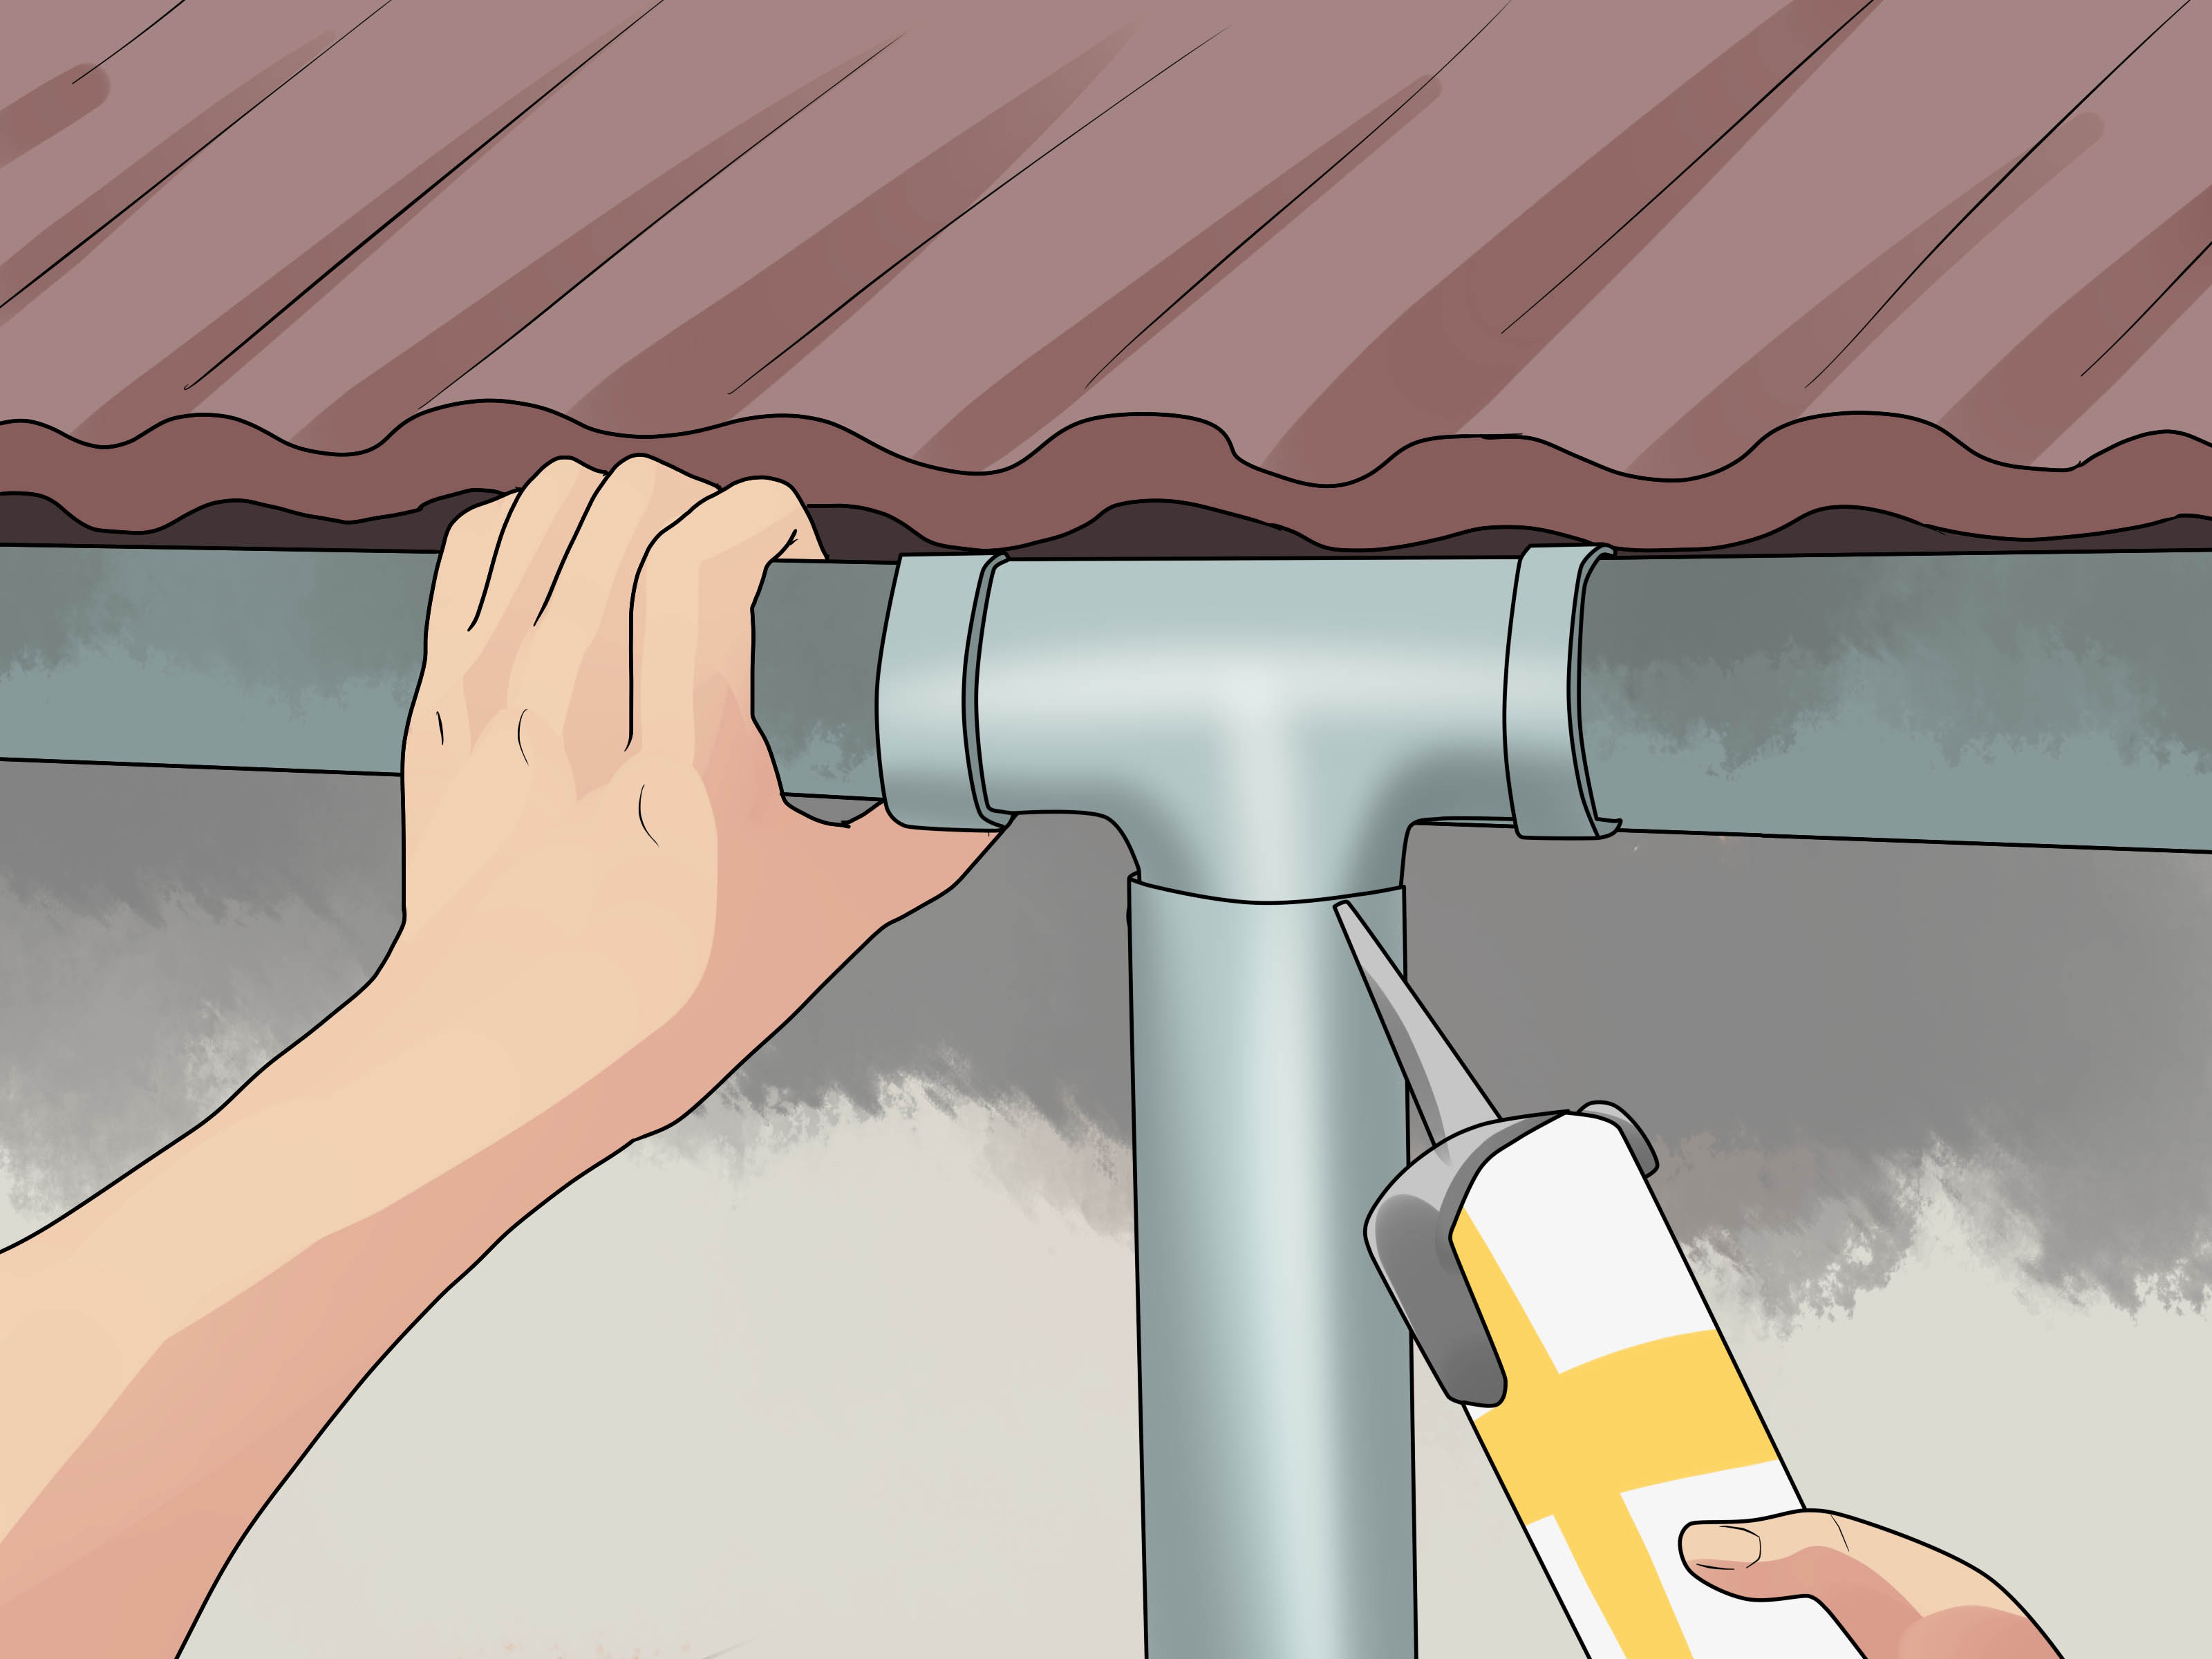
Installing gutters may not sound as glamorous as building a backyard deck or remodeling a kitchen, but your house cares deeply. Gutters are the quiet bodyguards of your roofline, catching rainwater before it turns your foundation, siding, landscaping, and basement into a soggy drama series. Done right, a gutter system collects roof runoff, moves it through downspouts, and sends it safely away from your home.
The good news? Many single-story gutter installations are realistic for careful DIYers with the right tools, a steady ladder setup, and at least one helper. The not-so-good news? Gutters are long, bendy, sharp-edged, and installed high enough to make gravity feel personally invested in your mistakes. So this guide explains how to install gutters in 15 practical steps, with safety reminders, planning advice, and real-world tips that help the finished system work instead of merely “look attached.”
Before you begin, check your local building requirements, read the manufacturer’s instructions for the gutter system you buy, and be honest about the height and complexity of your roof. If your home has two or more stories, steep ground, damaged fascia, nearby power lines, or complicated roof valleys, hiring a professional is not defeat. It is wisdom wearing work gloves.
Before You Start: Tools, Materials, and Safety
Tools You May Need
- Extension ladder or tall step ladder rated for your weight plus tools
- Ladder stabilizer or standoff
- Tape measure
- Chalk line
- Level or laser level
- Cordless drill and driver bits
- Tin snips, aviation snips, hacksaw, or miter saw with the proper blade
- Rivet tool or exterior-rated screws
- Caulk gun
- Gloves and safety glasses
Materials You May Need
- Gutter sections, usually 5-inch or 6-inch K-style gutters for many homes
- End caps
- Inside and outside corner miters
- Gutter hangers or brackets
- Downspout outlets
- Downspouts and elbows
- Downspout straps
- Gutter sealant
- Exterior-rated screws or rivets
- Splash blocks or downspout extensions
Safety Comes First
Use a stable ladder on level ground, keep your body centered between the rails, and maintain three points of contact when climbing. Do not lean far to one side just to avoid moving the ladder. That shortcut has a terrible sense of humor. Also avoid working near power lines, never rest your ladder directly against flimsy gutters, and do not work in rain, wind, or poor lighting.
How to Install Gutters: 15 Steps
Step 1: Inspect the Roofline and Fascia
Start with a slow walk around the house. Look for rotted fascia boards, loose trim, damaged shingles, missing drip edge, sagging soffits, or old gutter marks that hint at previous drainage problems. Gutters must fasten into solid wood or proper structural backing. If the fascia is soft, cracked, or pulling away, repair it before installing new gutters. Hanging fresh gutters on rotten fascia is like putting a designer belt on pants with no button; the collapse is only a matter of time.
Step 2: Measure Every Gutter Run
Measure each straight roof edge where gutters will be installed. Record every run separately, including corners, short returns, porch sections, garage rooflines, and areas where downspouts will connect. Add extra length for overlaps, mistakes, and cuts. For sectional gutters, remember that many store-bought sections come in 10-foot lengths, so plan how pieces will join before you buy.
Step 3: Choose the Right Gutter Size and Material
Most residential gutter projects use 5-inch or 6-inch K-style gutters. A 5-inch system works for many average rooflines, while a 6-inch system can handle more runoff from larger, steeper, or more complex roofs. Aluminum is popular because it is lightweight, rust-resistant, and affordable. Vinyl is budget-friendly and easy to cut, though it can become brittle in harsh climates. Galvanized steel is strong but heavier, and copper is durable and beautiful but expensive enough to make your wallet sit down for a minute.
Step 4: Plan Downspout Locations
Downspouts are where the gutter system actually gets rid of water, so do not treat them as decorative afterthoughts. Place them near corners when possible, and plan enough of them to prevent overflow during heavy rain. A common rule is to use a downspout every 30 to 40 feet of gutter run, but local rainfall, roof size, and roof pitch can change what is best. Direct water away from the foundation using extensions, splash blocks, underground drain lines, or a safe drainage area that slopes away from the house.
Step 5: Mark the High and Low Points
Gutters need a slight pitch so water moves toward the downspout instead of lounging in the trough like it paid rent. Mark the high point of the gutter run near the far end, then mark the low point at the downspout end. Many DIY instructions use about 1/4 inch of slope for every 10 feet of gutter. Some installers use slightly different pitch rules depending on the system, roof size, and local conditions, but the principle is the same: subtle slope, steady flow.
Step 6: Snap a Chalk Line
Stretch a chalk line between the high and low marks and snap it along the fascia. This line becomes your installation guide for hangers or brackets. Take your time here. A crooked layout line can create gutters that look wavy or drain poorly. If you are installing around multiple sides of a house, mark each run separately and confirm that every section flows toward its planned downspout.
Step 7: Locate Rafter Tails or Strong Fastening Points
Gutter hangers should fasten into solid wood, not just thin fascia skin. Look for nail heads in the fascia to locate rafter tails, which are often spaced around 16 or 24 inches on center. If your fascia is covered with aluminum or vinyl wrap, you may need to use existing fastener patterns, careful probing, or attic clues to locate solid backing. When in doubt, ask a contractor before turning your fascia into Swiss cheese.
Step 8: Install Gutter Hangers or Brackets
Install hangers along the chalk line according to the manufacturer’s spacing instructions. Many systems call for hangers roughly every 24 to 36 inches, with closer spacing in areas that receive heavy snow, ice, or intense rainfall. Use exterior-rated screws that bite securely into the fascia and structural backing. Do not overtighten to the point that you warp the gutter profile or crush the mounting hardware.
Step 9: Cut Gutter Sections to Length
Measure twice, cut once, and keep a straight face when someone says, “That looks about right.” Cut aluminum or vinyl gutters with the tool recommended for your material, such as tin snips, aviation snips, a hacksaw, or a properly equipped saw. Deburr sharp edges after cutting. For corner sections, use the correct inside or outside miter pieces, or cut angles according to the gutter system instructions.
Step 10: Attach End Caps and Seal the Joints
End caps close off gutter runs where water should not exit. Apply gutter sealant to the inside edge of the end cap, press it into place, and secure it as directed with crimping, screws, or rivets. Use sealant made for gutters, not random leftover bathroom caulk from 2017. Gutter joints expand, contract, and get soaked repeatedly, so the sealant needs to stay flexible and weather-resistant.
Step 11: Cut Downspout Outlet Holes
Place the downspout outlet on the bottom of the gutter section and trace the opening. Drill a starter hole, then cut the outlet opening with snips or the recommended tool. Smooth rough edges, apply sealant around the outlet flange, and fasten the outlet securely. The cleaner this cut is, the better water will drop into the downspout instead of catching on jagged metal and collecting debris.
Step 12: Join Gutter Sections
When using sectional gutters, overlap adjoining pieces in the direction of water flow so runoff passes over the seam instead of pushing into it. Many metal gutter systems use screws or rivets plus sealant at seams. Avoid placing seams directly at high-flow areas whenever possible, such as right beside a downspout opening or under a roof valley. Every seam is a potential leak point, so fewer, cleaner seams are better.
Step 13: Hang the Gutters
With a helper, lift the gutter into place and set it into the hangers or brackets. Secure it according to the product instructions. Stand back occasionally and check the line visually. The gutter should sit neatly below the roof edge, catch runoff from the shingles, and maintain the planned slope. If water is likely to overshoot the gutter during heavy rain, you may need to adjust placement or add diverters at problem valleys.
Step 14: Install Downspouts and Extensions
Attach elbows to the downspout outlet, measure the vertical downspout length, cut as needed, and secure the downspout to the wall with straps. Keep it plumb and close enough to the siding to look clean, but not so tight that water, debris, or insects get trapped behind it. At ground level, add an elbow, splash block, extension, or underground drainage connection to carry water away from the foundation. Sending water straight to the base of the wall is not drainage; it is betrayal.
Step 15: Test the System with Water
After everything is installed, run water from a garden hose into the high end of each gutter. Watch for leaks, low spots, overflow, slow drainage, and water escaping behind the gutter. Tighten fasteners, reseal seams, and adjust slope if needed. Also check where the downspout discharges. The final destination matters as much as the gutter itself.
Common Gutter Installation Mistakes to Avoid
Using Too Few Downspouts
A long gutter run with one tiny downspout is like a four-lane highway ending in a garden path. Water backs up, spills over, and may damage siding or landscaping. Add enough downspouts for the roof area and rainfall intensity.
Skipping the Slope
Gutters that look perfectly level may actually drain poorly. A slight pitch toward the downspout prevents standing water, algae buildup, mosquito problems, and premature corrosion.
Fastening Into Weak Fascia
If the wood behind the gutter is damaged, the best hangers in the world will not save the installation. Repair fascia first, then hang gutters.
Forgetting About Water Discharge
The goal is not simply to move water off the roof. The goal is to move it away from the house. Downspout extensions, splash blocks, and proper grading help prevent basement moisture, soil erosion, and foundation stress.
Working Alone
Gutter sections are awkward, especially in wind. A helper can hold sections steady, pass tools, check alignment, and call out when your “just one more inch” reach is becoming a bad idea.
Maintenance After Installing Gutters
Once your gutters are installed, keep them clean and inspected. Leaves, pine needles, seed pods, roof grit, and mystery sludge can block water flow. Clean gutters at least twice a year, usually in spring and fall, and more often if trees hang over the roof. After major storms, check for sagging sections, loose straps, leaking seams, and clogged downspouts.
Gutter guards can reduce debris buildup, but they do not make gutters maintenance-free. They still need inspection, especially after heavy leaf drop or windstorms. Think of gutter guards as helpful assistants, not magical roof elves.
Experience Notes: Practical Lessons From Real Gutter Projects
One of the biggest lessons from gutter installation is that planning saves more time than speed ever will. Many first-time DIYers want to start cutting and fastening right away because the materials are sitting there in the driveway looking productive. But gutters reward patience. A careful layout can prevent almost every annoying problem later: seams in awkward places, downspouts blocking walkways, water dumping onto flower beds, or a gutter run that slopes beautifully in the wrong direction.
A smart habit is to sketch the house before buying materials. It does not need to be an architectural drawing; a simple rectangle with roof edges, corners, and downspout locations is enough. Write measurements directly on the sketch. Mark where water already causes problems during rain. Maybe one corner of the patio gets hammered. Maybe mulch keeps washing out beside the garage. Maybe the basement smells damp after storms. These clues tell you where water wants to go, and your gutter system should politely but firmly redirect it.
Another experience-based tip is to preassemble what you safely can on the ground. End caps, outlets, short corner assemblies, and some seams are easier to seal and fasten while standing comfortably than while balancing on a ladder with one elbow hooked around a rung like a confused flamingo. Ground assembly also gives sealant a better chance to sit neatly in the joint. Just do not build sections so large that they become impossible to lift safely into place.
Cutting is another place where calm hands matter. Thin gutter metal can bend if you rush, and vinyl can crack if handled roughly in cold weather. Support the gutter section while cutting, wear gloves, and smooth sharp edges. A clean cut makes assembly easier and reduces the chance of leaks. If your first cut looks like it was chewed by a raccoon, do not panic. Trim carefully, use proper connectors, and remember that hidden joints are forgiving when sealed correctly.
Do not underestimate the downspout layout. A downspout that empties onto a driveway may create ice in winter. One that empties into a planting bed may dig a trench through your mulch. One that ends too close to the foundation may quietly create moisture problems. Extensions are not the prettiest part of a gutter system, but they are among the most important. Where possible, send water onto a sloped lawn, into a properly designed drainage line, or toward a rain barrel setup that includes an overflow route.
Finally, test the system before putting everything away. Many people finish the last screw, admire the roofline, and declare victory. Then the first storm arrives and reveals a tiny leak at a seam or a low spot where water sits. A garden hose test is much less dramatic. Start gently, then increase flow. Watch the gutters, downspouts, seams, and discharge points. A small adjustment now can prevent stains, rot, and future ladder trips. The best gutter installation is not the one that looks perfect on a sunny afternoon; it is the one that works during a hard rain while you are inside drinking coffee and feeling quietly superior.
Conclusion
Learning how to install gutters is really learning how to manage water. Measure carefully, choose the right materials, create a steady slope, support the gutter with strong hangers, seal every joint, and guide runoff away from your foundation. The project is manageable for many DIYers on simple, single-story rooflines, but safety should always decide the plan. If the work feels too high, too heavy, or too complicated, bring in a professional. Your home needs good drainage, but you need all your bones exactly where they are.