A warm eyelash curler can do for your lashes what a curling iron does for hair: add shape, lift, and a little “I woke up looking suspiciously glamorous” energy. The trick is knowing how to heat an eyelash curler safely, because the skin around your eyes is delicate, your lashes are tiny, and your eyeballs did not sign a waiver.
Heating an eyelash curler is not complicated, but it does require patience, cleanliness, and common sense. A slightly warm curler can help stubborn straight lashes hold a curl longer, especially when followed with mascara. A too-hot curler, however, can pinch, burn, weaken lashes, or turn your quick beauty routine into a dramatic bathroom incident. Let’s keep the drama on the lashes, not in the emergency room.
This guide explains how to heat an eyelash curler in 10 safe, practical steps, including how to use a blow dryer, how to test the temperature, what to avoid, and how to make your curl last without frying your natural lashes.
Why Heat an Eyelash Curler?
A traditional eyelash curler bends lashes mechanically. Adding gentle warmth helps the lash hairs become more flexible for a short time, making it easier to shape them upward. Think of it like styling bangs: cold metal can help, but a tiny amount of warmth can make the shape last longer.
People with naturally straight lashes, downward-pointing lashes, or lashes that fall flat after mascara may notice the biggest difference. Heated lash curling can also make eyes look more open and awake without needing false lashes, extensions, or an advanced degree in winged eyeliner.
Still, warmth should be mild. The goal is not to make the curler hot. It should feel comfortably warm against the skin, never sharp, stinging, or uncomfortable. If you would not press it near your eyelid, do not press it near your eyelid. Beauty math is simple like that.
How to Heat an Eyelash Curler: 10 Steps
Step 1: Start With a Clean Eyelash Curler
Before heating anything, inspect your eyelash curler. The metal frame should be clean, the silicone or rubber pad should be intact, and there should be no crusty mascara buildup hanging around like an uninvited guest. Old mascara on the curler can tug lashes, transfer bacteria, and create uneven pressure.
Wipe the curler with a cotton pad lightly dampened with rubbing alcohol or gentle makeup remover. Let it dry completely before heating. If the pad is cracked, hardened, sticky, or missing, replace it before using the curler. A damaged pad can crimp lashes sharply or even cause breakage.
Step 2: Make Sure Your Lashes Are Clean and Dry
For a classic metal eyelash curler, curl before mascara. Clean, dry lashes are more flexible and less likely to stick to the curler. Mascara-coated lashes can become stiff, and clamping them with heat may increase the risk of breakage. If your lashes feel crunchy, stop. Lashes are not breakfast cereal.
Remove leftover mascara, eyeliner, or oil from the lash line before curling. A clean lash base also helps prevent irritation, especially if you wear contact lenses or have sensitive eyes.
Step 3: Choose Your Heating Method
The most common way to heat a traditional eyelash curler is with a blow dryer. Hold the curler by the handle and aim warm air at the metal clamp area for about 3 to 5 seconds. Use a low or medium setting, not the hottest blast your dryer can produce.
You can also warm the curler by running the metal portion under warm water, then drying it thoroughly. This method gives gentler heat, but you must make sure the curler is completely dry before it touches your lashes. Water plus eye makeup equals smudge city.
A third option is using a purpose-built heated eyelash curler. These usually look like small heated combs or wands and often include temperature controls. If you use one, follow the manufacturer’s directions exactly.
Step 4: Heat BrieflyNot Aggressively
This is where many people go wrong. More heat does not mean a better curl. It often means discomfort, lash weakness, or a tiny burn near a very important body part. Heat the curler only until it feels warm, not hot.
If using a blow dryer, a few seconds is usually enough. If the curler becomes too hot to touch comfortably, it is too hot for your eye area. Let it cool before continuing. Your eyelids are delicate, and they deserve better than being treated like a panini press.
Step 5: Test the Temperature on Your Wrist or Fingertip
Always test the heated curler before bringing it near your face. Press the metal clamp gently against the inside of your wrist or the back of your hand. It should feel pleasantly warm. If you flinch, pull away, or say “absolutely not” out loud, it needs to cool down.
This step is non-negotiable. The eye area is more sensitive than your hands, so a temperature that feels hot on your wrist may feel even hotter near your lash line. Wait 10 to 20 seconds and test again if needed.
Step 6: Position the Curler at the Base of the Lashes
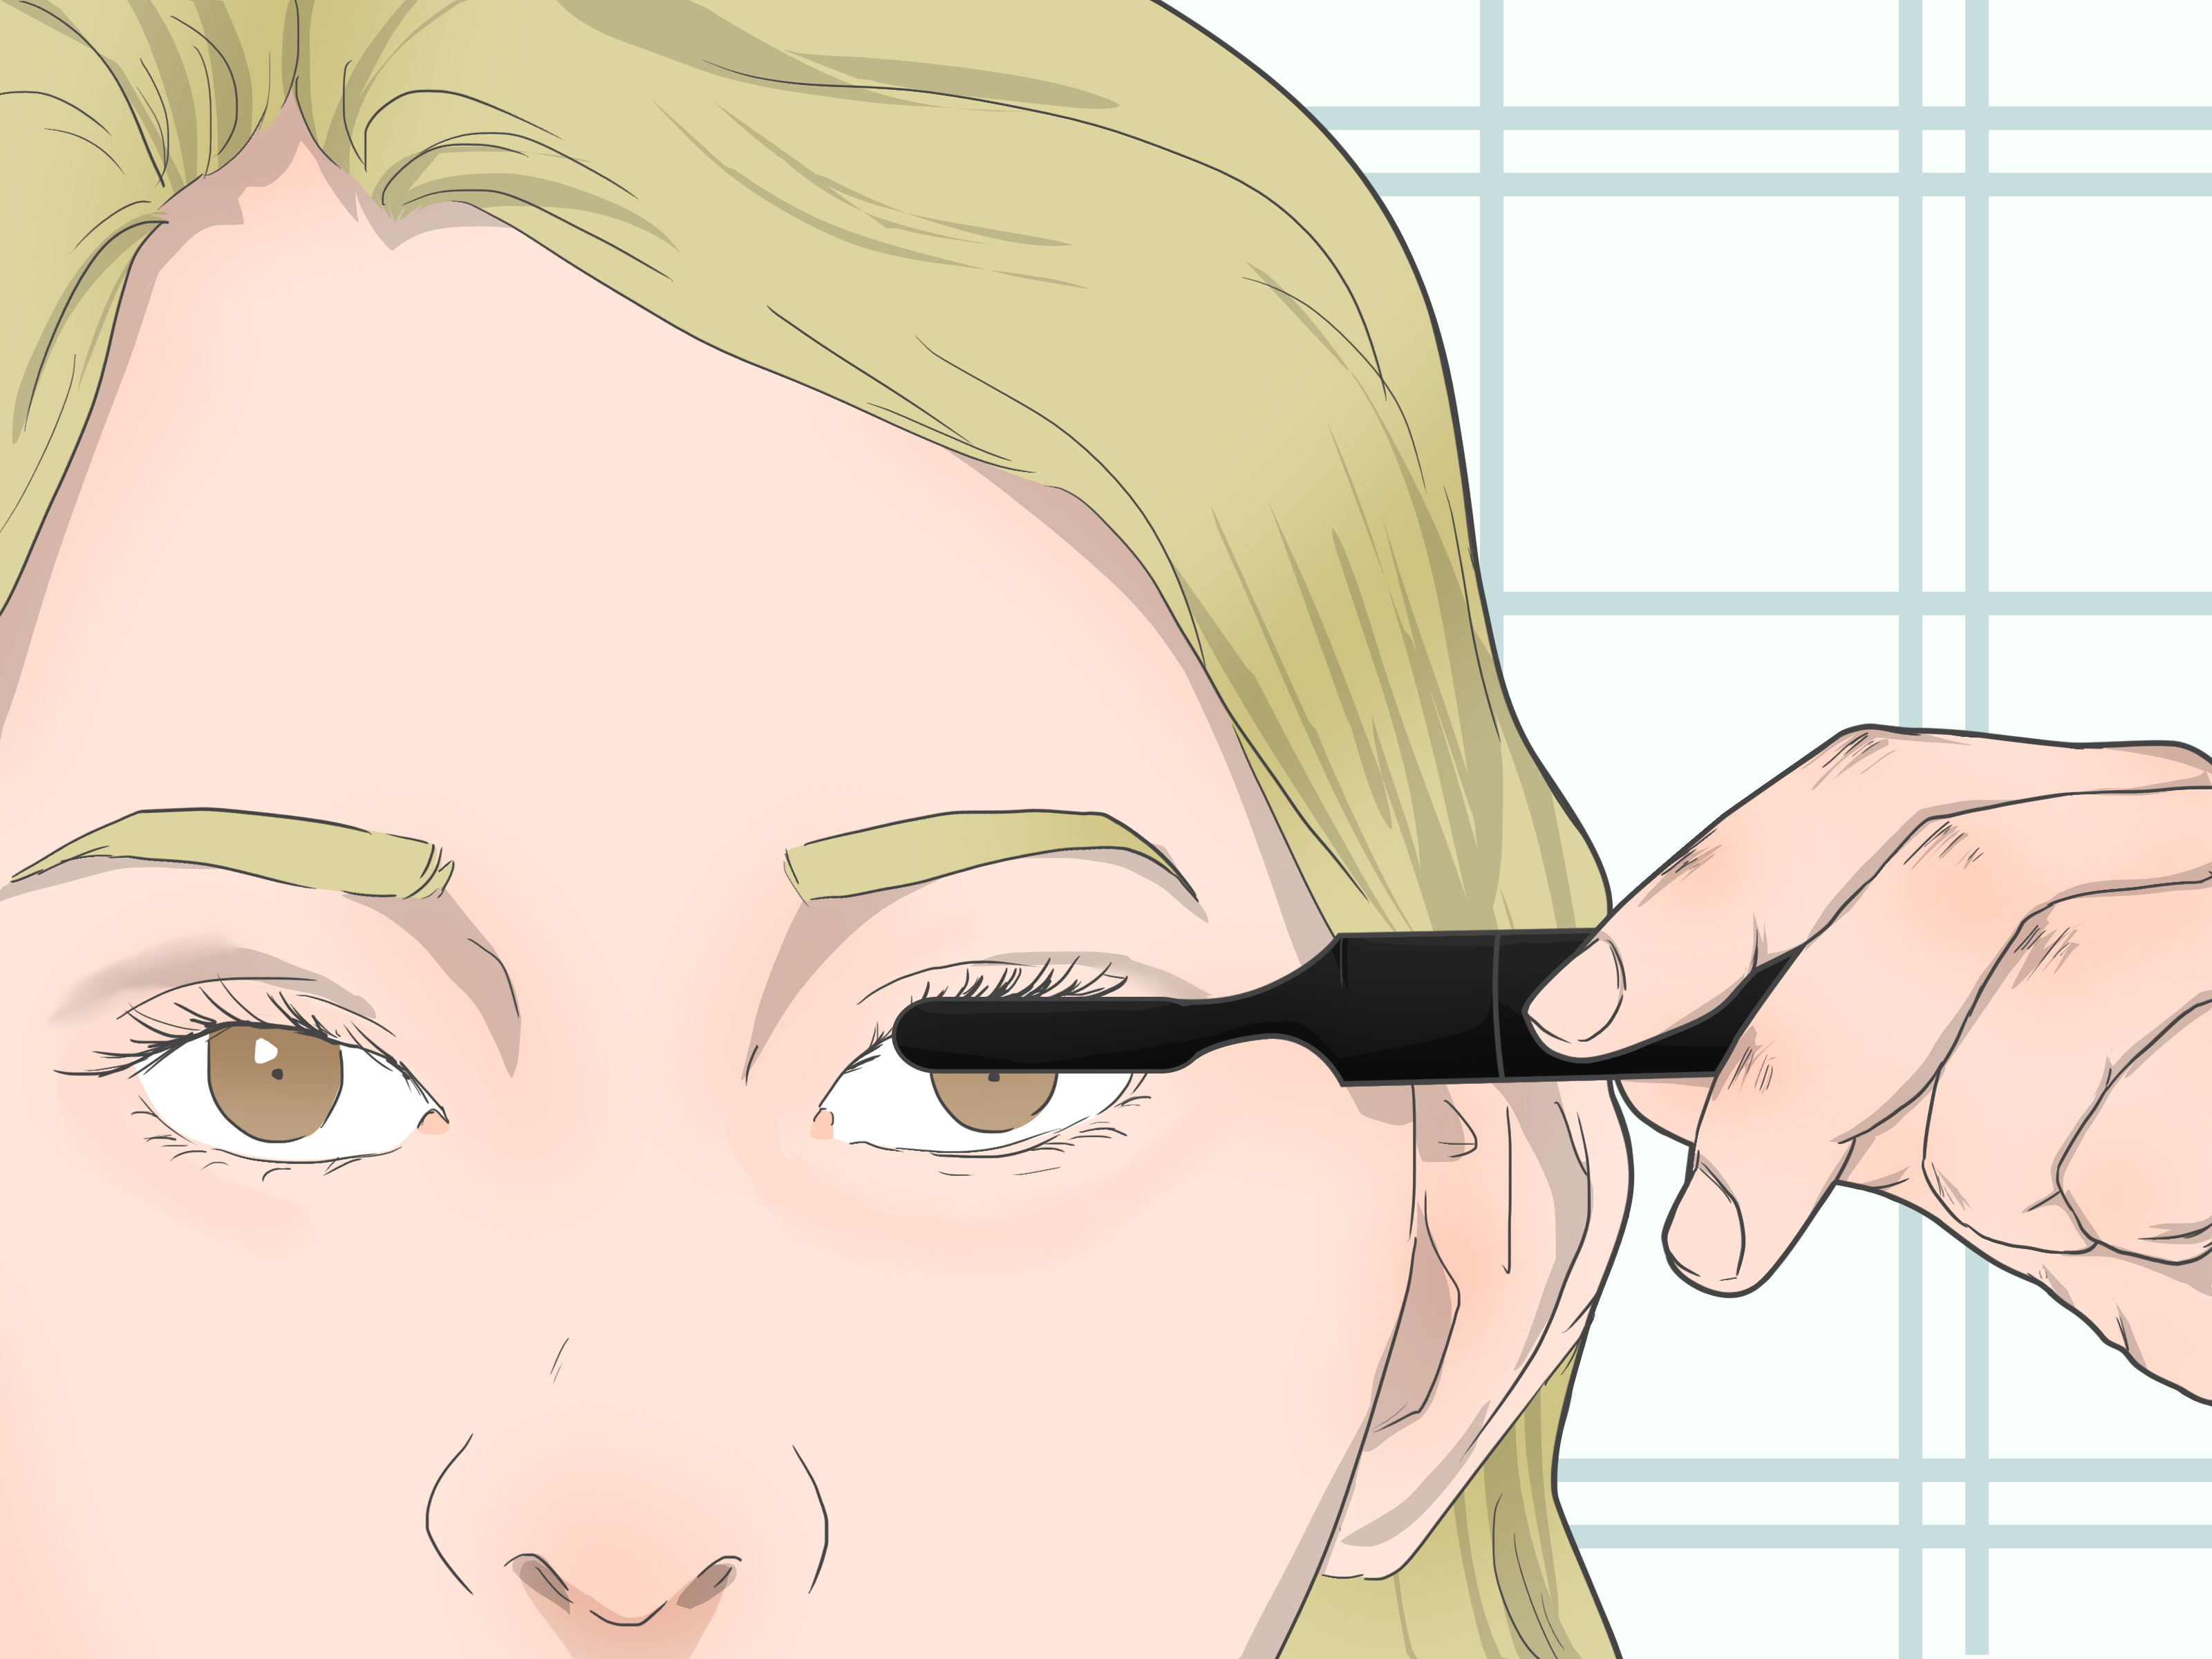
Once the curler is warm and comfortable, look slightly downward into a mirror. Open the curler and place your upper lashes between the clamps. Position it near the base of the lashes, but not directly on the eyelid skin. You want the lashes, not your lid.
Move slowly. If the curler pinches, reposition it before pressing. A good lash curl should never feel like a tiny medieval trap. Keep your hand steady and avoid curling while walking, riding in a car, or rushing five minutes before leaving the house.
Step 7: Press Gently for 5 to 10 Seconds
Close the curler gently and hold for about 5 to 10 seconds. Do not squeeze with all your strength. Heavy pressure can create a harsh bend instead of a soft curl. The goal is a lifted curve, not a 90-degree angle that looks surprised by its own existence.
If your lashes are very straight, use gentle pulses instead of one hard clamp. Press lightly, release, move slightly outward along the lashes, and press again. This creates a rounded curl from root to tip.
Step 8: Curl in Sections for a Natural Lift
For the prettiest result, curl in three zones: base, middle, and near the tips. Start close to the lash root for lift, move to the center for curve, then finish near the ends for softness. Each press should be gentle and brief.
This technique prevents the dreaded “L-shaped lash,” where lashes shoot straight up like they just heard shocking gossip. A gradual curl looks more natural and helps mascara glide on smoothly.
Step 9: Apply Mascara After Curling
Once both eyes are curled, apply mascara to lock in the shape. A lightweight, lengthening mascara works well if your lashes tend to droop. Waterproof mascara can hold curl strongly, but it may require more effort to remove, so use it thoughtfully.
Comb through clumps while the mascara is still slightly wet. Avoid re-curling mascara-coated lashes with a traditional heated clamp, because dried mascara can make lashes brittle. If you need extra lift after mascara, use a heated lash comb designed for that purpose rather than clamping hard over product.
Step 10: Clean the Curler Again After Use
After your lashes are curled and your confidence has risen approximately 43 percent, clean the curler again. Wipe away mascara, oils, and skin debris. Store it somewhere dry, not loose at the bottom of a makeup bag where it can collect dust, powder, and mystery crumbs.
Replace the curler pad regularly. Many curlers come with extra pads, and using them is not optional decoration. A fresh pad helps protect lashes and creates a smoother curl.
Best Methods for Heating an Eyelash Curler
Using a Blow Dryer
A blow dryer is the quickest method. Hold the curler at arm’s length, warm the clamp area for a few seconds, test it, then curl. Use warm air, not scorching heat. Never blow hot air directly into your eyes or onto your lashes while your eyes are open. That can cause dryness and irritation.
Using Warm Water
Warm water is gentler and less likely to overheat the curler. Run the metal part under warm water for several seconds, then dry it completely with a clean towel. This method works best for people who want subtle lift rather than maximum curl.
Using a Heated Eyelash Curler
A heated eyelash curler is designed specifically for lashes. Many models use a warm comb instead of a clamp, which can be helpful for people who dislike pinching. Choose one with temperature control and safety features. Always read the instructions, test the heat, and keep the device clean.
Common Mistakes to Avoid
Overheating the Curler
The biggest mistake is making the curler too hot. If it feels hot on your hand, it is not safe for your eyelid. Mild warmth is enough to help shape lashes. Extreme heat can damage lash hairs and irritate the surrounding skin.
Curling After Mascara
For traditional clamp curlers, curl first and apply mascara second. Mascara stiffens lashes, and clamping afterward may cause sticking, pulling, or breakage. If you forgot and already applied mascara, wait until another day rather than forcing it.
Sharing Your Eyelash Curler
Sharing eye tools can transfer bacteria, oils, and potential infections. Your eyelash curler should be personal, like a toothbrush or your secret snack drawer. Keep it clean and do not use public testers near your eyes.
Using a Curler During Eye Irritation
If your eyes are red, itchy, swollen, painful, or infected, skip eye makeup and lash curling until the issue clears. Curling irritated eyes can make symptoms worse. When in doubt, ask an eye care professional.
Who Should Be Extra Careful?
People with sensitive eyes, dry eye, contact lenses, lash extensions, recent eye procedures, or a history of eye infections should be especially careful. Heat, pressure, and cosmetics can all irritate the eye area if used carelessly.
If you have lash extensions, avoid traditional clamp curlers unless your lash technician says otherwise. Clamping extensions can bend, loosen, or pull them out. A low-heat lash wand may be safer, but only if approved for extensions.
If you use lash growth serums or prescription lash products, be gentle. Your lashes may be longer, but the eye area still needs careful handling. Always follow product instructions and avoid layering too many eye products at once.
How to Make the Curl Last Longer
To help your heated lash curl last, begin with clean lashes, curl in sections, apply mascara immediately after curling, and avoid heavy formulas that weigh lashes down. If your lashes fall quickly, try a lightweight waterproof mascara for special occasions. For everyday use, a tubing or lengthening mascara may feel more comfortable and easier to remove.
You can also improve results by choosing the right curler shape. Some eyelash curlers are better for round eyes, while others suit almond, hooded, or deep-set eyes. If your curler pinches or misses the outer lashes, the problem may be the shape, not your technique.
Real-Life Experience Notes: What Heating an Eyelash Curler Actually Feels Like
The first time many people heat an eyelash curler, they expect a dramatic, movie-montage transformation. In reality, the best result is usually subtle but meaningful: lashes look more lifted, mascara applies more evenly, and the eyes appear brighter. It is less “red carpet in three seconds” and more “I look awake enough to answer emails.” Honestly, that is still a win.
One common experience is learning that tiny changes matter. Heating the curler for 3 seconds may do almost nothing, while 6 seconds may be perfect. Ten seconds on a hot dryer setting may be too much. The sweet spot depends on the curler’s material, your blow dryer, room temperature, and how stubborn your lashes are. This is why testing the temperature every time is so important. Guessing near your eyeball is not a personality trait anyone needs.
Another lesson: technique beats force. Beginners often clamp too hard because they want the curl to last. But heavy pressure can create a sharp bend and make lashes look unnatural. A softer press in three sections usually looks better. Start at the base for lift, move to the middle for curve, and finish near the tips for a fluttery effect. It takes only a few extra seconds, but the result looks much more polished.
People with straight lashes often notice that heat helps most when mascara is applied immediately afterward. Without mascara, the curl may slowly relax. With the right mascara, the lift can last through a workday, dinner, or a long event where you keep pretending your feet do not hurt. Lightweight mascara is usually easier to manage because heavy formulas can drag the lashes down.
There is also a learning curve around safety. If the curler ever feels too warm, waiting 20 seconds can save your eyelid. If your eyes are watery or irritated, skipping the curler is the better choice. If the rubber pad looks worn out, replacing it can instantly improve results. These small habits turn heated curling from a risky shortcut into a reliable beauty step.
The best experience comes from treating heated lash curling like a careful styling technique, not a rushed hack. Clean the tool, warm it gently, test it, curl slowly, apply mascara, and clean up afterward. Once you get the rhythm, the process feels simple. Your lashes get the lift; your eyes stay comfortable; and your morning routine gains one tiny luxury that does not require a salon appointment or emotional support coffee.
Conclusion
Learning how to heat an eyelash curler is all about balance. Gentle warmth can help natural lashes curl better and hold their shape longer, but too much heat can cause irritation, breakage, or burns. The safest method is simple: clean the curler, warm it briefly, test the temperature on your hand, curl clean lashes gently, and apply mascara afterward.
A heated eyelash curler should make your routine easier, not scarier. With the right technique, you can create lifted, wide-awake lashes in minutes while keeping your eye area safe and healthy. Treat your lashes kindly, replace worn pads, avoid sharing tools, and never rush with hot metal near your face. Glamour is great. Eyelid peace is greater.