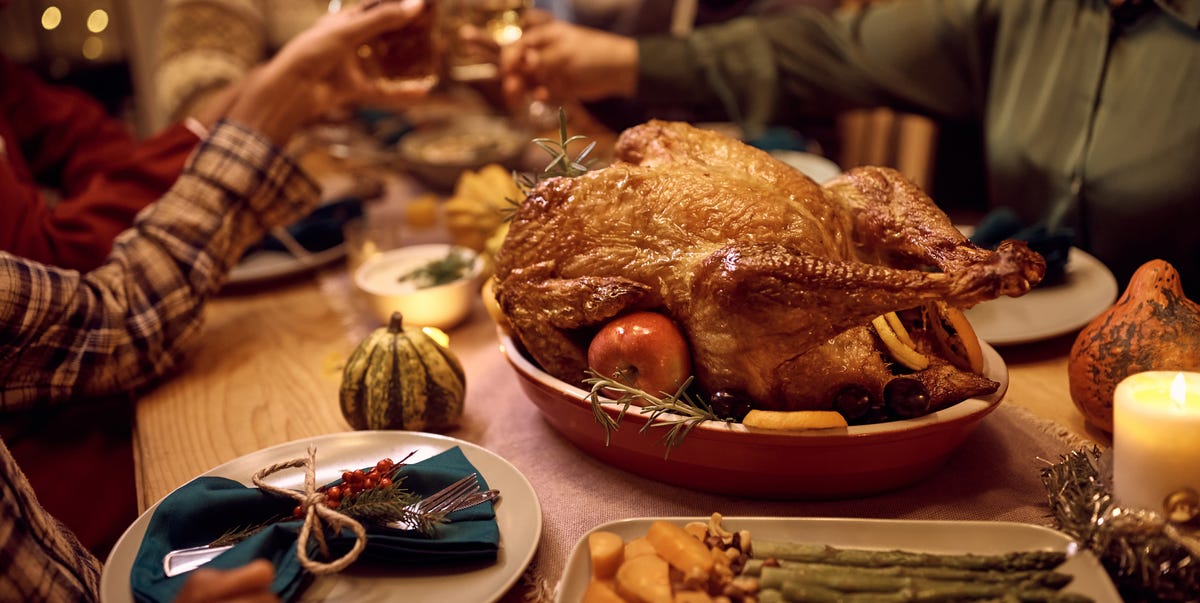
If your Thanksgiving turkey has ever come out dry enough to require a gravy rescue mission, welcome to the club. Turkey is a dramatic bird: enormous, unevenly shaped, and somehow both overcooked and under-seasoned if you simply whisper “roast” in its direction. The good news? Learning how to dry brine a turkey is one of the easiest ways to turn that holiday gamble into a golden, juicy, deeply seasoned centerpiece.
Dry brining sounds chef-y, but it is refreshingly simple. You rub salt, and sometimes sugar, herbs, spices, or baking powder, all over the turkey, then let time and the refrigerator do the heavy lifting. No giant bucket. No gallons of salty water. No awkward game of “will this raw turkey fit next to the cranberry sauce?” Dry brining seasons the meat, helps it retain moisture, and dries the skin so it roasts beautifully crisp.
This guide walks you through the full process, including how much salt to use, how long to dry brine turkey, what mistakes to avoid, and the chef tips that make the difference between “pretty good” and “please host again next year.”
What Is Dry Brining?
Dry brining is the process of salting meat in advance and letting it rest before cooking. For turkey, the salt first draws out a small amount of moisture from the bird. That moisture dissolves the salt, creating a concentrated natural brine on the surface. Over time, that brine is reabsorbed into the meat, carrying seasoning below the skin instead of leaving all the flavor on the outside.
In plain kitchen English: dry brining gives your turkey time to season itself from the inside out. It also changes how the proteins in the meat behave during roasting, helping the turkey hold onto more juices. Meanwhile, the uncovered refrigerator rest dries the skin, which is exactly what you want for a crisp, browned finish.
Dry Brine vs. Wet Brine: Why Chefs Often Prefer Dry Brining
A wet brine uses salt dissolved in water, while a dry brine applies salt directly to the turkey. Both can improve moisture, but dry brining has several advantages for home cooks.
Dry Brining Is Less Messy
Wet brining requires a large food-safe container, enough refrigerator space, and several quarts of liquid. Dry brining needs a sheet pan, a rack, salt, and patience. That is a much easier sell when your fridge is already packed with pies, casseroles, and someone’s mysterious “special salad.”
Dry Brining Helps the Skin Get Crisp
Wet brining can add moisture to the skin, which must then be dried before roasting. Dry brining naturally encourages surface drying, especially when the turkey rests uncovered in the refrigerator. Drier skin browns faster and crisps better.
Dry Brining Seasons Without Waterlogging
A wet brine can make turkey juicy, but it may also dilute the bird’s natural flavor. Dry brining keeps the turkey tasting like turkey, just a better, more confident version of itself.
Best Turkey for Dry Brining
The best turkey for dry brining is a natural, unseasoned bird. Before you salt anything, read the label. Avoid or reduce salt for turkeys labeled “kosher,” “self-basting,” “enhanced,” “pre-brined,” or “contains a solution.” These birds have already been treated with salt or seasoning, and adding a full dry brine can push the flavor from “perfectly seasoned” to “ocean with wings.”
A 12- to 16-pound turkey is ideal for many home ovens because it cooks more evenly than a massive bird. If you need to feed a crowd, two smaller turkeys often roast better than one giant turkey.
How Much Salt to Use for Dry Brining Turkey
A reliable chef-friendly guideline is about 1 teaspoon of kosher salt per pound of turkey. For a 14-pound turkey, that means roughly 14 teaspoons, or a little under 5 tablespoons of kosher salt. However, salt brands vary. Diamond Crystal kosher salt is lighter and flakier than Morton kosher salt, so the same tablespoon does not always contain the same saltiness.
For best results, use kosher salt and measure carefully. If using Morton kosher salt, use a slightly lighter hand. If using table salt, use much less because it is finer and denser. Table salt can also make the surface taste harsh if applied too heavily.
Simple Dry Brine Formula
- 1 teaspoon kosher salt per pound of turkey
- 1 teaspoon brown sugar per 4 to 5 pounds of turkey
- 1 teaspoon baking powder per tablespoon of kosher salt, optional for crispier skin
- Black pepper, garlic powder, thyme, rosemary, sage, citrus zest, or smoked paprika, optional
Sugar is optional, but it helps with browning and adds balance. Baking powder is also optional, but many chefs use a small amount because it can encourage better browning and a delicate, crisp skin. Be sure to use baking powder, not baking soda. Baking soda can taste metallic and unpleasant if overused.
How Long to Dry Brine a Turkey
For the best dry brined turkey, plan on 24 to 48 hours. A shorter brine of 12 hours can still help, especially for smaller birds, but a full day gives the salt more time to move into the meat. For a large turkey, 36 to 48 hours is a sweet spot.
Some cooks dry brine up to 72 hours, but if you go longer than 24 hours, loosely covering the bird can prevent the surface from becoming overly dry. The goal is crisp skin, not turkey jerky cosplay.
How to Dry Brine a Turkey Step by Step
Step 1: Thaw the Turkey Safely
Dry brining works best with a fully thawed turkey. Thaw frozen turkey in the refrigerator, allowing about 24 hours for every 4 to 5 pounds. Keep it on a rimmed tray on the lowest shelf so raw juices cannot drip onto other foods.
Step 2: Remove the Neck and Giblets
Check both cavities. The neck may be in one end and the giblet packet in the other. Save them for gravy or stock if you like. Forgetting the bag inside is a classic Thanksgiving plot twist, but not one you need this year.
Step 3: Pat the Turkey Very Dry
Use paper towels to dry the skin thoroughly. Moisture on the surface delays browning. A dry turkey surface helps the salt adhere and gives the skin a head start on crisping.
Step 4: Mix the Dry Brine
Combine kosher salt with your chosen seasonings. A simple version uses salt, brown sugar, black pepper, and finely chopped dried herbs. For a more savory flavor, add garlic powder, onion powder, sage, thyme, and rosemary. For a brighter holiday aroma, add orange or lemon zest.
Step 5: Season Under the Skin
Gently loosen the skin over the breast and thighs with your fingers, being careful not to tear it. Sprinkle some of the dry brine directly onto the meat under the skin. This is a chef move because it puts seasoning where it matters most: on the meat, not just on the outer jacket.
Step 6: Season the Outside and Cavity
Sprinkle the remaining dry brine evenly over the entire turkey, including the breast, thighs, legs, wings, back, and inside the cavity. Use a little more on the thick breast meat and thighs, and slightly less on thin areas like wings.
Step 7: Refrigerate on a Rack
Place the turkey breast-side up on a wire rack set inside a rimmed baking sheet or roasting pan. Refrigerate uncovered for 24 to 48 hours. The rack allows air to circulate around the bird and keeps the turkey from sitting in its own juices.
Step 8: Do Not Rinse
After dry brining, do not rinse the turkey. Rinsing can splash bacteria around your sink and kitchen, and it removes the seasoning you waited so patiently to build. If the surface looks wet, simply pat it dry again with paper towels.
Step 9: Add Fat Before Roasting
Right before roasting, rub the skin lightly with oil, clarified butter, or softened butter. Oil encourages excellent browning because it contains no water. Butter adds flavor, but regular butter contains water, so for maximum crispness, clarified butter or oil is the stronger choice.
Step 10: Roast Until Safely Cooked
Roast according to your preferred turkey method, using a reliable food thermometer. Turkey should reach a safe minimum internal temperature of 165°F in the thickest part of the breast and thigh. If the turkey is stuffed, the center of the stuffing must also reach 165°F. Let the turkey rest before carving so the juices redistribute.
Chef Tips for the Best Dry Brined Turkey
Use a Thermometer, Not Hope
Pop-up timers are not as reliable as a good instant-read thermometer. Check the breast and thigh separately because dark meat and white meat cook differently. The thermometer is the calm adult in the room.
Skip Constant Basting
Basting feels productive, but repeatedly opening the oven lowers the temperature and adds moisture to the skin. If your goal is crispy turkey skin, dry brining plus a light coating of fat does more than spooning pan juices over the bird every 20 minutes.
Consider Spatchcocking
Spatchcocking means removing the backbone and flattening the turkey. This helps the bird roast more evenly and often faster. It also creates more exposed skin, which is excellent news for anyone who believes crispy turkey skin should be considered a side dish.
Keep Seasonings Fine
Use finely chopped herbs or dried herbs in the brine. Large rosemary needles or chunky garlic pieces can burn during roasting. If you want bold aromatics, place onion, citrus, herbs, or garlic in the cavity or roasting pan instead.
Be Careful With Salted Butter
Your turkey is already salted from the dry brine. If you rub the skin with salted butter, use less additional seasoning in your butter mixture. Unsalted butter or oil gives you more control.
Common Dry Brining Mistakes to Avoid
Using Too Much Salt
More salt does not mean more juiciness. It means salty turkey. Measure based on weight and adjust if your turkey is already enhanced or pre-seasoned.
Starting Too Late
A 2-hour dry brine is better than nothing, but it will not season deeply. For the full benefit, start at least the day before cooking.
Covering Too Tightly
If you wrap the turkey tightly the entire time, the skin will not dry as well. Leave it uncovered for at least part of the brining time, especially during the final overnight rest.
Rinsing After Brining
Rinsing removes flavor and creates a food-safety mess. Pat dry instead.
Forgetting the Gravy
Dry-brined turkey drippings can be saltier than usual. Taste pan drippings before using them in gravy, and use unsalted stock so you can control the final seasoning.
Dry Brine Flavor Variations
Classic Herb Dry Brine
Mix kosher salt with brown sugar, black pepper, dried thyme, dried sage, rosemary, and garlic powder. This is the traditional Thanksgiving flavor profile and works beautifully with mashed potatoes, stuffing, and gravy.
Citrus-Pepper Dry Brine
Add orange zest, lemon zest, cracked black pepper, and a pinch of coriander. This creates a bright, fragrant turkey that tastes festive without becoming perfume in poultry form.
Smoky Dry Brine
Add smoked paprika, garlic powder, onion powder, and a little cayenne. This is excellent for roasted, grilled, or smoked turkey.
Garlic-Herb Butter Finish
After brining and before roasting, rub softened unsalted butter mixed with minced herbs under the skin. Keep the outside lightly coated with oil or clarified butter for better browning.
How to Roast a Dry Brined Turkey
A simple roasting method is to start the turkey in a hot oven, around 425°F, for 20 to 30 minutes to encourage browning, then reduce the oven to 325°F or 350°F until the turkey reaches its safe internal temperature. If the breast browns too quickly, tent it loosely with foil.
Add a cup or two of unsalted stock to the roasting pan to prevent drippings from scorching. Avoid pouring liquid directly over the skin. Remember, crispy skin likes dry heat, not a surprise shower.
How to Rest and Carve the Turkey
Once the turkey is done, rest it for at least 20 to 30 minutes before carving. Larger birds can rest longer. Resting helps the juices settle so they do not run all over the cutting board the moment you slice into the breast.
For neater slices, remove the breast meat from the bone first, then slice it crosswise. Separate the legs and thighs, then slice or serve them whole. Save the carcass for stock because future-you deserves soup.
Experience Notes: What Dry Brining Teaches You After a Few Turkeys
The first time you dry brine a turkey, you may worry that the salt looks like too much. You sprinkle it over the bird and think, “Well, I’ve either made dinner or preserved a museum specimen.” But after several hours in the refrigerator, the salt begins to disappear. By the next day, the surface looks tighter, drier, and more seasoned. That is the moment dry brining starts to feel like kitchen magic, except it is really just salt, time, and science wearing a tiny chef hat.
One practical experience many cooks discover is that fridge space matters as much as the recipe. A turkey on a rack takes up real estate. Before you begin, clear a shelf, measure the pan, and make sure the bird can sit level. Nothing ruins your calm like trying to rearrange pickles, pie dough, and a 15-pound turkey at midnight.
Another lesson: the brand of salt matters. A tablespoon of one kosher salt can be much saltier than another. If you switch brands, adjust carefully. When in doubt, weigh the salt or use a conservative amount. You can always add a finishing sprinkle at the table, but you cannot unsalt the bird once it has had a 36-hour spa treatment.
Dry brining also changes how you think about turkey skin. Many people assume butter is the secret to crisp skin, but water is the enemy of browning. Butter tastes wonderful, but oil or clarified butter on the outside often browns better. A smart compromise is butter under the skin for flavor and oil on top for crispness.
Finally, dry brining makes Thanksgiving timing easier. Once the turkey is salted and resting in the refrigerator, a huge part of the work is done. On roasting day, you are not mixing buckets of brine, wrestling a slippery bird, or panic-drying the skin with half a roll of paper towels. You simply pat, oil, roast, temp, rest, and carve. That kind of calm is worth almost as much as the crispy skin.
Conclusion
Dry brining a turkey is one of the simplest ways to make a holiday bird taste like it was handled by someone who owns both a meat thermometer and emotional stability. The method seasons deeply, helps the meat stay juicy, and gives the skin the dry surface it needs to turn golden and crisp.
For the best results, choose an unseasoned turkey, use kosher salt, start 24 to 48 hours ahead, refrigerate the bird on a rack, do not rinse, and roast with a reliable thermometer. Add herbs, citrus, sugar, or baking powder if you want to customize the flavor, but remember that salt and time are the real stars of the show.
Whether you are cooking Thanksgiving dinner, Christmas lunch, Friendsgiving, or a random Sunday feast because turkey was on sale, dry brining gives you a better bird with less mess. And when everyone asks why the turkey is so juicy, you can smile mysteriously and say, “Chef secrets.” Then immediately tell them, because good turkey knowledge should be shared.