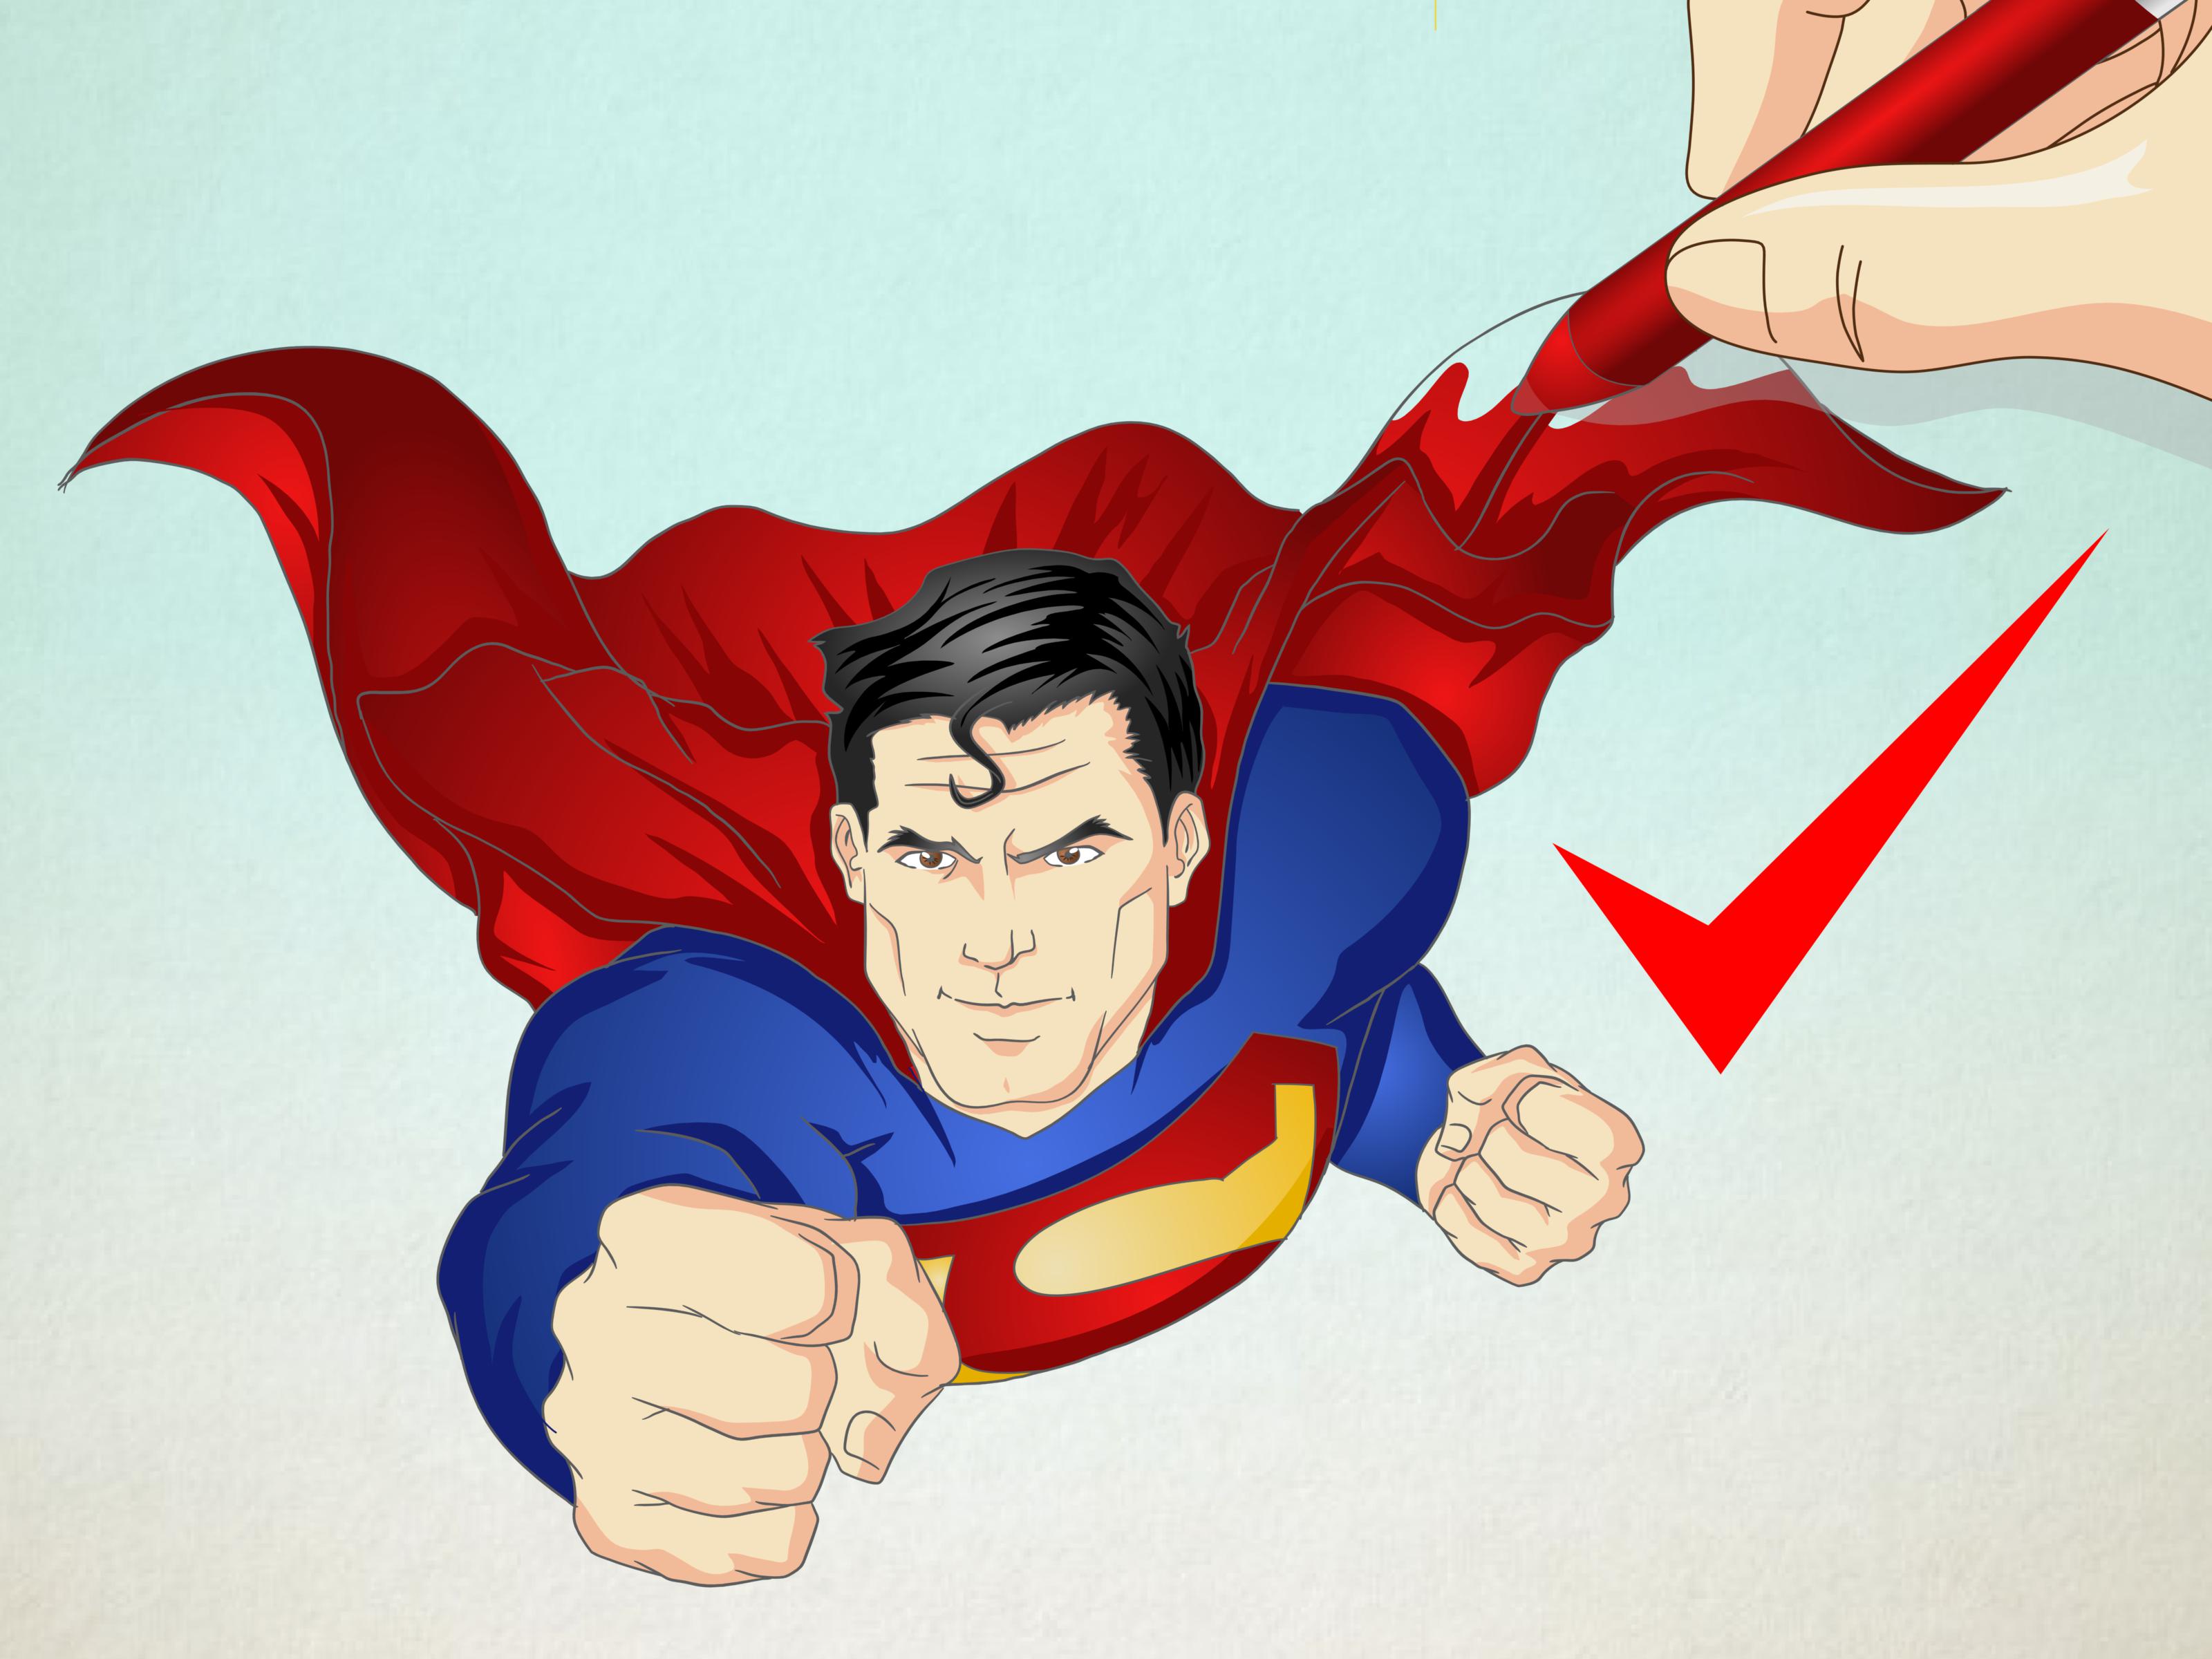
Want to draw Superman without feeling like Lex Luthor personally sabotaged your pencil? Good news: you do not need super strength, x-ray vision, or a secret Fortress of Solitude art studio. You need a pencil, an eraser, paper, a little patience, and a clear process. This beginner-friendly guide breaks down how to draw Superman in 13 practical steps, from the first simple head shape to the famous cape, heroic pose, chest emblem, and bold comic-style colors.
Superman is one of the most recognizable superheroes ever created, which makes him both fun and slightly intimidating to draw. The blue suit, red cape, powerful stance, strong jaw, curl of hair, and shield symbol all have to work together. Miss one detail and he may start looking less like the Man of Steel and more like a gym teacher late for spirit day. Do not panic. We will build him piece by piece.
Before You Start: What Makes a Superman Drawing Look Like Superman?
A successful Superman drawing is not just a muscular figure in a cape. It is a combination of silhouette, posture, costume details, and expression. The chest should feel open and heroic. The shoulders should look strong. The cape should add movement. The face should be calm, confident, and kind. Superman does not need to grimace like he just stepped on a Kryptonite Lego.
For this tutorial, we will use a classic front-facing or slightly three-quarter pose. That makes the drawing easier for beginners while still giving it superhero energy. You can make the pose more dynamic later, but first learn the structure. Comic artists often begin with basic shapes and gesture lines before adding anatomy, costume, and details. That is exactly what we will do here.
Recommended Materials
You can draw Superman with very simple supplies: an HB pencil for the sketch, a softer 2B pencil for darker lines, a clean eraser, black fineliner or marker, and colored pencils or markers in blue, red, yellow, black, and skin tones. Digital artists can use the same steps in Procreate, Photoshop, Clip Studio Paint, Adobe Fresco, or any drawing app with layers.
How to Draw Superman in 13 Steps
Step 1: Draw the Head Shape
Start with a light oval for Superman’s head. Make it slightly wider at the top and narrower at the chin. A superhero face usually has a strong jaw, so do not make the chin too tiny. Imagine an egg that has been going to the gym responsibly. Draw a vertical guideline down the center of the face and a horizontal line halfway down for the eyes. Keep the lines light because these are construction marks, not final details.
Step 2: Add the Neck and Shoulder Line
From the bottom of the head, draw two short vertical lines for the neck. Superman’s neck should be sturdy, but avoid making it the width of a tree trunk. Next, sketch a broad shoulder line. A wide shoulder line instantly gives the character a heroic presence. Tilt the shoulders slightly if you want a more natural pose. Perfectly flat shoulders can make him look like he is posing for a driver’s license photo.
Step 3: Build the Torso with Simple Shapes
Draw a large upside-down trapezoid for the chest. The top should be wide and the bottom should narrow toward the waist. Under that, add a smaller block or tapered shape for the hips. This creates the classic superhero “V” shape. Do not worry about muscles yet. Think of the torso as armor made of simple geometry. The clearer the structure, the easier the final drawing becomes.
Step 4: Sketch the Arms
Add the arms using cylinders and circles. The upper arms should hang from the shoulders, and the forearms can bend slightly toward the hips or rest at the sides. For a classic Superman pose, draw both fists near the waist. Fists communicate strength without needing a giant action scene behind him. Use circles for the shoulders, elbows, and fists, then connect them with soft cylinder shapes.
Step 5: Draw the Legs and Boots
From the hip shape, draw two long leg forms. Superhero legs are often stylized and athletic, so make the thighs stronger than the lower legs. Add knee marks halfway down, then taper the calves toward the ankles. Sketch the boots as simple blocky foot shapes at the bottom. Keep both feet planted if you want a powerful standing pose. If the feet point outward slightly, the stance feels more stable and confident.
Step 6: Refine the Chest, Waist, and Muscle Lines
Now turn the simple torso into a stronger comic-style body. Round the pectoral area, narrow the waist, and add gentle lines for the ribs and abdomen. Use restraint. Beginners often draw every muscle like a road map, and suddenly Superman looks like he is wearing a suit made of angry noodles. A few clean lines are enough. The costume is tight, so the body shape matters more than heavy muscle detail.
Step 7: Add the Face Guidelines and Features
Place the eyes on the horizontal guideline. Draw them as almond shapes with strong brows above. Add a straight nose down the center line and a small confident mouth below it. Superman’s expression should feel calm and noble. A slight smile works well. Add ears between the eye line and nose line. For the jaw, sharpen the lower face a bit so he has that classic heroic profile.
Step 8: Draw Superman’s Hair
Superman’s hairstyle is iconic, especially the famous curl that drops onto the forehead. Start with the hairline, then draw a smooth mass of hair sweeping back from the face. Add the curl as a curved lock near the center of the forehead. Keep the hair bold and simple. Too many tiny hair strands can make the drawing busy. Think “comic-book confidence,” not “wind tunnel experiment.”
Step 9: Sketch the Cape
Draw the cape starting behind the shoulders. Let it fall down on both sides of the body, widening as it moves toward the bottom. A cape should never look like a flat towel. Add flowing curves and folds to show fabric and movement. If Superman is standing still, the cape can hang in a heavy drape. If you want action, curve it outward as if a breeze has decided to help with dramatic lighting.
Step 10: Add the Costume Lines
Draw the neckline of the suit around the base of the neck. Add the belt around the waist and the boot lines near the lower legs. Keep the costume clean and readable. The suit should follow the form of the body, so curve the lines slightly around the torso, arms, and legs. Straight costume lines on a rounded body can make the figure feel stiff.
Step 11: Draw the Chest Shield
The chest shield is one of the most important parts of a Superman drawing. Begin with a diamond-like shield shape centered on the chest. Make sure it follows the angle of the torso. Inside the shield, draw a stylized “S” shape. For beginners, simplify it: start with a large curved top, a diagonal middle sweep, and a lower curve. The goal is recognizability, not legal-document precision. Lightly sketch first, then refine until it feels balanced.
Step 12: Ink the Final Lines
Once you like the pencil sketch, go over the final lines with a black pen or marker. Use thicker lines around the outside of the figure and thinner lines for interior details like the face, muscles, and costume folds. This line-weight variation gives the drawing a polished comic look. Let the ink dry before erasing pencil marks. Yes, waiting is hard. No, smearing the face is not a heroic origin story.
Step 13: Color Superman
Use blue for the suit, red for the cape and boots, yellow for parts of the belt and shield, and black or dark blue for the hair. Add light shading under the chin, along the sides of the torso, under the arms, and inside the cape folds. Leave small highlights on the shoulders, chest, and forehead to make the drawing feel bright and three-dimensional. If coloring digitally, place colors on a layer beneath your line art.
Extra Tips to Make Your Superman Drawing Look Better
Use a Strong Silhouette
Before adding details, step back and look at the outline. Can you tell it is a superhero from the shape alone? A strong silhouette has broad shoulders, a proud chest, a clear cape, and a balanced stance. If the outline looks weak, the details will not save it. Think of silhouette as the drawing’s handshake. It should be firm, not floppy.
Keep the Pose Simple at First
Flying poses, punching poses, and dramatic perspective shots are exciting, but they are harder. Beginners should master a standing Superman first. Once you understand the head, torso, cape, and costume, you can tilt the body, raise one arm, or draw him flying upward. Art skill grows faster when you build one challenge on top of another instead of wrestling thirteen problems at once.
Do Not Overwork the Face
A few clean lines can say more than a dozen tiny wrinkles. Superman’s face usually works best with strong eyebrows, simple eyes, a defined nose, and a calm mouth. If he looks too angry, soften the brows. If he looks too young, strengthen the jaw. If he looks confused, check whether the eyes are pointing in two different directions. Even superheroes deserve aligned eyeballs.
Make the Cape Part of the Composition
The cape is not just decoration. It frames the body and adds motion. Use it to guide the viewer’s eye back toward the face and chest shield. A cape that spreads outward creates drama. A cape that falls straight down creates dignity. A cape that looks like a shower curtain means you may need more curved folds.
Practice the Shield Separately
If the chest emblem keeps fighting you, draw it on a separate sheet of paper five or ten times. Practice the outer shield shape first, then the inner “S.” Once your hand understands the motion, add it to the final drawing. This is not cheating. This is training. Even Superman had to learn how to land without making a crater every time.
Common Mistakes When Drawing Superman
Mistake 1: Making the Head Too Big
A large head can make Superman look like a child in costume. For a classic comic-book look, keep the head smaller compared with the body. Superheroes often have exaggerated proportions, with wider shoulders and longer legs. If your drawing looks too cartoonish, reduce the head size or increase the shoulder width.
Mistake 2: Drawing the Body Too Stiff
Even a standing hero needs rhythm. Add a slight curve through the spine and a small tilt in the shoulders or hips. This creates life. A perfectly straight body can look wooden, like Superman has been turned into office furniture.
Mistake 3: Forgetting the Light Source
Shading looks better when it follows one light direction. Decide where the light comes from before adding shadows. A light from the upper left means shadows fall under the chin, right side of the torso, inner cape folds, and lower arms. Consistent shadows make even a simple drawing look more professional.
Mistake 4: Coloring Too Hard Too Soon
Layer color gradually. Pressing too hard immediately can create waxy, uneven areas with colored pencils. Start light, build darker tones, and save the strongest color for shadows and accents. With markers, test colors first so the red cape does not accidentally become neon tomato soup.
Beginner-Friendly Practice Plan
If you want to improve quickly, do not draw Superman once and declare the mission complete. Try a simple three-day practice plan. On day one, draw only the head, hair curl, and face. On day two, practice the torso, cape, and shield. On day three, draw the full figure using the 13 steps above. This breaks the drawing into manageable parts and helps you avoid beginner burnout.
You can also create small thumbnail sketches before the final version. Thumbnail sketches are tiny rough drawings that let you test poses and cape shapes without committing to details. Draw six small Superman poses in five minutes. Pick the strongest one, then enlarge it. This habit is used by many illustrators because it saves time and prevents the dreaded “I spent an hour on the wrong pose” tragedy.
Experience Notes: What Drawing Superman Teaches You
Drawing Superman is a surprisingly useful art exercise because it teaches several skills at once. You practice human proportions, facial structure, costume design, fabric folds, line weight, color blocking, and symbolic detail. The character looks simple from far away, but when you sit down to draw him, you notice how much visual information is packed into the design. That is part of the fun.
One of the biggest lessons is that confidence matters more than complexity. A beginner may think a good Superman drawing needs dozens of muscles, dramatic shadows, and a museum-level chest emblem. In reality, the drawing improves most when the pose is clear, the shapes are solid, and the lines are intentional. A simple Superman with a strong silhouette will look better than an over-detailed one with shaky structure.
Another helpful experience is learning to draw through mistakes. Maybe the first head is too round. Maybe the cape looks like a pizza slice. Maybe the shield on the chest seems to have been designed during an earthquake. That is normal. Every artist has a folder of drawings that look like they were attacked by a confused raccoon. The trick is to diagnose one issue at a time. Fix the head shape. Then fix the torso. Then fix the cape. Improvement becomes much easier when you stop treating the whole drawing as one giant problem.
Superman is also a great subject for learning visual storytelling. A standing pose says “hero.” A raised fist says “flight.” A windblown cape says “movement.” A soft smile says “protector.” A lowered brow says “danger is coming.” Even before adding a background, you can communicate a story through posture and expression. That is the heart of comic art: the drawing should feel alive before anyone reads a single word.
If you are teaching kids or beginners, this tutorial works well because the character can be simplified without losing his identity. Younger artists can draw a rounder face, basic body, bold cape, and simple shield. Older beginners can push the proportions, add more anatomy, and experiment with shading. Digital artists can use layers to separate sketch, ink, color, and shadow. Traditional artists can use tracing paper or light pencil guidelines. The process is flexible, which keeps frustration low and creativity high.
My favorite practical tip is to draw the cape earlier than you think you need to. Many beginners finish the body first and then try to squeeze the cape behind it. That often makes the cape look like an afterthought. When you sketch the cape soon after the shoulders, it becomes part of the design. It frames the figure, balances the pose, and gives the drawing that unmistakable Superman drama. In other words, respect the cape. The cape has range.
Finally, remember that fan art is about practice and appreciation. Use Superman as a way to study heroic shape language, clean line art, bright color contrast, and expressive posture. Draw your own version after following the steps. Try a cartoon version, a realistic version, a flying version, or a tiny chibi version with a cape bigger than his body. The more variations you attempt, the more you understand the design. And if the first few attempts are rough, congratulations: you are officially doing art correctly.
Conclusion
Learning how to draw Superman in 13 steps is really about learning how to build a superhero from simple shapes. Start with the head, shoulders, torso, arms, and legs. Add the facial features, hair curl, cape, costume, and chest shield. Then ink the clean lines, color the suit, and add light shading. By working in stages, you avoid overwhelm and give every part of the drawing a clear purpose.
The best Superman drawings are not always the most complicated. They are the ones that feel confident, readable, and full of character. So sharpen your pencil, loosen your hand, and give the Man of Steel another try. Your first version does not have to leap tall buildings in a single bound. It just has to get off the ground.
SEO Tags
Note: This article is written for educational fan-art practice and drawing instruction. Superman and related character elements belong to their respective rights holders.