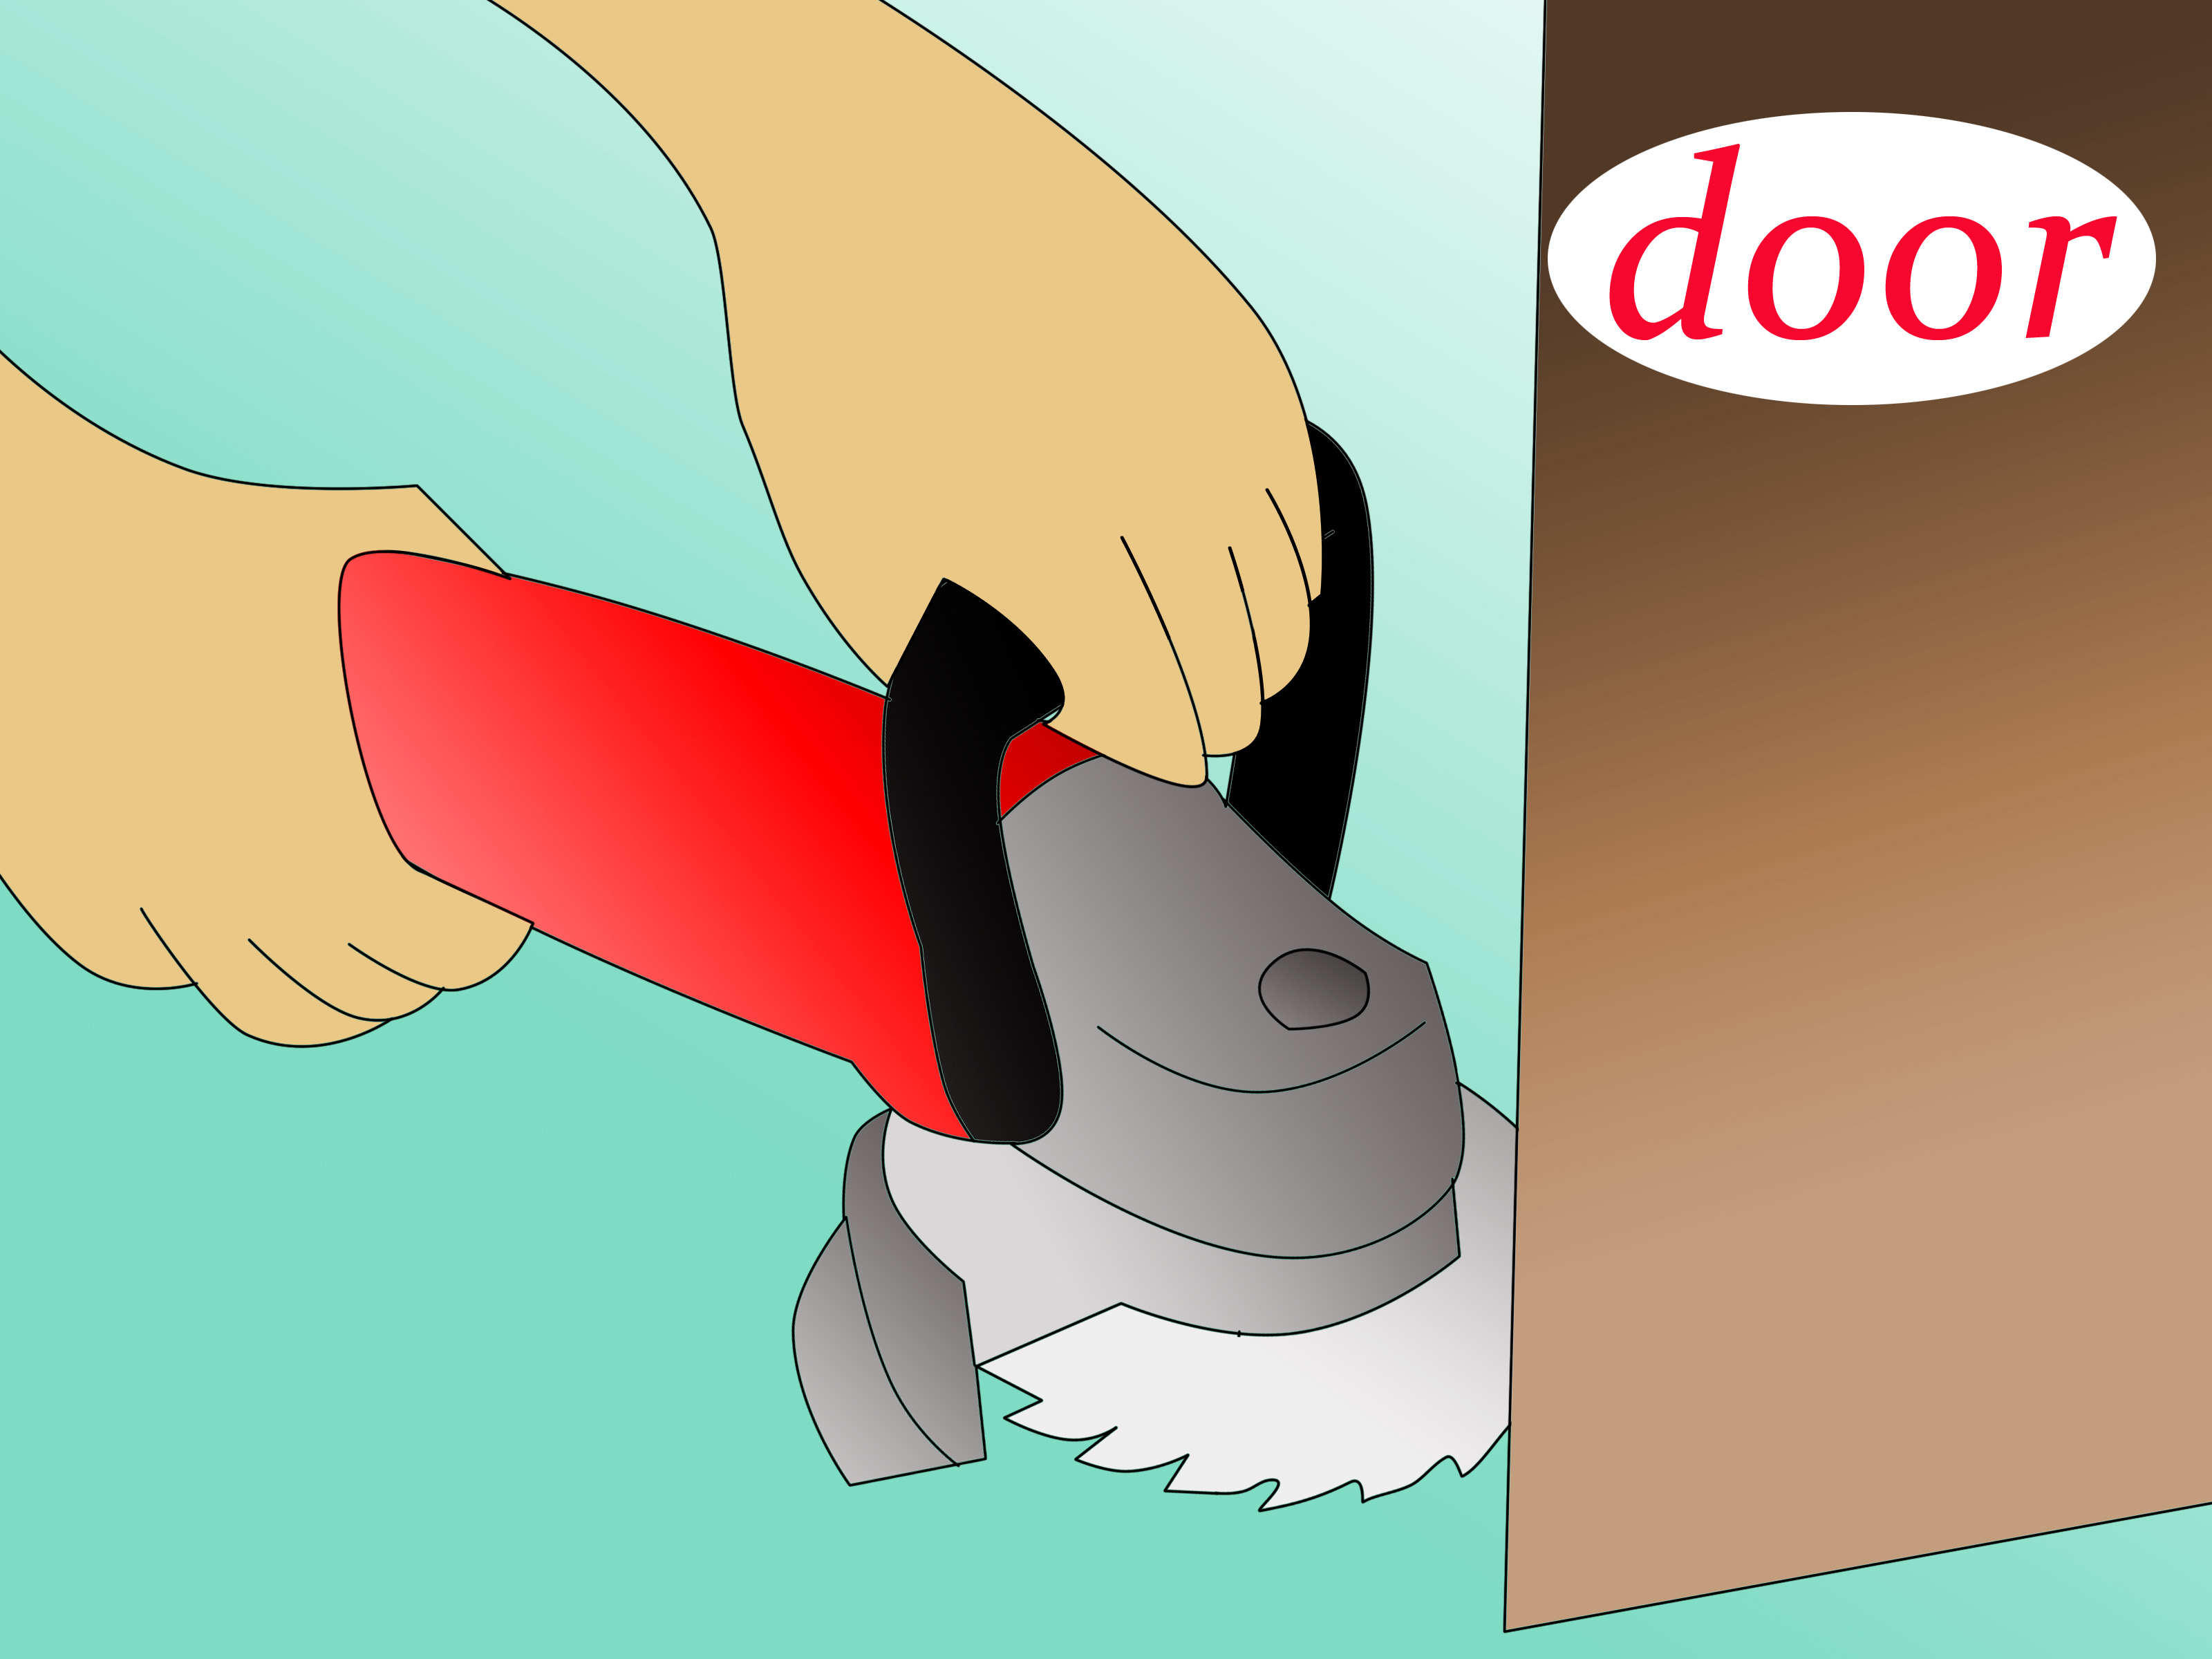
Cutting wood with power tools can feel like unlocking a secret level in DIY. One minute you are staring at a long board, wondering if it has personally offended you. The next, you have clean cuts, square ends, smoother edges, and enough confidence to say, “Yes, I meant to build that shelf.” But power tools are not magic wands. They are fast, loud, sharp, and completely uninterested in forgiving sloppy habits.
This guide explains the five best ways to cut wood using power tools, including when to use a circular saw, miter saw, table saw, jigsaw, and track saw. It is written for adult DIYers, woodworking beginners under qualified supervision, and anyone who wants better results without turning every board into expensive firewood. Before using any power tool, read the manufacturer’s manual, wear proper eye and hearing protection, secure the workpiece, use the right blade, and never remove or bypass safety guards. A clean cut starts long before the blade touches the wood.
Before You Cut: The Setup That Saves Wood, Time, and Fingers
The best woodcuts usually happen before the tool is even switched on. Accurate measuring, smart marking, and solid support matter just as much as the saw itself. Use a sharp pencil or marking knife, a quality tape measure, a square, and a straightedge. Mark the waste side of the line so you know exactly which side should disappear. In woodworking, the saw blade removes material; that missing material is called the kerf. Ignore the kerf, and your “perfect” board may end up just short enough to ruin your afternoon.
Choose the blade based on the cut. A blade with fewer teeth usually cuts faster but leaves a rougher edge. A blade with more teeth usually cuts more slowly but produces a cleaner finish. For framing lumber, speed may matter. For plywood, trim, shelving, or cabinet parts, a finer blade often gives a better result. Also check the blade condition. A dull, dirty, bent, or damaged blade can burn wood, wander off the line, bind in the cut, or increase the chance of kickback.
Support is equally important. Long boards should not sag. Sheet goods should not flop around like a giant wooden tortilla. Use sawhorses, foam insulation boards, workbenches, or proper outfeed support depending on the tool and material. Clamp the wood when appropriate, but make sure clamps do not interfere with the saw’s path. Keep cords, batteries, loose clothing, jewelry, and hair away from the cutting area. If the setup feels awkward, stop and redesign the setup. Woodworking rewards patience; it charges interest on rushing.
1. Use a Circular Saw for Fast Straight Cuts
The circular saw is the all-purpose hero of wood cutting. It is portable, powerful, and useful for cutting dimensional lumber, plywood, framing material, fence boards, decking, and many other common project pieces. If you are building a workbench, trimming a shelf panel, or breaking down a large board, a circular saw often gets the job done without requiring a full workshop.
Best for: Crosscuts, rip cuts, plywood, framing lumber, and jobsite work
A circular saw works especially well for straight cuts when paired with a guide. For short crosscuts on a 2×4 or 1×6, a speed square can act as a quick fence. For longer cuts, clamp a straight board, level, or dedicated cutting guide along the line. This helps the saw stay on course and prevents the “drunken noodle” cut that beginners sometimes get when cutting freehand.
For cleaner results, set the blade depth according to the thickness of the material instead of letting the blade hang far below the board. Support both sides of the cut so the wood does not pinch the blade near the end. Always keep hands away from the blade path, including the underside of the workpiece where the blade exits. That underside is easy to forget because you cannot see it, but the saw certainly can.
A circular saw is not the best choice for tiny trim pieces or highly detailed curves. It is also not the most precise tool for repeated furniture parts unless you use a reliable guide system. Still, for general home projects, few tools offer a better mix of cost, speed, and usefulness.
2. Use a Miter Saw for Accurate Crosscuts and Angles
If the circular saw is the hardworking pickup truck of the shop, the miter saw is the neat friend who alphabetizes the spice rack. It excels at repeatable crosscuts, angled cuts, and clean ends on boards. A miter saw is commonly used for trim, baseboards, crown molding, picture frames, deck boards, studs, and any project where consistent lengths matter.
Best for: 90-degree cuts, miter cuts, bevel cuts, trim, molding, and repeated board lengths
A basic miter saw pivots left and right to cut angles across the face of a board. A compound miter saw can also tilt for bevel cuts. A sliding compound miter saw adds rails, allowing the blade to move forward and backward for wider boards. That sliding feature is helpful for shelves, wider trim, and larger stock, although it takes up more space.
For best results, let the blade reach full speed before entering the wood, keep the board firmly against the fence, and wait for the blade to stop before lifting it after the cut. Use stop blocks for repeated lengths. Instead of measuring the same cut twelve times and getting twelve slightly different answers, set a stop block once and cut matching pieces consistently.
The miter saw is not designed for ripping boards lengthwise. It is also not ideal for large sheet goods. But for crosscuts and angles, it is fast, accurate, and satisfying. Few sounds in DIY are better than a miter saw making a crisp cut exactly where you marked it. It is the woodworking version of a high-five.
3. Use a Table Saw for Ripping Boards and Repeatable Precision
The table saw is one of the most powerful and useful tools in woodworking, but it demands serious respect. It is designed mainly for ripping wood, which means cutting with the grain to make boards narrower. It can also perform crosscuts, dadoes, rabbets, and other joinery operations with the right accessories, but beginners should approach table saw work slowly and carefully.
Best for: Rip cuts, repeatable widths, cabinet parts, furniture components, and shop precision
The main advantage of a table saw is consistency. Once the fence is set correctly, you can rip multiple boards to the same width. This makes it valuable for cabinets, shelves, drawers, face frames, and furniture projects where small errors stack up quickly. A table saw with a sharp, suitable blade can produce clean, straight edges that are difficult to match freehand.
Safety setup matters enormously. Use the blade guard, riving knife or splitter, anti-kickback features, push sticks, push blocks, featherboards, and proper outfeed support when appropriate. Kickback can happen when wood binds, twists, or gets trapped against the blade. Stand out of the direct line of the blade, keep the wood flat against the table and fence, and never force material through the cut. If the saw sounds strained or the board begins to shift, stop and reassess.
One common mistake is using the rip fence incorrectly for crosscuts. Long or awkward crosscuts on a table saw can create binding hazards, especially if the board twists between the blade and fence. For many crosscuts, a miter saw, circular saw, or track saw is often the safer and more practical choice. The table saw is brilliant when used for the right job, but it is not a universal solution to every piece of wood that looks at you funny.
4. Use a Jigsaw for Curves, Notches, and Creative Shapes
The jigsaw is the artist of the power saw family. It may not be the straightest cutter in the shop, but it can turn corners, follow curves, make cutouts, and handle shapes that would make a circular saw throw up its hands and leave the room. A jigsaw is useful for decorative panels, sink openings, notches, craft projects, templates, and curved cuts in plywood or boards.
Best for: Curves, circles, interior cutouts, notches, and irregular shapes
The secret to better jigsaw cuts is blade choice. Wider blades tend to track straighter, while narrower blades turn curves more easily. Finer-tooth blades usually leave cleaner edges but cut more slowly. Rougher blades cut faster but may splinter the surface. When appearance matters, cut with the finished face oriented according to the blade type, use painter’s tape along the line, and avoid forcing the saw forward.
For interior cutouts, such as a hole in a panel, many woodworkers drill a starter hole first so the jigsaw blade can enter the material. Keep the saw’s shoe flat on the workpiece and let the blade do the cutting. Pushing too hard can cause the blade to bend, which leads to angled or uneven cuts. That is how a neat curve becomes a mysterious potato shape.
A jigsaw is not the best tool for furniture-grade straight cuts or heavy ripping. It can cut straight lines with a guide, but blade deflection may still occur in thicker stock. Use it where it shines: curves, details, and flexible shaping. For a beginner, a jigsaw is also less intimidating than many larger saws, though it still requires careful handling, eye protection, secure clamping, and full attention.
5. Use a Track Saw for Clean Sheet-Good Cuts
A track saw is like a circular saw that went to finishing school. It rides on a guide rail, producing straight, controlled cuts in plywood, MDF, melamine, doors, panels, and other sheet goods. While a regular circular saw can cut large panels with a clamped guide, a track saw makes the process easier, cleaner, and more repeatable.
Best for: Plywood, cabinet panels, long straight cuts, trimming doors, and clean finish work
The track supports the saw and guides it along the cut line. Many systems include anti-splinter strips that help reduce tear-out on the top surface. This is especially useful for cabinet sides, shelving, built-ins, and furniture parts where the edge will be visible. A track saw also allows you to bring the tool to the wood instead of wrestling a full sheet of plywood across a table saw. Your back will notice the difference and may send you a thank-you note.
Track saws are excellent for breaking down sheet goods into manageable parts before final trimming. Many professionals use them alongside table saws: the track saw makes the large rough or finish panel cuts, and the table saw handles repeatable narrow rips. If space is limited, a track saw can be a smart alternative to a large table saw for many panel-based projects.
The main downside is cost. Track saw systems are usually more expensive than basic circular saw setups. However, for clean plywood work, cabinetry, and built-ins, the accuracy and reduced frustration can be worth it. If you cut sheet goods often, a track saw can turn a wobbly garage operation into something that feels much closer to a professional shop.
How to Choose the Right Power Tool for the Cut
Choosing the right saw is mostly about matching the cut to the tool. For quick outdoor cuts, framing lumber, and general DIY, choose a circular saw. For repeated board lengths and angles, choose a miter saw. For ripping boards to width, choose a table saw. For curves and cutouts, choose a jigsaw. For clean, straight cuts in sheet goods, choose a track saw.
Material matters too. Solid lumber behaves differently from plywood, MDF, melamine, or pressure-treated wood. Plywood can splinter. MDF creates fine dust. Wet or twisted boards can pinch blades. Reclaimed wood may hide nails, screws, staples, or other surprises that are not charming once they meet carbide teeth. Inspect wood carefully before cutting, and use blades designed for the material.
Accuracy expectations also matter. A rough garden stake does not need cabinet-grade precision. A face-frame rail does. A hidden framing cut can be slightly ugly and still structurally useful. A visible shelf edge should look clean enough that guests do not ask whether a beaver helped. Decide how clean the cut needs to be, then choose the blade, guide, and tool accordingly.
Common Wood-Cutting Mistakes to Avoid
The first mistake is measuring once and hoping for the best. The classic phrase “measure twice, cut once” survives because woodworkers have measured once, cut once, and then stared into the distance with deep regret. Always confirm the measurement, mark clearly, and understand which side of the line is waste.
The second mistake is using the wrong blade. A rough framing blade on delicate plywood can cause splintering. A fine finish blade used for aggressive ripping may cut slowly and heat up. Keep blades clean and replace them when they become dull or damaged.
The third mistake is poor support. When the cutoff piece falls, the board may tear, bind, or pinch the blade. Support the work so the cut opens safely instead of closing on the blade. This is especially important with circular saws and large panels.
The fourth mistake is rushing. Power tools already move quickly. The user does not need to add panic to the recipe. Feed the tool steadily, avoid forcing the cut, and pause whenever something feels wrong. Strange sounds, smoke, burning smells, vibration, or wandering cuts are all signs to stop and check the setup.
The fifth mistake is ignoring dust and noise. Cutting wood can create fine particles and loud sound levels. Work in a well-ventilated area, use dust collection where possible, and wear appropriate hearing and respiratory protection. Clean work areas are not only nicer to look at; they are safer and easier to measure in.
Safety Habits That Make Every Cut Better
Safety is not a boring extra paragraph stapled onto the end of woodworking. It is part of the technique. A stable stance helps accuracy. A properly clamped board cuts cleaner. A sharp blade reduces strain. A guard that works correctly protects the user and helps the tool function as designed. The safest setup is often the one that produces the best-looking cut.
Keep both hands positioned according to the tool’s design and away from the cutting path. Do not reach under material while cutting. Do not wear gloves near spinning blades if the manufacturer warns against it, because loose material can catch. Avoid distractions. A phone notification can wait. The spinning blade cannot.
Finally, respect your own comfort level. If a cut feels too complicated, make a practice cut on scrap wood. Build a jig. Ask an experienced adult, instructor, or professional for help. Use a safer tool for the job. The goal is not to look brave in front of lumber. The goal is to finish the project cleanly and still have all the parts you started the day with.
Real-World Experience Notes: What Actually Helps When Cutting Wood
After enough wood-cutting projects, most DIYers learn that accuracy is less about having the fanciest saw and more about building a repeatable process. A beginner with a sharp blade, a square, clamps, and patience can often make better cuts than someone with expensive tools and a “close enough” attitude. The board does not care what brand name is on the tool. It cares whether the blade is sharp, the line is clear, and the wood is supported.
One practical habit is to make a test cut whenever the project material is expensive or visible. For example, before cutting oak trim, walnut boards, cabinet plywood, or a prefinished panel, cut a scrap piece first. This reveals whether the blade splinters the surface, whether the saw is tracking properly, and whether the measurement system is accurate. A test cut may feel like extra work, but it is cheaper than turning a $70 sheet of plywood into modern art.
Another useful habit is labeling parts immediately after cutting. On a bookshelf, for instance, several pieces may look almost identical but differ by a tiny amount. Mark “left side,” “right side,” “top,” “bottom,” or “front edge” with painter’s tape. This prevents confusion during assembly and reduces the chance of recutting a piece that was already correct. Woodworking problems often happen because the cut was bad, but they also happen because the right piece was installed in the wrong place.
Dust control is another lesson people learn the hard way. Sawdust travels everywhere. It lands on shelves, hides measurement marks, coats tools, and somehow appears inside shoes. Connecting a vacuum or dust extractor, cutting outdoors when practical, and sweeping between stages can make the work more accurate and less miserable. Clean work surfaces also help boards sit flat, which improves cut quality.
It also helps to slow down at the final inch of the cut. Many rough edges, splinters, and broken corners happen near the end because the cutoff piece drops or the user rushes. Support the waste piece when safe, plan where it will fall, and let the blade finish cleanly. A cut should end like a period at the end of a sentence, not like someone tripped over the keyboard.
Finally, experienced woodworkers develop a simple rule: never force a cut that feels wrong. If the blade binds, the saw struggles, smoke appears, or the wood shifts, stop. The problem may be a dull blade, poor support, internal tension in the wood, incorrect depth, or the wrong tool for the task. Backing up and fixing the setup is not failure. It is craftsmanship wearing sensible shoes.
Conclusion
Learning how to cut wood using power tools starts with choosing the right saw for the job. A circular saw handles fast straight cuts. A miter saw delivers clean crosscuts and angles. A table saw provides repeatable ripping accuracy. A jigsaw creates curves and cutouts. A track saw makes sheet goods easier to cut cleanly and safely. Each tool has strengths, limits, and safety requirements.
The best results come from preparation: accurate marks, proper support, the correct blade, steady technique, and respect for the tool. Whether you are building shelves, trimming boards, cutting plywood, or shaping a creative project, power tools can make woodworking faster and more enjoyable. Just remember: the goal is not to cut wood quickly. The goal is to cut it correctly, safely, and with enough confidence that your next project does not begin with “Well, I can probably hide that with paint.”