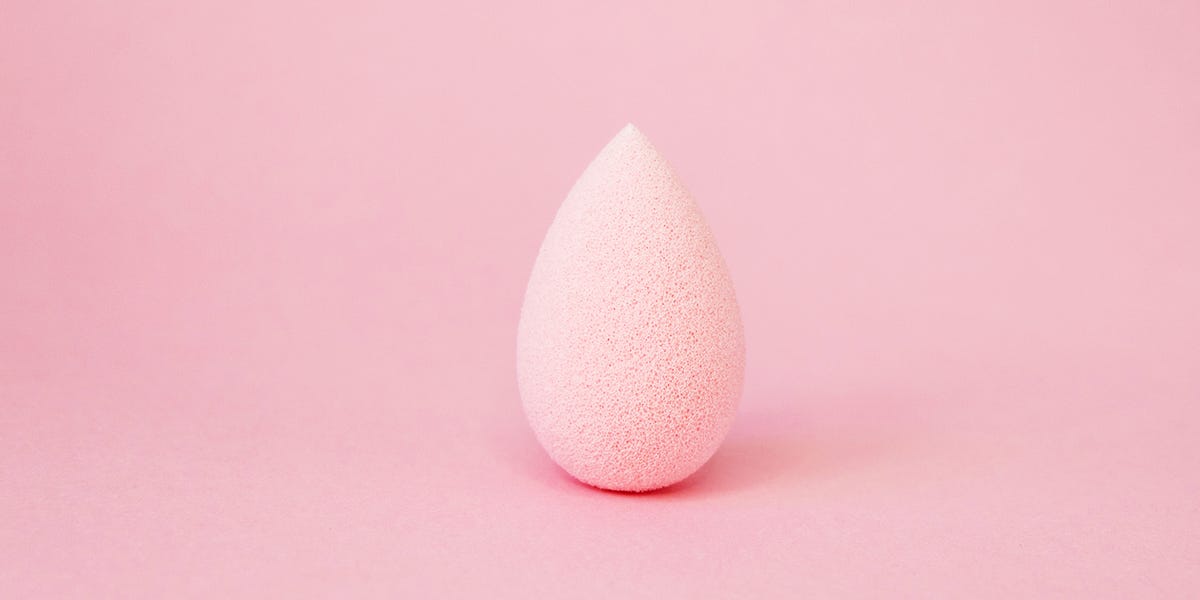
Your Beautyblender (or any makeup sponge) is basically a tiny, adorable trampoline for foundation. It bounces, it blends, it makes you look like you slept eight hours and drank water on purpose. But there’s a plot twist: that same bouncy foam is also excellent at holding onto old makeup, skin oil, and moistureaka the three ingredients bacteria would choose if they were meal-prepping.
The good news: cleaning a makeup sponge isn’t complicated. The best method is simple, fast, and doesn’t require you to perform a chemistry experiment in your sink. Below you’ll get a practical routine (plus deep-clean options), what to avoid, how often to wash, and how to know when it’s time to say goodbye and stop trying to “save” a sponge that smells like regret.
Why Cleaning Your Makeup Sponge Matters (Yes, Really)
Dirty sponges can collect makeup residue, dead skin cells, and oils, and the damp environment can encourage bacterial or fungal growth. That’s not just a “gross” problemit can become a skin problem. People commonly notice more breakouts, irritation, or a rougher makeup finish when tools are overdue for a wash.
There’s also a performance angle: a sponge clogged with old foundation won’t blend as smoothly. Instead of a soft, even finish, you can get patchiness, streaks, and that weird moment where your concealer looks like it’s negotiating with your pores.
How Often Should You Wash a Beauty Blender?
The cleanest answer: after every use. That’s the dermatologist-approved, hygiene-gold-star routineespecially if you’re acne-prone or using liquid/cream products daily.
The real-life answer: if “after every use” makes you laugh-cry, aim for at least once a week, and increase from there based on your skin and how often you wear makeup. If you use the sponge for foundation or concealer most days, every 1–3 uses is a realistic upgrade.
A simple schedule that works
- Daily makeup wearer: Quick wash after use (or every other use) + deep clean weekly.
- 3–4 times/week makeup wearer: Wash after each use (or same-day) + deep clean every 1–2 weeks.
- Special-occasion wearer: Wash right after use so it’s clean for next time (future-you will be thrilled).
What You’ll Need (No Fancy Stuff Required)
Choose one cleanser option and one drying option. That’s it.
Cleansers that work well
- Makeup sponge cleanser (liquid or solid): Designed to break down pigment and oils without wrecking the foam.
- Gentle liquid soap (fragrance-light if you’re sensitive): A solid everyday option.
- Baby shampoo: Mild, effective, and widely used for makeup tools.
- Dish soap (in a pinch): Great at cutting oils, but don’t overdo itharsh detergents can shorten sponge life if it’s your daily go-to.
Helpful extras (optional, but nice)
- A small bowl or mug for soaking
- A textured cleaning pad or silicone mat (for gentle agitation)
- A clean towel or paper towels
- A ventilated sponge holder (breathable = less funky)
The Best Way to Wash a Makeup Sponge (The Everyday Method)
This is the “most effective with the least drama” routine. It’s the best way to clean a Beautyblender because it removes makeup, oils, and residue without shredding the sponge or leaving soap behind.
-
Step 1: Saturate the sponge with warm water
Hold your sponge under warm running water until it fully expands. Don’t use scorching hot waterheat can wear down the foam faster.
-
Step 2: Add cleanser and work up a lather
If you’re using a solid cleanser, rub the sponge against the bar and rotate it to coat all sides. If it’s liquid cleanser, drizzle a small amount onto the sponge.
Now do the key move: press and release the sponge in your palm (or between fingers) to pull cleanser into the center where makeup hides. Think “gentle squish,” not “wring like a wet sock.”
-
Step 3: Focus on the stained zones (without starting a war)
Pay attention to the rounded base and any “foundation hot spots.” Massage the surface lightly with your fingers. If you see tinted foam coming out, congratulations: you are successfully evicting old makeup.
-
Step 4: Rinse thoroughly until the water runs clear
Rinse under warm water while continuing the press-and-release motion. Keep going until no suds remain and the squeezed-out water runs mostly clear. Leftover soap can irritate skin and can also make your sponge feel stiff.
-
Step 5: Squeeze out watergently
Press the sponge between a clean towel to remove excess water. Avoid twisting or yanking; that’s how tears start. (And once a sponge tears, it’s basically on a countdown.)
Deep-Clean Methods for Stubborn Foundation Buildup
If your sponge is heavily stained, used with long-wear foundation, or you forgot to clean it and now it’s giving “archaeological artifact,” use one of these deeper options. The goal is to remove trapped oils and pigment from the interior.
Option A: The soak-and-squeeze deep clean (best all-around)
-
Fill a bowl with warm water and add a few drops of cleanser.
-
Submerge the sponge and let it soak for 10–15 minutes.
-
Remove it and do the press-and-release motion to push out makeup from the core.
-
Rinse thoroughly and repeat the soak once more if needed.
Option B: The “oil first” pre-treatment (for extra-stubborn makeup)
Some makeup artists recommend a tiny bit of oil to loosen heavy pigment and long-wear products before cleansing. If you try this, keep it minimal: too much oil can be hard to rinse out and can leave the sponge feeling coated.
-
Wet the sponge.
-
Add 1–2 drops of a lightweight oil (or a dab of cleansing oil) to the stained area.
-
Follow immediately with cleanser, lather, then rinse until fully clear.
Option C: Washing machine method (use with caution)
Some beauty outlets mention tossing sponges into the washing machine as an occasional reset. If you go this route, do it safely:
- Put sponges in a mesh lingerie bag so they don’t get eaten by the machine.
- Use a gentle cycle and extra rinse if available.
- Avoid harsh additives and skip fabric softener.
- Air dry only afterward.
This can work for a deep clean, but it may shorten sponge lifespan if done frequently. Consider it an occasional move, not your entire personality.
Can You Sanitize a Beauty Blender?
You’ll see “sanitizing hacks” onlineespecially the microwave trick. Here’s the grown-up take: washing with cleanser and thorough rinsing removes makeup, oils, and a large amount of grime. But true sterilization is hard to guarantee at home.
About the microwave hack
Some people microwave a sponge submerged in soapy water for a short burst. It can appear to lift stains fast, but it’s also easy to mess up. Microwaving anything sponge-like when it isn’t fully wet can lead to scorching, melting, or worse. If you’re tempted, the safest choice is honestly: don’t make your sponge a fire hazard for the sake of a cleaning shortcut.
Safer “extra clean” alternatives
- Double cleanse: Wash, rinse, then wash again (especially after heavy foundation days).
- Longer soak: Give it 15 minutes in warm, soapy water, then squeeze repeatedly.
- Replace sooner: If you’re worried about hygiene, replacement beats risky heat hacks.
Drying & Storage: The Part Everyone Forgets (Then Regrets)
Cleaning is only half the job. The other half is making sure your sponge dries completely. A damp sponge stuffed into a closed makeup bag is basically a tiny spa resort for funk.
How to dry your makeup sponge properly
- Set it in a well-ventilated spot (countertop is fine).
- Use a breathable holder if you have one.
- Rotate it once or twice so all sides dry.
- Avoid sealing it in a travel case until it’s fully dry.
Storage tips that keep it cleaner longer
- Keep it away from humid bathrooms if possible (steam = slower drying).
- Don’t store it touching dirty brushes or loose powder fallout.
- If you travel, pack a vented case or let it air dry before you zip it up.
When to Replace Your Beauty Blender (Because “Forever” Isn’t a Thing)
Even with excellent cleaning, sponges wear out. Many experts and brands commonly suggest replacing a frequently used sponge around every 1–3 monthssooner if you’re not cleaning it regularly or you notice warning signs.
Signs it’s time to toss it
- It smells off even after washing (that odor is not “character”).
- Visible mold or dark spotting that won’t come out.
- Texture changes: stiff, crumbly, or doesn’t bounce back.
- Tears, holes, or peeling (bacteria can hide in damage).
- It never rinses clean and keeps releasing tinted water.
Common Mistakes That Ruin Makeup Sponges
-
Using super harsh soap all the time
Strong detergents can dry out or weaken the foam. If dish soap is your emergency option, that’s finejust don’t make it your daily driver.
-
Not rinsing enough
Soap left inside the sponge can cause irritation and can make makeup apply weirdly. Rinse until there are no suds and the water runs mostly clear.
-
Twisting, wringing, and rage-squeezing
Aggressive wringing causes tears and misshapes the sponge. Press gently instead.
-
Storing it damp in a closed bag
This is how you accidentally cultivate a science project. Air dry completely before storing.
-
Thinking stains = dirty
Some staining is normal even after a thorough wash. A sponge can be clean but still tintedfocus on smell, texture, and rinse clarity.
Quick Troubleshooting (Because Life Is Messy)
“My sponge still has foundation stains.”
Try the soak-and-squeeze deep clean. If it’s a long-wear formula, add a tiny oil pre-treatment, then cleanse again. If it still looks like a tie-dye project, it might be permanently stainedbut it can still be clean if it rinses clear and doesn’t smell.
“It smells musty… even after washing.”
Musty odor usually means it stayed damp too long. Deep clean it, then let it dry in a ventilated area. If the smell comes back quickly, replace it.
“My makeup looks patchy lately.”
Patchiness can happen when the sponge is clogged or stiff. Clean thoroughly, rinse well, and make sure you’re using it damp (not dripping, not dry as a bone).
Conclusion
The best way to clean a Beautyblender is simple: warm water, a gentle cleanser, a thorough lather-and-squeeze, and a rinse that leaves no suds behind. Add a weekly deep clean if you wear base makeup often, and alwaysalwayslet it dry fully before storing it.
If your sponge starts smelling funky, tearing, or refusing to rinse clean, don’t negotiate with it. Replace it. Your skin (and your foundation finish) will thank you.
Real-World Experiences: What Actually Helps People Stick With Sponge Hygiene (500+ Words)
Let’s be honest: most people don’t skip cleaning because they don’t know how. They skip because they’re tired, it’s late, and the sponge is sitting there looking innocentlike it didn’t just absorb a full face of long-wear foundation and a dream.
One of the most common “aha” moments happens right after a breakout. Someone will change skincare, cut dairy, blame the moon… and then finally wash the sponge and watch tinted water pour out like a tiny foundation crime scene. The takeaway people report isn’t “I’m gross.” It’s “Ohthis tool is part of my skincare routine whether I like it or not.” Once you connect sponge cleaning to skin calmness, motivation magically appears.
Another real-life pattern: the travel sponge tragedy. Picture a weekend trip. You do your makeup Friday morning, toss the damp sponge into a cute little pouch, and by Sunday night it smells like a locker room did yoga in your toiletry bag. The fix that helps most travelers is simple: pack a breathable holder or let the sponge air dry on a hotel counter for an hour before it goes back into a case. If you can’t, use a disposable wedge sponge for travel days and keep your nice sponge at home.
People who build a consistent routine usually do one of two things:
-
They pair sponge washing with another habit. For example: “I wash it while my hair conditioner sits,” or “I wash it while my coffee brews.” That small pairing turns cleaning from a chore into a background task.
-
They keep the supplies visible. A cleanser bar next to the sink is a visual reminder. If the cleanser is buried in a drawer, the sponge will live a lawless life.
There’s also the two-sponge strategy, which is surprisingly effective for busy people: one sponge “in use,” one sponge “clean and drying.” When you finish makeup, you wash the used sponge and set it to dry. Next time, you grab the clean one. It’s like a tiny sponge rotation schedule, except you don’t need a spreadsheet or a manager named Todd.
Another experience people mention: they try to clean a sponge, but it never feels right afterwardstiff, soapy, or weirdly slick. Almost always, it comes down to rinsing (not enough) or cleanser choice (too harsh, too oily, or too heavy). The trick that tends to fix it is a longer rinse with repeated squeezes, followed by pressing the sponge in a clean towel. If it still feels coated, wash again with a gentler cleanser and rinse longer than you think you need. Most sponges recover.
Finally, the most practical “experience tip” is replacing without guilt. People often try to keep a sponge alive past its prime because it’s familiar and it worked hard. But if a sponge has tears, keeps smelling, or won’t rinse clear, it’s not a loyal companionit’s a tiny liability. Replacing it every couple of months (or sooner if you’re heavy-use) can be cheaper than constantly troubleshooting breakouts and texture issues.
Bottom line: the best routine is the one you’ll actually do. Start with an everyday wash method that takes under two minutes, let it dry in open air, and upgrade with a weekly deep clean. Your makeup will look better, and your skin will deal with fewer “mystery” flare-ups. Everybody winsespecially your sponge, which would like to stop being blamed for things it absolutely did.