Building desk drawers sounds like one of those projects that should be easy in theory and mildly character-building in practice. You know the type: “It’s just a box that slides.” Then three hours later, you’re staring at a drawer that only opens if you sweet-talk it and closes like it holds a personal grudge. The good news is that building drawers for a desk is absolutely doable for a DIYer, even if your workshop is more “weekend warrior” than “furniture whisperer.”
The trick is not brute force. It is precision, planning, and accepting one universal truth of woodworking: square matters more than optimism. A good desk drawer should slide smoothly, hold real everyday weight, and look like it belongs there instead of being adopted from a completely different piece of furniture. In this guide, you’ll learn how to build drawers for a desk from measurement to installation, including materials, sizing, joinery options, drawer slides, and the small details that separate a crisp result from a wobbly wooden drama queen.
Why Desk Drawers Are a Little Different
A desk drawer is not the same as a deep kitchen drawer or a massive shop drawer built to hold enough screws to sink a boat. Desk drawers are usually shallower, more visible, and expected to feel neat and refined. They often store lighter items such as notebooks, pens, chargers, envelopes, and random paper clips that somehow breed at night. That means your drawer build should focus on three things: clean fit, smooth motion, and efficient use of space.
Most desk drawers also live in openings that are relatively narrow. That is good news because smaller drawers are easier to build square. It also means tiny measuring mistakes become more obvious. A drawer that is off by even a little can rub, rack, or leave weird gaps around the front that make the whole desk look less custom and more “close enough for a garage shelf.”
What You Need Before You Start
Materials
- 1/2-inch or 5/8-inch plywood for drawer sides, front, and back
- 1/4-inch plywood for the drawer bottom
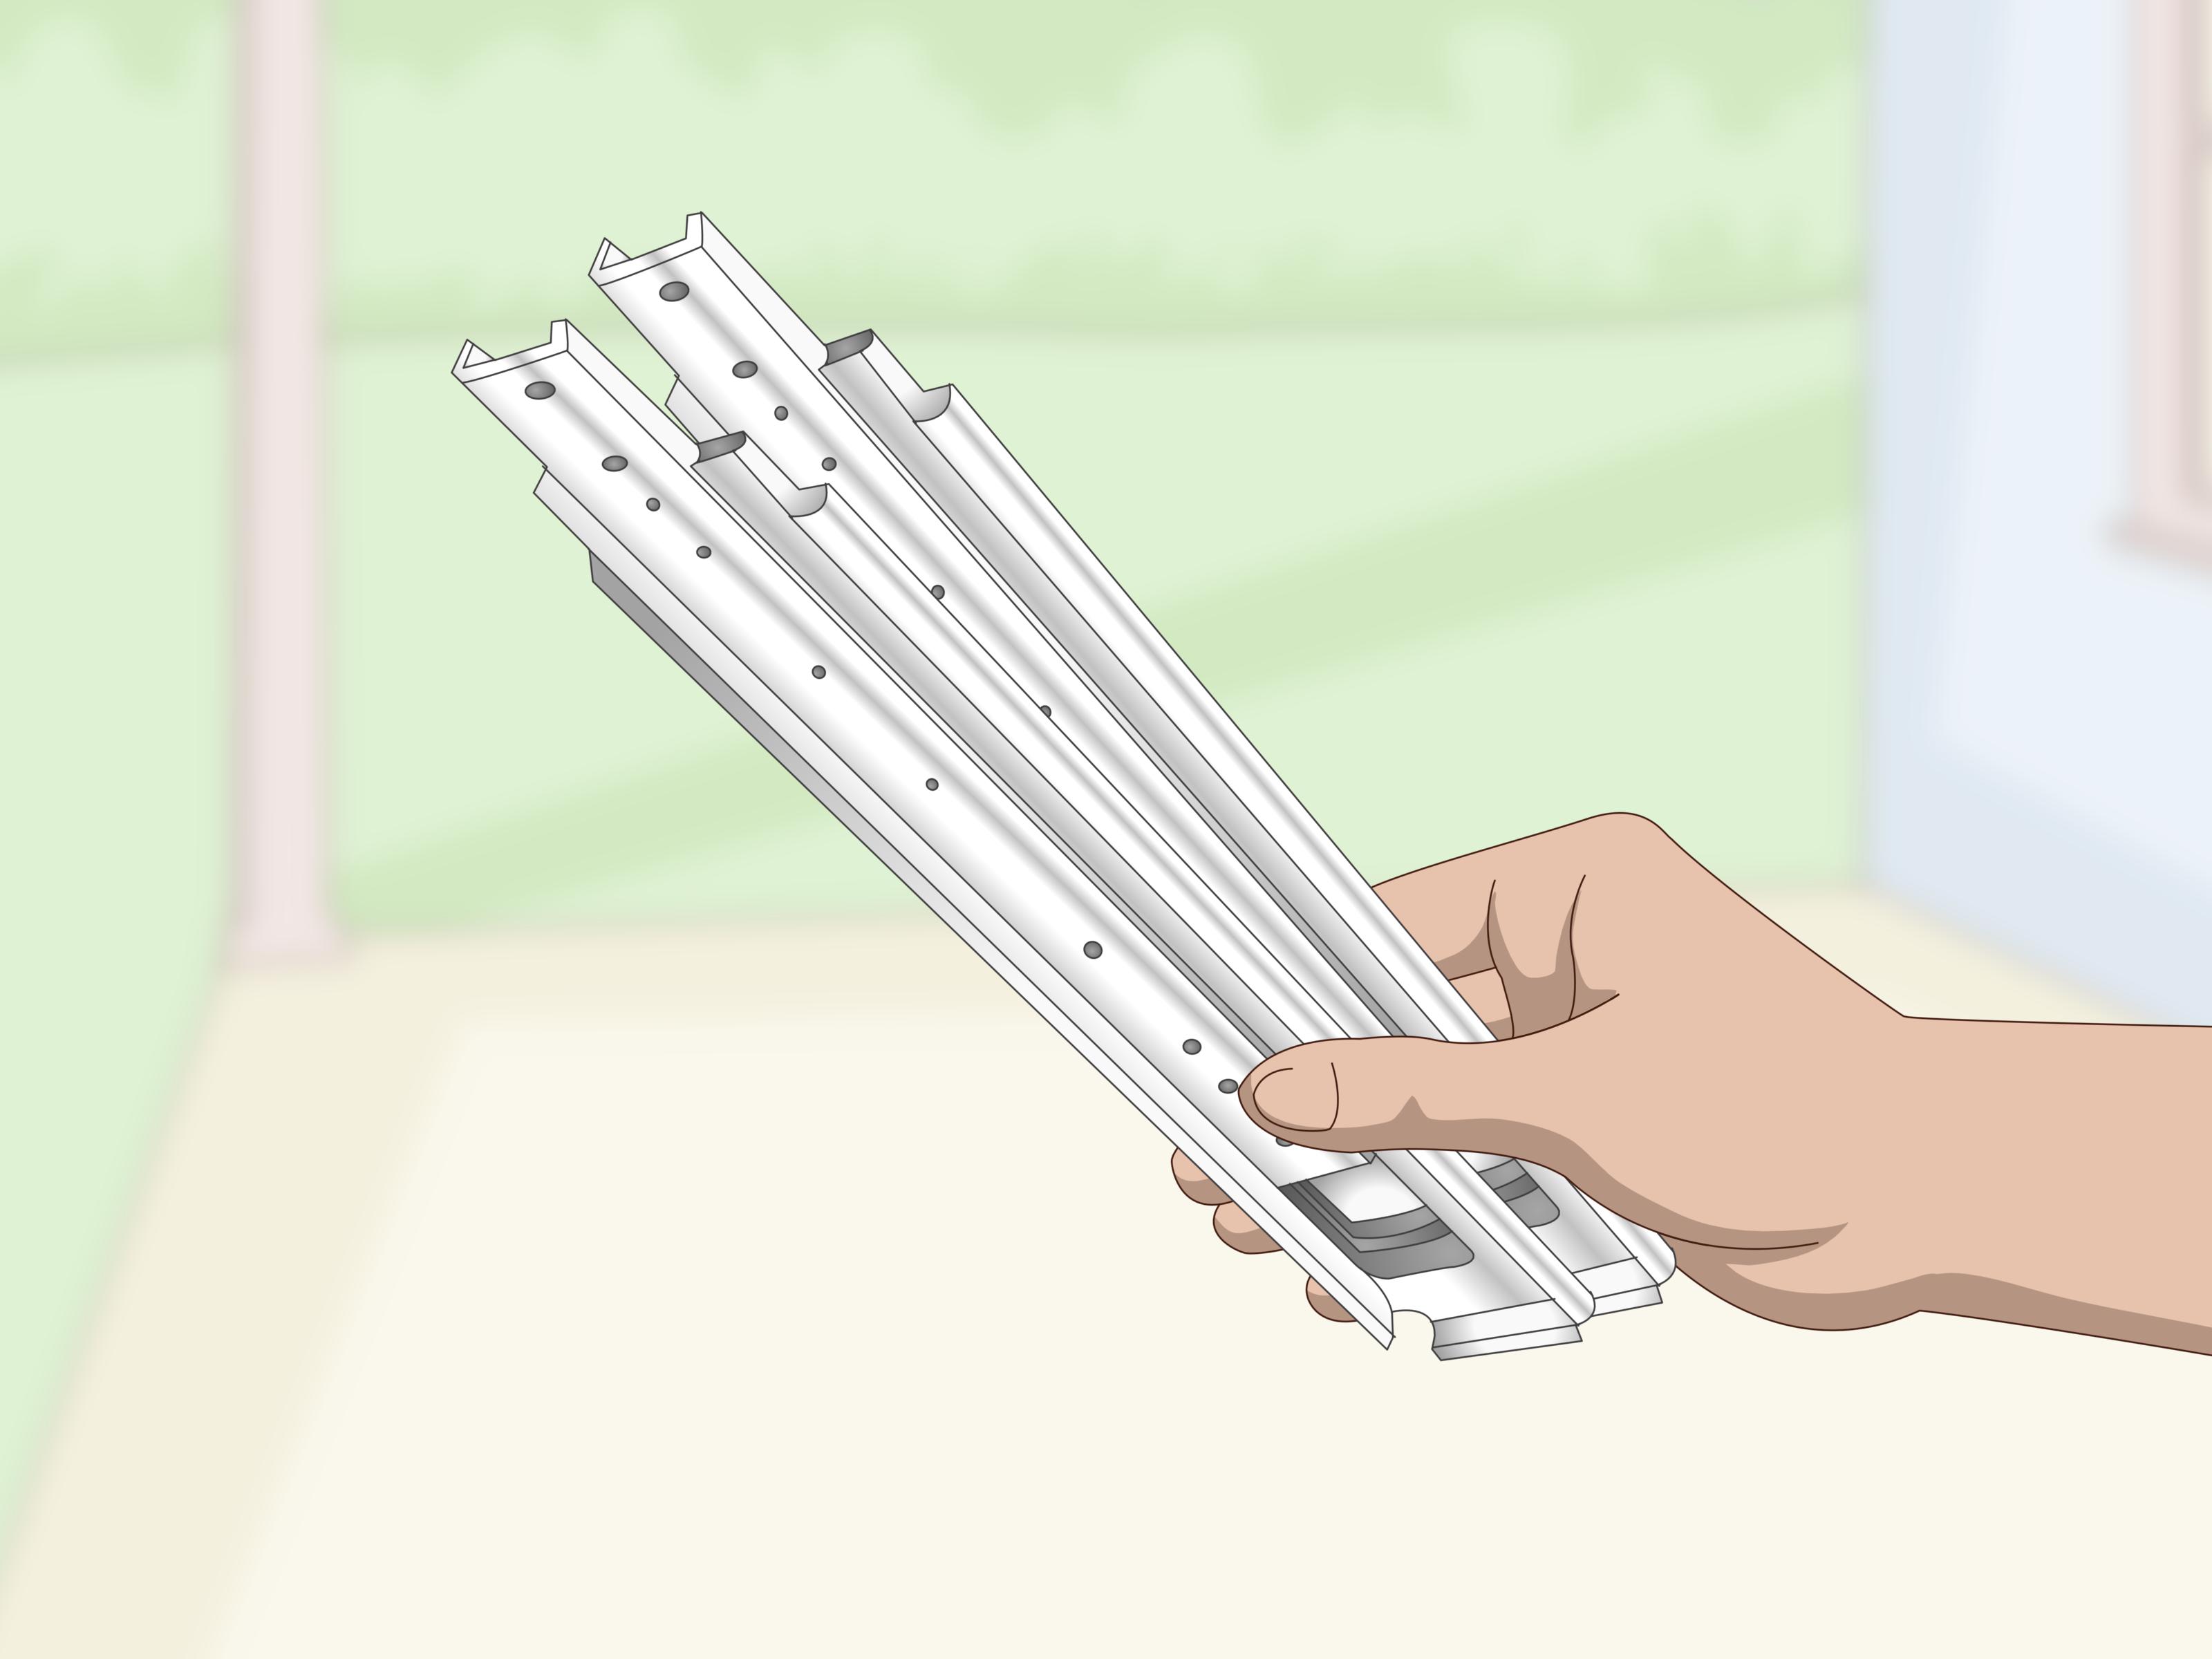
- Drawer slides or wood runners
- Wood glue
- Brads or narrow staples, or screws depending on your build style
- Solid wood or plywood for the drawer front if using an applied face
- Edge banding if you want a cleaner plywood look
Tools
- Tape measure
- Combination square or speed square
- Table saw, circular saw, or miter saw for cutting parts
- Router or table saw for grooves and rabbets
- Drill and driver
- Clamps
- Sander
- Level
- Optional drawer slide jig for easier installation
If you are new to this kind of project, plywood is your best friend. It is stable, predictable, and less likely than solid wood to twist, cup, or decide it has artistic feelings about humidity. Baltic birch plywood is especially popular for drawer boxes because it is strong, clean-looking, and durable.
Step 1: Choose Your Drawer Style
Before you cut a single board, decide what kind of drawer you are building. This affects sizing, joinery, and hardware.
Side-Mount Slide Drawers
This is the most beginner-friendly option. Side-mount drawer slides are common, easy to find, and forgiving enough for a practical desk project. Many require about 1/2 inch of clearance on each side, which means your drawer box usually ends up about 1 inch narrower than the opening.
Undermount Slide Drawers
These look cleaner because the hardware is hidden below the drawer. They often feel more upscale, especially with soft-close hardware. The catch is that they require very specific drawer dimensions and notching details. If you want the slick, modern, “wow, this desk means business” vibe, undermount slides are great, but you need to follow the slide manufacturer’s instructions closely.
Wood Runner Drawers
This is the classic approach. No metal slides, just wooden runners and guides. It can look beautiful in a traditional desk, but it demands more finesse in fitting and seasonal wood movement can matter more. If this is your first drawer project, metal slides are the easier road with fewer opportunities for dramatic self-discovery.
Step 2: Measure the Desk Opening Correctly
This is where every successful drawer begins. Measure the inside width, height, and depth of the desk opening. Then measure again, because woodworking is surprisingly unforgiving for a hobby built around fractions.
Use the smallest measurement if the opening is slightly out of square. For example, check the width at the front and back, and the height on both sides. If the desk opening is not perfectly consistent, build to the tighter number. A drawer that is a hair smaller can be shimmed or adjusted. A drawer that is too big becomes an expensive lesson in sanding and regret.
A Simple Sizing Formula
For a standard side-mount slide setup:
- Drawer box width = opening width minus 1 inch
- Drawer box depth = no deeper than the slide length and cabinet depth
- Drawer box height = opening height minus enough clearance for smooth travel and drawer front alignment
Always confirm the exact clearance requirements on your hardware. Drawer slides are not a democracy; the manufacturer wins every argument.
Step 3: Plan the Drawer Box Construction
A desk drawer box usually includes four side pieces and a bottom panel. You can build it several ways, but the most practical options for a DIY desk are:
Butt Joints with Glue and Nails or Screws
This is the easiest method. The front and back fit between the sides, or the sides wrap the front and back depending on your design. It is fast, simple, and perfectly acceptable for a desk drawer when combined with a good plywood bottom and proper glue-up.
Rabbets or Dados
This is a step up in strength and alignment. A rabbet joint at the front and back helps the parts self-register and increases glue surface. It also makes you feel like you know what you are doing, which is not nothing.
Dovetails
These are strong and beautiful, and they absolutely impress people who notice furniture details. They also take more time and skill. For a painted desk, hidden office drawer, or first project, dovetails may be more ambition than necessity. Save them for when you want your drawers to introduce themselves at parties.
Step 4: Cut the Parts
Once your dimensions are locked in, cut the drawer sides, front, and back. Then cut a groove near the bottom edge of the drawer parts to accept the bottom panel. A captured bottom panel is one of the smartest choices you can make because it adds strength and keeps the drawer square.
For many desk drawers, a 1/4-inch plywood bottom is enough. If the drawer will store heavier items such as files, tools, or dense office gear, consider a thicker bottom or a groove placement that gives the panel better support. Thin bottoms are great until they begin sounding like a tiny trampoline for stationery.
Dry-fit everything before glue. Check the diagonals corner to corner. If both diagonal measurements match, your box is square. If not, adjust before fastening. Never assume clamps will magically fix a twist. Clamps are helpful, but they are not licensed therapists.
Step 5: Assemble the Drawer Box
Spread glue evenly on the joints. Assemble the drawer box around the bottom panel if your bottom is captured in grooves. Clamp the box lightly, then check for square again before adding nails or screws.
Wipe off glue squeeze-out while it is still easy to remove. Dried glue has a special talent for revealing itself only after stain is applied, usually in the most annoying places possible.
After assembly, sand the edges smooth and slightly break any sharp corners. You do not need to round over the drawer like a toy chest, but a crisp edge softened just a bit feels better in daily use and is less likely to chip.
Step 6: Build or Fit the Drawer Front
You have two main options here: an integrated drawer front or an applied drawer front.
Integrated Front
The front of the drawer box is also the visible face. This is simple and efficient, and it works well for shop furniture or very plain desks.
Applied Front
This is more common on desks because it looks better. You build the drawer box first, then attach a finished drawer face to the front. This lets you fine-tune the reveal around the opening and match the desk style more precisely.
For an applied front, cut the face to fit the opening style. An overlay front covers part of the desk frame, while an inset front sits inside the opening and demands tighter, fussier gaps. Overlay is easier. Inset is elegant but not forgiving. Inset is basically the tailored suit of drawer design: stunning when right, merciless when wrong.
Step 7: Install the Drawer Slides
This step separates smooth satisfaction from a drawer that sounds like it is chewing gravel. Mount the cabinet-side slide pieces level and parallel. Then attach the drawer-side members at matching heights on the drawer box. Even a well-built drawer will misbehave if the slides are crooked.
Tips for Accurate Slide Installation
- Mark a clear reference line on both sides of the desk opening
- Use spacers or a jig to keep slide heights consistent
- Install one screw first, test, then add the rest
- Check that both slides are parallel front to back
- Do not force the drawer into misaligned hardware
If your desk has a face frame, you may need mounting blocks or rear brackets depending on the slide type. Frameless cases are simpler because the slides attach directly to the inside panels. Either way, patience here pays off. Rushing slide installation is how perfectly good drawers end up blamed for crimes committed by crooked hardware.
Step 8: Test the Fit and Make Adjustments
Slide the drawer in and out several times. It should move smoothly without binding, wobbling, or twisting. If it sticks, do not panic and immediately sand random areas like a maniac in a home-improvement montage. Diagnose first.
Common Problems
- Drawer binds halfway: slides may not be parallel
- Drawer rubs at the top or bottom: box height may be too tight or the installation may be out of level
- Drawer racks side to side: box may not be square
- Big gaps around the front: front sizing or alignment needs adjustment
Make small corrections. Shim behind a slide if needed. Loosen one screw and tweak alignment. Plane or sand only when you are sure the wood, not the hardware, is the problem. Wood is innocent surprisingly often.
How to Make Desk Drawers Look Better, Not Just Work Better
A functional drawer is great. A functional drawer that also makes the desk look custom is even better. Here are a few upgrades worth considering:
- Add an applied hardwood front for a furniture-grade look
- Use edge banding to hide plywood layers
- Choose a quality pull, knob, or finger groove
- Finish the inside with clear coat for easier cleaning
- Add drawer dividers for office supplies and cables
- Use soft-close slides for a quieter, more premium feel
If the desk is painted, your life gets easier. Painted drawer fronts hide minor grain mismatch and make patching tiny imperfections less dramatic. If the desk is stained wood, spend more time choosing visually compatible grain for the fronts. A beautiful top with chaotic drawer fronts can look like three different furniture personalities got stuck in one meeting.
Mistakes to Avoid When Building Desk Drawers
- Building the drawer before buying the slides
- Ignoring the actual width of the opening at multiple points
- Using warped stock and hoping clamps will fix it
- Skipping the groove for the bottom panel
- Installing slides without checking for level and parallel alignment
- Attaching the drawer front before testing the box fit
- Assuming all drawer hardware uses the same clearance rules
That last one is especially important. Drawer slides are picky. Some side-mount slides want a common amount of side clearance, while undermount systems may require different spacing, notches, and back setbacks. Read the hardware instructions like they hold the Wi-Fi password. Because in this project, they kind of do.
Best Approach for Beginners
If you want the most reliable path to success, here is the sweet spot: use 1/2-inch plywood for the drawer box, a 1/4-inch plywood bottom in grooves, butt or rabbet joints, and full-extension side-mount slides. This combination gives you good strength, easy construction, straightforward sizing, and smooth operation without demanding elite-level joinery.
That setup is especially practical for a home office desk, student desk, built-in workstation, or craft table. You can dress it up with a nice drawer front, better hardware, and a clean finish, and no one will care that the joinery inside is not museum-grade. They will care that the drawer opens smoothly and does not dump pens into another dimension.
Final Thoughts
If you have been wondering how to build drawers for a desk, the process is less mysterious than it first appears. The secret is not some ancient woodworking spell. It is simple, repeatable discipline: measure the opening carefully, choose the hardware first, build a square drawer box, and install the slides with patience. That is the formula.
Once you build one good drawer, the rest get easier fast. In fact, drawer building has a sneaky way of turning from intimidating to oddly satisfying. Suddenly you are measuring openings around the house and thinking, “You know what this needs? A drawer.” That is how it starts. Today a desk. Tomorrow every awkward nook in your home becomes a storage opportunity with slides.
Real-World Experience: What Building Desk Drawers Actually Teaches You
The most valuable experience I can share about building desk drawers is that success rarely comes from flashy technique. It comes from slowing down at the boring moments. The first time you build a drawer, you are tempted to focus on the fun parts: the cutting, the assembly, the moment when the box finally looks like a drawer instead of a pile of rectangles. But the real victory often happens earlier, when you stand there with a tape measure and force yourself to check the opening one more time.
Many DIYers, especially beginners, assume the desk opening is perfectly square because the desk itself looks square. That assumption is adorable and dangerous. In real projects, one side may be slightly tighter, the back may be a little narrower, or the inside walls may not be perfectly parallel. Learning to respect those tiny differences changes everything. Once you start building to the actual opening instead of the imaginary perfect one in your head, your results improve fast.
Another big lesson is that drawer slides are less forgiving than people think. You can build a pretty decent drawer box, but if the slides are mounted slightly out of line, the whole thing feels wrong. That teaches patience in a very direct way. You stop thinking, “That looks close enough,” and start thinking, “Let me check that line with a square before I drive the second screw.” It is a surprisingly useful mindset, and not just in woodworking.
There is also something satisfying about realizing that drawers are a chain reaction. Good stock leads to accurate cuts. Accurate cuts lead to a square box. A square box makes slide installation easier. Easier slide installation produces smoother movement. Smooth movement makes the finished desk feel expensive, even when the materials were pretty reasonable. Skip one link in that chain and the final result feels off. Respect the sequence and the whole project gets calmer.
From a practical standpoint, building desk drawers also teaches restraint. Not every drawer needs elaborate dovetails, exotic hardwoods, or a finish schedule fit for a grand piano. Sometimes the smartest build is a simple plywood box with clean lines, a sturdy bottom, and well-installed slides. That kind of project reminds you that craftsmanship is not always about showing off. Often it is about making something work beautifully in daily life.
And finally, there is the everyday reward. A well-built desk drawer changes how a workspace feels. Pens are where they belong. Chargers stop tangling like spaghetti in a windstorm. Sticky notes, envelopes, and notebooks finally have a home. The desk feels less cluttered, more intentional, more grown-up somehow. That is the quiet magic of a good drawer. It is not dramatic, but it improves your routine every single day.
So if your first desk drawer is not perfect, welcome to the club. Build the next one better. That is how experience works in woodworking. You do not wait until you are an expert to start. You start, make careful adjustments, learn what matters, and slowly become the person who can build drawers that glide like they were born there.