So, your oven is broken, your kitchen is tiny, your apartment runs hot, or you simply enjoy making dessert in ways that make guests say, “Wait… you made this where?” Good news: you can bake a cake on your stovetop, and you do not need a culinary degree, a secret grandmother spell, or a $900 countertop gadget to pull it off.
Stovetop cake is usually made by steaming or by creating a gentle oven-like chamber inside a heavy pot. Instead of surrounding the batter with dry oven heat, you use controlled heat from below and trapped steam or radiant warmth inside a covered pot. The result can be surprisingly tender, moist, and fluffy. In fact, many traditional cakes around the world are steamed rather than baked, which is why a stovetop cake is not a kitchen hack so much as an old-school technique wearing a modern apron.
This guide explains how to bake a cake on your stovetop in 15 practical steps, including the tools you need, how to prepare the pan, how to control the heat, how to test doneness, and how to avoid common disasters like soggy tops, burned bottoms, and cakes that collapse harder than your motivation after reading a complicated recipe.
Can You Really Bake a Cake on the Stovetop?
Yes, you can. The easiest and most reliable method is the stovetop steam method. You place cake batter in a prepared cake pan, set the pan on a rack inside a large covered pot, add a small amount of simmering water below the rack, and let the trapped steam cook the cake. The cake pan never sits directly on the burner, which prevents scorching. The lid traps heat and moisture, creating a gentle cooking environment.
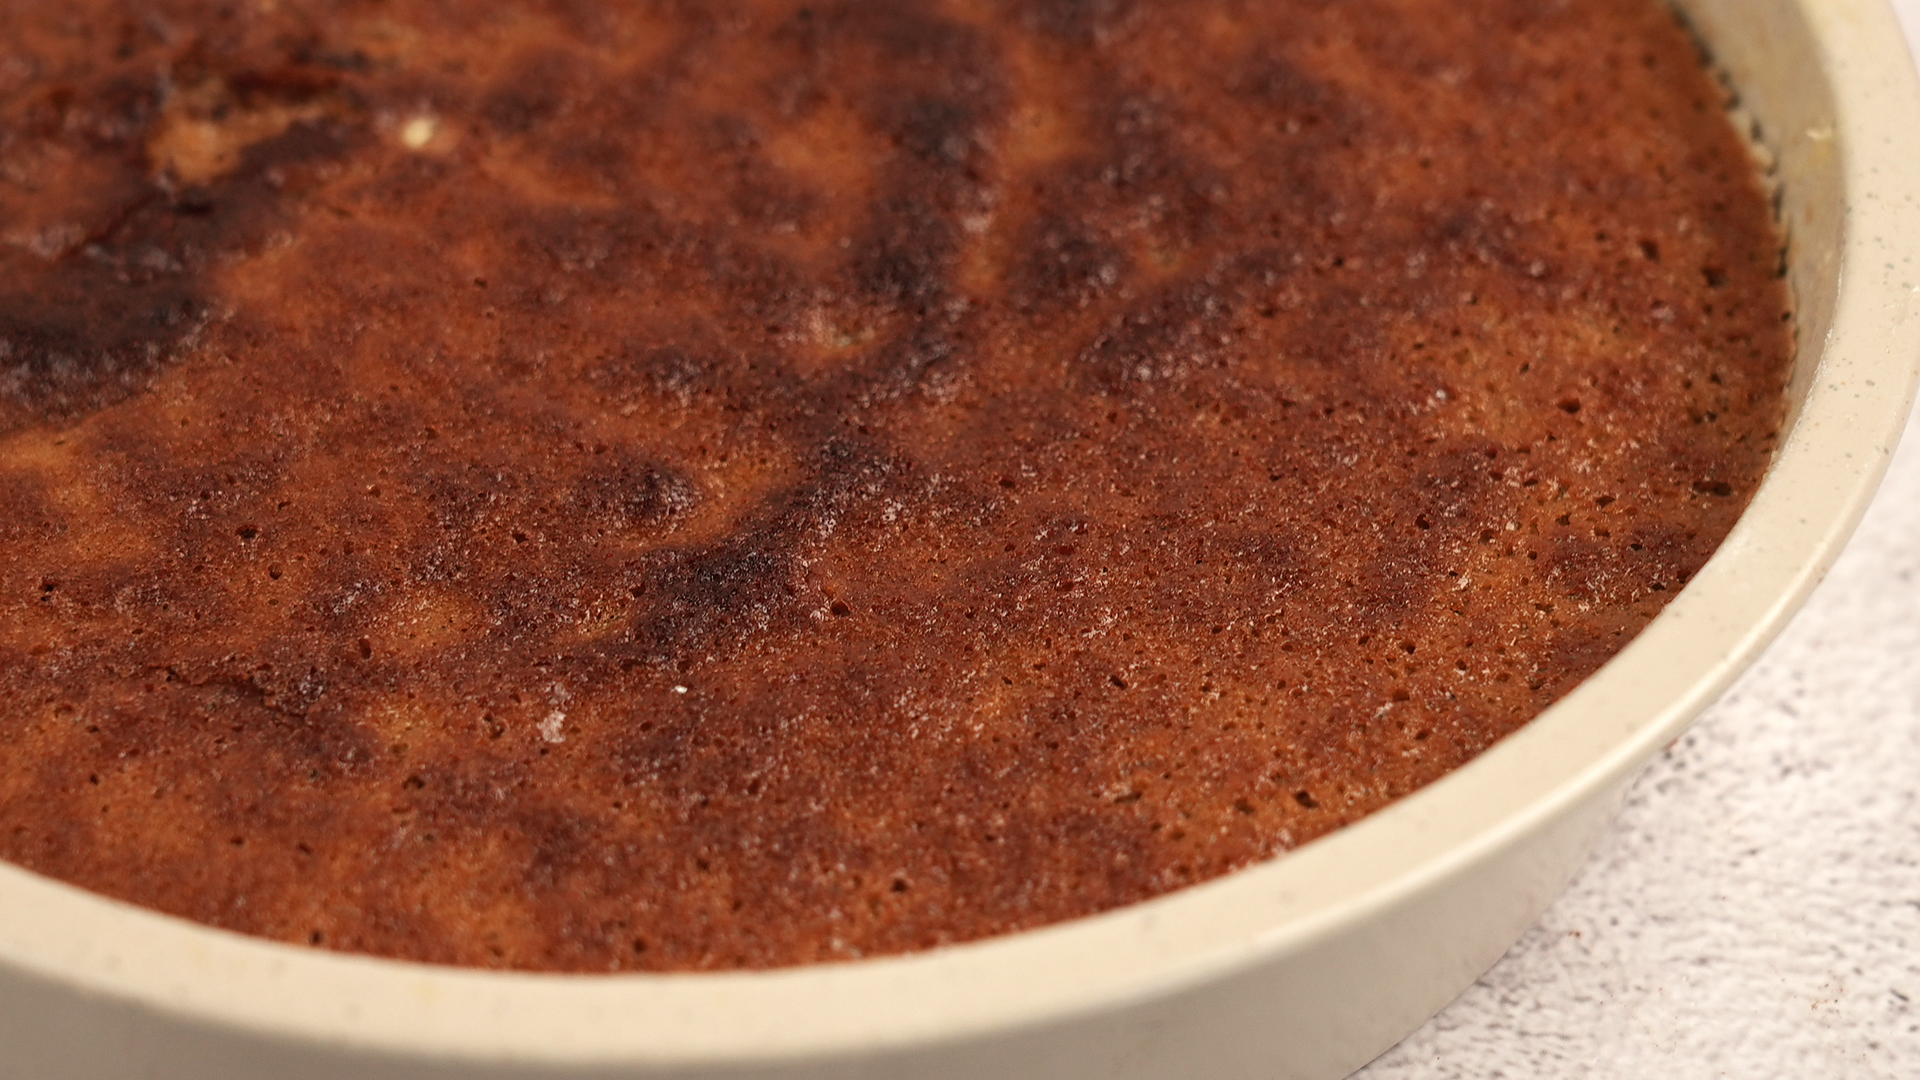
The texture is slightly different from a traditional oven-baked cake. A steamed stovetop cake often has a softer crumb, less browning, and a moist surface. It may not develop the golden crust you expect from oven baking, but it makes up for that with tenderness. Think of it as the cozy sweater version of cake: soft, comforting, and not trying too hard.
What You Need Before You Start
Before diving into the 15 steps, gather your equipment. You will need a heavy-bottomed pot or Dutch oven with a tight-fitting lid, a small metal rack or trivet, a round cake pan that fits inside the pot, parchment paper, aluminum foil, mixing bowls, a whisk or spatula, and oven mitts. A toothpick, skewer, or instant-read thermometer is helpful for checking doneness.
For the batter, you can use a simple homemade vanilla cake, chocolate cake, banana cake, or even a boxed cake mix. Cakes with oil, yogurt, sour cream, buttermilk, or mashed banana tend to work especially well because they stay moist. Very delicate angel food cakes or tall layer cakes are trickier and not the best place to start.
How to Bake a Cake on Your Stovetop: 15 Steps
1. Choose a Simple, Moist Cake Recipe
Start with a forgiving cake. A basic vanilla, chocolate, banana, or spice cake works beautifully. Avoid recipes that rely heavily on dry oven heat for structure, such as airy sponge cakes with no added fat, unless you already have experience steaming cakes. A batter that includes oil, melted butter, sour cream, yogurt, or milk usually performs better on the stovetop because it can handle the moist cooking environment.
For a beginner-friendly cake, use about 1 to 1 1/2 cups of flour, 1 teaspoon of baking powder or baking soda depending on the recipe, sugar, eggs, milk or buttermilk, fat, and flavoring. Do not overfill the pan. Stovetop cakes need room to rise, and batter with ambition can climb right into the lid if you let it.
2. Pick the Right Pot
Use a large, heavy-bottomed pot, deep skillet with a lid, or Dutch oven. The pot should be wide enough to hold your cake pan and deep enough so the lid does not touch the rising cake. Heavy cookware distributes heat more evenly and reduces the risk of a burned bottom.
A thin pot can create hot spots, and hot spots are where good cakes go to develop trust issues. If your pot is lightweight, keep the heat lower and check the water level more carefully.
3. Add a Rack or Trivet
Place a metal rack, trivet, heat-safe ring, or small inverted metal bowl at the bottom of the pot. The goal is to lift the cake pan above the water and away from direct burner heat. The cake pan should never sit flat on the bottom of the pot.
This small lift is the difference between “moist stovetop cake” and “charcoal pancake with frosting.” If you do not have a trivet, a few balls of tightly crumpled aluminum foil can work in a pinch, as long as they are stable.
4. Prepare the Cake Pan
Grease your cake pan with butter, oil, or cooking spray. Line the bottom with parchment paper, then lightly grease the parchment. This makes removal much easier. A 6-inch or 7-inch round pan is usually ideal for stovetop cake because it fits into most large pots and cooks evenly.
Avoid using a springform pan unless you are certain it seals tightly. Steam and water are sneaky, and a leaky pan can turn your cake into pudding with commitment issues.
5. Mix the Dry Ingredients
In one bowl, whisk together the flour, leavening, salt, cocoa powder if using, and any dry spices. Whisking breaks up lumps and distributes the baking powder or baking soda evenly. This matters because stovetop cakes cook gently; uneven leavening can cause tunnels, dense spots, or a lopsided rise.
If you want a lighter cake, sift the flour and cocoa powder. Cocoa loves to clump like it is forming a tiny chocolate committee, so sifting is especially helpful for chocolate stovetop cakes.
6. Mix the Wet Ingredients
In a separate bowl, whisk the eggs, sugar, milk, oil or melted butter, and vanilla. If your recipe uses yogurt, sour cream, mashed banana, applesauce, or buttermilk, add it here. These ingredients help create a tender crumb and keep the cake from drying out.
Make sure melted butter is warm, not hot. If it is too hot, it can scramble the eggs, and nobody invited breakfast to this cake party.
7. Combine the Batter Gently
Add the dry ingredients to the wet ingredients and stir only until combined. A few tiny lumps are fine. Overmixing develops gluten, which can make the cake tough or rubbery. This is especially important for stovetop cakes because the moist heat already encourages a softer texture.
Fold in extras like chocolate chips, chopped nuts, citrus zest, or shredded coconut at the end. Keep add-ins moderate so the cake does not become too heavy to rise.
8. Pour the Batter Into the Pan
Transfer the batter to the prepared pan and smooth the top with a spatula. Fill the pan no more than two-thirds full. Tap the pan gently on the counter once or twice to release large air bubbles, but do not aggressively slam it like you are settling a legal dispute.
If the batter is very thin, the cake may take longer to cook. If it is very thick, spread it evenly so the center does not remain undercooked.
9. Cover the Cake Pan With Foil
Cover the top of the cake pan tightly with aluminum foil. This helps prevent condensation from dripping onto the batter. Steam is useful; random water droplets falling from the lid are not. They can create wet spots or a gummy surface.
Leave a little room above the batter if possible so the foil does not stick to the cake as it rises. You can lightly grease the underside of the foil for extra insurance.
10. Add Water to the Pot
Pour water into the pot until it reaches about 1 to 2 inches deep, depending on the height of your trivet. The water should sit below the rack and should not touch the bottom of the cake pan. Too much water can bubble into the pan; too little water can evaporate before the cake is done.
Bring the water to a gentle simmer before adding the cake pan. You want steady steam, not a furious boil that sounds like the pot is trying to launch into space.
11. Place the Cake Pan Inside Carefully
Using oven mitts or tongs, carefully place the covered cake pan on the trivet inside the pot. Make sure it sits level. If the pan tilts, the batter will cook unevenly and your finished cake may look like it was designed by a tired architect.
Cover the pot immediately with the lid to trap heat. If your lid does not fit tightly, wrap it with a clean kitchen towel, keeping the towel away from the flame or burner. Safety first, cake second, dramatic towel fires never.
12. Cook Over Low to Medium-Low Heat
Reduce the heat to low or medium-low. The water should gently simmer throughout cooking. Too much heat can make the bottom dense or rubbery, while too little heat may prevent the cake from setting properly.
Most stovetop cakes take 25 to 45 minutes, depending on pan size, batter thickness, and heat level. A small 6-inch cake may cook in about 30 minutes. A deeper cake may need closer to 45 minutes.
13. Do Not Peek Too Early
Resist lifting the lid during the first 20 to 25 minutes. Opening the pot releases steam and heat, which can slow cooking or cause the cake to sink. Yes, curiosity is natural. So is regret. Let the cake do its thing.
If you are worried about water running low, listen carefully. A gentle simmer has a soft bubbling sound. If the pot goes silent and smells hot, the water may be gone. Add boiling water carefully around the side of the pot, not onto the cake.
14. Test for Doneness
After the minimum cooking time, carefully open the lid away from your face to avoid steam burns. Remove the foil and test the center with a toothpick or skewer. It should come out clean or with a few moist crumbs, not wet batter.
You can also gently press the top of the cake. It should spring back. If using an instant-read thermometer, many classic cakes are done around 200°F to 210°F in the center. If the cake is not done, re-cover it and steam for another 5 to 10 minutes.
15. Cool, Unmold, and Decorate
Turn off the heat and let the cake sit in the pot for 5 minutes with the lid slightly ajar. Then remove the pan and place it on a wire rack. Let the cake cool for 10 to 15 minutes before unmolding. Run a knife around the edge, invert the cake, peel off the parchment, and cool completely before frosting.
For toppings, keep it simple: powdered sugar, whipped cream, chocolate glaze, cream cheese frosting, berries, caramel sauce, or a spoonful of jam. Since stovetop cakes are naturally moist, they do not always need heavy frosting. Sometimes a dusting of powdered sugar is enough to make the cake look charming instead of “I made this inside a soup pot.”
Best Cake Flavors for Stovetop Baking
Chocolate Cake
Chocolate is one of the best flavors for stovetop cake because cocoa pairs beautifully with the moist texture. Add a little coffee or espresso powder to deepen the chocolate flavor without making the cake taste like coffee.
Vanilla Cake
A stovetop vanilla cake is simple, soft, and perfect for fruit toppings. Use real vanilla extract and a small pinch of salt to bring out the flavor.
Banana Cake
Mashed banana adds moisture, sweetness, and structure. This is a great choice if you are new to stovetop baking because banana cake is naturally forgiving.
Spice Cake
Cinnamon, nutmeg, ginger, and cloves work well with the gentle steam method. Add chopped walnuts or raisins for texture, but do not overload the batter.
Common Stovetop Cake Problems and Fixes
The Cake Is Wet on Top
This usually happens when condensation drips onto the cake. Cover the pan tightly with foil next time, and avoid letting the lid drip directly onto the batter.
The Bottom Is Burned
The heat was too high, the pot was too thin, or the cake pan touched the bottom. Use a trivet, lower the heat, and choose a heavy pot.
The Cake Sank in the Middle
The lid may have been opened too early, the cake may have been undercooked, or the batter may have been overmixed. Give it enough time and test the center before removing it.
The Cake Tastes Dense
Dense stovetop cake often comes from too much flour, old baking powder, overmixing, or low heat. Measure ingredients carefully and make sure your leavening is fresh.
Food Safety Tips for Stovetop Cake
Do not taste raw batter. Raw flour and raw eggs can carry harmful germs, so wait until the cake is fully cooked before sampling. Wash your hands, bowls, counters, and utensils after handling flour, eggs, or batter.
Use heat-safe equipment only. Plastic bowls, flimsy containers, and decorative dishes that are not meant for heat should stay far away from this project. Also, be cautious when removing the lid because steam burns can happen quickly.
of Real-Life Experience: What Stovetop Cake Teaches You
The first time you bake a cake on the stovetop, it feels a little like you are trying to outsmart the kitchen. You set a cake pan inside a pot, cover it with foil, listen for bubbling water, and wonder whether dessert is happening or whether you have accidentally invented a science project. Then, after 30 or 40 minutes, you lift the lid, peel back the foil, and there it is: an actual cake. It may not have a golden oven-baked crust, but it smells sweet, looks proud, and makes you feel like you just won a small domestic championship.
One of the biggest lessons is patience. In an oven, you set the temperature and mostly trust the machine. On the stovetop, you become part baker, part heat manager, and part cake babysitter. You learn the sound of a gentle simmer. You learn that medium-high heat is not confidence; it is chaos wearing a burner knob. You learn that opening the lid every five minutes is not “checking.” It is sabotage with good intentions.
Another useful experience is understanding moisture. Stovetop cakes tend to be soft because steam surrounds the batter. That is wonderful for chocolate cake, banana cake, and spice cake. It is less wonderful if you want a crisp edge or browned top. Once you accept that stovetop cake is its own style, not a copycat oven cake, the process becomes much more enjoyable. You stop asking, “Why doesn’t this look baked?” and start asking, “How can I make this soft, rich cake even better?” Usually the answer is glaze.
Chocolate glaze is the stovetop cake’s best friend. A simple mix of melted chocolate, cream, butter, or powdered sugar can cover any slightly uneven surface and make the cake look intentional. Fresh berries also help. So does whipped cream. In fact, a stovetop cake with whipped cream and strawberries can look elegant enough for a birthday, even if it was cooked in the same pot you normally use for soup.
The technique is also practical. It helps when your oven is broken, when you live in a small apartment, when you are camping with the right cookware, or when summer heat makes turning on the oven feel like a personal attack. It is also a fun project for beginner bakers because it teaches control. You see how batter responds to gentle heat, why pan preparation matters, and how doneness tests prevent disappointment.
Most importantly, stovetop cake reminds you that baking is flexible. People have made cakes, puddings, breads, and steamed desserts long before modern ovens became common. A stovetop cake may feel unusual at first, but it is part of a long tradition of creative cooking. And when you slice into a tender homemade cake made without an oven, the reaction is always satisfying. Someone will ask, “You made this on the stove?” Smile calmly. You are now the kind of person who bakes cake in a pot. That is power.
Conclusion
Learning how to bake a cake on your stovetop is a useful skill for small kitchens, hot days, broken ovens, camping setups, and anyone who enjoys a clever cooking trick that actually works. The key is simple: use a heavy pot, elevate the cake pan, control the steam, keep the heat gentle, and test for doneness before cooling. Once you understand the method, you can adapt it to chocolate cake, vanilla cake, banana cake, spice cake, or even a boxed mix.
Stovetop cake is not a compromise. It is a different route to the same happy destination: a soft slice of homemade dessert. And honestly, any method that delivers cake without preheating an oven deserves a little applause.