A bare window can make an otherwise finished room look as though it forgot to put on its hat. Fortunately, you do not need a sewing machine, a professional workroom, or an afternoon fueled by increasingly desperate coffee to fix it. A fifteen minute upholstered valance can give a window color, softness, and architectural presence with little more than a lightweight board, batting, fabric, and a reliable stapler.
The idea is simple: create a shallow cornice-style form, wrap it like a tidy upholstered package, and mount it above the window. Traditional valances are generally soft fabric treatments, while cornices are structured toppers made from solid material. In everyday DIY language, however, “upholstered valance” often describes a fabric-covered board that combines the tailored shape of a cornice with the warmth of upholstery.
Can the project really take only 15 minutes? Yes, provided the board is already cut, your fabric has been pressed, and your mounting plan is ready. Starting with an unmeasured window and a mysterious pile of hardware will turn 15 minutes into a small home-improvement documentary. This guide explains both the rapid assembly method and the preparation that makes the rapid part possible.
Why Make an Upholstered Window Valance?
An upholstered window valance does several decorating jobs at once. It can conceal a curtain rod, the top rail of a blind, or mounting hardware that is useful but not especially photogenic. It also introduces fabric without requiring full-length curtains, which makes the treatment appealing in kitchens, bathrooms, offices, nurseries, and rooms where furniture sits directly beneath the window.
A structured topper can make a small window feel more substantial, connect several nearby windows visually, and add pattern at eye level. Designers also use cornices and tailored valances to provide a clean finishing line above draperies or shades. Because the shape is simple, the fabric can determine whether the result feels modern, traditional, coastal, playful, or quietly expensive.
A Quick Project With a Custom Look
Store-bought window treatments are usually designed around standard dimensions. Real windows, meanwhile, appear to have attended a meeting where they agreed not to be standard. A DIY upholstered valance can be sized to cover the exact window trim, extend beyond a curtain rod, or fit neatly between cabinets.
The project is also friendly to leftover materials. A remnant of upholstery fabric, an unused curtain panel, or a section of decorative cotton may be enough for one average window. Since the material is stretched over a rigid form rather than gathered into folds, even a modest amount of fabric can make a strong visual statement.
Materials for a Fifteen Minute Upholstered Valance
The fastest version uses a lightweight base. Rigid foam insulation, thick foam board, lightweight plywood, MDF, or a shallow wooden frame can all work, but each option has advantages.
- Rigid foam or foam board: Lightweight, easy to cut, and suitable for renters or decorative installations.
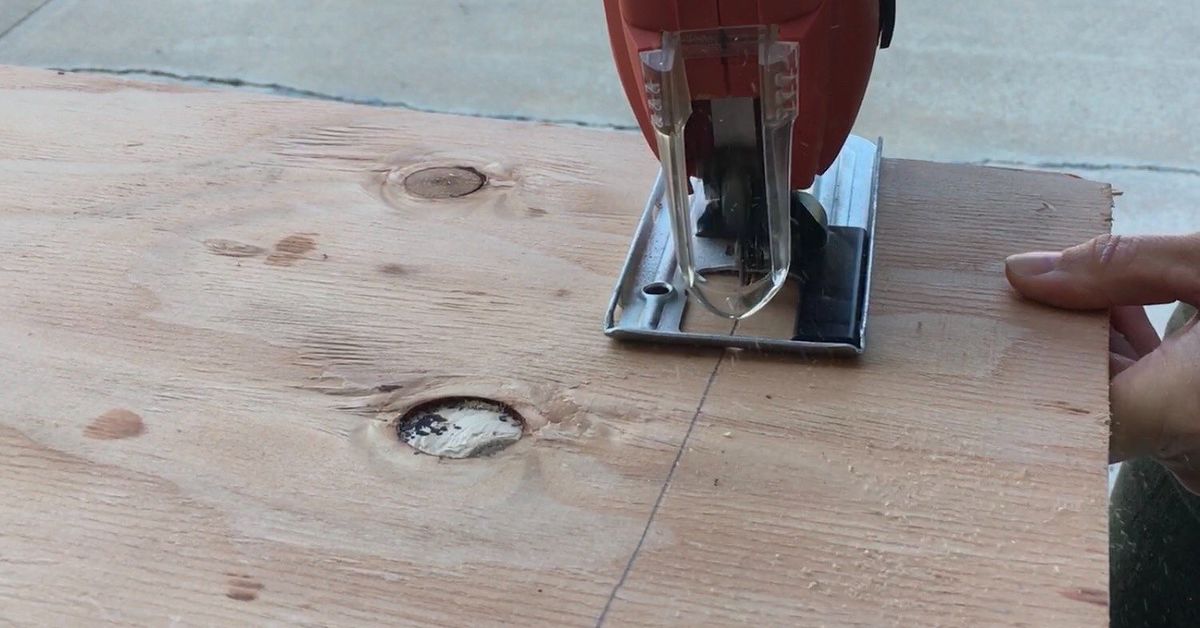
- Plywood: Strong, durable, and dependable for wide windows or permanent mounting.
- MDF: Smooth and easy to shape, though heavier than foam and less pleasant when exposed to moisture.
- Wood frame: Useful when the valance must project several inches from the wall to cover curtains or blinds.
Lightweight foam-based valances have been used successfully for inexpensive, no-sew window projects, while traditional upholstered cornices commonly use plywood, batting, fabric, and staples. Wood versions are more substantial, but foam can make the assembly and installation much faster.
Basic Supply List
- Precut valance board or foam form
- Quilt batting or thin upholstery batting
- Decorative fabric
- Measuring tape
- Fabric scissors
- Staple gun and compatible staples
- Hot-glue gun or strong fabric adhesive for a foam base
- L-brackets, a mounting cleat, or heavy-duty removable strips
- Drill, screws, wall anchors, level, and stud finder as required
- Optional ribbon, piping, fringe, or decorative tape
A manual staple gun is adequate for a small project, although frequent stapling can tire the hand. Whatever type you use, match the staples to both the tool and the base material. Wear eye protection, keep fingers away from the firing area, and never point a stapler toward a person or peteven when the pet has been supervising unhelpfully.
How to Measure the Window Correctly
Measure the outside width of the window trim, not merely the glass. Then decide what the valance must conceal. For a close-fitting topper, add approximately one or two inches beyond the trim on each side. For curtains, extend the valance far enough to cover the rod brackets and allow the panels to move behind it.
A practical finished height is often between 10 and 16 inches, although the best proportion depends on the window and ceiling. A shallow valance looks crisp above a short kitchen window. A taller one can balance a large room or hide substantial hardware. Before cutting anything, tape a paper template above the window and view it from across the room. This simple preview is cheaper than discovering that your valance resembles an enormous fabric eyebrow.
The return is the side section that extends from the front panel toward the wall. A return of roughly three to five inches works for many installations, but it must be deep enough to clear any rod, shade, handle, or projecting trim. Professional-style cornice construction commonly uses returns and brackets that leave enough room for both concealed hardware and installation access.
Choosing Fabric That Looks Polished
Medium-weight cotton, linen blends, canvas, light upholstery fabric, and drapery fabric are all sensible choices. Very thin fabric can reveal lumps, dark marks, or seams underneath. Extremely thick upholstery material may become bulky at the corners, making a small valance look as though it is wearing winter gloves.
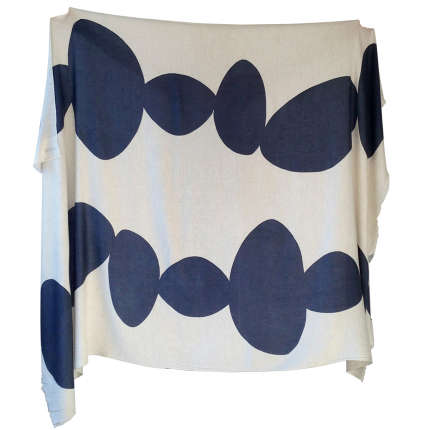
Large prints should be centered deliberately. Before cutting, mark the midpoint of the board and align it with the dominant motif. Stripes and checks require extra patience because even a small tilt is visible from across the room. Buy enough material to wrap around every edge with at least three or four inches of excess on the back. Pattern matching may require additional yardage.
Should You Use Batting?
Batting softens the hard edges of the base, hides minor surface imperfections, and gives the valance its upholstered appearance. Thin batting produces a tailored silhouette. A thicker layer looks softer but can complicate corners and decorative trim.
Most fabric-covered cornice tutorials attach batting first and then stretch the decorative fabric over it. The basic upholstery technique is to secure opposite sides while maintaining even tension, gradually working around the form rather than completing one entire edge before touching the others.
How to Make the Valance in Fifteen Minutes
Set a timer only after your materials are cut and arranged. The following sequence is designed for a simple rectangular board with a lightweight base.
Minute 1–3: Position the Batting
Place the batting flat on the work surface. Center the valance face-down on top of it. Trim the batting so that it wraps over the front edges and reaches two or three inches onto the back.
Pull the batting over the top edge and secure it at the center. Move to the bottom center, pull gently, and secure the opposite side. Repeat at the left and right centers. Continue outward, smoothing as you go. On a foam base, use glue or pins that are compatible with the material. On wood, use staples.
Minute 4–9: Add the Decorative Fabric
Lay the fabric right-side down and place the padded valance on top. Confirm that the pattern is straight before attaching anything. Fold the top edge over the back and secure it at the center. Attach the bottom center next, then the two side centers.
Work from the middle toward the corners, alternating sides. Pull the fabric firmly enough to remove wrinkles but not so hard that the weave distorts. Check the front several times. Five seconds spent looking can prevent five minutes spent removing enthusiastic staples.
Minute 10–12: Finish the Corners
At each outside corner, smooth one side flat, fold the excess fabric into a clean pleat, and secure it on the back. Keep the visible edge smooth and place bulky folds where they cannot be seen from the room.
If the valance has returns, treat each outside corner like the corner of a neatly wrapped present. Inside corners on shaped cornices require strategic clipping and folding, which is why a basic rectangle is far better for a genuinely fast project.
Minute 13–15: Add Trim and Prepare for Hanging
Use hot glue to attach ribbon, decorative tape, piping, or fringe along the lower edge. Keep trim simple if the fabric already has a bold pattern. For solid fabric, a narrow contrasting band can create a convincing custom-workroom finish. No-sew decorative trim is commonly attached after the main upholstery is complete.
Attach removable strips to an ultralight foam valance or connect the valance to previously installed brackets. Do not rush structural mounting merely to protect the 15-minute claim. Gravity is unimpressed by marketing.
How to Install an Upholstered Valance Safely
A lightweight foam valance may be supported with manufacturer-rated removable strips or suitable foam cornice brackets. A wood or MDF valance should be mounted with L-brackets, a French cleat, or a wooden mounting cleat.
Mark the center of the window and the center of the valance. Use a level to establish the mounting line. Whenever practical, drive fasteners into wall studs. Where studs are unavailable, use anchors designed for the wall type and the actual weight of the finished valance. Bracket-mounted cornices are commonly secured to studs or appropriate anchors, leveled, and then fastened from beneath or through a rear cleat.
Check that curtains and shades operate freely before tightening everything. Also confirm that windows can open, locks remain accessible, and the valance does not interfere with doors, cabinets, vents, or emergency egress.
Common Mistakes and Easy Fixes
The Fabric Looks Crooked
Remove only the staples nearest the problem area. Reposition the pattern using the centerline, secure the center again, and work outward. Do not remove every staple unless you enjoy returning to the beginning of board games.
The Corners Are Bulky
Trim away excess batting before refolding the fabric. Create one intentional pleat instead of several small wrinkles. Thick fabric may need diagonal clipping on the hidden side, but avoid cutting so close that the corner can fray open.
The Front Surface Has Ripples
Ripples usually indicate uneven tension. Release the nearest staples and restretch the material gradually. Alternating between opposing sides helps maintain a smooth face.
The Valance Looks Too Small
A topper that exactly matches the glass width may appear undersized. Extending it beyond the outer trim usually gives the window greater presence and helps conceal curtain hardware.
The Mounting Feels Loose
Stop and reinstall the hardware with proper anchors or stud-mounted screws. Do not add more decorative trim in the hope that tassels will improve structural engineering.
Styling Ideas for Different Rooms
Modern Living Room
Choose a solid textured fabric, a straight rectangular profile, and little or no trim. Mount it several inches above the frame to make the window appear taller.
Traditional Bedroom
Use a botanical, damask, or geometric print that coordinates with the bedding. Add narrow piping or grosgrain ribbon along the lower edge. Pair the valance with full-length curtain panels for a layered appearance.
Kitchen or Breakfast Nook
Try washable cotton, ticking stripe, gingham, or a cheerful small-scale print. A valance introduces softness while leaving the sill and lower glass unobstructed.
Child’s Room
Select a playful fabric and a lightweight base. Keep the profile simple, mount it securely, and avoid dangling embellishments. A structured topper can coordinate separate windows while preserving usable wall and floor space.
Home Office
Repeat a color from the rug, desk chair, or artwork. The upholstered valance can soften blinds and make a practical workspace look intentionally decorated rather than temporarily occupied by charging cables.
Cleaning and Maintaining the Valance
Use a vacuum upholstery attachment at low suction to remove dust. A lint roller can pick up surface debris between deeper cleanings. For spots, follow the fabric manufacturer’s cleaning instructions and test any solution on an unseen area first. Regular light cleaning is preferable to soaking a mounted upholstered panel.
Inspect the brackets and screws periodically, especially during the first few months. Sunlight may fade some fabrics, so consider a fade-resistant material for bright south- or west-facing windows. If the fabric eventually becomes dated, remove the valance, pull the staples, and recover the same base. The board can have more wardrobe changes than the average person.
Experiences From Making a Fifteen Minute Upholstered Valance
The most useful lesson from this project is that speed comes from preparation, not frantic stapling. On the first attempt, it is tempting to measure the window, cut the board, choose fabric, locate the stapler, and install brackets while mentally counting everything as part of the same 15 minutes. That approach usually ends with a crooked pattern, a missing box of staples, and a tape measure hiding in plain sight.
A better experience begins by treating the project as two stages. The first stage is preparation: measure twice, cut once, press the fabric, trim the batting, test the bracket placement, and place every tool within reach. The second stage is assembly. Once the board is lying on the batting and the stapler is loaded, the upholstered portion really can move surprisingly quickly.
Fabric selection makes a greater difference than expected. A small geometric pattern is forgiving because minor shifts are difficult to detect. A stripe is not forgiving. A stripe notices everything. During one practice version, the fabric appeared perfectly aligned while lying on the table, yet the finished valance looked slightly tilted when mounted. The cause was not the board or the brackets; the fabric had been pulled more firmly on one end. Marking the center and several reference points along the back solved the problem on the next attempt.
Corners are another place where experience matters. The instinct is to keep folding until all the loose fabric disappears. Unfortunately, each fold adds bulk. The cleaner method is to trim excess batting, flatten one side, and form a single controlled pleat on the hidden surface. Once this technique becomes familiar, the corners take seconds rather than minutes.
Lightweight foam is wonderful when the goal is speed. It can be moved, lifted, and adjusted by one person, and it does not turn installation into an upper-body workout. However, foam also requires restraint. An aggressive stapler, incompatible adhesive, or overtightened fastener can damage it. For a wide valance, a thin wooden frame or reinforced foam construction feels more dependable.
Plywood provides the most satisfying sense of permanence. It holds staples well and supports decorative trim without flexing. The trade-off is weight. A solid wooden valance deserves proper brackets and careful anchoring. The installation may take longer than the upholstery, but this is not the portion of the project where shortcuts earn prizes.
The visual transformation is often larger than the physical project. A plain blind can look temporary even when it functions perfectly. Adding a fabric-covered topper gives it context. The blind suddenly appears integrated into the room rather than attached by someone who planned to make a decorating decision later.
It is also worth living with the valance for a day before adding elaborate trim. Ribbon, fringe, and nailhead details can be attractive, but the plain fabric may already provide enough interest. Decorative enthusiasm is easiest to control before the hot-glue gun warms up.
Finally, the project is an excellent reminder that custom-looking décor does not always require advanced skills. Careful measuring, balanced tension, and clean mounting matter more than complex sewing. The finished valance may not have come from a professional workroom, but the window does not know thatand polite guests will not ask to inspect the back.
Conclusion
A fifteen minute upholstered valance is one of those rare DIY projects that can be inexpensive, practical, and visibly transformative. It hides hardware, frames the window, introduces pattern, and works with curtains, blinds, shades, or an otherwise uncovered window.
The fastest method uses a precut lightweight base, thin batting, decorative fabric, and a no-sew fastening system. The most durable method uses plywood or a wooden frame with proper wall-mounted brackets. In either case, the keys are accurate measurements, centered fabric, even tension, tidy corners, and secure installation.
Note: The “fifteen minute” timeline refers to upholstering and finishing a prepared valance form. Measuring, cutting the base, pressing fabric, and installing wall hardware may require additional time.