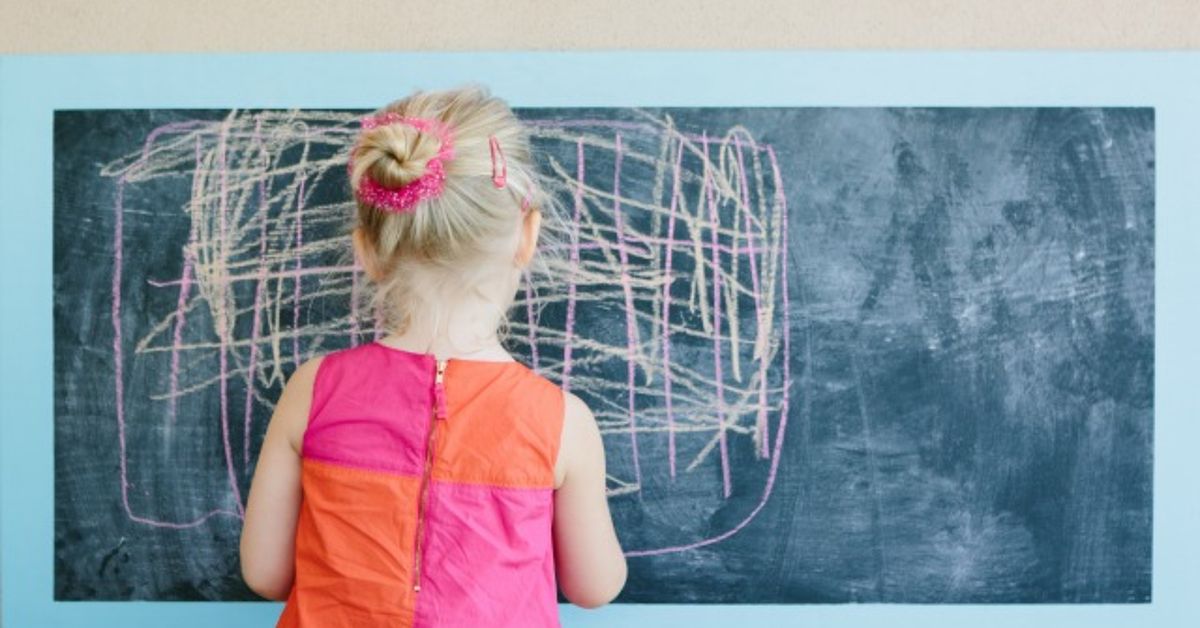
An outdoor chalkboard gives children a giant canvas without giving your living-room wall a nervous breakdown. It encourages drawing, writing, counting, storytelling, games, and wonderfully mysterious artwork that adults are expected to recognize immediately. Better still, chalk wipes away, so every masterpiece can make room for the next one.
Building a DIY outdoor chalkboard for kids is a manageable weekend project, but outdoor use introduces a few challenges. Rain, sunlight, humidity, rough plywood edges, unstable mounting, and the wrong paint can turn a cheerful play station into a swollen black rectangle. The solution is not complicated: choose weather-resistant materials, prepare every surface carefully, follow the paint manufacturer’s instructions, and attach the board securely.
This guide explains how to plan, build, paint, install, and maintain a backyard chalkboard that looks good, works smoothly, and survives more than one season of stick people, rocket ships, and suspiciously purple dinosaurs.
“`
Why Build an Outdoor Chalkboard?
A backyard chalkboard is more than decorative outdoor play equipment. It creates an open-ended activity area where children decide what happens next. One afternoon it may be an art studio. The next day it becomes a restaurant menu, math station, treasure map, weather board, or scoreboard for a game whose rules change every four minutes.
Outdoor creative play can support curiosity, problem-solving, communication, fine-motor practice, and imaginative thinking. A large vertical surface also encourages children to move their shoulders and arms differently than they do when drawing on a small sheet of paper.
Practical benefits for parents
- It provides a reusable drawing surface with very little waste.
- Washable chalk is generally easier to manage than paint, markers, or glitterthe craft supply that never truly leaves a household.
- The board can fit on a fence, shed wall, playhouse, patio partition, or freestanding frame.
- It can be adapted for toddlers, school-age children, siblings, or neighborhood play.
- It gives children a screen-free activity that can remain available throughout the warmer months.
Plan the Outdoor Chalkboard Before Buying Materials
A few minutes of planning can prevent several hours of repainting, repositioning, and politely blaming the weather.
Choose a sheltered location
The best location receives shade for at least part of the day and has some protection from direct rain. A covered patio, deep roof overhang, playhouse wall, or fence beneath a tree canopy can reduce weather exposure. Avoid areas reached by lawn sprinklers, roof runoff, or standing water.
Shade also makes the surface more comfortable to use. A dark board in direct summer sun can become unpleasantly hot, while glare can make pale chalk harder to see.
Select a child-friendly size
A board about 3 feet high and 4 to 6 feet wide offers generous drawing space without consuming an entire fence. For younger children, position the lower writing area approximately 18 to 24 inches above the ground. Older children may appreciate a taller board with room for large drawings and games.
Observe how your children naturally reach and draw before choosing the final height. The goal is comfortable access, not an accidental climbing challenge.
Decide how it will be mounted
Wall- or fence-mounted chalkboards are usually the most stable. A freestanding board can be moved, but it requires a wide, braced base and protection against tipping or wind. Never lean a heavy sheet loosely against a fence where a child can pull it forward.
Materials and Tools
Recommended materials
- One sheet of exterior-rated plywood or a smooth exterior panel
- Exterior wood primer suitable for the selected panel
- Chalkboard coating approved for the intended location
- Exterior paint or stain for the frame and exposed wood
- Weather-resistant lumber for trim
- Exterior-grade screws
- Washers or appropriate mounting hardware
- Exterior wood filler
- Paintable exterior caulk
- Optional lumber for a chalk tray
- Nontoxic, washable chalk
Useful tools
- Tape measure and pencil
- Level
- Circular saw or table saw
- Drill and driver bits
- Sanding block or random-orbit sander
- 120-, 180-, and 220-grit sandpaper
- Short-nap foam or microfiber roller
- Quality paintbrush
- Caulking gun
- Safety glasses, gloves, and hearing protection
Choose the Right Board and Paint
Use an exterior-rated wood panel
Exterior plywood is a practical choice because it is available in large sheets and is made with adhesives intended to tolerate moisture better than standard interior panels. Look for a relatively smooth face with few knots, patches, or deep grain lines.
Medium-density overlay, often called MDO, is another strong option when available. Its smooth resin-treated face accepts paint well and requires less sanding than rough construction plywood.
Avoid ordinary MDF for a permanently exposed installation. MDF can absorb water through its faces, edges, and screw holes, causing swelling and deterioration. It may work in a fully enclosed porch, but exterior plywood remains the safer long-term choice.
Understand the paint label
Chalkboard paint and chalk-style furniture paint are different products. Chalkboard paint creates a writable surface. Chalk-style paint creates a decorative matte finish and is not automatically suitable for repeated writing and erasing.
Many familiar chalkboard paints are labeled for interior use only. Do not assume that a black can with the word “chalkboard” on it can endure rain and ultraviolet exposure. Read the technical label carefully. Choose a coating specifically approved for exterior use, or install the board beneath reliable weather protection and use a complete primer-and-paint system recommended by the manufacturer.
For a homemade alternative, some DIY builders combine dark exterior latex paint with unsanded grout to create a writable texture. This can work, but results vary, and the mixture may not erase as cleanly or last as long as a purpose-made product. Test a sample panel before committing your entire weekend and emotional stability.
How to Create an Outdoor Chalkboard for Kids
Step 1: Cut the panel
Measure the available space and cut the plywood to size. A common beginner-friendly dimension is 36 by 60 inches. Support the entire sheet while cutting so the panel does not flex or tear near the blade.
Round the corners slightly with a jigsaw or sanding block. Softened corners look finished and reduce sharp points in an active play area.
Step 2: Sand the writing face
Sand the front with 120-grit paper to remove raised grain, patches, and splinters. Follow with 180- or 220-grit paper for a smoother finish. Run your hand lightly across the surface after sanding. It should feel consistently smooth, because every ridge will eventually appear beneath the paint.
Sand the edges and corners carefully. Remove all dust with a vacuum and a clean, slightly damp cloth, then allow the panel to dry completely.
Step 3: Seal every edge and the back
The edges of plywood absorb moisture faster than the smooth face. Apply an exterior primer or compatible edge sealer to all four sides, the back, cutouts, and drilled holes. Give extra attention to the bottom edge, where water may linger.
Sealing only the visible front is a common mistake. Moisture entering from behind can make the panel warp even while the painted face looks perfectly respectable.
Step 4: Prime the front
Apply an even coat of primer recommended for exterior wood and compatible with the selected chalkboard coating. Follow the stated temperature, humidity, drying, and recoating requirements. Painting in extreme heat, cold, wind, or damp weather can interfere with leveling and adhesion.
Once the primer dries, sand it lightly with fine-grit paper and remove the dust. This small step produces a noticeably smoother writing surface.
Step 5: Apply the chalkboard coating
Stir the coating thoroughly without whipping excessive air into it. Use a short-nap roller for the broad area and a brush around the edges. Apply thin, consistent coats instead of one heroic coat thick enough to preserve a fossil.
Roll in one direction for the first coat and perpendicular to that direction for the next coat. This helps reduce visible roller lines. Most products perform best with at least two coats, but the label should determine the actual number and drying schedule.
Do not cover the writing surface with a general-purpose clear topcoat unless the chalkboard manufacturer specifically approves it. Some clear finishes create glare, reduce chalk adhesion, or make erasing difficult.
Step 6: Allow the paint to cure
Dry paint is not necessarily cured paint. A surface may feel dry within hours but still require several days before it can handle writing and erasing. Protect it from children, rain, dust, curious pets, and adults who simply need to “test one tiny corner.”
Step 7: Season the board
After the full curing period, rub the side of a piece of traditional white chalk across the entire surface. Cover it in both directions, then erase it with a soft felt eraser or clean cloth.
This process, often called seasoning or conditioning, fills microscopic pores and helps prevent the first drawing from leaving a permanent ghost image. Use traditional chalk rather than liquid chalk markers unless the coating manufacturer says those markers are compatible.
Step 8: Build and finish the frame
A frame hides plywood edges, adds stiffness, and gives the project a cheerful finished appearance. Cut exterior-grade trim to fit around the panel. Sand it, prime it, and coat it with exterior paint before installation.
Bright yellow, red, blue, or natural cedar trim can make the board feel like part of a playground rather than an unusually serious fence repair. Attach the frame with exterior screws or compatible construction adhesive, keeping fasteners flush and away from the writing area.
Step 9: Mount it securely
Locate solid fence rails, wall studs, or structural posts. Fasten the board through the frame or reinforced mounting points using exterior screws and washers. Avoid relying on thin fence pickets alone, since they may split or pull loose.
Leave a small air gap behind the panel by using spacers or washers. The gap encourages drainage and drying after humid weather. Check the installation with a level, tighten every fastener, and confirm that the board cannot rock, lift, or pull away.
Step 10: Add a draining chalk tray
A shallow tray keeps chalk nearby and reduces the number of pieces lost to grass, mulch, and whatever mysterious dimension consumes children’s supplies. Give the tray a slight outward slope and drill drainage holes so rainwater cannot collect.
For better weather protection, store chalk in a separate covered container rather than leaving it outside permanently.
Outdoor Chalkboard Safety Checklist
- Use new, compliant coatings and avoid old or unknown painted boards that may contain lead.
- When renovating an older painted fence or wall, consider professional lead testing before sanding.
- Keep children away during cutting, sanding, spraying, and painting.
- Use adequate ventilation and follow all protective-equipment instructions on product labels.
- Choose nontoxic chalk intended for children and appropriate for their age.
- Round sharp corners and sand away every splinter.
- Use recessed or flush fasteners so clothing and fingers cannot catch on them.
- Inspect the mounting points regularly for looseness, rust, cracked wood, or protruding screws.
- Provide shade, drinking water, and appropriate sun protection during extended outdoor play.
- Supervise younger children, especially around small chalk pieces.
Fun Outdoor Chalkboard Activities
Turn drawing into storytelling
Ask one child to draw a setting, another to add a character, and a third to invent the problem. The story may begin in a castle and end with a pancake driving a fire truck. This is normal and should not be corrected.
Create simple learning games
- Practice letters, names, spelling words, and number patterns.
- Draw shapes for children to identify, count, or transform into pictures.
- Make a giant tic-tac-toe grid.
- Create a weekly weather chart.
- Draw a neighborhood treasure map.
- Keep score during backyard games.
- Write clues for scavenger hunts.
Use nature as inspiration
Invite children to draw leaves, insects, clouds, flowers, or birds they observe outside. Older children can label their drawings, estimate sizes, or record how the garden changes through the season.
Maintenance and Weather Protection
Wipe the board with a dry felt eraser after routine use. For heavier chalk residue, use a damp microfiber cloth and allow the surface to dry before writing again. Avoid abrasive pads and harsh cleaners unless the coating manufacturer approves them.
Inspect the chalkboard every month during active use. Look for peeling paint, swollen edges, mildew, loose screws, cracked trim, trapped water, and splinters. Touch up damaged frame paint promptly so moisture does not gain a convenient entrance.
In rainy, snowy, or freezing climates, use a fitted cover or move a portable chalkboard into a garage or shed for winter. A simple cap or small roof above a permanent installation can also extend its service life.
Eventually, the writing surface may become scratched or difficult to erase. Clean it, sand it lightly, apply another compatible coat, allow it to cure, and season it again.
Common Mistakes to Avoid
- Using interior MDF outdoors: It may swell quickly when moisture reaches an edge or screw hole.
- Skipping primer: Bare wood absorbs paint unevenly and can produce a rough, blotchy surface.
- Ignoring the back and edges: Those areas are major entry points for moisture.
- Using interior-only chalkboard paint in full weather: Always verify the coating’s intended use.
- Applying paint too thickly: Heavy coats can sag, wrinkle, or cure unevenly.
- Writing too soon: Premature use can scratch soft paint and create permanent marks.
- Forgetting to season the surface: The first drawing may become a surprisingly long-term resident.
- Mounting only to thin fence boards: Secure the project to structural rails or posts.
- Building a flat chalk tray: Without drainage, it becomes a small and unsuccessful swimming pool.
Experiences and Lessons From Realistic Backyard Use
The most useful lessons often appear after the tools have been put away and the children have taken control of the project. One recurring experience is that adults imagine the chalkboard as a tidy art station, while children treat it as a combination mural wall, restaurant, secret-message center, classroom, and scoreboard. Designing for flexible play is therefore more valuable than adding complicated decorative features.
Board height is one of the first details families reconsider. A chalkboard mounted at adult eye level may look balanced from the patio, but younger children use only the bottom strip. A better approach is to place the lower edge within easy reach and let older children use the upper section. In homes with several children, a wide board generally works better than an unusually tall one because it gives everyone a personal zone and reduces artistic border disputes.
Another common lesson involves sunlight. A board that looks perfect during an evening installation can become extremely bright or hot at noon. Before drilling, temporarily hold or lean the panel in the proposed position and observe it at different times of day. This simple trial can reveal glare, roof runoff, sprinkler spray, and the exact location where the dog prefers to shake off water.
Surface preparation makes a larger difference than many first-time builders expect. Children use chalk at every angle and press harder than adults anticipate. Grain lines, screw dents, dried drips, and rough patches become obvious immediately. Builders who spend an extra half hour filling imperfections and sanding between primer and paint usually get a board that writes more evenly and is far easier to erase.
Weather exposes shortcuts with impressive efficiency. An unsealed bottom edge may begin swelling after several storms, even when the front still looks fine. Similarly, a tray without drainage can hold water against the frame. The reliable lesson is to think like rain: determine where water will land, where it will travel, and where it will escape.
Chalk storage also evolves through use. An open tray is convenient on sunny days but produces soggy chalk after unexpected rain. A lidded plastic box mounted nearby, or a removable bucket carried indoors, works better. Families with toddlers often prefer thick, anti-roll chalk because it is easier to grip and less likely to escape across a sloped patio.
Children tend to enjoy the chalkboard more when adults occasionally begin an activity but do not control the final result. Drawing half a monster, writing the first line of a story, or creating an unfinished maze invites participation. By contrast, presenting a perfectly organized lesson every time can make the board feel like homework wearing outdoor shoes.
Maintenance is simplest when it becomes routine. A quick monthly check for loose screws, peeling edges, splinters, and standing water takes only a few minutes. Small problems are easy to repair; ignored water damage eventually requests a replacement panel and an entire Saturday.
The biggest overall lesson is that the best outdoor chalkboard is not necessarily the fanciest. A smooth surface, sturdy attachment, sheltered location, accessible height, and reliable container of chalk matter more than elaborate trim. Children provide the decoration themselves, usually within thirty seconds.
Conclusion
Creating an outdoor chalkboard for kids is a practical way to add art, learning, and imaginative play to a backyard without building an elaborate play structure. Start with an exterior-rated panel, seal every face and edge, use compatible primer and chalkboard coating, allow the finish to cure completely, and mount the finished board to solid structural supports.
Once installed, the chalkboard can change daily. It may display a family message in the morning, become a math game after lunch, and host a dragon invasion before dinner. That endless ability to erase, reinvent, and begin again is exactly what makes this simple DIY project so valuable.