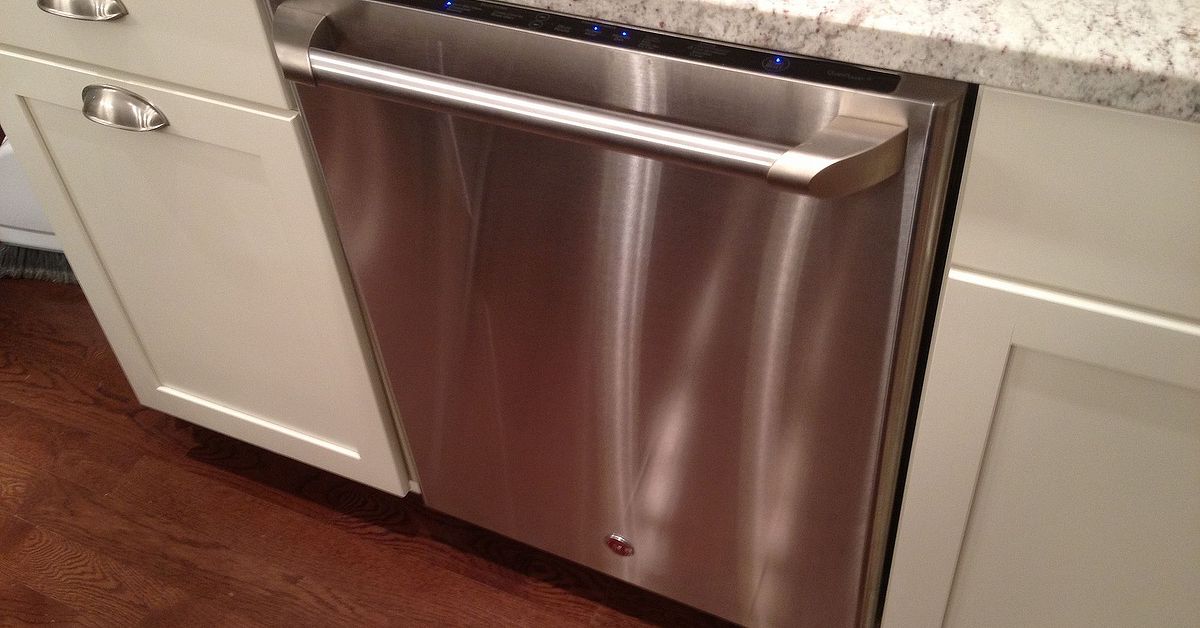
Your dishwasher has one job: take crusty plates, greasy forks, and coffee-stained mugs, then return them sparkling like they just got back from a spa weekend. So when it starts sending dishes back with mystery grit, cloudy glasses, or a suspicious noodle glued to a bowl, it feels personal.
The good news? A dishwasher not cleaning properly is often not “broken.” It is usually tired, clogged, overloaded, underfed with detergent, or quietly begging you to clean the filter it has been using as a food-particle retirement home. Before you call a repair technician or start dramatically browsing new appliances at midnight, try these five quick dishwasher cleaning tips. They can help restore washing power, reduce odors, prevent cloudy glassware, and make your machine feel almost new again.
This guide covers practical, real-world dishwasher maintenance steps based on common recommendations from appliance manufacturers, cleaning experts, consumer testing organizations, and home-care professionals. No fluff, no panic, and no pretending that scraping oatmeal out of a filter is glamorous.
Why Your Dishwasher Is Not Cleaning Properly
A dishwasher cleans with a combination of hot water, spray pressure, detergent, drainage, and smart loading. When one part of that system gets lazy, the whole performance drops. The most common causes include a dirty dishwasher filter, clogged spray arms, poor loading habits, hard water buildup, low water temperature, old detergent, lack of rinse aid, or a cycle that is too light for the mess you are asking it to handle.
Think of your dishwasher like a tiny indoor car wash. If the nozzles are blocked, the drain is gunky, the soap is weak, and someone parked a casserole dish in front of the water jets, the results will not be showroom-quality. Fortunately, most fixes are simple and require only warm water, a soft brush, vinegar or dishwasher cleaner, and a small amount of courage.
Tip 1: Clean the Dishwasher Filter First
If your dishwasher leaves food specks on plates, gritty residue in cups, or a funky smell every time you open the door, start with the filter. The filter catches food particles so they do not redecorate your dishes during the rinse cycle. Over time, it can become packed with grease, rice, eggshell bits, labels, and other kitchen confetti.
How to clean the dishwasher filter
- Remove the bottom rack so you can reach the bottom of the dishwasher tub.
- Look for the filter assembly under or near the lower spray arm.
- Twist and lift the removable filter according to your owner’s manual.
- Rinse it under warm running water.
- Use a soft toothbrush or sponge with mild dish soap to remove greasy buildup.
- Wipe the filter housing area before reinstalling the filter securely.
A clean dishwasher filter improves water flow, helps prevent odors, and gives detergent a better chance to do its job. If you run your dishwasher daily, inspect the filter weekly or every couple of weeks. If you use it less often, monthly cleaning may be enough. The key is consistency. Waiting until the filter looks like a science fair project is not a maintenance plan.
One important note: not every dishwasher filter is designed the same way. Some older models use self-cleaning filters with a grinder; many modern quiet models use manual filters. If you are unsure, search your model number and read the manufacturer’s instructions before tugging on parts like you are opening a treasure chest.
Tip 2: Unclog the Spray Arms
The spray arms are the spinning parts that blast water through small holes to clean your dishes. When those holes get blocked by mineral deposits, seeds, paper labels, or tiny food bits, your dishwasher may run a full cycle but leave dishes dirty. It is basically doing jazz hands instead of power washing.
Signs your spray arms need attention
- Dishes on one rack come out dirtier than the other.
- Glasses have grit inside them.
- The dishwasher sounds normal but cleaning performance is weak.
- You notice food particles stuck in the spray holes.
- The spray arm does not spin freely when you move it by hand.
How to clean dishwasher spray arms
Remove the lower rack and gently spin the lower spray arm. It should move freely. If your model allows removal, take off the spray arm and rinse it under warm water. Use a toothpick, wooden skewer, or soft brush to clear clogged holes. Avoid using anything that could enlarge or damage the spray openings.
Do the same for the upper or middle spray arm if your dishwasher has one. Some arms twist off; others clip in place. Check the manual first so you do not accidentally turn a five-minute cleaning job into a “why is there a plastic part in my hand?” situation.
Hard water can leave chalky mineral buildup inside spray holes. Soaking removable spray arms in warm water with white vinegar can help loosen deposits. Rinse thoroughly before reinstalling. Once clean, the spray arms can distribute water more evenly, which means fewer dirty bowls and fewer accusations against innocent detergent pods.
Tip 3: Load the Dishwasher the Right Way
Dishwasher loading is not just a domestic personality test. It directly affects cleaning performance. If dishes are stacked too tightly, nesting together, facing the wrong direction, or blocking the spray arms, water and detergent cannot reach the dirty surfaces.
Smart loading rules that actually matter
- Face dirty surfaces toward the center, where the spray is strongest.
- Place bowls at an angle so water can reach inside and drain out.
- Keep tall items away from spray-arm paths.
- Do not let spoons nest together like they are hiding from responsibility.
- Load plastics on the top rack unless your manual says otherwise.
- Put large pans, cutting boards, and trays along the sides or back, not across the front.
- Do not overload the racks; water needs space to move.
Another common mistake is heavy pre-rinsing. Modern dishwasher detergents are designed to cling to food soil. You should scrape off large chunks, bones, toothpicks, and anything that looks like it could start a plumbing incident, but you usually do not need to wash dishes before washing dishes. That defeats the purpose and wastes water.
However, if dishes will sit for more than a day, give them a quick scrape and maybe a light rinse, especially with sticky foods like oatmeal, egg yolk, melted cheese, or dried rice. Those foods have the emotional resilience of concrete.
Tip 4: Use Better Detergent, Rinse Aid, and Hot Water
If the filter is clean and the spray arms are clear but your dishwasher still performs like it is phoning it in, check your detergent and water conditions. Old detergent can lose effectiveness, especially if it has absorbed moisture. Store dishwasher detergent in a cool, dry place and keep the package sealed.
Powder, gel, tablet, or pod?
All can work, but quality matters. Pods and tablets are convenient and often contain enzymes, surfactants, and rinse-boosting ingredients. Powder can be useful because you can adjust the amount, especially for soft or hard water. Gels are easy to pour but may not always perform as strongly on baked-on food. The best choice depends on your dishwasher, water hardness, and soil level.
Do not use regular liquid dish soap in a dishwasher. Unless your dream kitchen includes a foam party under the cabinets, stick with detergent made specifically for automatic dishwashers.
Why rinse aid helps
Rinse aid is not just a luxury add-on for people who alphabetize their spice jars. It helps water sheet off dishes instead of clinging in droplets, which improves drying and reduces spots on glassware. If your cups look cloudy, your silverware has water marks, or plastic items stay wet, refill the rinse aid dispenser and adjust the setting if your dishwasher allows it.
Check water temperature
Dishwashers need hot water to dissolve detergent and break down grease. Many homes aim for water around 120°F at the tap for a balance of cleaning, energy use, and safety. Before starting a cycle, run the kitchen sink hot water for a short time until it heats up, then start the dishwasher. This helps the machine begin with warmer water instead of spending the first part of the cycle warming up yesterday’s lukewarm pipe water.
If your dishwasher has a “high temperature,” “sanitize,” “heavy,” or “pots and pans” cycle, use it for greasy cookware, dried-on sauces, or post-dinner-party chaos. The quick cycle is great for lightly soiled dishes, not for lasagna archaeology.
Tip 5: Deep Clean the Interior and Fight Hard Water Buildup
Even though your dishwasher cleans dishes, it still needs cleaning itself. Grease, detergent residue, hard water minerals, and food particles can build up on the tub, door gasket, racks, dispenser, and drain area. Over time, that buildup can cause odor, cloudy dishes, weak cleaning, and a general sense that your dishwasher has given up on its dreams.
Monthly deep-clean routine
- Empty the dishwasher completely.
- Clean the filter and check the drain area for debris.
- Wipe the door edges, gasket, detergent dispenser, and utensil basket.
- Inspect and unclog spray arms.
- Run a dishwasher cleaner cycle or a hot empty cycle with a dishwasher-safe cup of white vinegar on the top rack.
- For extra deodorizing, run a separate short cycle with baking soda sprinkled across the bottom of the tub.
Do not mix vinegar and baking soda in the same cycle unless you enjoy watching basic chemistry produce a bubbly mess with very little cleaning benefit. Use vinegar first, then baking soda separately if needed.
Also be careful with bleach. Bleach may be recommended for certain non-stainless interiors, but it should not be used in dishwashers with stainless steel tubs or stainless components. When in doubt, skip bleach and use a dishwasher cleaner or manufacturer-approved method.
Quick Troubleshooting Guide: Match the Symptom to the Fix
Food particles on dishes
Clean the filter, clear the spray arms, scrape large food scraps before loading, and avoid overcrowding the racks.
Cloudy glasses
Use rinse aid, check for hard water, avoid too much detergent, and run a monthly cleaning cycle. If glass is permanently etched, cleaning will not reverse it, but better habits can prevent more damage.
Greasy plates
Use a heavy or high-temperature cycle, make sure the water is hot, choose a quality detergent, and avoid blocking the detergent dispenser.
White residue or chalky film
Hard water is the usual suspect. Try rinse aid, dishwasher cleaner, a water-softening detergent formula, or a whole-home water softener if the issue is severe.
Bad smell
Clean the filter, wipe the gasket, remove trapped debris from the drain area, and run an empty cleaning cycle. Odor usually means food is hiding somewhere it should not be.
Top rack not cleaning
Check the upper spray arm, make sure tall items are not blocking water flow, and confirm the rack is properly seated.
When a Quick Fix Is Not Enough
Most cleaning problems improve after filter cleaning, spray arm maintenance, better loading, and detergent upgrades. But sometimes the dishwasher is not simply dirty; it has a mechanical issue. Call a professional if you notice standing water that will not drain, repeated leaks, burning smells, unusual grinding noises, very low water levels, no water entering the tub, or error codes that return after a reset.
Possible repair issues include a faulty water inlet valve, worn circulation pump, damaged wash motor, blocked drain hose, broken spray arm, or malfunctioning heating element. Those problems go beyond a toothbrush and a can-do attitude.
Real-Life Experience: The Weekend My Dishwasher Got Its Groove Back
The first sign was the glasses. They came out looking like they had been misted with powdered sugar, which would have been charming if they were pastries and not drinking glasses. Then came the bowls with tiny specks stuck inside. Finally, a spoon emerged with a piece of spinach still clinging to it like it had survived a shipwreck. That was the moment the dishwasher investigation began.
At first, the blame went everywhere except the obvious place. Maybe the detergent was bad. Maybe the water was too hard. Maybe the dishwasher had entered its rebellious teenage phase. But when the bottom rack came out and the filter was removed, the truth appeared. The filter was not just dirty. It was a small archaeological site containing rice, pepper flakes, coffee grounds, and something that may once have been a sesame seed. It was humbling.
After rinsing the filter under hot water and scrubbing it gently with an old toothbrush, the next discovery was the lower spray arm. Several holes were blocked with mineral buildup and tiny bits of food. A toothpick cleared the openings, and warm water flushed out the debris. Suddenly, the machine looked less like a failing appliance and more like a hardworking tool that had been neglected by people who thought “self-cleaning” meant “magically immortal.”
The next cycle became a test. The dishwasher was loaded more carefully: plates facing inward, bowls tilted, no giant pan blocking the spray arm, and spoons separated instead of bundled into a metal bouquet. A fresh detergent pod went into the dispenser, rinse aid was topped off, and the hot water at the sink was run briefly before pressing start. The machine hummed, sloshed, and sounded suspiciously confident.
When the cycle finished, the difference was obvious. The glasses were clearer, the plates felt smooth, and the silverware no longer looked like it had gone camping. It was not a miracle. It was maintenance. The dishwasher had not needed a replacement; it needed airflow, water flow, clean parts, and a little respect.
The biggest lesson was simple: dishwasher problems build slowly. One week the filter is a little greasy. A month later, spray holes are half blocked. Then detergent cannot circulate properly, food particles return to dishes, and everyone starts questioning the appliance’s character. A ten-minute cleaning habit prevents a lot of frustration.
Now the routine is easy. Scrape plates, load with space, check the spray arms, clean the filter regularly, refill rinse aid, and run a monthly deep-clean cycle. The dishwasher works better, smells fresher, and no longer returns mugs with surprise grit at the bottom. That is a small domestic victory, but in a busy kitchen, small victories count. Especially when they mean nobody has to hand-wash a mountain of forks after dinner.
Conclusion
A dishwasher not cleaning properly does not always mean it is ready for retirement. In many cases, it just needs basic care: a clean filter, clear spray arms, smarter loading, effective detergent, rinse aid, hot water, and a monthly deep clean. These five quick tips can improve cleaning power, reduce odors, prevent residue, and help your dishwasher work like new again.
Start with the filter because it is the most common troublemaker. Then inspect the spray arms, rethink how you load dishes, upgrade detergent habits, and tackle mineral buildup before it takes over. Your dishwasher is a machine, not a magician. Give it the right conditions, and it will reward you with cleaner plates, shinier glasses, and fewer mysterious crunchy bits in your coffee mug.
Note: This article is based on practical maintenance guidance commonly recommended by reputable appliance manufacturers, consumer testing organizations, cleaning experts, and home-improvement resources.