A photo frame is a small thing with a surprisingly big job. It protects a memory, dresses up a wall, and quietly says, “Yes, this vacation photo deserved better than living forever in my phone gallery.” The good news? You do not need a professional workshop, a giant budget, or the patience of a museum curator to make one. With a little measuring, a few simple materials, and the willingness to forgive one or two glue smudges, you can create a frame that looks personal, stylish, and proudly handmade.
This guide covers 5 ways to make a photo frame, from a classic wooden picture frame to easy cardboard, craft-stick, shadow box, and upcycled frame ideas. Some methods are perfect for adults who enjoy DIY home decor. Others are simple enough for kids, classrooms, rainy afternoons, or anyone who believes glitter is a legitimate design strategy. Along the way, you will also learn how to measure photos, choose backing, add mats, protect pictures, and finish your frame so it looks intentional rather than “I wrestled with a glue gun and lost.”
Before You Start: Basic Photo Frame Planning
Before cutting, gluing, painting, or raiding the recycling bin, take a moment to plan your frame. A beautiful DIY photo frame begins with three simple decisions: the photo size, the frame style, and the display method. Common photo sizes include 4×6, 5×7, 8×10, and 11×14 inches. If you want a mat around the photo, your outer frame size will be larger than the picture itself. For example, a 5×7 photo often looks more polished in an 8×10 frame with a mat opening.
Measure the actual photo carefully. For a matted frame, the mat opening should slightly overlap the photo edges so the picture does not slip through. A small overlap of about 1/8 to 1/4 inch on each side usually works well. For a no-mat frame, the photo, glass or acrylic, backing board, and frame rabbet all need to fit together snugly. A rabbet is the small ledge or recessed channel on the back of a frame that holds everything in place. It sounds fancy, but it is basically the frame’s tiny built-in shelf.
Helpful Supplies for Most DIY Photo Frames
- Ruler or measuring tape
- Pencil
- Scissors or craft knife
- Glue, wood glue, or hot glue
- Backing board, cardboard, foam board, or hardboard
- Paint, stain, markers, or decorative paper
- Hanging hardware, ribbon, magnets, or a small easel stand
- Optional: mat board, glass, acrylic sheet, sandpaper, clamps, or a miter box
1. Make a Classic Wooden Photo Frame
A wooden photo frame is the most traditional option, and it is also the one that can look the most store-bought when done well. This method works beautifully for family portraits, wedding photos, art prints, graduation pictures, and anything you want to display for years. It does require more precision than the other methods, but the reward is a durable frame with real weight and character.
Materials You Need
- Wood molding, trim, or frame stock
- Miter box and saw, miter saw, or table saw
- Wood glue
- Clamps or a band clamp
- Sandpaper
- Stain, paint, or clear finish
- Backing board
- Glass or acrylic sheet
- Turn buttons, small brads, or framing points
- Sawtooth hanger or picture wire
How to Make It
Start by measuring the photo, mat, or artwork you want to frame. Decide whether you want the image to sit directly inside the frame or behind a mat. Cut your wood pieces at 45-degree angles so the corners meet cleanly. The two long sides must be exactly the same length, and the two short sides must match each other. Even a tiny difference can create corner gaps big enough to emotionally wound a perfectionist.
Dry-fit the four pieces before adding glue. Place them around the photo or mat and check that the corners close properly. If everything lines up, apply wood glue to each mitered end and clamp the frame. Moderate pressure is usually enough; if you need heroic clamping force, the cuts probably need adjusting. Let the glue cure fully, preferably overnight.
Once dry, sand the frame smooth. Paint it for a clean modern style, stain it for a warm natural look, or distress it lightly for farmhouse charm. After the finish dries, place the glass or acrylic, photo or mat, and backing board into the rabbet on the back. Secure everything with turn buttons, small brads, or framing points. Add hanging hardware, and your wooden DIY picture frame is ready for the wall.
Best Tips for a Wooden Frame
Use a stop block when cutting matching sides so the lengths stay consistent. If you are new to woodworking, start with a small 5×7 or 8×10 frame before attempting a huge poster frame. Large frames need stronger joinery because the weight of glass can stress the corners. For valuable photos, use acid-free backing and mat board, and avoid hanging the frame in direct sunlight.
2. Make an Easy Cardboard Photo Frame
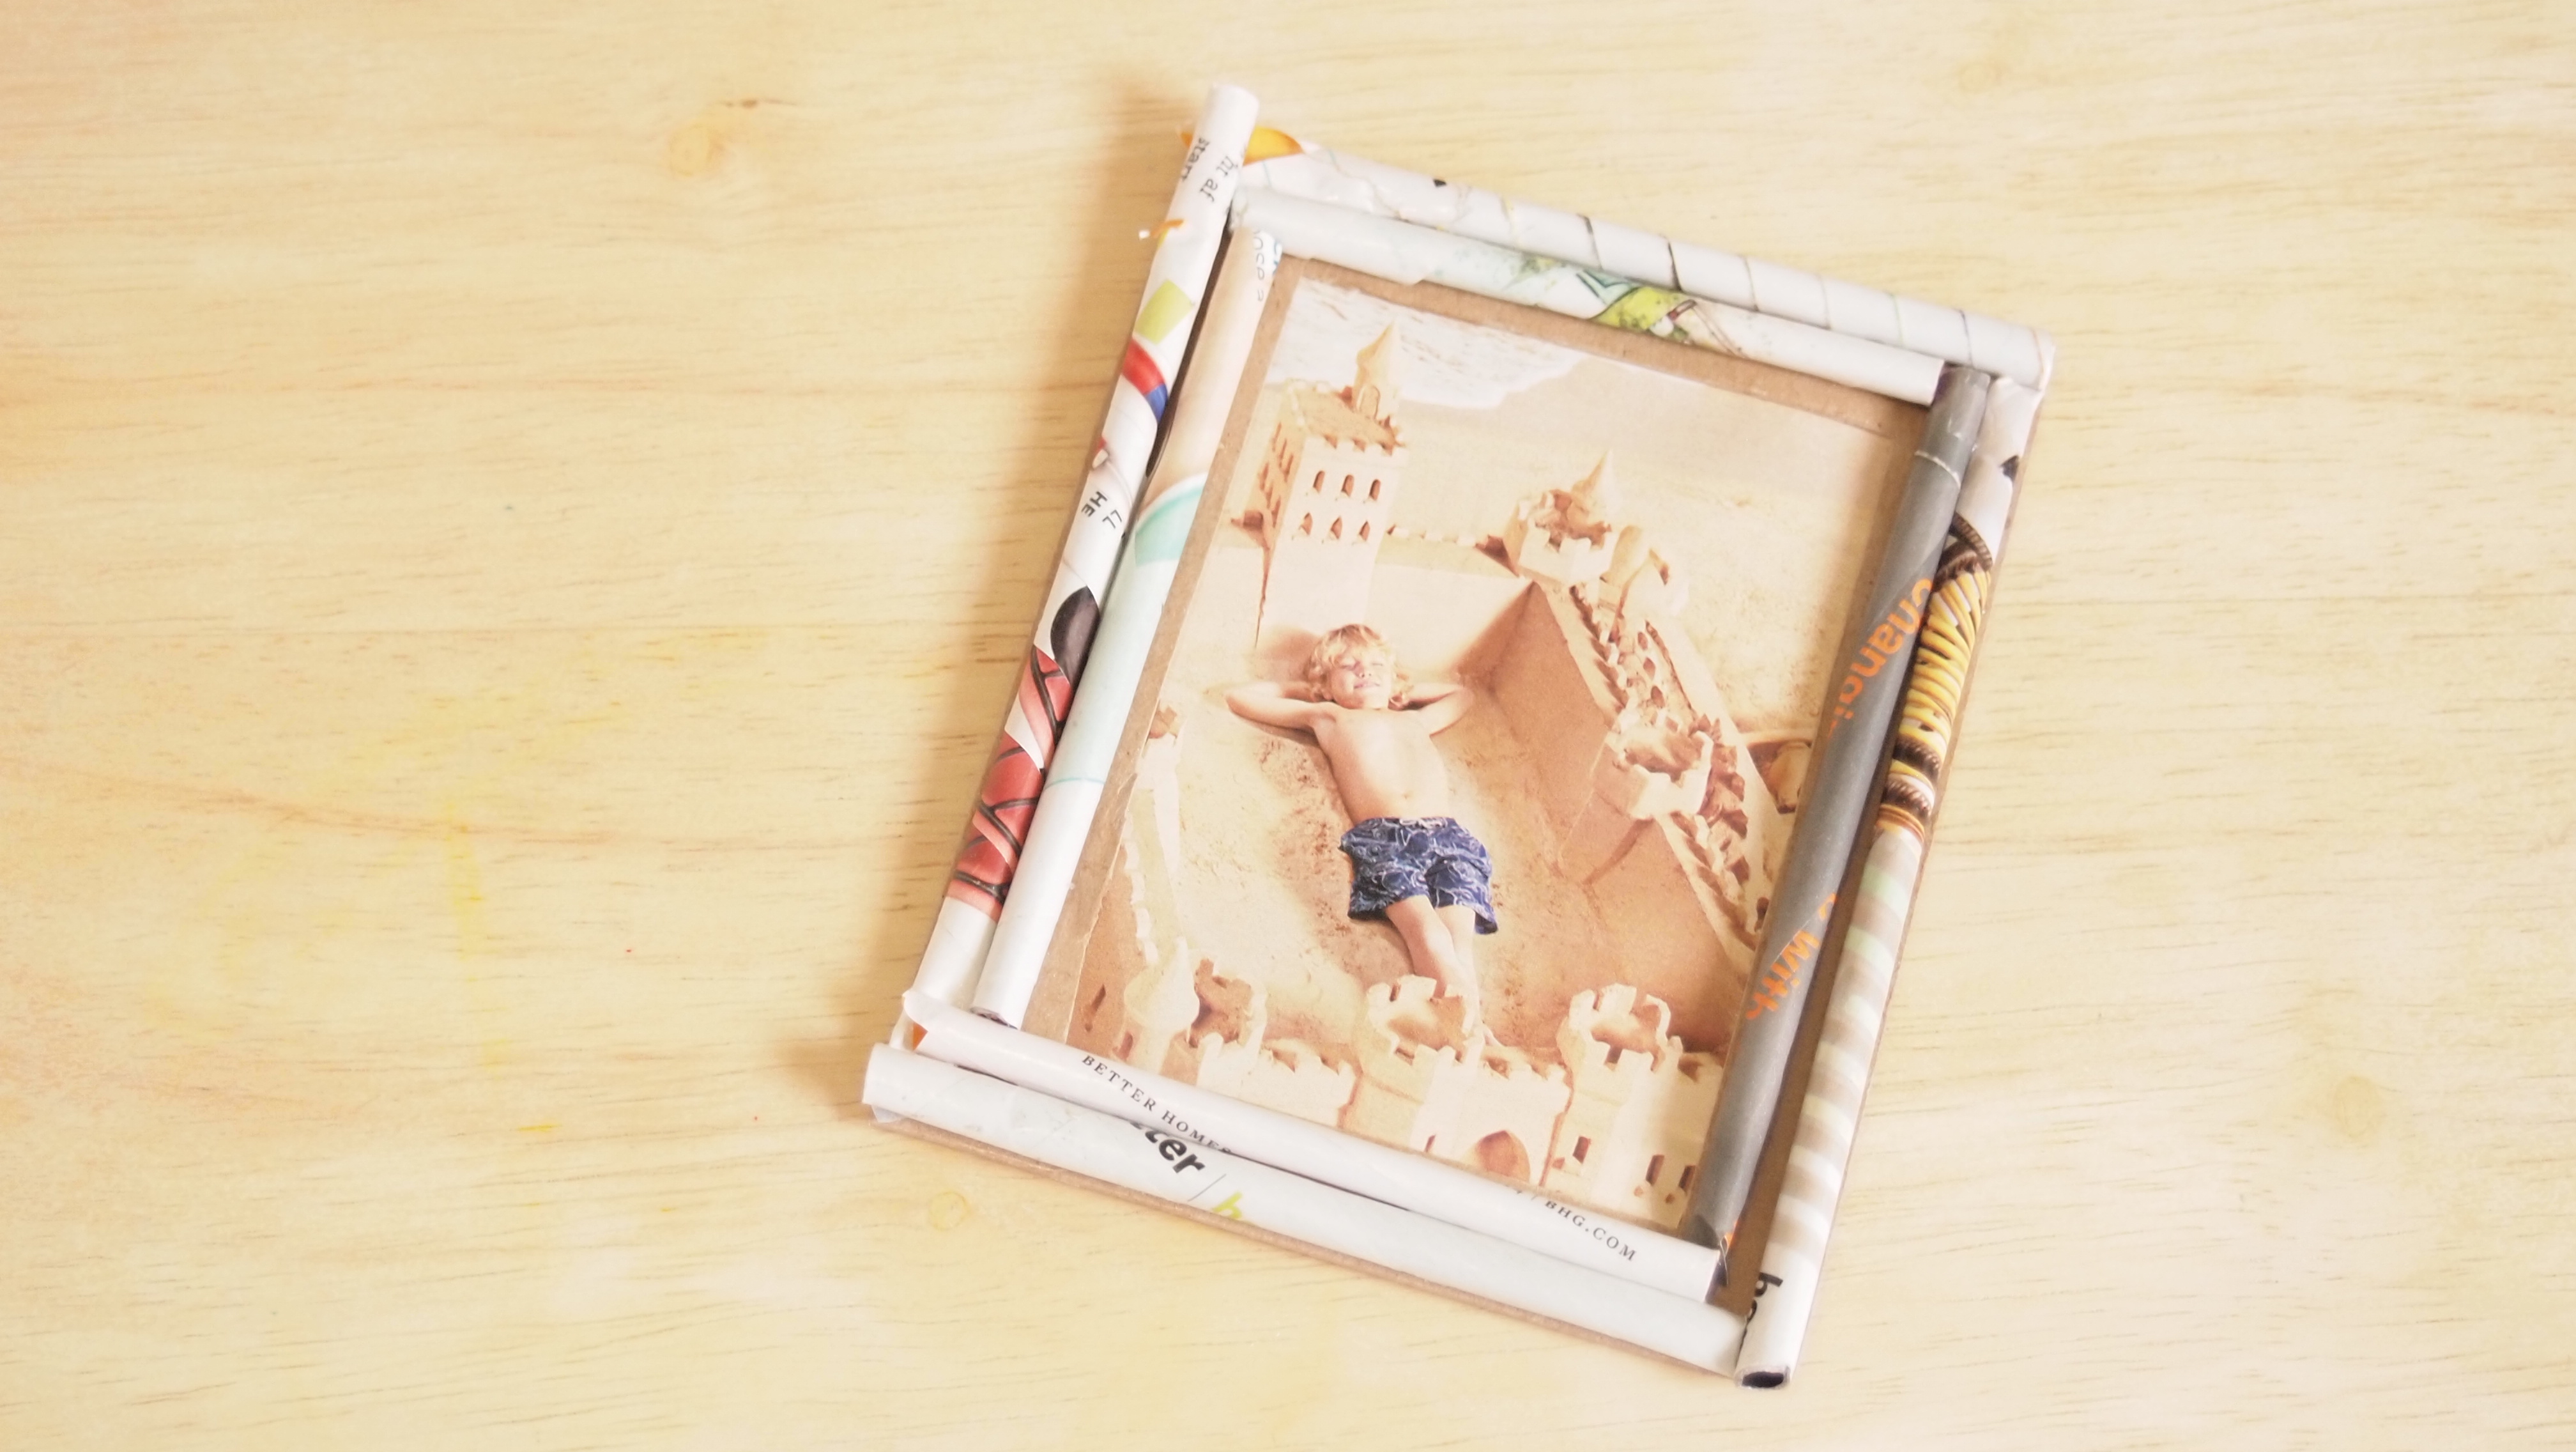
A cardboard photo frame is affordable, lightweight, and ideal for beginners. It is also a great way to upcycle cereal boxes, shipping boxes, or leftover presentation board. This method is perfect for school projects, kids’ crafts, dorm decor, party favors, or a quick handmade gift. It will not have the strength of wood, but it can still look surprisingly polished with careful cutting and a neat finish.
Materials You Need
- Cardboard or chipboard
- Photo
- Ruler
- Pencil
- Scissors or craft knife
- Glue stick or craft glue
- Decorative paper, paint, fabric, or washi tape
- Extra cardboard for the back and stand
How to Make It
Place your photo on the cardboard and trace around it. Draw a second rectangle around the first one to create the width of the frame border. A border of 1 to 2 inches works well for most small photos. Cut out the outer rectangle first. Then carefully cut out the inner window, making sure it is slightly smaller than the photo so the picture stays hidden behind the edges.
Cut a second piece of cardboard the same size as the outer frame. This will become the backing. Decorate the front frame piece with paint, scrapbook paper, fabric, magazine strips, or patterned tape. If you are using paper or fabric, wrap the edges neatly around the cardboard and glue them on the back for a cleaner look.
Attach the photo to the backing board with photo-safe tape or small paper corners. Then glue the decorated front frame over it, leaving one side partly unglued if you want the option to change the photo later. To make a tabletop stand, cut a narrow cardboard strip, fold a small tab at the top, and glue the tab to the back of the frame. For a hanging version, glue a loop of ribbon to the back.
Creative Cardboard Frame Ideas
For a modern look, cover the cardboard with kraft paper and draw thin black lines around the opening. For a playful style, add paper quilling, stickers, buttons, dried flowers, or mini pom-poms. For a travel photo, decorate the border with old map pieces. For a pet photo, add paw-print stamps. The cardboard frame is wonderfully forgiving, which is another way of saying it allows chaos to become “texture.”
3. Make a Craft Stick Photo Frame
Craft stick photo frames are simple, cheerful, and extremely popular for kids and family activities. They are also more versatile than they look. You can make a basic square frame with four sticks, a wider layered frame with multiple sticks, or a clipboard-style frame that uses a mini clothespin to hold the picture. This is one of the easiest homemade photo frame ideas for birthdays, classroom art, Mother’s Day, Father’s Day, or holiday ornaments.
Materials You Need
- Craft sticks or popsicle sticks
- Craft glue or hot glue
- Paint or markers
- Small photo
- Cardstock
- Mini clothespin, magnets, ribbon, or string
- Buttons, beads, shells, foam shapes, or stickers
How to Make It
For a basic frame, glue four craft sticks into a square or rectangle. For a stronger frame, make two identical stick squares and glue them together. Let the glue dry completely before painting. This drying step matters. If you paint too early, the sticks may slide around like tiny wooden ice skaters.
Paint the sticks in one color or use several colors for a striped effect. Once dry, decorate the border with beads, buttons, paper shapes, sequins, small shells, or letter stickers. Trim the photo to fit behind the opening. Glue it to a cardstock backing, then attach the backing to the rear of the craft-stick frame.
For a clipboard-style frame, line up several sticks side by side and glue two sticks across the back to hold them together. Glue a mini clothespin to the front, then clip the photo in place. This version is especially useful because you can swap pictures anytime. Add magnets to the back for a refrigerator frame, or attach ribbon for a hanging ornament.
Best Uses for Craft Stick Frames
Craft stick frames shine when personality matters more than perfection. They are excellent for kids’ photos, camp crafts, handmade gifts, party activities, or seasonal decorations. Try red and pink for Valentine’s Day, orange and black for Halloween, metallic paint for New Year’s, or beach colors with shells for summer vacation pictures.
4. Make a Shadow Box Photo Frame
A shadow box frame adds depth, which means it can hold more than a flat photo. This is the best choice when you want to display a memory with small objects: a concert ticket, baby bracelet, dried flower, travel coin, medal, seashell, postcard, or wedding keepsake. Think of it as a tiny museum exhibit, except the museum is your hallway and the curator is you in sweatpants.
Materials You Need
- Deep wooden frame or small wooden box
- Foam board or acid-free backing board
- Photo
- Small keepsakes
- Glue dots, pins, thread, or photo-safe tape
- Decorative paper or fabric
- Glass or acrylic front
- Hanging hardware
How to Make It
Begin by choosing a deep frame or shallow box that allows room for your photo and objects. Remove the backing and cover it with fabric, scrapbook paper, linen, or painted mat board. Arrange the photo and keepsakes before attaching anything. This is the fun part, but also the part where you may realize that seven seashells, three ticket stubs, and one hotel key card cannot all be the star of the show.
Use the largest item as the visual anchor. Place the photo slightly off-center for a designer look, or center it for a classic layout. Attach flat paper items with photo-safe tape or archival corners. Secure small objects with pins, thread, glue dots, or a small amount of hot glue if the item is not valuable. For irreplaceable heirlooms, avoid permanent adhesives and choose reversible mounting methods.
Reassemble the frame, making sure the objects do not press too hard against the glass. Add the backing and hanging hardware. Shadow boxes are often heavier than regular frames, so use secure wall anchors if needed.
Shadow Box Design Ideas
Create a baby memory frame with a newborn photo, hospital bracelet, and tiny socks. Make a travel frame with a map background, vacation photo, ticket stub, and small souvenir. Design a wedding shadow box with a photo, invitation, ribbon, and dried flowers. For sports memories, frame a team photo with a medal or patch. A shadow box turns a photo into a story, not just a rectangle on the wall.
5. Make an Upcycled Decorative Photo Frame
The easiest way to make a photo frame may be to start with an old one. Thrift stores, garage sales, clearance bins, and forgotten closet corners are full of frames that need a second chance. Upcycling a frame saves money, reduces waste, and lets you create a custom look without building from scratch. This method is great for beginners because the frame structure already exists. Your job is to give it style, confidence, and maybe a fresh coat of paint.
Materials You Need
- Old or inexpensive frame
- Sandpaper
- Primer, paint, stain, or spray paint
- Decorative items such as beads, shells, buttons, fabric, rope, or paper
- Glue or hot glue
- New mat board if needed
- Photo-safe backing materials
How to Make It
Remove the glass, backing, and old photo or print. Clean the frame thoroughly. If the surface is glossy, sand it lightly so paint or glue will stick better. Apply primer if you are changing from a dark color to a light color, or if the frame surface is slick.
Paint the frame in a color that complements your photo and room decor. White, black, walnut, and natural wood tones are timeless. Bright colors work well for playful spaces, kids’ rooms, gallery walls, and black-and-white photos that need a little personality. If you want texture, wrap the frame in jute rope, fabric strips, or decorative paper. If you want a coastal look, glue small shells around the corners. If you want glam, add metallic paint or small beads. If you want “grandma’s attic but make it fashion,” try antique gold wax over a dark painted base.
Replace damaged backing with foam board or hardboard. If the old mat is stained or acidic, swap it for an acid-free mat. Clean the glass before reassembling the frame. Insert the photo, secure the backing, and add new hanging hardware if the original hardware looks weak.
Why Upcycled Frames Work So Well
Upcycled frames are ideal for gallery walls because you can unify mismatched frames with one paint color or create an eclectic look with different finishes. They also let you experiment without much risk. If a $2 thrift-store frame turns out badly, you have not ruined a family treasure. You have simply created a learning opportunity with glue residue.
How to Choose the Best Frame-Making Method
The best method depends on your tools, time, and final purpose. Choose a wooden frame when you want a durable, polished result for long-term display. Pick cardboard when you need an affordable and fast craft. Use craft sticks for kids, gifts, and playful decor. Make a shadow box when the photo belongs with keepsakes. Upcycle an old frame when you want a stylish result with less measuring and cutting.
If the photo is valuable, sentimental, or old, think about preservation. Use acid-free mat board and backing whenever possible. Avoid regular tape directly on the photo. Keep framed pictures out of direct sunlight, high humidity, attics, basements, and areas near heat vents. Light damage can fade photos over time, and moisture can cause warping, mold, or sticking. A frame should protect your memory, not slowly turn it into a vintage mystery blob.
Common Mistakes to Avoid When Making a Photo Frame
Measuring Only Once
Measure at least twice before cutting. This applies to wood, cardboard, mat board, and backing. A frame that is too small will crop the photo awkwardly. A frame that is too large may let the picture slide around.
Using Too Much Glue
Glue is helpful. Glue puddles are not. Excess glue can wrinkle paper, stain fabric, or squeeze out around wooden miter joints. Apply a controlled amount and wipe away extra before it dries.
Ignoring the Back of the Frame
The front gets all the attention, but the back keeps everything secure. Use firm backing, strong hardware, and clean construction. A beautiful frame that falls off the wall at 2 a.m. is not charming. It is a household jump scare.
Skipping Dry Time
Paint, glue, and stain need time to cure. Rushing the process can lead to fingerprints, smears, shifting pieces, and decorations that quietly abandon the frame later.
Real-Life Experiences and Practical Lessons from Making Photo Frames
Anyone who has made a photo frame more than once learns the same lesson quickly: the frame is rarely just about the photo. It is about the room, the person receiving it, the memory behind it, and the patience level of the person holding the glue bottle. A simple 4×6 picture can become a heartfelt gift when it is framed in colors that match someone’s kitchen, decorated with shells from a beach trip, or paired with a handwritten date on the back. Handmade frames carry small imperfections, but those imperfections often make them feel warmer than something pulled from a store shelf.
One useful experience is to test your design on scrap material first. If you are painting wood, try the color on a leftover piece before covering the whole frame. Paint often looks different once it dries, especially on raw wood or cardboard. A soft beige can suddenly turn into “sad oatmeal,” while a bold blue can become brighter than expected. Testing first prevents regret, repainting, and dramatic sighing.
Another lesson is that matting can completely change the mood of a photo. A small picture in a wide mat can look modern and gallery-worthy. A colorful mat can make a black-and-white photo feel fresh. A narrow mat can keep the focus tight and traditional. When in doubt, choose a neutral mat and let the photo do most of the talking. But if the room needs color, the mat is a safer place to experiment than the frame itself.
For family projects, craft stick and cardboard frames are usually the most fun because they do not demand perfection. Kids can paint, glue, and decorate with confidence. Adults may need to surrender control over symmetry, but that is part of the charm. A child’s frame covered in uneven buttons and enthusiastic glitter often becomes more treasured than a flawless store-bought frame. The goal is not museum precision; the goal is a memory that makes people smile.
For adult DIY decor, upcycled frames are often the most satisfying. Taking an outdated frame and transforming it with paint, sanding, or new mat board gives instant results. A group of mismatched thrift frames can become a stylish gallery wall when painted the same color. This approach is budget-friendly and environmentally smart, and it allows you to build a collected look over time.
The final experience-based tip is to sign and date the back of handmade frames, especially if they are gifts. Add a short note about the photo, the occasion, or the materials used. Years later, that note may matter as much as the picture. A DIY photo frame is not just a border. It is a small handmade record of a moment, built to hold another moment. That is a lot of emotional responsibility for cardboard, sticks, or wood, but somehow, they manage beautifully.
Conclusion
Learning how to make a photo frame is one of the most rewarding DIY projects because it can be as simple or as refined as you want. You can build a classic wooden frame with mitered corners, make a quick cardboard frame from recycled materials, create a cheerful craft stick frame, design a meaningful shadow box, or transform an old frame into something fresh and stylish. Each method gives your photos a personal home and turns everyday memories into decor worth displaying.
The best DIY photo frame is not always the most expensive or technically perfect one. It is the one that fits the photo, suits your space, protects the memory, and makes you happy every time you walk past it. Measure carefully, choose safe materials for important photos, let glue and paint dry properly, and give yourself permission to have fun. After all, a handmade frame should hold a picture, not your stress level.