Mold and mildew are the uninvited roommates of the home: they do not pay rent, they love damp corners, and they somehow always show up right before guests arrive. Whether you have black spots creeping along bathroom grout, a musty smell in the basement, or powdery mildew on a shower curtain, the real goal is not simply to make the stain disappear. The goal is to remove the growth, dry the area completely, and fix the moisture problem so it does not return for an encore performance.
Learning how to clean mold and mildew safely starts with understanding what they need to survive. Mold and mildew thrive where there is moisture, poor airflow, and organic material such as dust, drywall paper, wood, fabric, or soap scum. That is why bathrooms, basements, laundry rooms, kitchens, window frames, crawl spaces, and areas around leaks are frequent trouble spots. The good news is that small patches on hard surfaces can often be cleaned with basic supplies. The not-so-good news is that large, hidden, flood-related, or recurring mold problems usually require professional help.
Mold vs. Mildew: What Is the Difference?
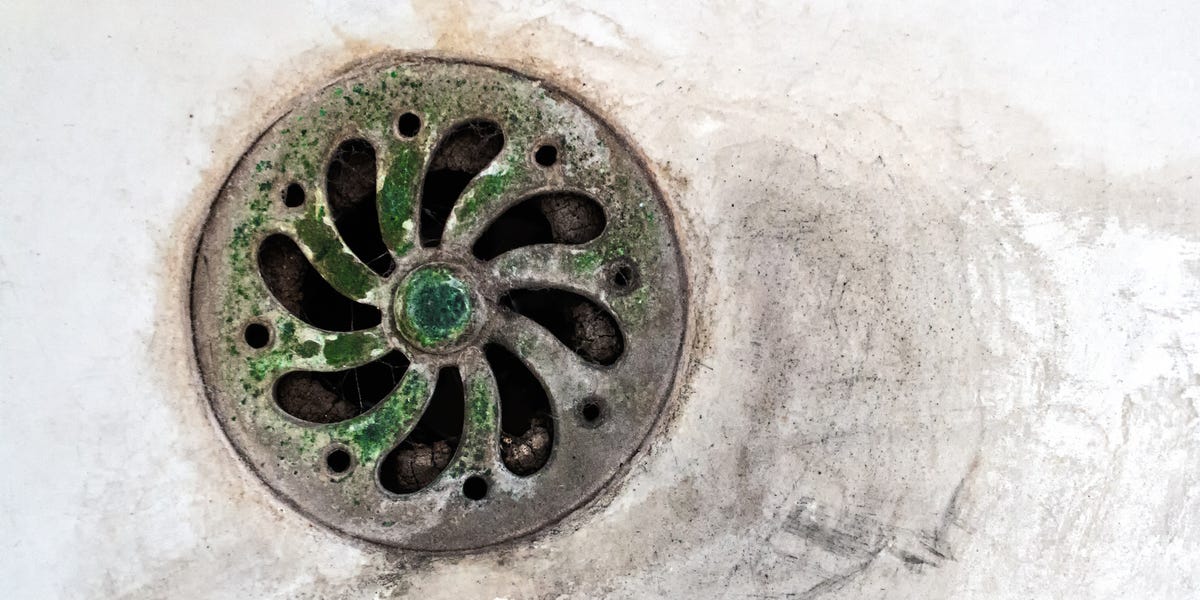
Mold and mildew are both fungi, but they tend to look and behave a little differently. Mildew usually appears as a flat, powdery, white, gray, or light-colored film. You may see it on shower curtains, tile grout, damp clothing, or outdoor cushions. Mold is often darker, fuzzier, or more irregular. It may appear black, green, brown, orange, or white, depending on the surface and the type of growth.
From a cleaning standpoint, the difference matters less than the moisture source. If you can see it or smell a musty odor, treat it as a moisture problem first and a cleaning problem second. Scrubbing without drying is like deleting a spam email without unsubscribing: it feels productive, but the problem will probably come back.
Before You Start: Safety Comes First
Before cleaning mold, protect yourself. Mold spores and cleaning products can irritate your eyes, skin, nose, throat, or lungs, especially if you have allergies, asthma, a weakened immune system, or other respiratory concerns. For small household cleanup jobs, wear rubber gloves, eye protection, old clothes or long sleeves, and a well-fitting mask or respirator when appropriate. Open windows and doors for ventilation, and avoid stirring up spores with aggressive dry brushing.
Never mix bleach with ammonia, vinegar, toilet bowl cleaner, or other cleaning products. That chemistry experiment belongs nowhere near your lungs. If you use bleach, use it only in a well-ventilated area and follow the label directions carefully. For many hard-surface mold jobs, detergent and water are enough to physically remove the growth. Disinfectants can help in certain situations, but killing mold is not the same as removing it. Dead mold particles can still cause reactions, so the visible growth must be scrubbed away and the area must be dried completely.
When You Can Clean Mold Yourself
You can usually handle a small mold or mildew patch yourself when it is limited to a hard, nonporous surface such as tile, glass, metal, sealed countertops, tubs, sinks, or plastic. Examples include mildew on bathroom grout, a small patch around a window, or surface mold on a washable shower curtain.
However, call a qualified mold remediation professional if the mold covers a large area, keeps returning, appears after flooding or sewage backup, is inside walls or HVAC systems, or affects porous materials such as drywall, insulation, ceiling tiles, carpet padding, or upholstered furniture. Also step back and get help if anyone in the home is highly sensitive to mold. There is no trophy for turning a cleanup job into a weekend respiratory adventure.
Supplies You May Need
For most small mold and mildew cleanup jobs, gather rubber gloves, safety goggles, a mask or respirator, microfiber cloths, a sponge, a stiff scrub brush, a bucket, dish detergent or mild household detergent, clean water, trash bags, and a fan or dehumidifier for drying. Depending on the surface, you may also use white vinegar, hydrogen peroxide, oxygen bleach, or a properly diluted household bleach solution. Always test cleaners on a small hidden area first, especially on fabric, wood, painted surfaces, stone, or colored grout.
How to Clean Mold and Mildew from Hard Surfaces
Step 1: Fix the Moisture Source
Before touching a scrub brush, find the water source. Look for plumbing leaks, roof leaks, condensation, poor ventilation, wet towels, damp storage boxes, or standing water. If the moisture problem continues, the mold will return. Mold cleanup without moisture control is basically home improvement theater.
Step 2: Ventilate the Area
Open windows and doors when weather allows. Turn on bathroom or kitchen exhaust fans if they vent outdoors. Avoid using fans in a way that blows spores from a moldy area into clean rooms. After the mold has been removed, fans and dehumidifiers can help dry the space faster.
Step 3: Wash with Detergent and Water
Mix warm water with a small amount of dish detergent or mild household cleaner. Scrub the moldy surface with a sponge or brush until the visible growth is gone. On rough surfaces such as concrete or textured tile, use a stiff brush. Collect dirty water with a sponge, mop, or wet/dry vacuum if needed.
Step 4: Rinse and Dry Completely
Rinse the cleaned area with clean water, then dry it thoroughly with towels. The drying step is not optional. Mold loves lingering moisture, and even a clean surface can become moldy again if it stays damp. Use a dehumidifier, open window, exhaust fan, or air conditioner to speed drying.
Step 5: Consider Disinfecting When Appropriate
For some nonporous surfaces, a disinfectant may be useful after cleaning. If you choose household bleach, a common disaster-cleanup dilution is no more than 1 cup of bleach per 1 gallon of water. Do not use bleach on porous materials, unsealed wood, natural stone, metals that can corrode, or colored fabrics unless the product label says it is safe. Keep the area ventilated, wear protection, and never mix bleach with other products.
How to Clean Mold in the Bathroom
Bathrooms are mold’s favorite spa: warm water, steam, soap residue, and poor ventilation. To clean mildew from tile and grout, spray or sponge on a detergent solution, let it sit briefly, then scrub with a grout brush. Rinse well and dry the surface. For stubborn grout stains, hydrogen peroxide or an oxygen-bleach cleaner may help brighten the area, but always test first.
For shower curtains and liners, check the care label. Many plastic liners and fabric curtains can be washed with towels to add scrubbing action. Use warm water and detergent, then hang the curtain fully open to dry. After every shower, spread the curtain or door open enough for airflow. A bunched-up curtain is basically a tiny mold greenhouse.
How to Clean Mold from Walls and Ceilings
Painted walls and ceilings require caution. If the surface is glossy or washable and the mold is minor, clean it gently with detergent and water, rinse with a damp cloth, and dry completely. Do not oversaturate drywall. If the wall is soft, bubbling, crumbling, stained from a leak, or smells musty even after cleaning, mold may be inside the material. In that case, replacement may be needed.
Never paint or caulk over mold. Paint may hide the problem temporarily, but it does not fix moisture or remove growth. Clean and dry the surface first, repair the water source, then repaint with a suitable primer and mildew-resistant paint if the area is prone to moisture.
How to Clean Mold from Wood
Solid wood can sometimes be cleaned if the mold is on the surface. Vacuum gently with a HEPA-filter vacuum if available, then wipe with a mild detergent solution. Avoid soaking the wood. Rinse with a barely damp cloth and dry immediately. For unfinished wood, mold can penetrate deeper, so staining may remain even after cleaning. Sanding moldy wood is risky because it can release spores; if sanding is necessary, use proper containment and respiratory protection, or hire a professional.
Wood furniture should be moved to a dry, ventilated area. Brush or vacuum loose growth carefully, clean with a mild solution, dry thoroughly, and condition the finish if appropriate. If the item smells musty after cleaning, keep drying and airing it out before bringing it back into regular use.
How to Handle Carpet, Upholstery, and Other Porous Materials
Porous materials are tricky because mold can grow into tiny spaces below the surface. Carpet, carpet padding, ceiling tiles, insulation, cardboard, mattresses, and upholstered furniture may need to be thrown away if they are moldy or stayed wet too long. Carpet padding is especially difficult to save because it acts like a sponge and dries slowly.
If a small area of carpet became damp but was dried quickly, clean it with a carpet-safe detergent, extract as much moisture as possible, and dry it fast with airflow and dehumidification. If the carpet smells musty, shows visible mold, or was affected by floodwater, replacement is often the safer choice. Sentimental or valuable upholstered items may be worth taking to a professional cleaner, but do not gamble with items that remain damp or smelly.
How to Clean Mold After Water Damage
Water damage changes the cleanup rules. If your home has been affected by flooding, stormwater, sewage, or major leaks, document the damage with photos before removing materials. Wear protective gear, avoid electrical hazards, and do not enter areas that may be structurally unsafe. Remove standing water if it is safe to do so, then move wet items out, tear out unsalvageable materials, clean hard surfaces, and dry everything thoroughly.
Porous materials that remain wet for more than a short period are more likely to support mold growth. After flooding, drywall, insulation, baseboards, carpet padding, and swollen particleboard often need removal. The priority is to dry the building quickly and safely. If the affected area is large, contaminated, or hidden behind walls, bring in trained remediation help.
Best Cleaners for Mold and Mildew
The best cleaner depends on the surface. Detergent and water are often the first choice for hard surfaces because scrubbing physically removes mold. White vinegar can help with mildew on some surfaces, though it should not be mixed with bleach and may damage natural stone. Hydrogen peroxide may help on grout or light-colored surfaces but can bleach fabrics or finishes. Oxygen bleach can be useful for washable fabrics and some outdoor materials. Commercial mold cleaners may work well, but choose products designed for your surface and follow the label exactly.
Bleach has a narrower role than many people think. It can disinfect nonporous surfaces, but it is not a magic wand for moldy drywall, wood, fabric, or carpet. It can also irritate airways and damage materials. Use it carefully, sparingly, and only where appropriate. In many cases, good old-fashioned scrubbing, rinsing, and drying do the heavy lifting.
How to Prevent Mold and Mildew from Coming Back
Prevention is the real victory lap. Keep indoor humidity below 60 percent, and ideally between 30 and 50 percent. Use a humidity meter if your home feels damp or smells musty. Run exhaust fans during and after showers, vent clothes dryers outdoors, repair leaks promptly, clean gutters, improve drainage around the foundation, and use a dehumidifier in damp basements.
In bathrooms, wipe down wet surfaces, wash bath mats regularly, and avoid leaving damp towels in a pile. In kitchens, check under sinks and around refrigerators or dishwashers for slow leaks. In basements, keep storage bins off the floor and choose plastic containers instead of cardboard. Around windows, dry condensation quickly and improve airflow. Mold prevention is not glamorous, but neither is sniffing a mystery smell behind the laundry room wall.
Common Mistakes to Avoid
Do not ignore the moisture source. Do not dry-scrape mold without protection. Do not mix cleaning chemicals. Do not assume air freshener fixes a musty odor. Do not paint over mold. Do not keep moldy porous materials just because they look “mostly fine.” And do not rely on bleach alone as your entire mold-cleaning strategy.
Another common mistake is over-testing and under-fixing. If you can see mold or smell mold, you already have enough information to act. Testing may be useful in special cases, but it should not replace fixing leaks, removing moldy materials, and drying the home.
Real-World Experience: What Actually Works When Cleaning Mold and Mildew
In real homes, mold cleanup is rarely as neat as a checklist. The first lesson is that your nose often notices the problem before your eyes do. A musty smell under a sink, behind a washing machine, or near a basement wall usually means moisture has been hanging around longer than it should. One practical habit is to investigate smells right away. Pull items out, check the wall, touch the flooring for dampness, and look for tiny clues such as water rings, peeling paint, warped trim, or dark dots along caulk lines.
The second lesson is that drying beats panic-scrubbing. Many people attack mold with the strongest cleaner they own, then walk away while the area stays damp. That is backward. Cleaning matters, but drying is what keeps mold from staging a comeback. After cleaning bathroom grout, for example, wipe the area dry and leave the door open. After cleaning under a sink, keep the cabinet open for a day and run a fan nearby if the material is damp. If you only remember one sentence, make it this one: mold hates dry, boring places.
For bathrooms, consistency wins. A weekly scrub of grout, a quick rinse of soap scum, and running the exhaust fan after showers can prevent the dramatic “why is my ceiling growing freckles?” moment. Replacing cracked caulk is also worth the effort. Mold often hides behind old caulk because water sneaks into gaps and stays there. Remove failed caulk, clean and dry the joint completely, then apply fresh bathroom-grade caulk.
For basements, a dehumidifier can be a game changer. Set it up with a drain hose if possible so you are not constantly emptying the bucket like it is a needy houseplant. Keep boxes, fabric, and furniture away from exterior walls where condensation may form. If you store seasonal items, use sealed plastic bins and label them clearly. Cardboard is cheap, but mold treats it like an all-you-can-eat buffet.
For closets, airflow is the underrated hero. Overpacked closets trap humidity and make clothing smell stale. Leave space between items, dry shoes before storing them, and avoid pushing furniture tight against cold exterior walls. If a closet repeatedly smells musty, empty it completely, inspect the back wall and baseboards, clean hard surfaces, and look for a leak or condensation issue.
One of the best habits is the “48-hour rule” mindset: dry wet materials quickly. A small leak under a sink may not seem urgent, but damp wood, paper, and dust can become a perfect mold habitat. The faster you dry the area and remove unsalvageable materials, the less likely you are to face a larger cleanup later.
Finally, know when to stop DIY-ing. Small mildew on tile is one thing. Mold behind drywall, inside HVAC ducts, after flooding, or across a large area is another. Professionals have containment methods, protective equipment, moisture meters, HEPA filtration, and removal procedures that most homeowners do not. Calling for help is not overreacting; it is protecting the home and everyone breathing inside it.
Conclusion
Cleaning mold and mildew is a three-part mission: remove the growth, dry the area completely, and eliminate the moisture source. Small patches on hard surfaces can often be handled with detergent, water, careful scrubbing, and good ventilation. Porous materials, hidden mold, flood damage, and recurring problems require more caution and often professional remediation. The cleaner your moisture habits, the less time you will spend negotiating with fuzzy bathroom corners.