If you have ever stared at a box of dye cream and thought, “How hard can this be?” the honest answer is: not that hard, as long as you do not freestyle like a reality-show contestant with a bathroom deadline. Dye cream can give you rich, even color at home, but great results usually come down to preparation, patience, and not treating the instruction leaflet like optional reading.
This guide walks you through exactly how to dye your hair with dye cream in 14 practical steps. You will learn how to prep your hair, apply the color evenly, avoid common mistakes, and keep your new shade looking glossy instead of gloomy. Whether you are covering grays, refreshing your usual color, or trying a subtle change, these steps can help you get salon-inspired results without turning your sink into modern art.
Note: This guide is for the hair on your scalp only. Never use hair dye cream on eyebrows or eyelashes. Always do the skin allergy test recommended in your kit 48 hours before every use, and stop immediately if you feel intense burning, swelling, or have trouble breathing.
What You Need Before You Start
- Dye cream kit or cream color plus developer
- Gloves
- Old towel or color cape
- Petroleum jelly or barrier cream
- Hair clips
- Wide-tooth comb
- Timer
- Mirror setup with good lighting
- Two boxes if your hair is very thick, curly, or past your shoulders
How to Dye Your Hair With Dye Cream: 14 Steps
Step 1: Choose the right shade for your starting point
Before you even twist open the bottle, pick a shade that makes sense for your current hair color. If you are coloring at home, small changes are usually the safest and prettiest. Think one to two shades darker or lighter, not “I woke up brunette and by lunch I am platinum.” If your hair is previously colored, very dark, heavily damaged, or you want a dramatic transformation, a salon is usually the smarter move.
Also choose the right formula for your goal. Permanent dye cream is best for long-lasting color and gray coverage. Demi-permanent is great for blending and tone refreshes. Semi-permanent is the low-commitment cousin that fades faster but asks less of your hair.
Step 2: Do the patch test 48 hours ahead
This is the step people skip right before they learn why they should not have skipped it. Hair dye can cause allergic reactions, even if you have used color before. Follow the patch-test directions in your kit exactly and do it 48 hours before application. If you notice redness, swelling, itching, or irritation, do not use the product.
Yes, it is annoying. Yes, it matters. No, “I used this brand in 2024” is not a medical clearance.
Step 3: Do a strand test if you want fewer surprises
A strand test is your sneak preview. It shows you how the color may actually turn out on your hair, not on the suspiciously cheerful model on the box. This is especially helpful if your hair is porous, highlighted, gray, or color-treated. A strand test can also help you judge processing time, which matters when you want rich color instead of accidentally entering your “too dark” era.
Step 4: Start with dry, detangled hair and a clean workspace
Most at-home color kits work best on dry, brushed-through hair unless the instructions say otherwise. Detangle first so the dye cream spreads evenly. You do not want to fight knots while wearing slippery gloves and holding a bottle that already looks judgmental.
Set up your bathroom or vanity before mixing anything. Cover surfaces, keep paper towels nearby, and put on an old shirt you do not mind sacrificing to the beauty gods.
Step 5: Protect your skin, clothes, and hairline
Dye cream belongs on your hair, not all over your forehead like a dramatic war stripe. Apply petroleum jelly or barrier cream around your hairline, ears, and the back of your neck. This helps prevent staining. Drape an old towel around your shoulders and put on gloves before handling the color.
If you are using a bowl-and-brush method instead of the applicator bottle from a boxed kit, use non-metal tools unless the product directions tell you otherwise.
Step 6: Section your hair before you mix the color
Sectioning is one of those boring steps that quietly saves the whole operation. Divide your hair into four workable sections: front left, front right, back left, and back right. Clip each one up. If your hair is very thick, make smaller subsections as you go.
This keeps the application organized and helps you avoid the classic DIY mistake of having one side beautifully colored and the other side somehow still living in the past.
Step 7: Mix the dye cream exactly as directed
Now open the kit and follow the instructions like they were written by someone who has seen things. Mix the color and developer only as directed. Do not combine different brands, guess at the ratios, or invent a “custom formula” because you feel creative. Hair color is chemistry, not soup.
Once mixed, use it promptly. Most formulas are designed to be applied right away for proper performance.
Step 8: Begin where your hair needs the most color
This part depends on your goal and your kit instructions. For gray coverage or root touch-ups, start at the roots where coverage matters most. For some all-over applications on virgin hair, directions may tell you to apply through the lengths first and roots later because roots process faster from scalp heat. The box instructions should always win that argument.
Use the bottle tip or brush to create neat partings and apply the dye cream in small rows. Work methodically, not like you are frosting a cake during an earthquake.
Step 9: Work section by section for even coverage
Release one section at a time and continue applying the dye cream from part line to part line. Keep your subsections small enough that you can fully coat the hair. Rushing with giant chunks often leads to patchiness, missed roots, and that awkward moment when the back of your head looks like it had a different plan.
If your hair is long or thick, this is where that second box earns its paycheck.
Step 10: Saturate the hair fully, but do not drown it
Even color needs even saturation. Every section should be coated thoroughly, especially at the roots, temples, and hairline where missed spots love to hide. Gently massage the dye through each section with gloved fingers if the directions allow it, but do not pile everything into a giant mystery bun too early.
The goal is coverage, not chaos.
Step 11: Set a timer and respect it
Once the application is complete, set a real timer. Not your internal clock. Not “I will just feel the vibe.” Follow the recommended processing time exactly. Leaving dye cream on longer does not usually give you bonus glamour points. It can make the color darker than expected, dry out the hair, or irritate the scalp.
During processing, avoid adding heat unless your product specifically instructs you to do so.
Step 12: Emulsify, then rinse thoroughly
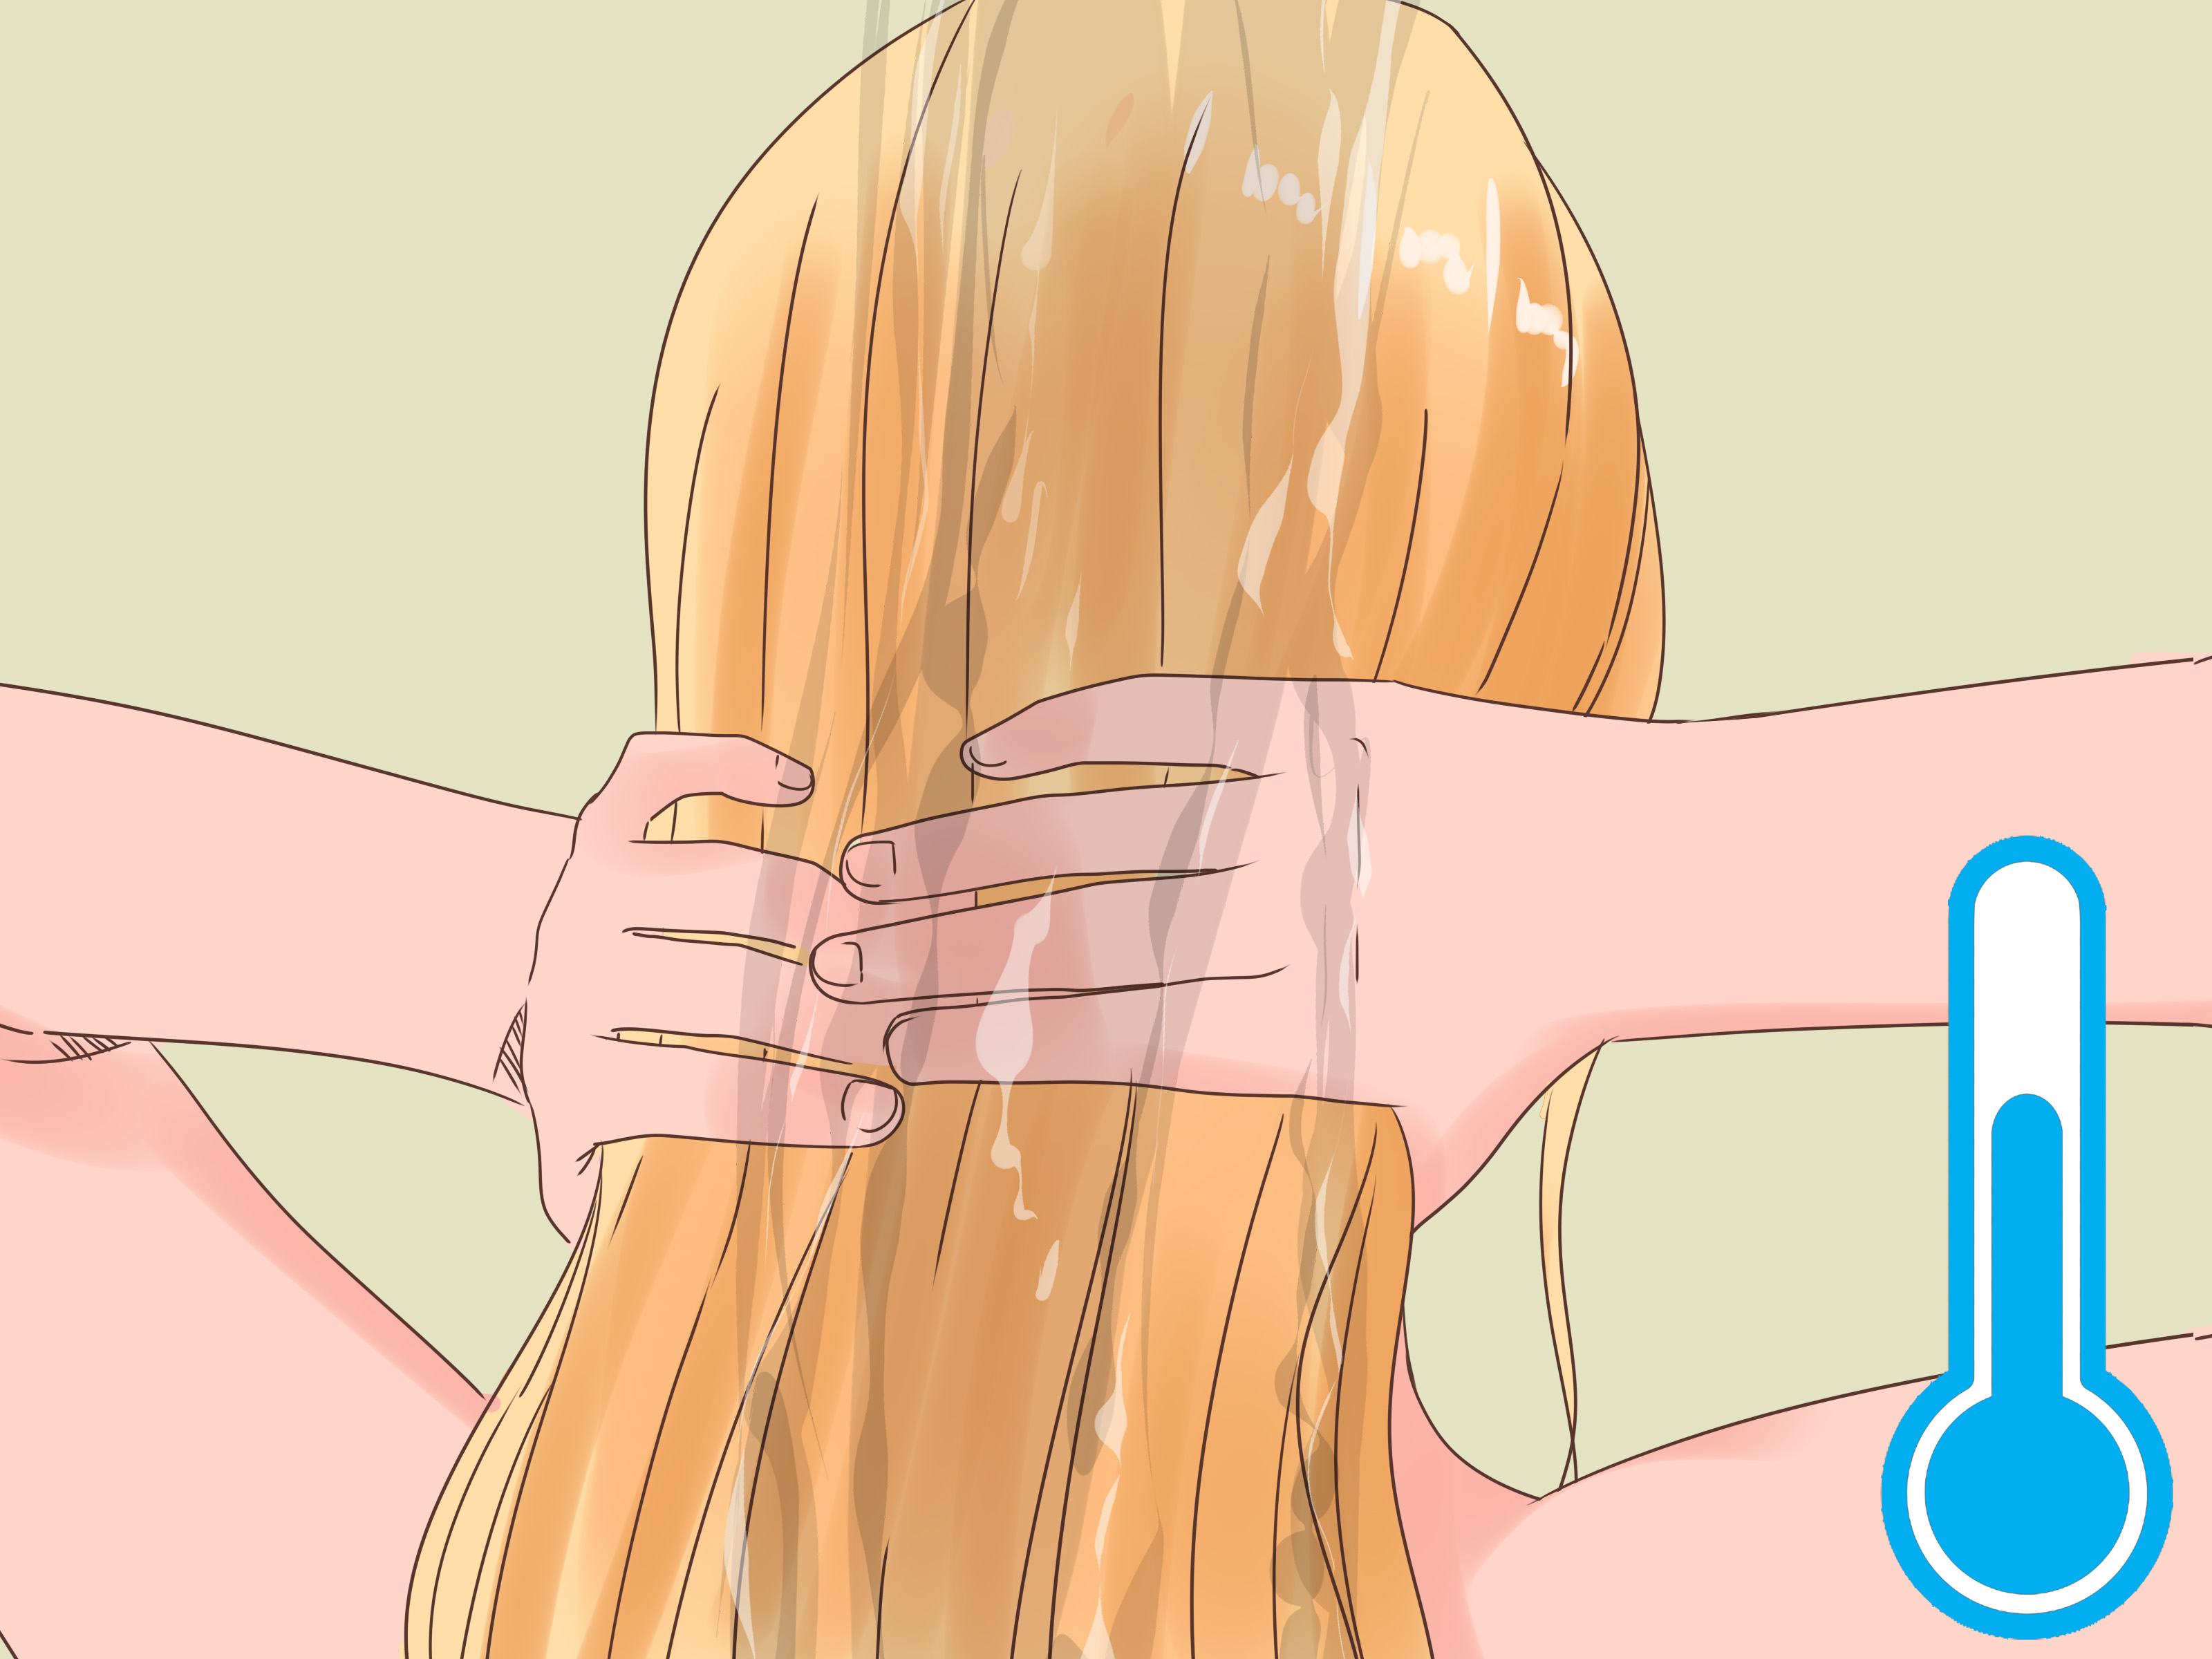
When the timer goes off, add a little warm water and gently massage the color around your scalp and hair for a few seconds. This helps loosen the formula and makes rinsing easier. Then rinse thoroughly until the water runs mostly clear.
Some kits include a post-color shampoo, while others tell you to skip shampoo and go straight to conditioner. Again, the included instructions are the boss here.
Step 13: Condition like you mean it
Most dye cream kits come with a post-color conditioner, and that little packet is doing important emotional labor. Use it. It helps smooth the cuticle, soften the hair, and add shine after coloring. Leave it on for the recommended time, then rinse well.
Once you are done, gently towel-dry your hair. Avoid aggressive rubbing unless frizz is part of your artistic vision.
Step 14: Protect your color for the next few weeks
Your job is not over just because the bathroom no longer looks like a science experiment. To keep your new shade looking fresh, use color-safe shampoo and conditioner, wash less often if possible, and go easy on scorching-hot tools. Dyed hair can also fade faster in the sun, so hats and UV-protective hair products are a smart move.
If your scalp feels irritated, keep things simple with gentle products. If you develop a rash, swelling, or prolonged burning after coloring, contact a medical professional.
Common Mistakes to Avoid When Using Dye Cream
- Skipping the patch test: The fastest route to regretting your life choices.
- Ignoring the instructions: Box color is not a wing-it activity.
- Using too little product: Uneven coverage loves a half-empty bottle.
- Choosing a wildly different shade: Major color jumps often need professional correction.
- Leaving it on too long: More time is not the same thing as better color.
- Dyeing an irritated scalp: If your scalp is scratched, sunburned, or inflamed, wait.
- Trying to color brows or lashes: Absolutely not.
When to Call a Professional Instead
At-home dye cream works beautifully for many people, but there are situations where a professional colorist is worth every penny. Book a salon appointment if you want to go much lighter, correct uneven color, remove dark dye, blend major banding, or work with heavily processed hair. The same goes for anyone whose hair has been through bleaching, perming, relaxing, or repeated color changes and now feels like it needs counseling.
Final Thoughts
Learning how to dye your hair with dye cream is part skill, part patience, and part resisting the urge to cut corners. The good news is that once you understand the process, home coloring becomes much less intimidating. Pick a realistic shade, prep carefully, apply methodically, and follow the timing instructions like your future selfies depend on it. Because, in a way, they do.
The real secret is not magic. It is consistency. When you patch test, section properly, saturate evenly, and care for your hair afterward, dye cream can deliver glossy, even, confidence-boosting color from the comfort of your own bathroom. And that is a beautiful thing, especially when you do not have to tip your shower curtain.
Real-Life Experiences With Dye Cream Hair Color
One reason people search for advice on how to dye their hair with dye cream is that the experience can feel very different from the neat, calm instructions printed on the box. In real life, people often start out excited, then nervous, then weirdly competitive with their bathroom mirror. That is normal. First-time users often say the most stressful part is not the color itself, but the fear of messing it up. Once they realize that sectioning the hair and working in small parts actually makes the process manageable, their confidence goes way up.
A common experience is underestimating how much product thick or long hair needs. Many people think one box will be enough, then reach the last section and realize they are trying to stretch the final teaspoon of color like it is a national resource. That usually leads to uneven results, especially in the back. People who get the best outcome often say the same thing afterward: buy extra product before you start, even if you end up not needing it.
Another very relatable moment happens during processing time. Once the dye cream is on, every minute feels suspicious. Some people panic because the color looks too dark while it is sitting on the hair. Others are convinced nothing is happening at all. Then they rinse, dry, and realize the shade is usually much more normal than it looked mid-process. This is why experienced at-home color users preach the gospel of “trust the timer.” Dye can look dramatic while developing and still finish beautifully.
Gray coverage also creates its own set of experiences. People covering resistant grays often find that the temples, hairline, and part line need the most careful attention. Those areas can be stubborn, so applying enough product there makes a big difference. Many users say their results improved once they stopped rushing and started giving those spots proper saturation instead of a quick swipe and a hopeful prayer.
Then there is the cleanup experience, which deserves its own award category. Plenty of people say the smartest thing they ever did was put petroleum jelly around the hairline and wear an old shirt. The people who skip that step often spend the next twenty minutes scrubbing their forehead and questioning their choices. In other words, the glamorous part of hair coloring begins after the protective prep.
Some of the most positive stories come from people who turned home hair color into a routine instead of a crisis. They set up their tools, test the color ahead of time, use clips, follow the same order every time, and do not experiment when they are tired. That routine removes a lot of the stress. The process starts to feel less like a gamble and more like a skill.
Overall, the real experience of using dye cream at home is usually a mix of nerves, focus, and a little mess, followed by relief and excitement once the hair is dry and shiny. It is not always perfect on the first try, but careful application and realistic expectations go a long way. Most people do not need to be fearless to color their hair successfully. They just need to be prepared, patient, and willing to respect the instructions instead of treating them like decorative packaging literature.