If you’ve ever watched a teenager convincingly play a 70-year-old on stage, you already know the secret: it’s not “more makeup.” It’s smarter makeup. Old-age stage makeup is basically optical illusion plus a little bit of artistic audacitylike drawing a roadmap of gravity on someone’s face (politely, of course).
This guide walks you through a practical, theatre-friendly method for aging a face using classic highlight-and-shadow techniques, texture, and a few strategic “life happened” details (age spots, dullness, thinning brows, and that neck that refuses to cooperate). You’ll get 14 clear steps, plus troubleshooting tips, examples, and a longer “real-world experiences” section at the endbecause the stage is a wonderful place where sweat exists solely to ruin your work.
Before You Start: What Makes a Face Look Older on Stage?
On stage, audiences don’t see poresthey see contrast. Aging makeup works best when you build believable structure:
- Volume loss: Cheeks, temples, and under-eyes appear more hollow. Jowls and neck shadows become more pronounced.
- Wrinkles: Wrinkles aren’t single lines. They’re tiny shadow + highlight pairs that trick the eye into seeing depth.
- Texture: Mature skin often reads as drier, more uneven, and less reflective under strong lights.
- Color shifts: Less “fresh pink,” more muted or sallow tones; sometimes visible veins, redness, or pigmentation.
What You’ll Need
You can do this with a basic theatrical makeup kit. If you’re shopping or building a kit, aim for these essentials:
- Foundation/base (cream foundation works well for stage)
- Highlight color (1–2 shades lighter than base)
- Shadow/contour color (a cool-toned taupe/brown or character shadow)
- Translucent setting powder (and a powder puff)
- Fine brushes (liner brush + small flat/round brush)
- Sponges (smooth wedge + stipple sponge)
- Optional: wrinkle stipple, liquid latex (patch test!), alcohol-activated palette for spots, setting spray, grey/white hair color or hair powder
Safety note: If you’re using latex, adhesives, or alcohol-activated products, patch test first and keep products away from eyes and lips unless they’re designed for those areas.
How to Apply Stage Makeup to Look Old: 14 Steps
-
Step 1: Choose the Character’s “Age Story” (Not Just a Number)
“Old” is not one look. Decide: Are they a healthy 60-year-old professor, an exhausted 80-year-old farmer, or a spry 70-year-old who still power-walks like it’s an Olympic sport? This affects everythingcolor, depth, and where wrinkles land.
Quick example: A 65-year-old character might have deeper nasolabial folds and crow’s feet but still decent cheek volume. An 85-year-old character likely needs more hollowing at temples/cheeks and stronger neck definition.
-
Step 2: Gather Reference Photos and Map “Wrinkle Zones”
Use 2–3 reference photos of real faces in similar age range and expression. You’re not copying one personyou’re learning patterns: forehead lines, crow’s feet, smile lines, lip lines, and neck creases.
Pro tip: Ask the actor to make expressions (smile, squint, frown). Natural lines appear where the face folds. Those are your most believable wrinkle placements.
-
Step 3: Prep Skin Like You Actually Want the Makeup to Stay
Clean skin, light moisturizer (especially on dry skin), and let it absorb. If skin is oily, use a light mattifying primer. Secure hair away from the face. If you’re aging the neck/hands, prep those toostage lighting loves to expose “forgotten zones.”
-
Step 4: Apply a Natural Base (Then Quietly Remove the Youth)
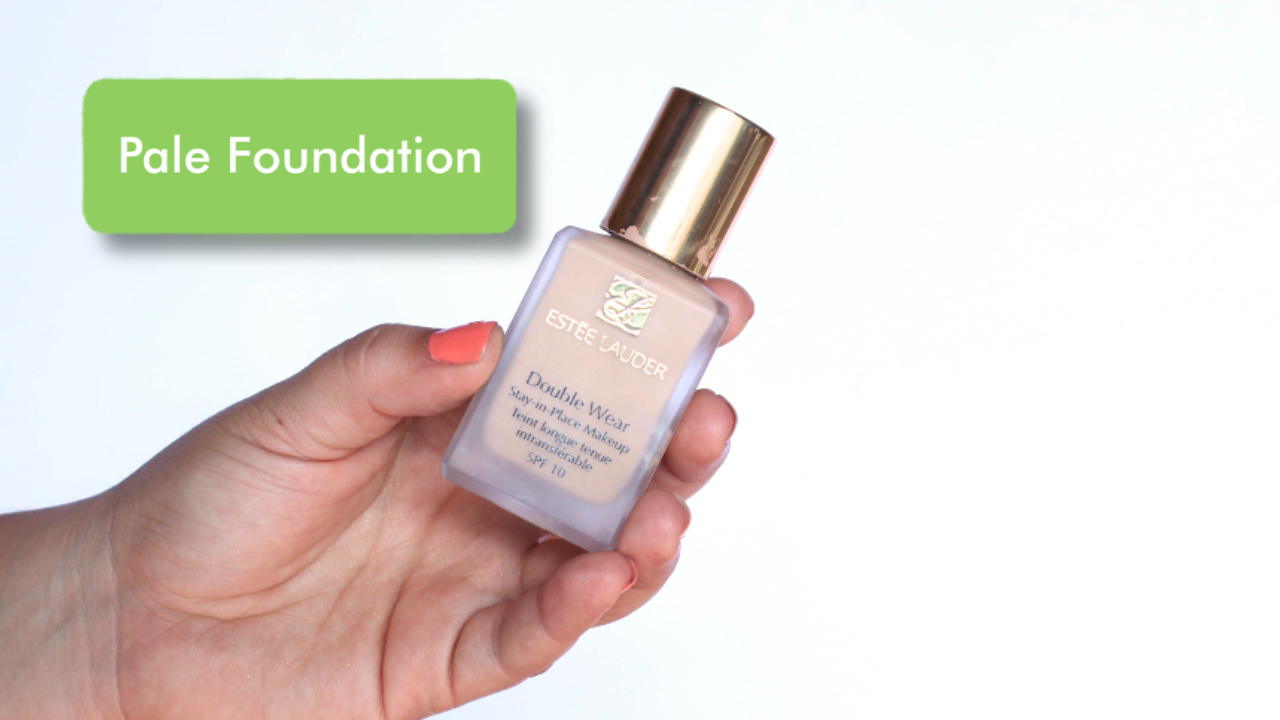
Use a foundation close to the actor’s skin tone, then subtly adjust the “health level.” For older characters, a slightly more muted base often reads better than a fresh, rosy finish. Apply evenly across face, ears, jawline, and down the neck.
Stage logic: A smooth, even base gives you a clean canvas so highlights and shadows look intentionalnot like you lost a fight with a mud puddle.
-
Step 5: Set the Base (Because Gravity Isn’t the Only Problem)
Powder the face thoroughly. Stage aging involves layering, blending, and sometimes stippling. If you skip powder, creams can smear into an accidental “modern dewy” lookgreat for skincare ads, not for Grandpa’s monologue.
-
Step 6: Add Structural Shadows (Hollow What Time Would Hollow)
Using a cool-toned shadow/contour, deepen areas that recede with age:
- Temples (gentle hollowing)
- Under cheekbones (but keep it naturalavoid “Instagram contour”)
- Sides of nose and under nose
- Under lower lip (subtle depth)
- Jawline/jowls (soft shadow beneath to suggest sag)
- Under the chin and along neck tendons
Blend rule: Shadows should fade naturally. Harsh blocks read as dirt or bruising unless that’s your character’s vibe (and even then, be deliberate).
-
Step 7: Place Highlights Where Skin “Catches Light”
Highlight the high points: tops of cheekbones (not the apples), the forehead planes, bridge of nose (subtle), top of chin, and the ridge above brows. Highlights help sell volume loss because the contrast makes hollowed shadows look deeper.
Important: Keep highlights matte or softly satin. A shiny highlight makes the actor look youthful, not weathered.
-
Step 8: Draw Primary Wrinkles Using the Shadow-Then-Highlight Trick
This is the core technique: wrinkles are created by pairing a thin shadow line with a thin highlight line, blended in opposite directions to create depth.
- Forehead: horizontal lines (don’t stack them evenlynature is messy)
- Crow’s feet: fan outward from the outer eye
- Nasolabial folds: from the sides of the nose down toward corners of mouth
- Mouth lines: small vertical lines above top lip (carefulless is more)
- Neck: horizontal creases, crossing vertical tendon shadows
Blending cue: Keep one edge sharper and the other softer so the wrinkle reads as a fold, not a marker line.
-
Step 9: Add Secondary Lines (The Ones That Make It Believable)
After the “big” wrinkles, add smaller supporting details:
- Light lines at the corners of the mouth
- Soft under-eye creases (avoid heavy dark lines under the eye unless the character is ill or exhausted)
- Fine lines on the neck and around the jaw
Reality check: Too many lines in the same intensity makes the face look like crumpled paper. Vary thickness and depth.
-
Step 10: Create Age Spots, Discoloration, and Veins (Tastefully)
Age spots work best when they’re translucent and irregular. Use a reddish-brown or muted brown and tap with a sponge so edges are soft. Add a few subtle “broken capillary” hints around nose or cheeks if it fits the character.
Veins: Mix a tiny bit of blue into a base tone and lightly trace very soft lines on temples or hands. Then blur. Veins should whisper, not shout.
-
Step 11: Add Texture with Stippling (Instant “Older Skin” Energy)
To break up smoothness, stipple lightly using a stipple sponge and a slightly darker or greyer tone than the base. Concentrate on:
- Cheeks (outer area)
- Forehead edges
- Jawline and neck
Optional advanced method: Wrinkle stipple or thin latex stipple can create fine crepey texture. Use sparingly, and only if the actor’s skin tolerates it.
-
Step 12: Age the Eyes and Brows (Without Making Them Look “Scary Tired”)
For eyes, add a soft shadow in the crease and under the brow bone. For older characters, brows may look thinner or lighter. You can:
- Lightly powder brows with grey/taupe
- Fill with small, hair-like strokes instead of a bold brow
- Add a tiny highlight above the crow’s feet to sharpen the wrinkle illusion
Do not: Add heavy dark circles unless the script calls for illness, sleeplessness, or stress. “Old” is not automatically “zombie.”
-
Step 13: Don’t Forget Ears, Hairline, Neck, and Hands
Stage lights expose everything. If the face reads 80 but the neck and ears read 17, the audience will noticeeven if they don’t know why they know.
- Extend base and shadows into the hairline
- Add a soft shadow under the ear and around ear contours
- Repeat a few neck creases and tendon shadows
- If hands are visible, add subtle veins and slightly dull the tone
-
Step 14: Set, Light-Test, Adjust, and Photograph
Powder again, then do a quick lighting test (or at least a bright bathroom-light test). If you’re in a larger venue, you may need stronger contrast so wrinkles don’t vanish from row 12. Take a photo from 10–15 feet away. If it reads clearly on camera, it usually reads on stage.
Final step: Make peace with the fact that you’ll tweak it after the first rehearsal. That’s not failurethat’s theatre.
Common Mistakes (and How to Fix Them Fast)
Mistake 1: Wrinkles look like drawn lines
Fix: Add highlight, then blend so one edge stays slightly sharper and the other fades. Wrinkles need dimensional “lift,” not just ink.
Mistake 2: The face looks dirty or bruised
Fix: Use cooler, controlled shadows (taupe/grey-brown) and blend thoroughly. If you used a warm brown, soften it with base color and powder.
Mistake 3: It disappears on stage
Fix: Increase contrastslightly deeper shadows and slightly brighter highlights. Stage lighting flattens faces.
Mistake 4: The actor looks “older” but not “real”
Fix: Add subtle asymmetry, small discolorations, and texture. Perfectly symmetrical wrinkles can feel artificial.
Mini Example: Aging a Teen Actor into a Believable 70-Year-Old
Here’s a simple blueprint that works in many productions:
- Base: neutral foundation, lightly muted with a touch of cool tone
- Structure: temple hollows + cheek hollowing + jowl shadow
- Wrinkles: 3–4 forehead lines, crow’s feet, nasolabial folds, a few lip lines
- Texture: light stipple on cheeks and jawline
- Details: 3–5 faint age spots, softened edges
- Finish: powder, light-test, deepen lines slightly if the venue is large
Removing Old-Age Makeup (So You Don’t Take Grandpa Home With You)
Use an oil-based remover or cleansing balm to break down cream products, then cleanse normally. If you used latex, remove gently with appropriate remover and never rip it off. Moisturize afterstage makeup is a workout for skin.
Conclusion
Old-age stage makeup is less about “painting wrinkles” and more about building a believable face architectureshadows where volume has receded, highlights where light would catch, and small human details that suggest time. Start with clean structure, add wrinkles using the shadow-and-highlight pairing, then finish with texture and subtle discoloration. Test under stage lights, adjust for distance, and remember: the best aging makeup looks effortless… even if you had to redo one eyebrow three times to get there.
Backstage Experiences and Lessons (500+ Words of Real-World Tips)
In theatre, “old-age makeup” isn’t just a makeup lookit’s a logistics sport. Makeup artists and performers often discover that the most convincing application in a dressing-room mirror can fall apart the moment a performer hits warm stage lights, starts projecting, and begins sweating like the opening night audience is judging their pores personally. One of the most common lessons is that distance changes everything. A wrinkle that looks intense up close can read perfectly from mid-house, while a “subtle and tasteful” wrinkle can vanish completely. That’s why many stage teams do a quick camera test from 10–15 feet away and also check under the actual lighting plot during rehearsal. The goal isn’t to look like a high-definition close-up; the goal is to communicate age clearly to the audience.
Another frequent experience: the neck and hands are the giveaway. A face can be expertly aged, but if the neck is bare and smooth, the illusion weakens. Many productions solve this by extending the same base and shadow work down the neck, adding a few horizontal neck creases, and dusting a light texture stipple to reduce the “fresh skin” shine. If the character uses their hands expressively (which, honestly, most characters do), performers often add a minimal pass of veins and a slightly muted tone on the backs of handsnothing theatrical or cartoonish, just enough to keep the hands from looking like they belong to someone who still gets carded at the movies.
Teams also learn quickly that wrinkles need to move with the actor. If you place forehead lines too low or draw crow’s feet in a direction that fights the actor’s natural squint lines, the face can look “drawn on” when the actor speaks. A practical trick is to have the actor make the expressions they’ll use in charactersmile, squint, frownthen lightly mark where the skin naturally folds. Artists who follow the actor’s real wrinkle map tend to get a more convincing result, especially in dialogue-heavy scenes where facial movement is constant.
There’s also the classic lesson about powder and persistence. Stage makeup can smear when the actor hugs someone, wipes sweat, or gets a quick costume change. Many artists build in a “set checkpoint”: after the base and structure (shadows/highlights) go on, they powder thoroughly before starting wrinkles. Then they powder again after wrinkles and texture. This layering helps keep lines crisp and prevents the whole face from turning into one blended, ambiguous shade of “maybe older, maybe just stressed.”
Finally, seasoned theatre folks often recommend keeping an “emergency touch-up kit” nearby: a small shadow cream, a highlight, a liner brush, and powder. If a wrinkle fades mid-run, you don’t repaint the whole faceyou reinforce two or three key areas that sell age fastest: the nasolabial fold, crow’s feet, and one or two forehead lines. That’s usually enough for the audience to keep reading the character as older. In other words, backstage reality teaches a comforting truth: you don’t need perfection; you need clarity. The best stage aging makeup is the kind that survives the scene, supports the performance, and still lets the actor look like a human beingjust one who’s been around long enough to have stories.