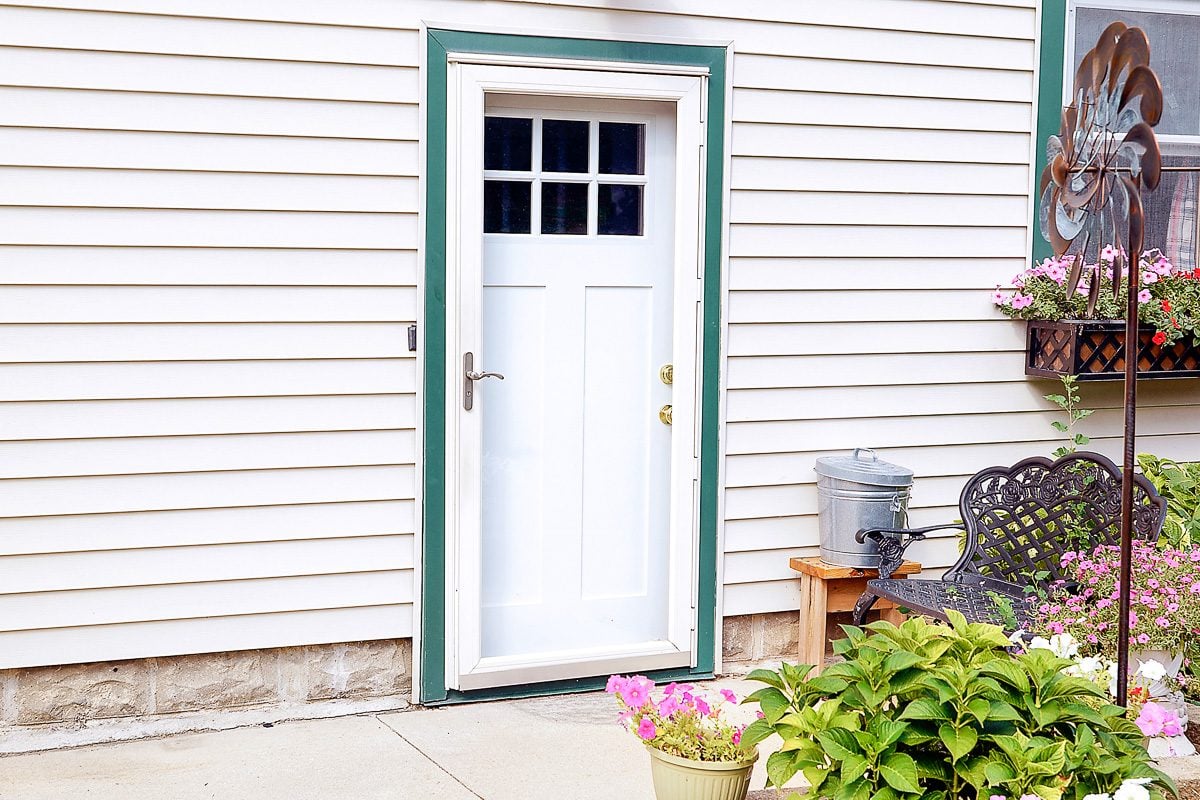
Replacing an exterior door looks intimidating because it involves several things homeowners would rather not disturb: locks, framing, siding, weatherproofing, and the invisible forces determined to blow rain into the living room. Fortunately, a standard prehung exterior door replacement is manageable for a careful DIYer. The secret is not extraordinary carpentry talent. It is accurate measuring, patient leveling, and resisting the urge to declare victory before the opening is properly flashed and sealed.
This guide explains how to replace an exterior door from the first measurement to the final bead of caulk. It focuses on a prehung door, which arrives attached to its own jamb and is generally easier to install than fitting a new door slab into an old frame.
Should You Replace the Door Slab or the Entire Unit?
A door slab is the swinging panel by itself. A prehung unit includes the slab, hinges, jambs, threshold, weatherstripping, and often predrilled openings for the lockset and deadbolt.
Replacing only the slab may work when the existing jamb is square, solid, correctly sized, and free of rot. The hinge positions and hardware holes must also match or be carefully transferred. This option preserves surrounding trim but requires precise fitting.
A prehung exterior door is usually the better DIY choice when the jamb is damaged, the threshold leaks, the door binds, or the opening has been patched repeatedly by previous owners armed with optimism and three different colors of caulk. Replacing the full unit allows you to correct alignment, install new weatherstripping, and create a continuous water-management system around the opening.
When to Call a Professional
Professional help is sensible when the opening contains extensive rot, termite damage, crumbling masonry, structural movement, unusual framing, or electrical wiring. You should also consider hiring an installer for oversized doors, double doors, sidelights, transoms, or major changes to the rough opening. A standard single prehung door is one thing; a twelve-foot glass entry system is essentially a wall that has learned to swing.
Choose the Right Exterior Door
Exterior doors are commonly made from fiberglass, steel, or wood. Each material has advantages, and none is automatically best for every house.
Fiberglass Doors
Fiberglass is durable, relatively low maintenance, and resistant to dents, rust, and seasonal movement. Many fiberglass doors have insulated cores and convincing wood-grain finishes. They are a practical choice for busy households and exposed entrances.
Steel Doors
Steel doors are strong, widely available, and often affordable. They can provide good thermal performance when properly weatherstripped and installed. Their main weaknesses are dents, scratches, and possible corrosion where the protective finish is damaged.
Wood Doors
Wood offers natural beauty and impressive design flexibility. It also demands more maintenance, particularly at entrances exposed to direct sun, wind-driven rain, or large humidity changes. A wood door should be sealed and finished according to its manufacturer’s instructions, including its top, bottom, and edges.
Understand Door Handing and Swing
Before ordering, identify whether the new door will swing inward or outward and whether the hinges will be on the left or right when viewed from the appropriate side. Retailers and manufacturers may describe handing differently, so confirm it using the ordering diagram instead of relying on memory.
Consider nearby walls, light switches, furniture, stairs, and storm doors. A beautifully installed door that opens into a coat rack is technically functional but socially awkward.
Measure Before Buying Anything
Accurate measurements are the foundation of a successful exterior door replacement. Measure the existing door slab, but do not stop there. You need enough information to select a unit that fits the structural opening and matches the wall thickness.
Record These Measurements
- The width and height of the existing door slab
- The outside dimensions of the existing jamb
- The width and height of the rough opening, when accessible
- The jamb depth from the interior wall surface to the exterior wall surface
- The width of exterior trim or brickmold
- The threshold height relative to the interior and exterior floors
- The door swing and hinge side
Remove a small section of interior casing if necessary to expose the edge of the jamb and framing. Measure the opening at the top, middle, and bottom for width, then at both sides for height. Use the smallest relevant dimensions when checking whether the new unit will fit.
The rough opening should normally provide a modest installation gap around the jamb for adjustment and shimming. Do not assume that every door labeled “36 inches” has identical frame dimensions. Check the manufacturer’s actual unit-size and rough-opening requirements before purchasing.
Tools and Materials for DIY Exterior Door Replacement
Gather everything before removing the old door. Once the entrance becomes a large rectangular hole, trips to the hardware store become noticeably more urgent.
Recommended Tools
- Tape measure and pencil
- Four-foot level
- Framing square
- Drill or impact driver with suitable bits
- Utility knife
- Hammer and nail set
- Flat pry bar
- Reciprocating saw with a demolition blade
- Caulk gun
- Putty knife or small scraper
- Safety glasses, gloves, and hearing protection
Recommended Materials
- Correctly sized prehung exterior door
- Composite or cedar shims
- Manufacturer-approved exterior screws
- Sill-pan flashing or formable flashing membrane
- Compatible exterior window-and-door sealant
- Low-expansion window-and-door foam
- Flashing tape, when required by the installation system
- Backer rod for larger exterior joints
- Interior and exterior trim as needed
- Primer, paint, or stain appropriate for the door
How to Replace an Exterior Door Step by Step
1. Inspect the New Door
Before demolition, inspect the new unit for shipping damage. Confirm its size, swing, handing, jamb depth, threshold, glass pattern, and hardware preparation. Place it near the opening and read the installation instructions supplied by the manufacturer.
Those instructions take priority over generic advice because fastening patterns, sealants, flashing requirements, and warranty conditions vary among door systems.
2. Remove the Old Door Slab
Protect the floor with cardboard, plywood, or a heavy drop cloth. Remove the hinge pins, starting at the bottom and working upward while a helper supports the door. Lift the slab away and place it somewhere safe.
Remove the lockset, deadbolt, storm-door hardware, alarm sensors, or other components that might interfere with demolition.
3. Carefully Remove the Trim
Score painted or caulked joints with a utility knife. Use a wide putty knife behind the pry bar to reduce damage to drywall or siding. Remove the interior casing and exterior brickmold if they are not attached to the replacement unit.
Label reusable pieces as you remove them. A tiny pencil mark such as “top inside” can save twenty minutes of rotating trim later while pretending you are solving a sophisticated puzzle.
4. Cut the Existing Fasteners
Look between the old jamb and rough framing for nails, screws, or shims. A reciprocating saw can cut through many concealed fasteners. Work carefully around wiring, alarm cables, finished flooring, and exterior cladding.
Once the jamb is free, tilt or pry the old frame out of the opening. Prehung units can be heavy, so use a helper instead of attempting an improvised strength competition.
5. Inspect and Repair the Rough Opening
Remove loose insulation, old sealant, protruding nails, and debris. Examine the subfloor, sill, jack studs, and header for staining, softness, mold, or insect damage. Probe suspicious wood with a screwdriver.
Minor surface damage may be repairable, but structural rot must be removed and replaced. Do not cover damp or weakened framing with a new door. That merely gives the problem a more attractive front entrance.
Check the sill for level and the side framing for plumb. Measure both diagonals to evaluate whether the opening is square. Small irregularities can be corrected with shims. Major discrepancies may require reframing.
6. Build a Water-Resistant Sill
The sill is one of the most important parts of an exterior door installation. Water reaching the threshold must be directed toward the exterior rather than into the subfloor and wall cavity.
Install a preformed sill pan or create one with manufacturer-approved flashing membrane. The pan should include end dams at the sides and a back dam toward the interior. Ideally, the assembly slopes slightly outward and integrates with the home’s water-resistive barrier.
Follow the flashing manufacturer’s requirements for surface preparation, overlaps, corner treatment, and compatible sealants. Do not block intended drainage paths by sealing every possible opening. Good water management gives incidental moisture a controlled route back outside.
7. Dry-Fit the New Door
With a helper, place the prehung unit in the opening without final sealant. Center it and verify that the threshold sits correctly, the exterior trim fits the wall, and the jamb does not project too far inside or outside.
Check the top clearance, floor transition, and door swing. Confirm that the unit can be leveled without excessive shimming. Remove the door after the dry fit and correct any problem before continuing.
8. Apply Sealant Beneath the Threshold
Apply the sealant pattern required by the door and sill-pan manufacturers. Many installations use continuous beads beneath the threshold or along designated portions of the pan. Use a product approved for exterior doors and compatible with the flashing materials.
A generous bead is useful; a chaotic mountain range of sealant is not. The goal is continuous contact without creating lumps that prevent the sill from sitting flat.
9. Set and Temporarily Secure the Door
Place the unit into the opening, setting the threshold first and tipping the top inward. Center the frame. Install one temporary fastener near the top of the hinge jamb while leaving it loose enough for adjustment.
Check the threshold for level. Correct it with durable, noncompressible support where permitted by the manufacturer. The sill must be fully supported because repeated foot traffic can flex an unsupported threshold and break its seal.
10. Plumb and Fasten the Hinge Jamb
Start with the hinge side because it controls the door’s swing. Place paired shims behind each hinge location. Adjust them until the jamb is perfectly plumb in both directions.
Install approved screws through the jamb and shims into solid framing. Some systems require long screws through one or more hinges. Do not overtighten the fasteners, which can bow the jamb and create a door that behaves as though gravity has developed a personal grudge.
Recheck plumb after every major adjustment. A small movement at the jamb can produce a noticeable change at the latch edge.
11. Adjust the Head and Latch Jambs
Close the door and examine the reveal, the narrow gap between the slab and frame. It should appear even across the top and along both sides. Shim the latch jamb behind the strike area and at additional fastening locations specified by the manufacturer.
Confirm that the door closes without rubbing, remains where placed when partly open, and contacts the weatherstripping evenly. The latch and deadbolt should enter their strike plates without requiring you to lift, shove, or negotiate with the door.
12. Complete the Fastening
Install the remaining jamb fasteners through shims and into framing. Trim protruding shims with a utility knife or oscillating tool. Avoid driving nails or screws where they could interfere with weatherstripping, hardware, or trim.
Test the door repeatedly during this stage. Waiting until every screw is tight before checking the swing is an efficient way to practice removing screws.
13. Air-Seal Around the Jamb
Fill the gap between the jamb and rough framing with low-expansion foam labeled for windows and doors. Apply it in controlled amounts. Standard high-expansion foam can exert enough pressure to bow a jamb.
Backer rod and compatible sealant may be appropriate for certain joints. The objective is to create a continuous interior air seal while preserving the exterior drainage strategy.
14. Flash and Caulk the Exterior
Integrate the jamb and head flashing with the wall’s drainage layer according to the door, flashing, siding, and house-wrap instructions. Flashing components should generally overlap in shingle fashion so water flows downward and outward.
Seal the exterior trim where required, but avoid blocking drainage openings beneath the sill. For wide joints, install backer rod before caulking. Tool the bead so it adheres to both sides and sheds water rather than collecting it.
15. Install Hardware and Trim
Install the lockset, deadbolt, strike plates, and any reinforcement hardware. Use long structural screws where the hardware manufacturer calls for them. Confirm that screws penetrate solid framing without distorting the jamb.
Reinstall or replace interior casing and exterior trim. Fill fastener holes, caulk appropriate trim joints, and touch up the finish.
16. Finish and Inspect the Door
Paint, stain, or seal the door within the manufacturer’s required time. Pay special attention to exposed edges and any surfaces altered during installation. Maintain required clearances and avoid painting flexible weatherstripping.
Finally, spray the exterior gently with a garden hose while someone checks inside. Do not use a pressure washer, which can force water through assemblies that would resist normal weather. Inspect the threshold, corners, jambs, and head for leakage.
Common Exterior Door Replacement Mistakes
Ordering from the Slab Measurement Alone
The slab size does not reveal the full dimensions of the prehung unit, jamb depth, trim configuration, or rough opening. Measure the complete assembly and verify the manufacturer’s specifications.
Skipping the Sill Pan
Caulk beneath the threshold is not a complete drainage system. Sealant can age, separate, or develop gaps. A properly integrated sill pan provides backup protection when water gets past the primary seal.
Following a Crooked Opening
The new jamb must be installed level, plumb, and square even when the old framing is not. Shims bridge the irregular space between the accurate door frame and the imperfect house.
Using the Wrong Foam
High-expansion foam can bow jambs and interfere with door operation. Use low-expansion foam specifically labeled for windows and doors.
Overdriving Fasteners
A screw can pull the jamb out of alignment long before it looks excessively tight. Drive fasteners gradually, watch the reveal, and stop when the frame is secure.
Ignoring the Manufacturer’s Instructions
Installation requirements affect performance and warranty coverage. The generic sequence may be similar among doors, but approved sealants, screw locations, finishing deadlines, and flashing details can differ.
How to Improve Energy Efficiency
A new exterior door cannot perform well if air moves freely around its frame. The door should include intact weatherstripping, a properly adjusted threshold, sealed jamb-to-framing gaps, and continuous exterior water protection.
When shopping, compare labeled energy-performance information and select a door appropriate for your climate. Glass inserts can brighten an entry but may affect thermal performance. Multiple panes, low-emissivity coatings, insulated frames, and quality edge seals can improve efficiency.
After installation, close the door on a dollar bill at several points around the perimeter. You should feel moderate resistance when pulling it out. Areas with little resistance may need weatherstrip or threshold adjustment. The goal is consistent compression, not a door that requires a running start to close.
Real-World DIY Experiences and Lessons Learned
The most useful exterior door replacement lessons often appear after the tools come out. The project may look like a simple exchangeold rectangle out, new rectangle inbut houses have a talent for preserving decades of improvised repairs behind their trim.
Experience 1: The Opening Is Rarely as Square as It Looks
A common first-time mistake is assuming that the old door proves the opening is correct. In reality, an old jamb may have been trimmed, twisted, or gradually shifted to match settled framing. Once it is removed, the rough opening can reveal a leaning hinge stud or a sill that drops noticeably toward one corner.
The practical lesson is to budget time for correction. Dry-fit the new unit and use a long level rather than trusting short measurements. Establish the hinge jamb first, then shape the rest of the installation around that reliable vertical line. When the hinge side is wrong, every later adjustment becomes harder.
Experience 2: Water Damage Usually Starts Small
During removal, a dark spot near the threshold may initially look cosmetic. Probing it can reveal soft subfloor extending farther than expected. This is why experienced installers do not rush from demolition to installation. They pause, clean the opening, and inspect every corner.
Small damaged sections may be repaired before the new sill pan is installed. More serious deterioration requires structural replacement. Covering damaged wood saves an hour today and creates a much larger repair later. The new door should sit on a sound, dry, fully supported base.
Experience 3: A Helper Is More Valuable Than Another Power Tool
Prehung exterior doors are awkward rather than merely heavy. The threshold wants to slide, the top wants to tip, and the frame can rack while being moved. One person can technically wrestle some units into place, but a second person makes dry-fitting, plumbing, and fastening much safer.
The best division of labor is simple: one person stabilizes the unit and watches the exterior alignment while the other checks level, adjusts shims, and installs temporary screws. Clear communication matters more than strength. “Move it slightly” is vague; “move the top toward me one-eighth inch” prevents domestic renovation diplomacy from collapsing.
Experience 4: Shims Work Best in Pairs
Using opposing shims allows fine adjustment while keeping the jamb supported across its depth. A single wedge can twist the frame or leave part of the jamb unsupported. Place pairs behind hinges, the strike plate, and specified fastening points.
Make small adjustments and repeatedly close the door. The reveal is an excellent diagnostic tool. A narrow gap at the top of the latch side, for example, may indicate that the unit is out of square or that the hinge jamb needs correction. Read the gaps before randomly moving shims.
Experience 5: Do Not Let the Clock Control the Installation
Many DIY problems begin late in the day when the old door is gone and the new unit is not cooperating. Choose a dry day, start early, and prepare a temporary covering in case the opening must remain protected. Verify all materials before demolition, including flashing, sealant, screws, foam, trim, and hardware.
A careful exterior door replacement may take most of a day, especially when repairs are needed. Speed is less important than keeping the threshold supported, the hinge jamb plumb, the reveal even, and the opening weatherproof.
Experience 6: Final Adjustments Are Normal
Even after the frame is secured, the threshold, strike plates, and weatherstripping may need minor adjustments. Test the door from both sides. Lock and unlock it several times. Look for daylight, feel for drafts, and check whether the sweep drags excessively.
Reinspect the installation after several weeks and again after a major seasonal weather change. Wood framing can dry, swell, or settle. A small strike adjustment or hinge tightening is ordinary maintenance, not proof that the project failed.
Final Thoughts
DIY exterior door replacement becomes much simpler when treated as three connected jobs: fitting the unit, managing water, and stopping air leakage. A door that swings beautifully but leaks at the sill is unfinished. A perfectly sealed frame that is out of plumb will turn every arrival home into a shoulder workout.
Measure carefully, choose a correctly sized prehung unit, repair the rough opening, install a dependable sill pan, and establish a plumb hinge jamb before fastening the rest of the frame. Work slowly, check the reveal repeatedly, and follow the door manufacturer’s instructions.
Done properly, a replacement exterior door can improve security, comfort, energy efficiency, weather resistance, and curb appeal. It can also provide the quiet satisfaction of completing a project that every visitor will usealthough most will only comment on the paint color.