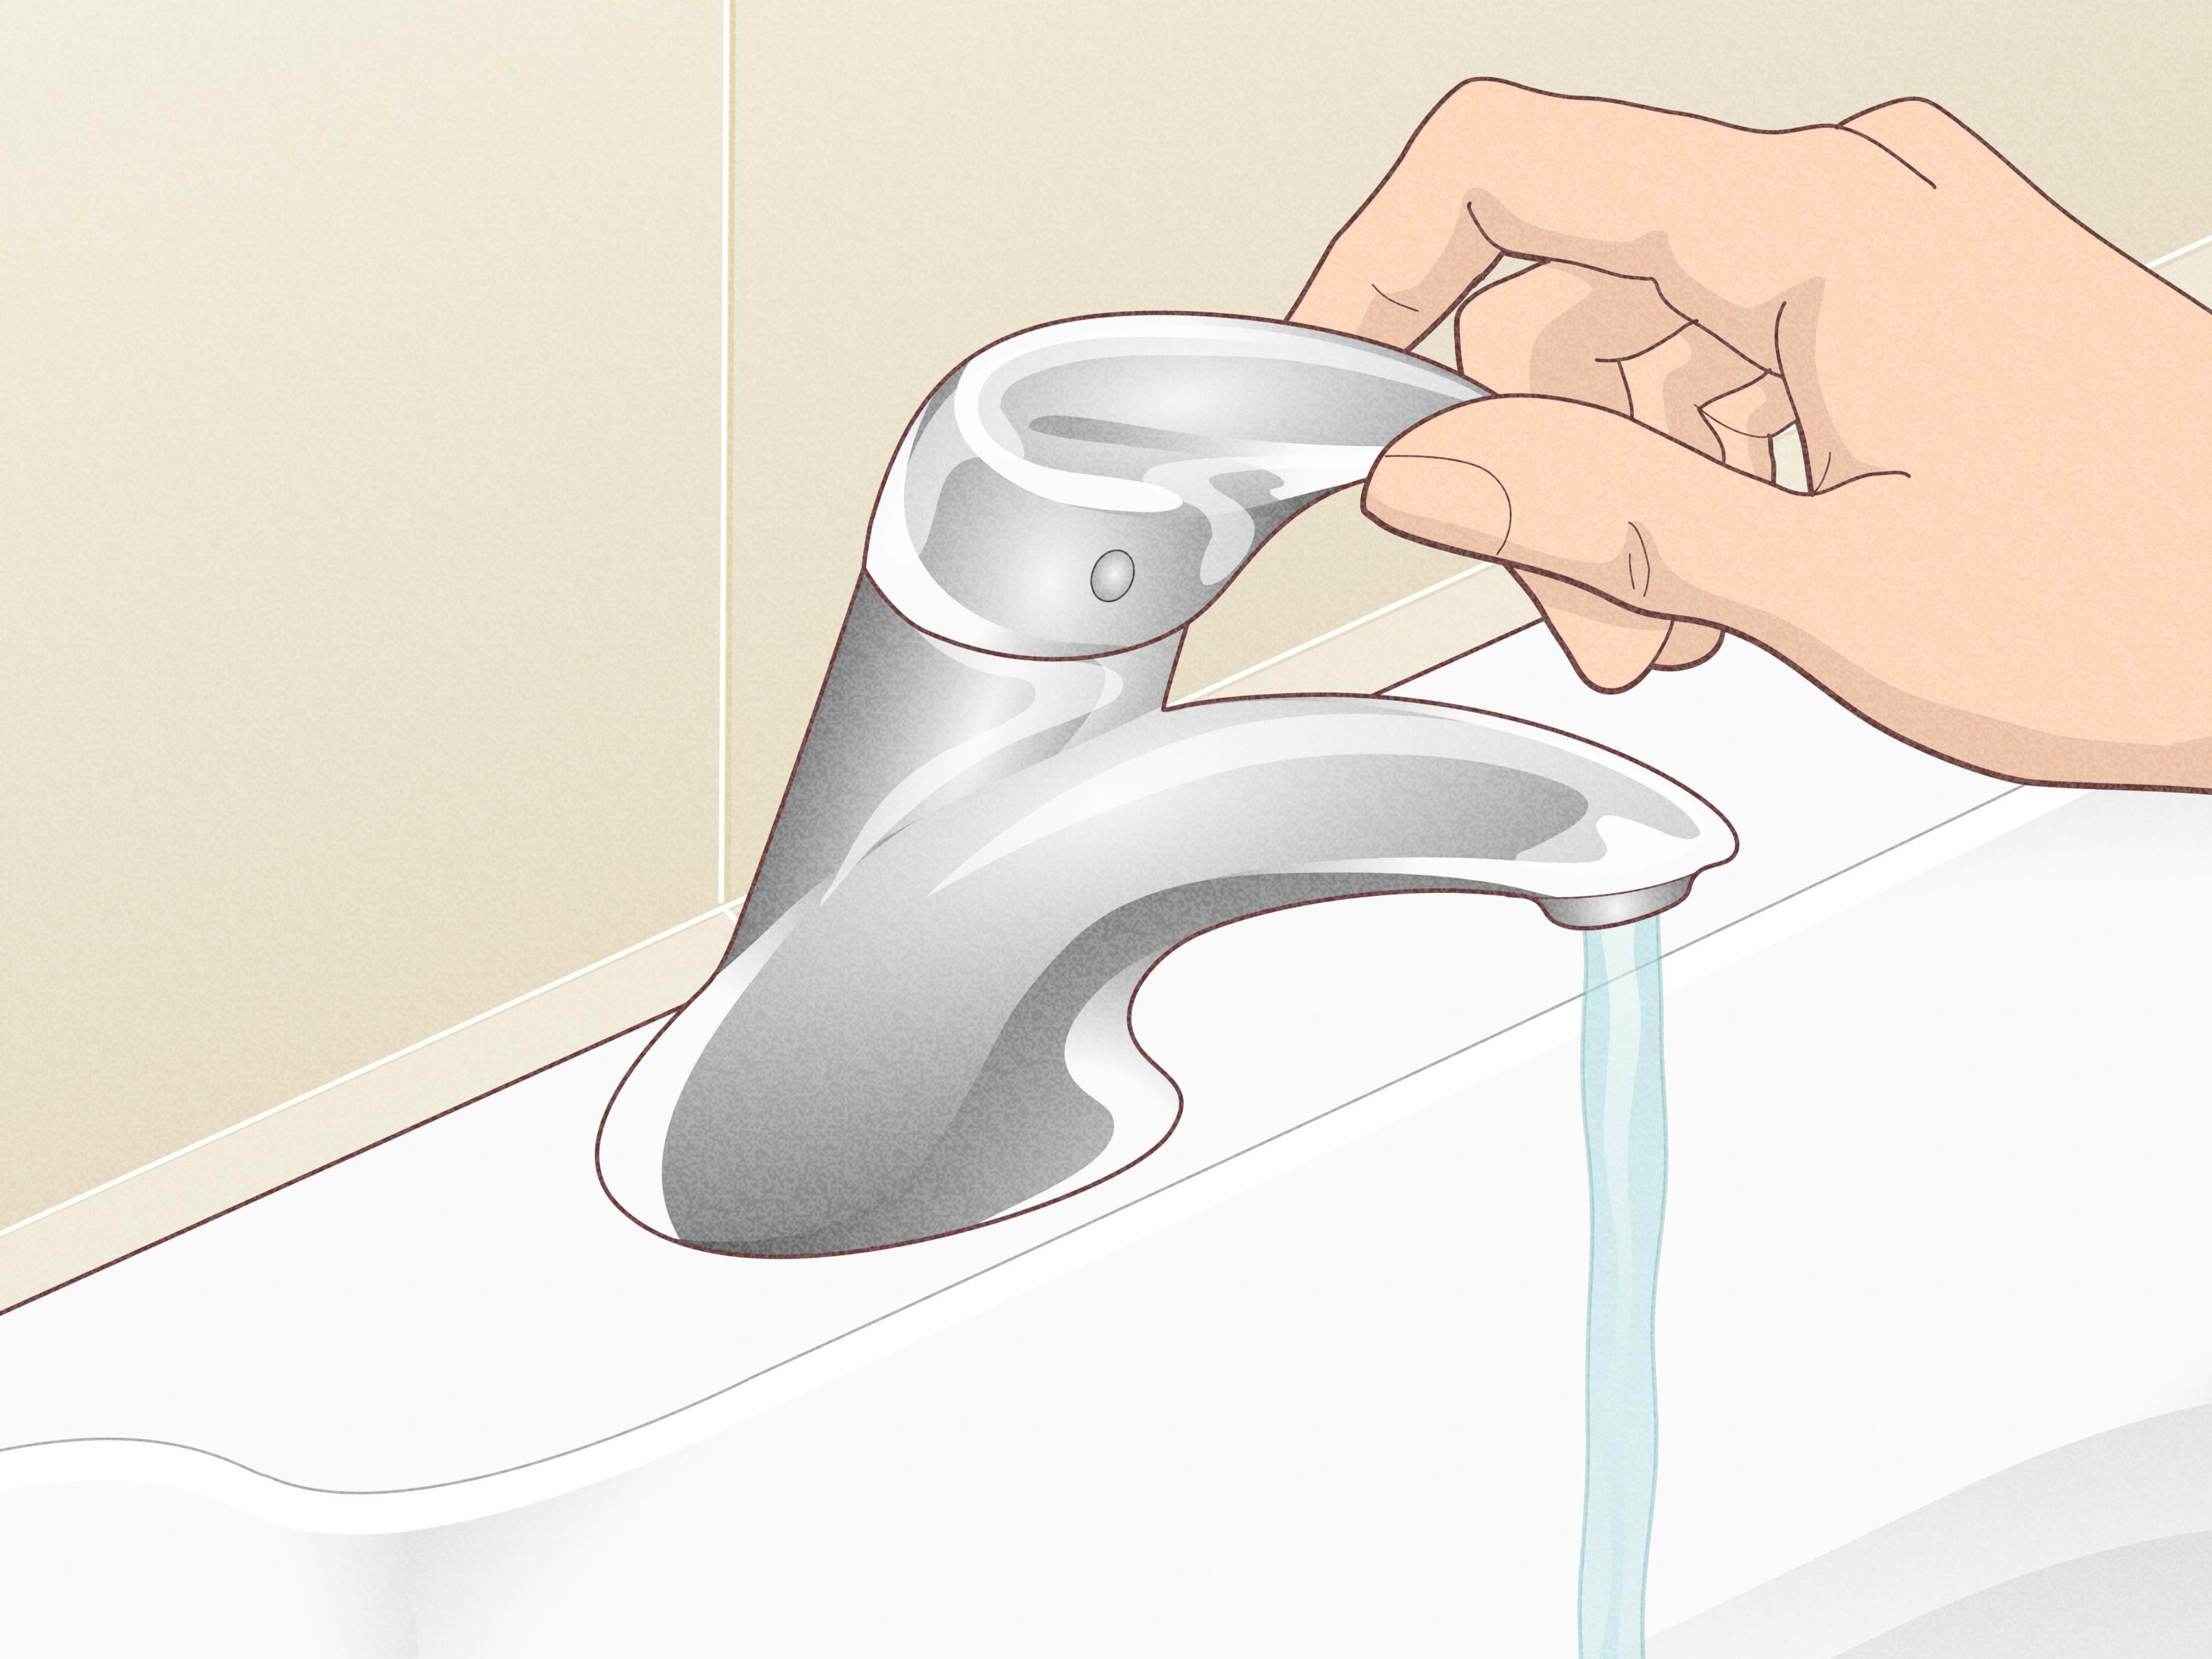
A dripping bathroom faucet may look harmless, but that steady drip, drip, drip is your sink’s surprisingly effective impression of a tiny water-wasting metronome. The noise can keep you awake, stain the basin, increase your water bill, and eventually turn a minor repair into a larger plumbing problem.
Fortunately, learning how to fix a leaky bathroom sink faucet with a single handle is usually within reach of a careful homeowner. Most single-handle bathroom faucet leaks are caused by a worn cartridge, damaged O-rings, mineral buildup, loose retaining hardware, or debris trapped inside the valve body. In many cases, you can solve the problem without replacing the entire faucet or summoning a plumber like a caped superhero.
This guide explains how to diagnose the leak, identify your faucet type, replace worn components, reassemble everything correctly, and avoid the common mistakes that turn a 30-minute project into an afternoon of muttering under the sink.
Why Is Your Single-Handle Bathroom Faucet Leaking?
A single-handle faucet controls both water temperature and flow through one internal valve assembly. Moving the handle changes the position of a cartridge, ceramic disc, or ball mechanism inside the faucet body. Rubber seals and O-rings prevent water from escaping around that mechanism.
After years of use, those internal parts can wear down. Hard-water minerals may also collect inside the valve, while tiny particles from the plumbing system can scratch sealing surfaces or prevent the cartridge from closing completely.
Common leak locations and likely causes
| Where You See Water | Most Likely Cause |
|---|---|
| Dripping from the spout while the handle is off | Worn cartridge, damaged valve seals, or debris inside the valve |
| Leaking around the handle | Damaged cartridge O-rings, loose retaining nut, or worn upper seal |
| Water collecting around the faucet base | Failed body seal, loose mounting hardware, or water traveling from the handle area |
| Water appearing inside the vanity | Loose supply connection, damaged hose, drain leak, or cracked faucet body |
| Weak or uneven water flow | Clogged aerator, cartridge blockage, or partially closed supply valve |
Always confirm where the water begins. Water can travel along the faucet body and make the leak appear several inches away from its actual source. Dry the entire fixture, place a paper towel around suspected areas, and operate the faucet while watching closely.
Identify the Type and Model Before Buying Parts
“Single handle” describes the control style, not the exact internal mechanism. Your faucet may use a cartridge, ceramic disc, or ball valve. The replacement parts are not interchangeable, even when two cartridges look suspiciously similar under fluorescent hardware-store lighting.
Cartridge faucets
Cartridge valves are common in modern bathroom faucets. The cartridge is usually a cylindrical plastic, brass, or mixed-material component located directly beneath the handle. If the faucet drips from the spout or leaks around the handle, replacing the cartridge often solves the problem.
Ceramic-disc faucets
Ceramic-disc faucets use two hard ceramic surfaces to regulate water. They are durable, but seals can deteriorate and debris can interfere with the discs. Some models require replacement seals, while others are repaired by replacing the complete ceramic cartridge.
Ball-type faucets
Older single-handle faucets may contain a metal or plastic ball seated above rubber seals and springs. These models are often repaired with a kit containing new seats, springs, O-rings, and sometimes a replacement ball.
Look for a manufacturer’s logo on the handle, spout, drain stopper, supply-line tag, or underside of the faucet. A model number may also appear on the original installation paperwork. Identifying the exact model is the safest way to obtain a compatible cartridge or repair kit.
Tools and Materials You May Need
- Adjustable wrench
- Phillips and flat-head screwdrivers
- Hex-key or Allen-wrench set
- Tongue-and-groove pliers
- Needle-nose pliers
- Cartridge puller, if required for your model
- Replacement cartridge or manufacturer-approved repair kit
- Replacement O-rings and seals
- Silicone-based plumber’s grease
- White vinegar and an old toothbrush
- Clean rags or paper towels
- A small container for screws and clips
- A towel or drain cover
Use silicone plumber’s grease rather than ordinary petroleum jelly. Petroleum-based products may damage certain rubber seals. You should also avoid gripping decorative faucet surfaces directly with metal pliers. Wrap the part with a cloth or use a strap wrench to protect the finish.
How to Fix a Leaky Bathroom Sink Faucet with a Single Handle
Step 1: Shut off the water supplies
Open the vanity and locate the hot- and cold-water shutoff valves. Turn both valves clockwise until they stop. Do not force a valve that feels frozen or brittle; an old shutoff valve can begin leaking when disturbed.
Turn the faucet on to confirm that the water is off and to release pressure from the lines. A small amount of remaining water is normal. If water continues flowing strongly, the shutoff valves may not be closing properly, and the home’s main water supply may need to be turned off.
Step 2: Cover the drain and protect the sink
Close the drain or cover it with a towel. Faucet screws and retaining clips possess an almost supernatural ability to jump directly into open drains.
Place another folded towel in the basin. It will protect the sink finish if you drop a tool and give you a clean surface for arranging parts.
Step 3: Remove the faucet handle
Examine the handle for a decorative cap or small plug button. Carefully pry it out with a flat-head screwdriver. Some designs place the set screw beneath the cap, while others hide it behind the handle.
Use the correct screwdriver or hex key to loosen the screw. Remove the handle by lifting it straight up or sliding it off the cartridge stem. If it is stuck, wiggle it gently. Avoid aggressive twisting because excessive force can damage the stem or faucet body.
Take a photo before removing each new layer. These pictures become extremely valuable when several washers begin looking like identical little rubber donuts.
Step 4: Remove the trim and retaining hardware
Depending on the faucet, you may find a dome-shaped cap, decorative bonnet, retaining nut, threaded collar, or metal clip beneath the handle. Remove these pieces in order and place them on the towel.
A threaded bonnet may turn counterclockwise by hand. If pliers are necessary, protect the finish with a thick cloth and use only enough pressure to loosen it. Forcing a corroded nut can deform the faucet or twist plumbing connections below the sink.
If the cartridge is held by a retaining clip, photograph its position before pulling it out with needle-nose pliers. The clip must return to the same orientation during reassembly.
Step 5: Mark the cartridge orientation
Before pulling the cartridge, note the direction of the stem, tabs, locating pins, and hot-cold markings. Take another photo or mark one side with a permanent marker.
Installing the replacement backward may reverse the hot and cold directions or prevent the handle from operating correctly. On certain models, incorrect alignment can also keep the cartridge from sealing.
Step 6: Remove the old cartridge
Grip the cartridge stem and pull it straight upward. Gentle side-to-side movement may help break the seals free. Do not pry hard against the faucet body.
If mineral deposits have locked the cartridge in place, use the manufacturer-recommended cartridge puller. A puller applies controlled upward pressure and reduces the risk of snapping the stem or damaging the valve housing.
Keep the old cartridge. Bring it to a plumbing-supply store if you have not already obtained an exact replacement. Compare the overall length, stem shape, locating tabs, seal placement, and part number.
Step 7: Inspect and clean the valve body
Shine a flashlight into the cartridge opening. Remove loose debris with a clean cloth or soft brush. Mineral deposits around removable metal parts can often be loosened with white vinegar, but do not leave vinegar sitting inside the faucet body for an extended period.
Inspect the opening for corrosion, scratches, damaged threads, or fragments of old seals. A new cartridge cannot seal against a badly damaged valve body.
Some manufacturers recommend briefly flushing the open valve before installing the new cartridge. Follow the instructions for your model. Water can spray forcefully from an open faucet body, so cover the opening with a towel, keep your face away, and crack the supply valves only slightly. Skip this step when the manufacturer does not recommend it or when you cannot control the spray safely.
Step 8: Prepare the replacement cartridge
Compare the new and old components one final time. Confirm that every seal, tab, opening, and stem feature matches.
Apply a very thin coating of silicone plumber’s grease to the new cartridge O-rings when permitted by the manufacturer. The grease helps the seals slide into position without twisting or tearing. More is not better; you are lubricating the seals, not frosting a birthday cake.
Step 9: Install the new cartridge
Align the cartridge exactly as the original was positioned. Press it straight into the valve body using firm, even pressure. Do not hammer it into place.
Reinstall the retaining clip, nut, or threaded collar. Make sure a clip passes completely through its slots. Tighten a retaining nut until secure, but avoid excessive force. Overtightening can damage the cartridge, distort seals, crack plastic components, or make the handle difficult to move.
Step 10: Reassemble the handle
Reinstall the bonnet, trim pieces, handle, set screw, and decorative cap in reverse order. Use your photographs to confirm the sequence.
Move the handle through its normal range before restoring the water. It should operate smoothly without grinding or unusual resistance.
Step 11: Restore the water slowly
Make sure the faucet handle is in the off position. Slowly open the cold-water shutoff valve, followed by the hot-water valve. Opening the valves gradually reduces the sudden pressure applied to the new seals.
Watch the supply connections and faucet base for leaks. If everything remains dry, turn on the faucet and let the water run.
Step 12: Flush the faucet and clean the aerator
Repair work can loosen mineral particles. Unscrew the aerator from the end of the spout, cover the drain, and run the faucet for a short period. Rinse debris from the aerator screen before reinstalling it.
Test the faucet at several temperatures and flow rates. Turn it off and wait a few minutes. The spout, handle area, faucet base, supply connections, and cabinet floor should all remain dry.
What If the Faucet Still Leaks?
A continuing drip does not automatically mean the project has failed spectacularly. Recheck the following issues:
- Incorrect cartridge: Similar-looking parts may have different internal dimensions.
- Cartridge installed backward: Confirm the locating tabs and hot-cold orientation.
- Twisted or damaged O-ring: Remove the cartridge and inspect every seal.
- Debris beneath the cartridge: A grain of mineral material can prevent a watertight seal.
- Retaining hardware not seated: A loose nut or partially inserted clip can allow movement.
- Damaged valve body: Deep corrosion or cracks may require complete faucet replacement.
- Leak coming from elsewhere: Check the supply hoses, shutoff valves, drain assembly, and pop-up rod.
If a new cartridge fails to stop the leak, verify the part number and installation instructions before tightening anything further. More wrench pressure is rarely the magical missing ingredient.
When Should You Call a Plumber?
Stop the DIY repair and contact a licensed plumber when:
- The shutoff valves will not close or begin leaking.
- The cartridge breaks inside the faucet body.
- The faucet body is cracked or heavily corroded.
- Water is leaking inside the wall or vanity structure.
- Supply lines are damaged or difficult to access.
- You cannot identify the correct replacement part.
- The leak continues after correct cartridge replacement.
A faucet with extensive corrosion, unavailable parts, multiple leaks, or a badly worn finish may be more economical to replace than repair. When choosing a new bathroom faucet, a water-efficient model can reduce water use without making handwashing feel like a negotiation with a weak garden sprinkler.
How to Prevent Future Bathroom Faucet Leaks
- Move the handle normally instead of forcing it tightly into the off position.
- Clean the aerator periodically to prevent pressure and flow problems.
- Address hard-water buildup before it becomes severe.
- Use manufacturer-approved replacement parts whenever possible.
- Avoid harsh abrasive cleaners on the faucet finish.
- Inspect the vanity occasionally for moisture or corrosion.
- Exercise the shutoff valves periodically so they remain operable.
A faucet should stop flowing when the internal seals meet correctly. Slamming the handle harder does not improve the seal; it simply puts additional stress on the cartridge and handle mechanism.
Experience-Based Lessons from Single-Handle Faucet Repairs
The most useful lessons from common DIY faucet repairs rarely involve advanced plumbing skills. They involve patience, organization, and knowing when a part is trying to warn you that something is wrong.
The exact replacement part matters more than expected
One of the most common experiences is reaching the hardware store with only a vague description: “It is a silver bathroom faucet with one handle.” Unfortunately, that describes approximately half the faucets in North America. A cartridge that is a fraction of an inch different may fit into the opening but fail to seal, restrict the handle, or reverse the temperature control.
The better approach is to photograph the faucet, locate the manufacturer, record any model information, and carry the old cartridge to the store. Keep the package intact until the repair succeeds. That simple preparation often saves a second shopping trip and prevents the new cartridge from becoming an expensive plastic souvenir.
Disassembly photos are more valuable than memory
A faucet may contain only a handful of components, but their order becomes surprisingly mysterious after they are spread across a towel. A thin washer can hide beneath a cap. A retaining clip can be installed from two directions. A small stop piece may control the handle’s movement.
Taking a photo at every stage creates a visual map for reassembly. Arrange removed pieces from left to right in the order they came off. This habit is especially helpful when the repair is interrupted by a phone call, a trip to the store, or a family member asking why the bathroom sink currently resembles a science experiment.
A stuck cartridge requires technique, not anger
Old cartridges may be bonded to the valve body by mineral deposits. Pulling harder with ordinary pliers can snap the stem while leaving the rest of the cartridge trapped inside. Rocking the part gently, confirming that every retaining clip has been removed, and using the correct cartridge puller is safer.
It is also worth pausing when a component does not move as expected. A hidden set screw, reverse-threaded decorative piece, or manufacturer-specific retainer may still be holding it. Five minutes spent checking the parts diagram can prevent an hour spent dealing with a broken component.
Overtightening creates new problems
Many first-time repairs are guided by the theory that tighter always means drier. Faucet cartridges rely primarily on correctly positioned seals, not brute force. Overtightening a retaining nut can flatten O-rings, crack plastic, deform the cartridge, or make the handle stiff.
Tighten components evenly and only as directed. After restoring the water, inspect the faucet rather than immediately reaching for a larger wrench. A slow leak from a threaded supply connection may need careful adjustment, but a drip from the spout usually points back to the cartridge or valve seal.
The first test should be slow and deliberate
After reassembly, open the shutoff valves gradually while watching the cabinet. Keep a dry paper towel nearby and touch it to each connection. Even a tiny leak will show immediately on the paper.
Run cold water, hot water, and a mixed temperature. Move the handle through its complete range, turn the faucet off, and wait. A repair is not finished merely because the faucet produces water; it is finished when every surface remains dry and the handle works smoothly.
That final inspection is the difference between a successful single-handle faucet repair and discovering a small indoor pond beneath the vanity the next morning.
Conclusion
Fixing a leaky single-handle bathroom sink faucet is usually a manageable DIY plumbing repair. The key is to diagnose the true leak location, identify the exact faucet model, shut off both water supplies, preserve the order of the components, and install the correct cartridge or repair kit.
Work gently, protect the finish, lubricate seals only with an approved product, and avoid overtightening. Once the new components are installed, restore the water slowly and inspect the entire faucet and vanity before declaring victory.
That annoying drip may have been testing your patience for weeks, but with the right part and a methodical approach, you can restore a quiet bathroom, conserve water, and enjoy the deeply satisfying experience of repairing something without producing any mysterious leftover screws.
Note: Faucet construction varies by brand and model. Follow the manufacturer’s parts diagram and repair instructions when they differ from this general guide. Stop work and contact a licensed plumber if the shutoff valves fail, the faucet body is damaged, or water is leaking into the cabinet, wall, or floor.