Straight hair without a flat iron sounds like a beauty myth, somewhere between “I woke up like this” and “my bangs behaved all day.” But it is absolutely possible to make hair look smoother, straighter, softer, and more polished without clamping it between two sizzling plates. The secret is not magic. It is tension, moisture control, smart product choices, gentle drying, and a tiny bit of patience. Yes, patiencethe least glamorous hair tool in the bathroom.
This guide explains how to straighten your hair without a flat iron using 14 realistic steps. Some methods are fully heatless, like hair wrapping, banding, and jumbo rollers. Others use cool air instead of direct heat. The goal is not to erase your natural texture forever; it is to stretch, smooth, and shape your hair while reducing the risk of dryness, frizz, breakage, and that crispy “toast with highlights” feeling flat irons can leave behind.
Before we start, here is the honest truth: results depend on your hair type. Fine or wavy hair may become sleek and nearly straight with the right method. Thick, curly, coily, or high-density hair may get a stretched, smooth, blowout-like finish rather than pin-straight strands. That is still a win. Hair does not need to be forced into submission like it owes you rent.
Why Straighten Hair Without a Flat Iron?
Flat irons are fast, but they use high heat directly on the hair shaft. Frequent high-heat styling can make hair look dry, brittle, dull, and frizzy over time. Heat can also worsen split ends and make color-treated or chemically processed hair feel rough. Straightening hair without a flat iron gives your strands a break while still helping you create a smoother look.
Heatless straightening methods are especially useful if your hair is already fragile, bleached, relaxed, curly, dry, or prone to frizz. They are also great for anyone who wants an everyday routine that does not require a mini weather report, three alarms, and a negotiation with the bathroom outlet.
How to Straighten Your Hair Without a Flat Iron: 14 Steps
Step 1: Start With Realistic Expectations
The first step is mental, not mechanical. Heatless straightening works by stretching the hair as it dries. It can reduce waves, soften curls, tame puffiness, and create a smoother shape, but it may not deliver the glassy, ruler-straight result of a ceramic flat iron. Think “soft and sleek” rather than “laminated curtain.”
If your hair is naturally straight with frizz, these methods may make a dramatic difference. If your hair is wavy, you can often get a relaxed, straighter finish. If your hair is curly or coily, you may achieve a stretched style with volume and movement. Choose the result that protects your hair and still makes you feel put together.
Step 2: Wash With a Smoothing Shampoo
Straighter-looking hair begins in the shower. Use a smoothing, moisturizing, or frizz-control shampoo that cleans without leaving your hair feeling stripped. Avoid scrubbing the lengths roughly. Focus shampoo on the scalp, where oil and buildup collect, then let the suds slide down the hair as you rinse.
If your hair is dry, curly, or color-treated, you may not need to shampoo every day. Over-washing can make hair feel rougher, and rough hair is more likely to puff, bend, and rebel like it has joined a tiny hair union.
Step 3: Condition Like You Mean It
Conditioner is not optional when you want smooth hair without a flat iron. Apply conditioner from mid-lengths to ends, then use your fingers or a wide-tooth comb to distribute it gently. Let it sit for a few minutes before rinsing. This helps soften the hair, reduce friction, and make detangling easier.
For very dry or textured hair, use a deep conditioner once a week. Healthy moisture balance makes hair more flexible and easier to stretch into a straighter shape. The goal is not greasy hair; it is manageable hair that does not behave like a tumbleweed in a wind tunnel.
Step 4: Rinse With Cool Water
A cool rinse will not magically seal your cuticle like shrink wrap, but it can help hair feel smoother and reduce the post-shower fluff factor. After conditioning, rinse with cool or lukewarm water instead of hot water. Hot water may leave hair feeling drier, especially if your scalp and strands are already sensitive.
You do not need to turn your shower into an arctic survival challenge. A comfortable cool rinse is enough. Beauty should not require screaming at plumbing.
Step 5: Blot With a Microfiber Towel or T-Shirt
Wet hair is more fragile, so rough towel-drying can cause frizz, stretching, and breakage. Instead of rubbing your hair with a regular terry towel, gently squeeze and blot excess water using a microfiber towel or a soft cotton T-shirt. Start at the ends and work upward.
Your hair should be damp, not dripping, before you begin any straightening method. If water is running down your neck like you are starring in a shampoo commercial nobody asked for, keep blotting.
Step 6: Detangle Gently From Ends to Roots
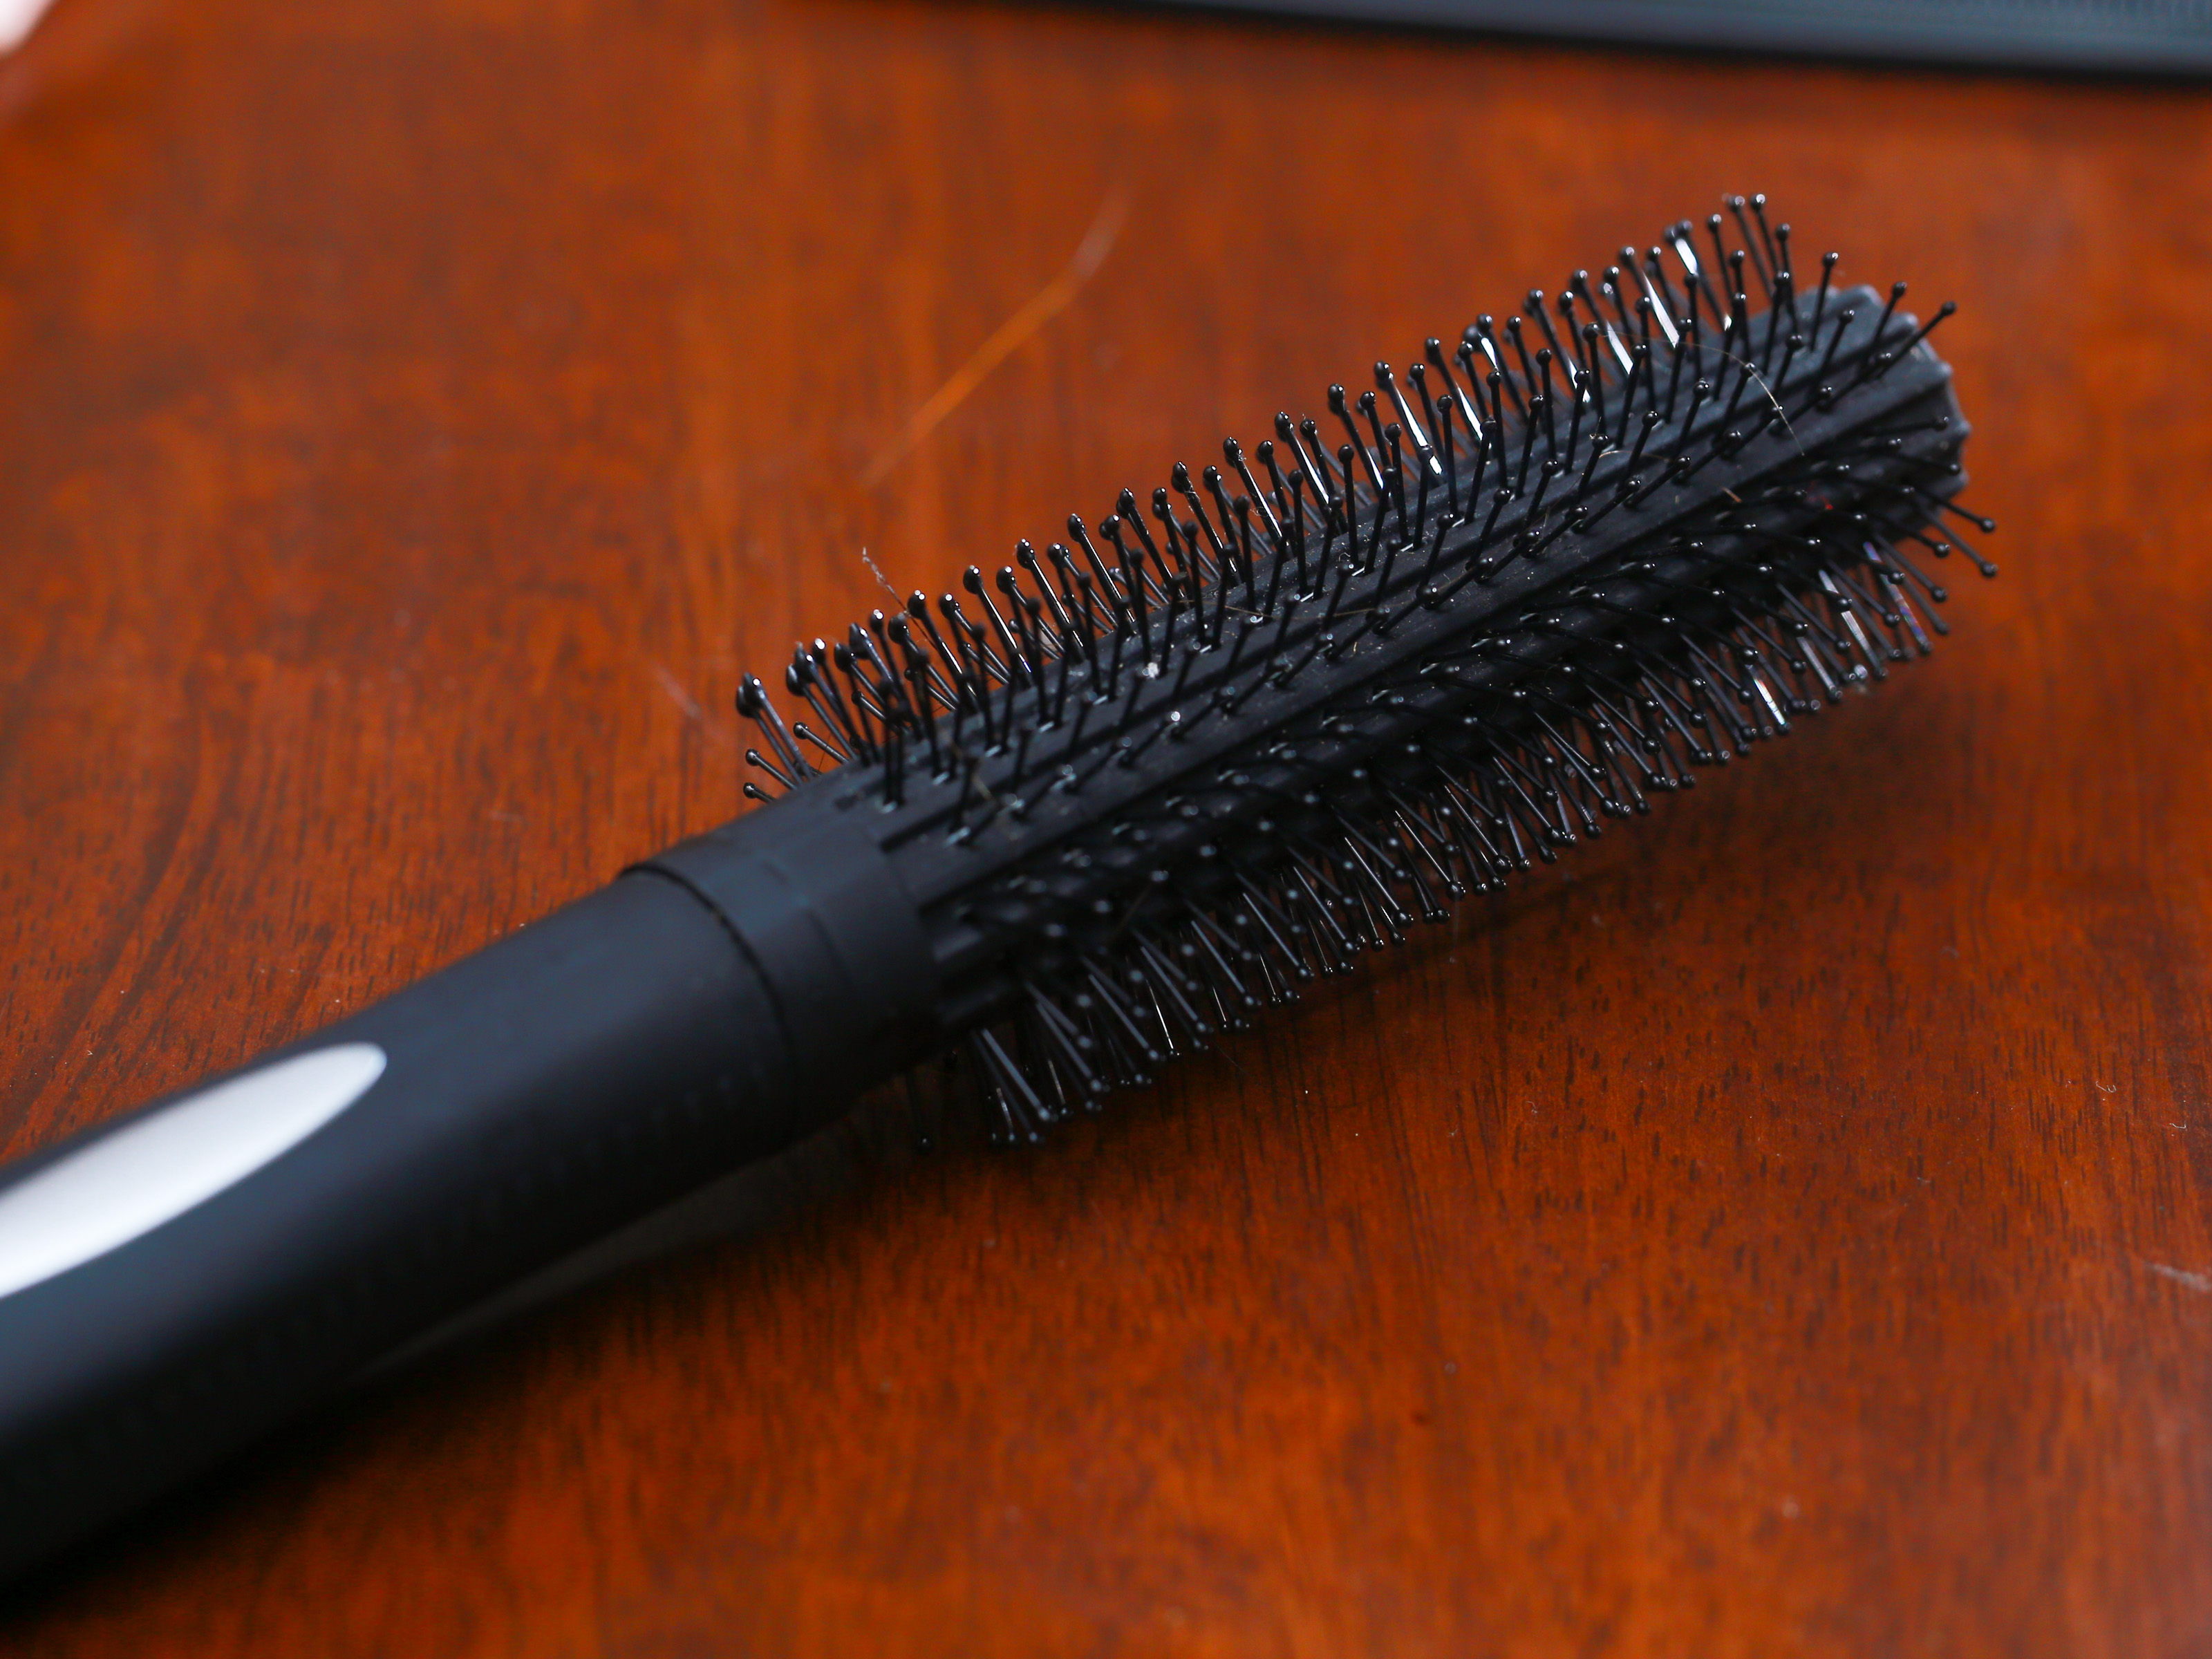
Use a wide-tooth comb or a gentle detangling brush made for wet hair. Start at the ends, remove knots slowly, then move upward in small sections. Do not yank through tangles. If you hit a knot, add a little leave-in conditioner or detangling spray and work through it patiently.
This step matters because smooth, detangled hair dries straighter. Tangles create bends, bumps, and uneven tension. In other words, your final style is only as smooth as your starting canvas.
Step 7: Apply a Lightweight Leave-In Product
Choose a leave-in conditioner, smoothing cream, anti-frizz serum, or styling lotion based on your hair type. Fine hair usually needs a lightweight spray or lotion. Thick, curly, or coarse hair may need a richer cream or a small amount of oil layered over leave-in conditioner.
Use less than you think you need at first. Too much product can weigh hair down, make roots greasy, or leave strands looking stiff. Start with a pea-sized amount for short to medium hair or a nickel-sized amount for longer or thicker hair. You can always add more. Removing too much product, however, usually means re-washing, and nobody wants to restart the level.
Step 8: Create Clean Sections
Sectioning is the difference between “sleek” and “I tried something at 11:47 p.m.” Use clips to divide your damp hair into four to six sections. If your hair is thick, create smaller sections. Smaller sections dry more evenly and allow better tension, which helps hair straighten without a flat iron.
Part your hair where you want it to fall once dry. A center part, side part, or no part can all work, but setting the part early prevents awkward bends later.
Step 9: Try the Hair Wrapping Method
Hair wrapping is one of the most popular ways to straighten hair without heat. It works by smoothing damp hair around the head and securing it flat while it dries. Start with detangled, damp hair. Brush or comb one section around the curve of your head, keeping the hair flat and taut. Secure it with bobby pins, duckbill clips, or wrap clips. Continue working around your head until all hair is wrapped smoothly.
Cover with a silk or satin scarf to reduce friction and help the hair stay in place. Let it dry completely, preferably overnight. When you unwrap it, use your fingers or a wide-tooth comb to loosen the shape. This method works especially well for straight, wavy, relaxed, and some loose-curly textures.
Step 10: Use Jumbo Rollers for Smooth Stretch
Jumbo rollers are a classic for a reason. Large plastic rollers stretch hair as it dries and can create smoothness, shine, and volume. The larger the roller, the straighter the result. Small rollers create curl; jumbo rollers create bend, body, and a smoother finish.
Apply a light styling lotion or mousse, then wrap sections of damp hair around the rollers with even tension. Roll the hair neatly from ends to roots, making sure the ends are tucked smoothly so they do not dry crinkled. Allow the hair to dry completely before removing the rollers. If your hair is still even slightly damp, it may shrink, wave, or frizz once released. Hair has a dramatic memory and enjoys proving a point.
Step 11: Try Banding for Curly or Coily Hair
Banding is a heatless stretching method often used on curly, coily, or natural hair. After applying leave-in conditioner and a styling cream, divide damp hair into sections. Wrap soft, snag-free hair ties down the length of each section, spacing them about one to two inches apart. The bands gently stretch the hair as it dries.
Do not wrap the bands too tightly. Tight bands can create dents or tension on the scalp. Once the hair is fully dry, remove the bands gently and smooth with a light oil or serum. Banding may not create pin-straight hair, but it can significantly reduce shrinkage and make hair easier to style.
Step 12: Use the Cool-Air Blow-Dry Method
If you want to avoid direct heat but do not want to wait all night, use a blow dryer on the cool setting. Let your hair air-dry until it is about 70% to 80% dry. Then divide it into sections. Use a paddle brush or wide brush to hold each section taut while directing cool air from roots to ends.
Keep the dryer moving and aim the airflow downward to reduce frizz. This method takes longer than hot blow-drying, but it is gentler. It is a good option for people with wavy or mildly curly hair who want smoother strands without a flat iron.
Step 13: Set the Style With a Silk or Satin Scarf
Once your hair is dry and shaped, protect the result. Wrap your hair or loosely smooth it under a silk or satin scarf. You can also sleep on a silk or satin pillowcase. These fabrics create less friction than cotton, which helps reduce frizz, tangling, and morning chaos.
If your hair gets oily at the roots, use a tiny amount of dry shampoo the next day, but do not rely on it forever. Dry shampoo can be useful between washes, but buildup can make hair feel dull and harder to style. Your scalp deserves actual cleaning, not just powder and optimism.
Step 14: Finish With Anti-Frizz Serum or Light Oil
After your hair is completely dry, finish with a small amount of serum, lightweight oil, or smoothing balm. Rub the product between your palms first, then glide it over the mid-lengths and ends. Avoid loading product directly onto the roots unless your hair is very dry or coarse.
This final step adds shine, reduces flyaways, and gives the style a more polished look. For fine hair, use a shine spray or lightweight serum. For thick or textured hair, a small amount of argan oil, jojoba oil, or silicone-based serum may help lock in smoothness.
Best Methods by Hair Type
For Fine or Slightly Wavy Hair
Try hair wrapping, cool-air blow-drying, or jumbo rollers. Use lightweight products so your hair does not collapse into limp sadness. A smoothing spray, light mousse, or leave-in mist is usually enough.
For Thick or Frizzy Hair
Use richer conditioning products, smaller sections, and stronger tension. Jumbo rollers and wrap-drying can work well, but drying time may be longer. Make sure the roots are fully dry before releasing the style.
For Curly Hair
Banding, jumbo rollers, and wrapping can stretch curls into a softer, longer shape. For best results, layer a leave-in conditioner with a smoothing cream. Do not skip moisture; curly hair often needs hydration to stay smooth.
For Coily or Natural Hair
Banding and roller sets are often the most practical heatless straightening methods. Work in small sections, use gentle tension, and avoid tight elastics. The finished look may be stretched and fluffy rather than bone-straight, which can be beautiful, wearable, and much kinder to fragile ends.
Common Mistakes to Avoid
One common mistake is starting with soaking-wet hair. Hair that is too wet takes forever to dry and may not hold the stretched shape. Another mistake is removing rollers, bands, or wraps too early. If the inside layers are damp, frizz will move in like it signed a lease.
Do not brush wet hair aggressively. Wet hair is more vulnerable to stretching and breakage, so detangle gently. Also avoid heavy products near the scalp unless your hair truly needs them. Too much cream or oil can make straightened hair look greasy instead of glossy.
Finally, be cautious with chemical straightening or smoothing treatments. Some salon smoothing products can release formaldehyde gas when heated, and that exposure may be harmful. If you are considering a professional treatment, ask your stylist what ingredients are used, how ventilation is handled, and whether the service is appropriate for your hair history.
How Long Does Heatless Straightened Hair Last?
Heatless straightened hair may last one to three days depending on your hair type, humidity, products, and nighttime routine. Fine or naturally straight hair may hold the look longer. Curly or coily hair may gradually return to its natural pattern faster, especially in humid weather.
To maintain the style, wrap your hair at night, use a satin scarf or pillowcase, avoid steam-heavy showers, and touch up frizzy areas with a little serum. If your hair starts to bend, do not panic. A low bun, claw clip, braid, or half-up style can turn “not freshly straightened” into “effortlessly styled.” We love a recovery plan.
Real-Life Experience: What Actually Works When You Skip the Flat Iron
After trying different no-flat-iron straightening routines, the biggest lesson is this: the method matters, but the prep matters more. If hair is dry, tangled, or overloaded with product before styling, even the best technique struggles. The smoothest results usually come from clean hair, a good conditioner, gentle blotting, and patient sectioning. It sounds simple because it is simplebut simple does not always mean quick.
For wavy hair, the hair wrapping method can be surprisingly effective. The first attempt may look a little strange because wrapping hair around your head feels like preparing for a very glamorous nap. But once you learn how to keep tension even and secure the hair without dents, the result can be soft, smooth, and natural-looking. The trick is to use long clips or bobby pins carefully and cover everything with a satin scarf. If the scarf slips off overnight, the style may develop mysterious bends. That is not failure; that is your pillow participating without permission.
Jumbo rollers are another method that feels old-school in the best way. They are especially helpful when you want straightness with body instead of flat, lifeless hair. The most important detail is wrapping the ends neatly. If the ends go onto the roller folded or messy, they dry that way. Smooth ends on the roller mean smoother ends when the rollers come out. This method takes time, but it gives a polished finish that looks intentional, not accidental.
For thicker curls, banding can be more realistic than wrapping. Wrapping very dense hair around the head may take longer and require more pins than any human should reasonably own. Banding allows each section to stretch downward as it dries. The result is usually not perfectly straight, but it can reduce shrinkage, make hair easier to manage, and create a stretched base for buns, ponytails, braids, or loose styles.
The cool-air blow-dry method is helpful when time is limited. It does not feel as dramatic as a hot blowout, but it can smooth the cuticle and guide hair into a straighter shape. The downside is that it requires arm stamina. After ten minutes, you may begin questioning your life choices. Still, compared with the repeated heat of a flat iron, cool air is a gentler compromise.
The biggest surprise is how much nighttime care affects the final look. You can spend an hour smoothing your hair, then ruin it with one cotton pillowcase and a dramatic sleep position. A satin scarf, loose wrap, or satin pillowcase helps preserve the shape. In the morning, a tiny amount of serum on the ends can revive the style without making the hair heavy.
In real life, straightening hair without a flat iron is less about perfection and more about strategy. Some days the result is sleek. Some days it is softly stretched. Some days the humidity laughs first. But with the right method, you can reduce heat use, protect your strands, and still enjoy smoother hair that feels like yoursnot like it was negotiated under extreme temperature conditions.
Conclusion
Learning how to straighten your hair without a flat iron is really about learning how your hair behaves while it dries. With the right shampoo, conditioner, towel technique, leave-in product, and stretching method, you can create smoother, straighter-looking hair without relying on direct high heat. Hair wrapping, jumbo rollers, banding, cool-air blow-drying, and satin protection are all useful tools, and the best routine may combine more than one.
Remember: healthy hair is the main goal. A little wave, bounce, or volume is not a styling failure. It is personality. And honestly, hair with personality is far more interesting than hair that looks frightened into place.