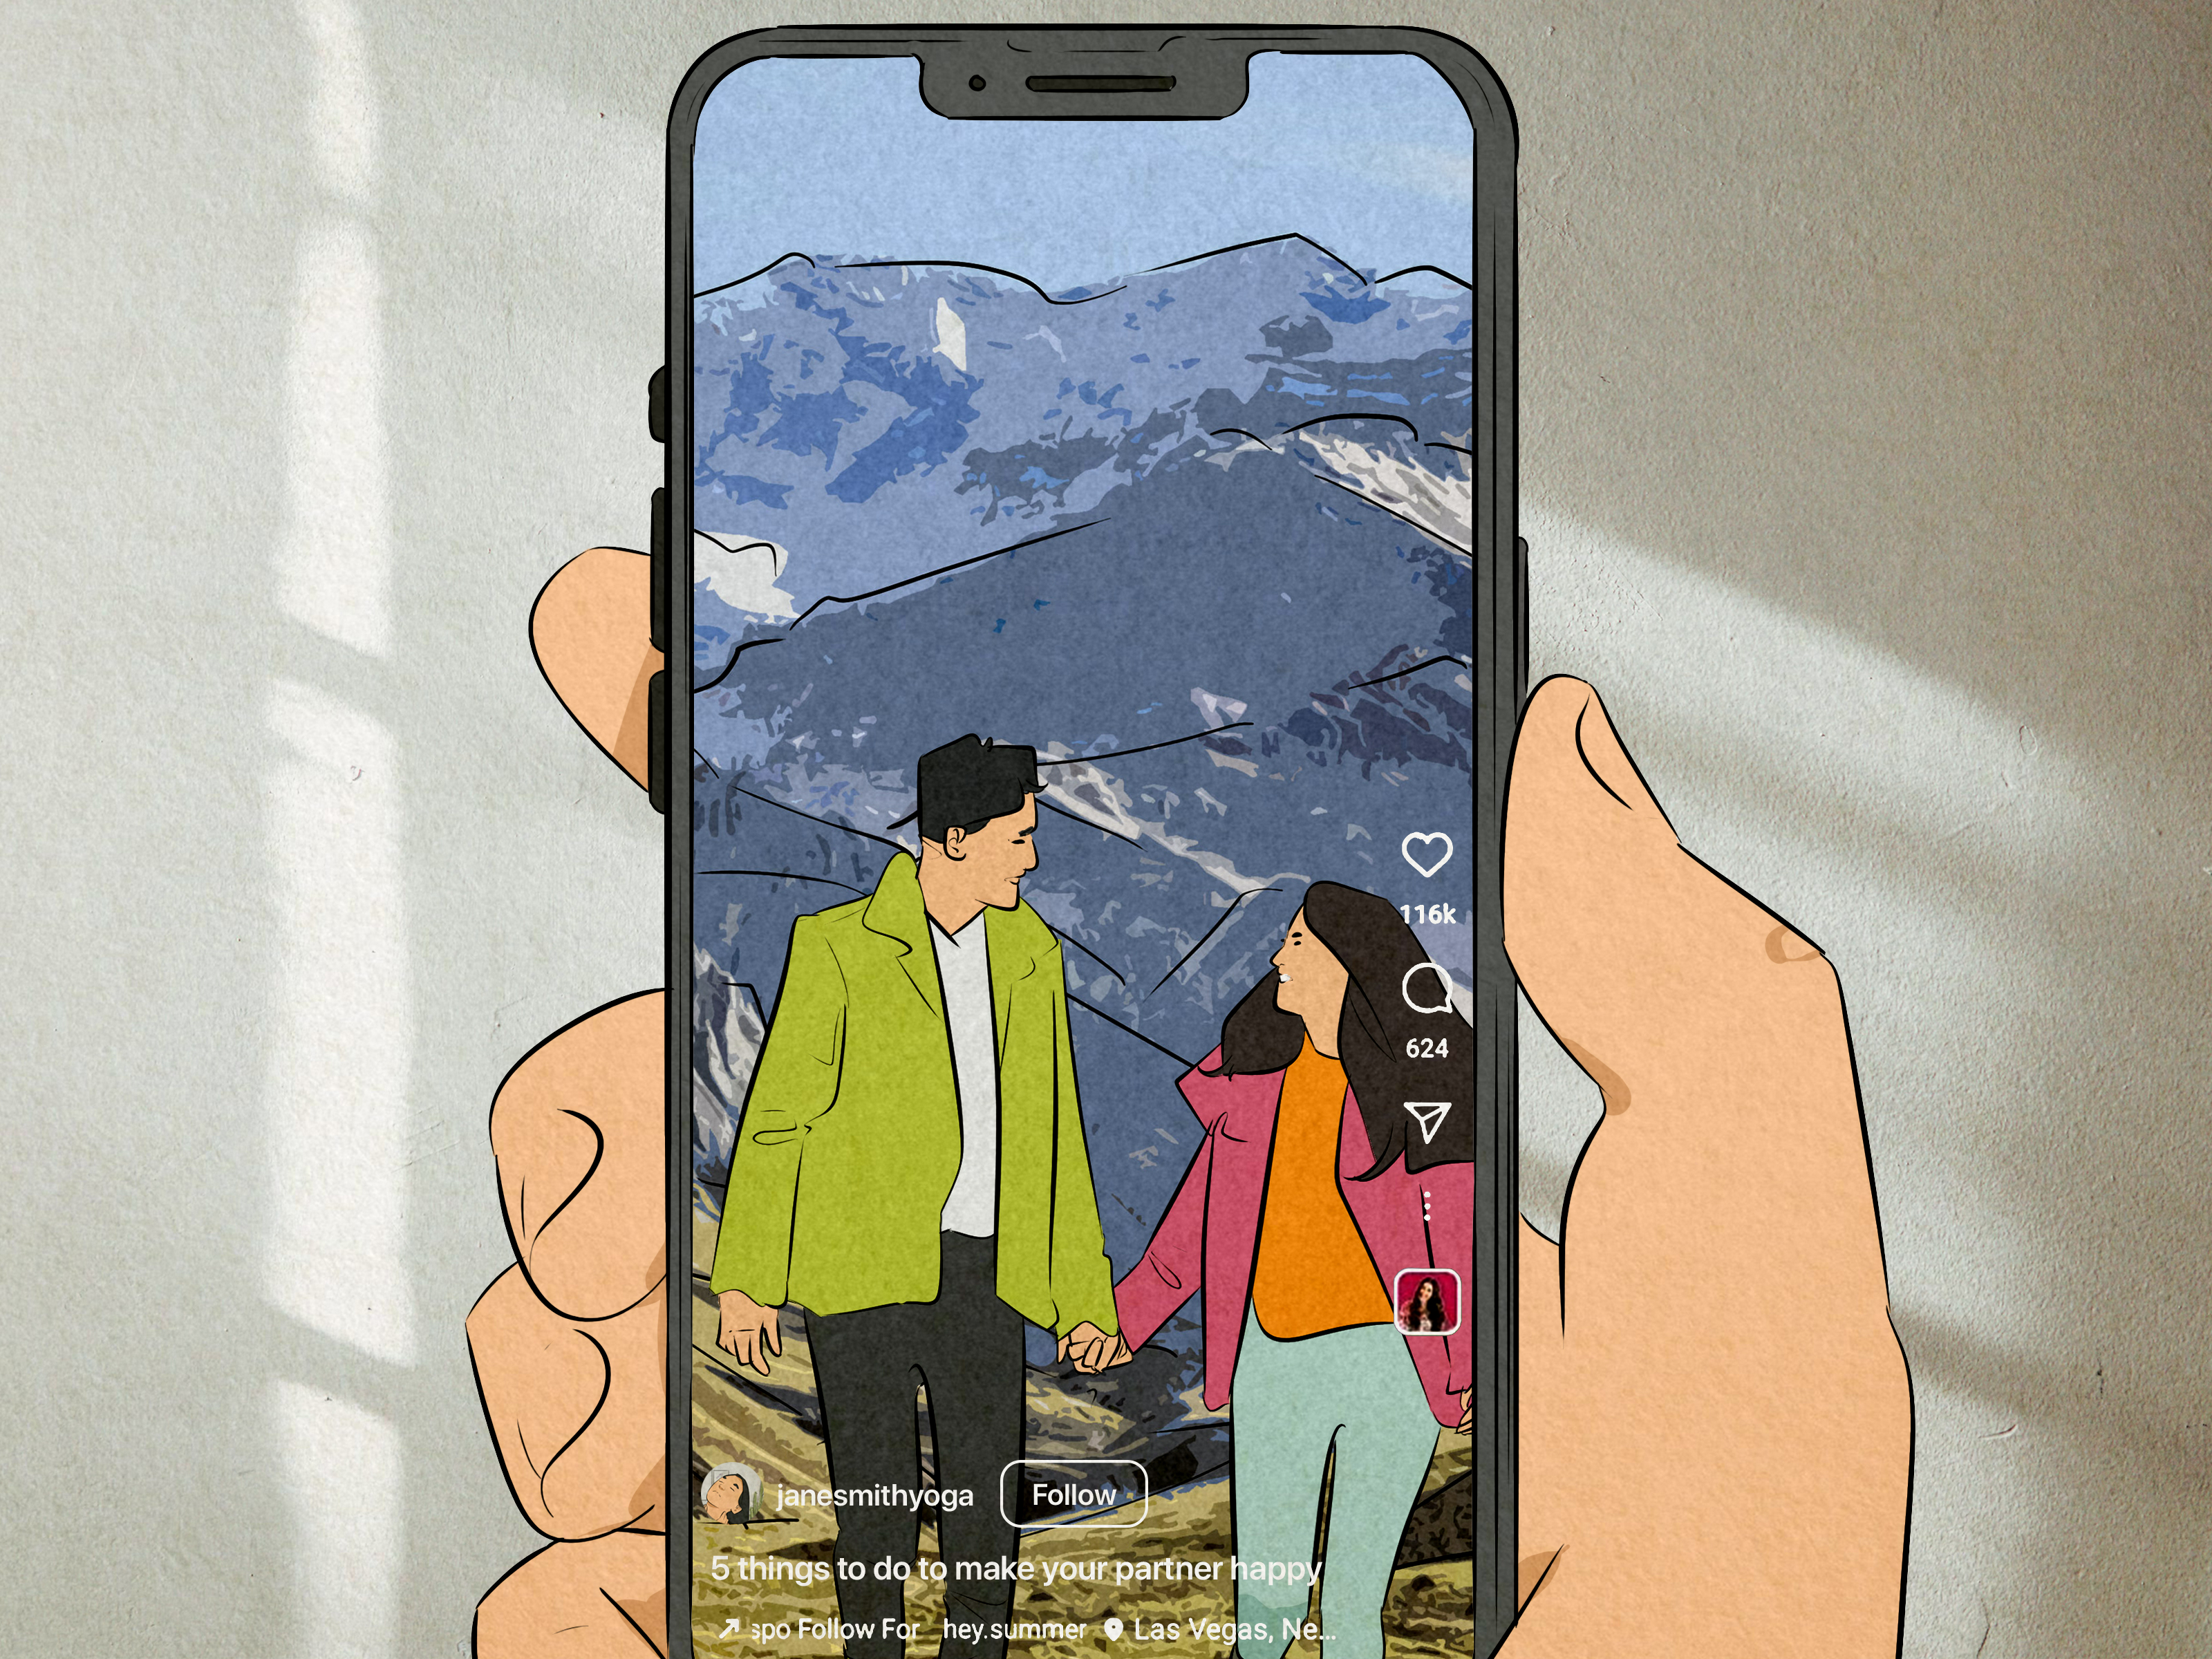
If you have ever opened Instagram, blinked once, and somehow lost 27 minutes to cooking hacks, dog drama, skincare routines, and a suspiciously satisfying closet reset, congratulations: you already understand why Reels matter. Instagram Reels are built for quick attention, strong storytelling, and the kind of content people can watch in line for coffee, during lunch, or while pretending to be productive.
The good news is that making Instagram Reels is not reserved for influencers with ring lights the size of satellite dishes. Beginners, small businesses, creators, students, freelancers, and anyone with a phone and an idea can make a Reel that looks polished and performs well. The trick is to combine the platform’s built-in tools with smart editing choices, clear structure, and a tiny bit of patience.
This complete tutorial walks through how to make Instagram Reels from start to finish, including planning, recording, editing, publishing, and improving results over time. It also includes practical editing tips that make your videos cleaner, tighter, and far more watchable. In other words, fewer awkward pauses, more “wait, that was actually good.”
What Are Instagram Reels and Why Do They Matter?
Instagram Reels are short-form vertical videos designed to be fast, engaging, and highly shareable. They can include video clips, photos, music, voiceovers, text overlays, effects, stickers, and templates. Reels are especially useful because they are one of the best ways to reach people beyond your current followers. A strong Reel can introduce your content to entirely new viewers, while a weak one can still teach you what not to do next time. That is called growth. Or character development.
For creators and brands, Reels work well because they fit multiple goals at once. You can use them to entertain, educate, promote a product, answer questions, show behind-the-scenes moments, tell a quick story, or highlight a transformation. A single Reel can build awareness, increase engagement, and drive profile visits when it is structured well.
Before You Start: Plan the Reel First
The biggest beginner mistake is opening the Instagram camera and hoping inspiration will descend from the heavens like social media lightning. Sometimes it does. Usually it does not. Planning makes the filming and editing process much easier.
Decide on one clear purpose
Every Reel should do one main job. Maybe you want to teach something, sell something, entertain people, or document a process. Pick one primary goal. If your Reel tries to be a tutorial, a vlog, a product ad, a comedy sketch, and a life philosophy lecture all at once, viewers may leave before the payoff.
Choose a format
Some of the easiest Reel formats include:
- How-to tutorials
- Before-and-after transformations
- Day-in-the-life clips
- Quick tips lists
- Product demos
- Behind-the-scenes content
- Reaction or remix videos
- Trend-based videos with your own twist
Write a simple outline
You do not need a movie script. You need a simple sequence:
- Hook: give people a reason to keep watching
- Main content: deliver the promise quickly
- Ending: wrap up with a result, takeaway, or call to action
Example: “How to make better Instagram Reels in 15 minutes” could start with “Your Reels are probably too slow,” move into three quick editing fixes, and end with “Try this on your next post.” Clean, useful, done.
How to Make Instagram Reels Step by Step
Step 1: Open Instagram and create a new Reel
Open Instagram and start a new Reel from the create area. You can record inside the app or upload clips from your camera roll. This is helpful because some people prefer filming natively in Instagram, while others like editing footage elsewhere first and importing it later.
Step 2: Record fresh clips or upload existing video
If you are filming inside the app, record short clips in sequence. If you already have footage, upload it from your phone. For the cleanest result, shoot vertically and frame your subject for a full-screen mobile experience. A vertical layout feels native to Reels and makes the content easier to watch.
Try to keep each shot intentional. Instead of recording one long messy clip and hoping editing will rescue it, film shorter pieces with a purpose. A close-up, a wide shot, a reaction shot, and a detail shot can make even simple content feel dynamic.
Step 3: Trim, split, and reorder clips
This is where the magic begins. Cut out the boring parts. Then cut a little more. Most beginner Reels drag because the creator leaves in the extra two seconds before speaking, the hand reaching for the camera, the confused smile, and the part where nothing happens. Trim aggressively.
Arrange your clips so the pace feels natural and the sequence is easy to follow. If you are teaching a process, keep the order logical. If you are telling a story, make sure the first moments create curiosity. If you are showing a transformation, tease the outcome early.
Step 4: Add music, voiceover, or original audio
Audio changes everything. A good music track can add energy, rhythm, and emotional tone. A voiceover can provide clarity and personality. Original audio can make the content feel more authentic. Choose the format that best fits the message.
If the Reel depends on spoken information, make sure your voice is clear and easy to hear. If it depends more on mood or motion, music may carry the video better. In many cases, the best option is a mix: soft background music plus a clean voiceover.
Step 5: Add text overlays and captions
Text is one of the most important editing tools on Instagram Reels. Use it to create a hook, explain steps, highlight key phrases, or reinforce your message for viewers watching with the sound off. Keep your text large enough to read easily on a phone screen and place it where it will not be blocked by interface elements.
Good text overlay examples include:
- “3 editing mistakes ruining your Reels”
- “Watch this before you post”
- “Step 1: Cut the dead space”
- “Result after 10 minutes”
Step 6: Use effects, stickers, transitions, or templates carefully
Instagram offers effects, stickers, filters, templates, and creative tools that can make editing faster and more fun. The key phrase here is “carefully.” Just because a transition exists does not mean your audience needs five spin effects, sparkles, and an exploding star wipe worthy of a 2007 slideshow.
Use effects to support the content, not distract from it. Templates are especially useful if you want a quick structure with timed cuts already built in. They can save time, but try not to rely on them so heavily that every Reel feels borrowed.
Step 7: Choose a cover and write a caption
Your cover image matters more than many people realize. It is the thumbnail people see on your profile grid and in some discovery surfaces. Pick a frame that is clear, well-lit, and relevant to the video. Better yet, design a cover with readable title text so your profile looks organized.
Your caption does not need to become a novel. It should support the Reel, add context, and give viewers a next step. Ask a question, include a quick takeaway, or encourage interaction. Relevant hashtags can help categorize the content, but stuffing the caption with random tags is not a strategy. It is a cry for help.
Step 8: Publish, review, and learn from the results
Once your Reel is live, pay attention to what happens. Which opening line held attention? Which video length performed better? Did captions improve watch time? Did a more direct cover increase taps? Reels improve when you treat them like experiments instead of one-shot masterpieces.
Best Editing Tips for Better Instagram Reels
Start with a strong hook
The opening second or two matters a lot. Viewers decide quickly whether to keep watching. Lead with movement, a bold statement, a surprising result, or a question that creates curiosity. “Here is my morning routine” is fine. “Why your morning routine content keeps getting ignored” is stronger.
Keep the pacing tight
Fast does not mean chaotic. It means efficient. Every clip should earn its place. Remove filler words, pauses, repeated points, and extra transitions. Strong pacing helps retention, especially on educational or process-driven Reels.
Use captions because many people watch without sound
Captions improve accessibility and clarity. They also help viewers follow your message in noisy environments or during silent scrolling. Whether you use Instagram’s tools or an outside editor, clean captions can instantly make a Reel feel more polished.
Make the video look native to mobile
Design for vertical viewing. Use a full-screen format, readable text, centered subjects, and clean composition. If your video looks like a horizontal afterthought awkwardly shoved into a vertical space, viewers can tell.
Show, do not just tell
If you are explaining something, pair the explanation with visual proof. Instead of saying “good lighting matters,” show the difference between harsh overhead light and soft window light. Instead of saying “trim your clips,” show the long version versus the tighter edit. Examples make Reels more convincing and easier to understand.
Use pattern breaks
A pattern break is a moment that refreshes attention. It could be a zoom, angle change, text pop-up, sound shift, B-roll insert, or visual reveal. These small changes keep the Reel from feeling flat.
End with purpose
Do not let the Reel simply stop like you dropped your phone and gave up. End with a clear takeaway, a reveal, a result, or a call to action. Invite viewers to comment, save the Reel, try the technique, or watch another video.
Common Instagram Reels Mistakes to Avoid
- No hook: If the start is weak, most people will not stay for the good part.
- Tiny text: If viewers need a microscope, the text is too small.
- Too much clutter: Too many effects, fonts, colors, and moving pieces can overwhelm the viewer.
- Low energy delivery: You do not need to shout, but you do need intention.
- Overlong intro: Get to the point faster.
- Inconsistent branding: Covers, fonts, tone, and visuals should feel connected over time.
- Ignoring analytics: Guessing forever is less effective than learning from real results.
Tools That Can Help You Edit Instagram Reels
The Instagram app is enough for many creators, especially beginners. You can trim clips, add music, overlays, effects, and publish directly from one place. But outside tools can speed things up or provide more control.
Helpful editing tool categories
- In-app Instagram editor: great for native publishing and simple edits
- Template-based tools: useful for quick layouts and timed visual formats
- Desktop editors: better for advanced cuts, audio cleanup, and repurposing longer videos
- Caption tools: useful for clean subtitles and branded text styles
- Design tools: ideal for covers, visual consistency, and reusable templates
You do not need every tool on earth. Pick a workflow you can repeat. The best editing system is the one you will actually use next week.
How to Make Reels Consistently Without Burning Out
Consistency does not mean posting every waking hour like a caffeinated content machine. It means creating a repeatable system.
Create content in batches
Film multiple Reels in one session when possible. Change shirts if you must. Social media magic is often just organized laundry.
Save winning structures
If a Reel format performs well, reuse the structure with a new topic. You do not need to reinvent storytelling every Tuesday.
Keep an idea bank
Write down hooks, trends, questions from followers, and content ideas as they come to you. Great Reel ideas rarely arrive on command five minutes before posting.
Review what your audience responds to
Notice which topics get saves, shares, comments, profile visits, or longer watch time. Those signals are clues. Follow them.
Examples of Reels Ideas for Different Niches
- Small business: packing orders, product demos, customer FAQs, before-and-after results
- Coach or educator: myth-busting, mini lessons, quick frameworks, common mistakes
- Lifestyle creator: routines, favorites, honest reviews, simple daily moments
- Food creator: fast recipes, kitchen shortcuts, ingredient swaps, plating transformations
- Home and DIY: project progress, room refreshes, tool tips, organization fixes
- Freelancer or service provider: client tips, process walkthroughs, behind-the-scenes workflow
Experience-Based Lessons Creators Commonly Learn the Hard Way
Here is the part no one tells you when you start making Instagram Reels: your first few attempts may feel awkward. You might overthink your face, hate your voice, record the same line 14 times, and spend 40 minutes choosing between two nearly identical cover images. That is normal. Most creators do not begin with smooth on-camera delivery and cinematic timing. They get there by making imperfect videos until the process becomes familiar.
One common experience is realizing that “just be spontaneous” sounds fun but often creates messy footage. Many creators eventually learn that even a quick outline saves a surprising amount of time. A rough plan for the hook, the main point, and the ending keeps the Reel focused. Without that plan, people tend to ramble, repeat themselves, or film too much random footage and then suffer through an editing session that feels like sorting digital spaghetti.
Another lesson is that short-form video rewards clarity more than complexity. Beginners often assume a good Reel needs fancy transitions, dramatic effects, and trend-chasing energy at all times. In practice, many of the strongest Reels are simple: one strong idea, a clear visual, readable text, and crisp cuts. A helpful tip delivered in 20 seconds often beats a visually chaotic Reel that tries to do ten things at once. Flashy editing can help, but only after the idea itself works.
Creators also learn quickly that dead space is the enemy. That tiny pause before speaking, the clip that lingers one second too long, the moment where the camera shakes while nothing interesting happensthose details add up. When people first begin editing Reels, they are often too emotionally attached to every clip because they filmed it themselves. Later, they realize viewers do not care how long a shot took to capture. Viewers care whether the Reel keeps moving.
Audio is another area where experience changes everything. Many people start out focused almost entirely on visuals, then discover that muddy voiceovers, uneven volume, or distracting background noise can make a Reel feel amateurish. Even basic audio cleanup, better microphone placement, or recording in a quieter room can noticeably improve the final result.
One of the most useful long-term lessons is that consistency matters more than perfection. Reels improve through repetition. Creators start to notice which hooks pull people in, which topics earn saves, which covers get tapped, and which editing style feels natural instead of forced. Over time, the process becomes less intimidating and more strategic.
Perhaps the most reassuring experience is this: not every Reel has to go viral to be worth making. Some Reels build skills. Some teach you what your audience likes. Some quietly bring in the right followers, customers, or community members over time. In other words, a Reel can be successful even if it does not break the internet by Thursday afternoon.
Conclusion
Learning how to make Instagram Reels is part technical skill, part storytelling, and part trial-and-error with better lighting. The platform gives you the tools, but strong results come from how you use them: start with a clear idea, keep the pacing tight, make the visuals easy to follow, and edit with the viewer’s attention in mind.
You do not need to be the most polished creator on Instagram. You need to be understandable, watchable, and consistent. Start simple. Improve one thing at a time. Test hooks, captions, pacing, covers, and formats. The more Reels you make, the more confident and effective your process becomes.
And that is the real secret: the best Instagram Reels are not built by waiting for perfect inspiration. They are built by creating, reviewing, adjusting, and posting again.