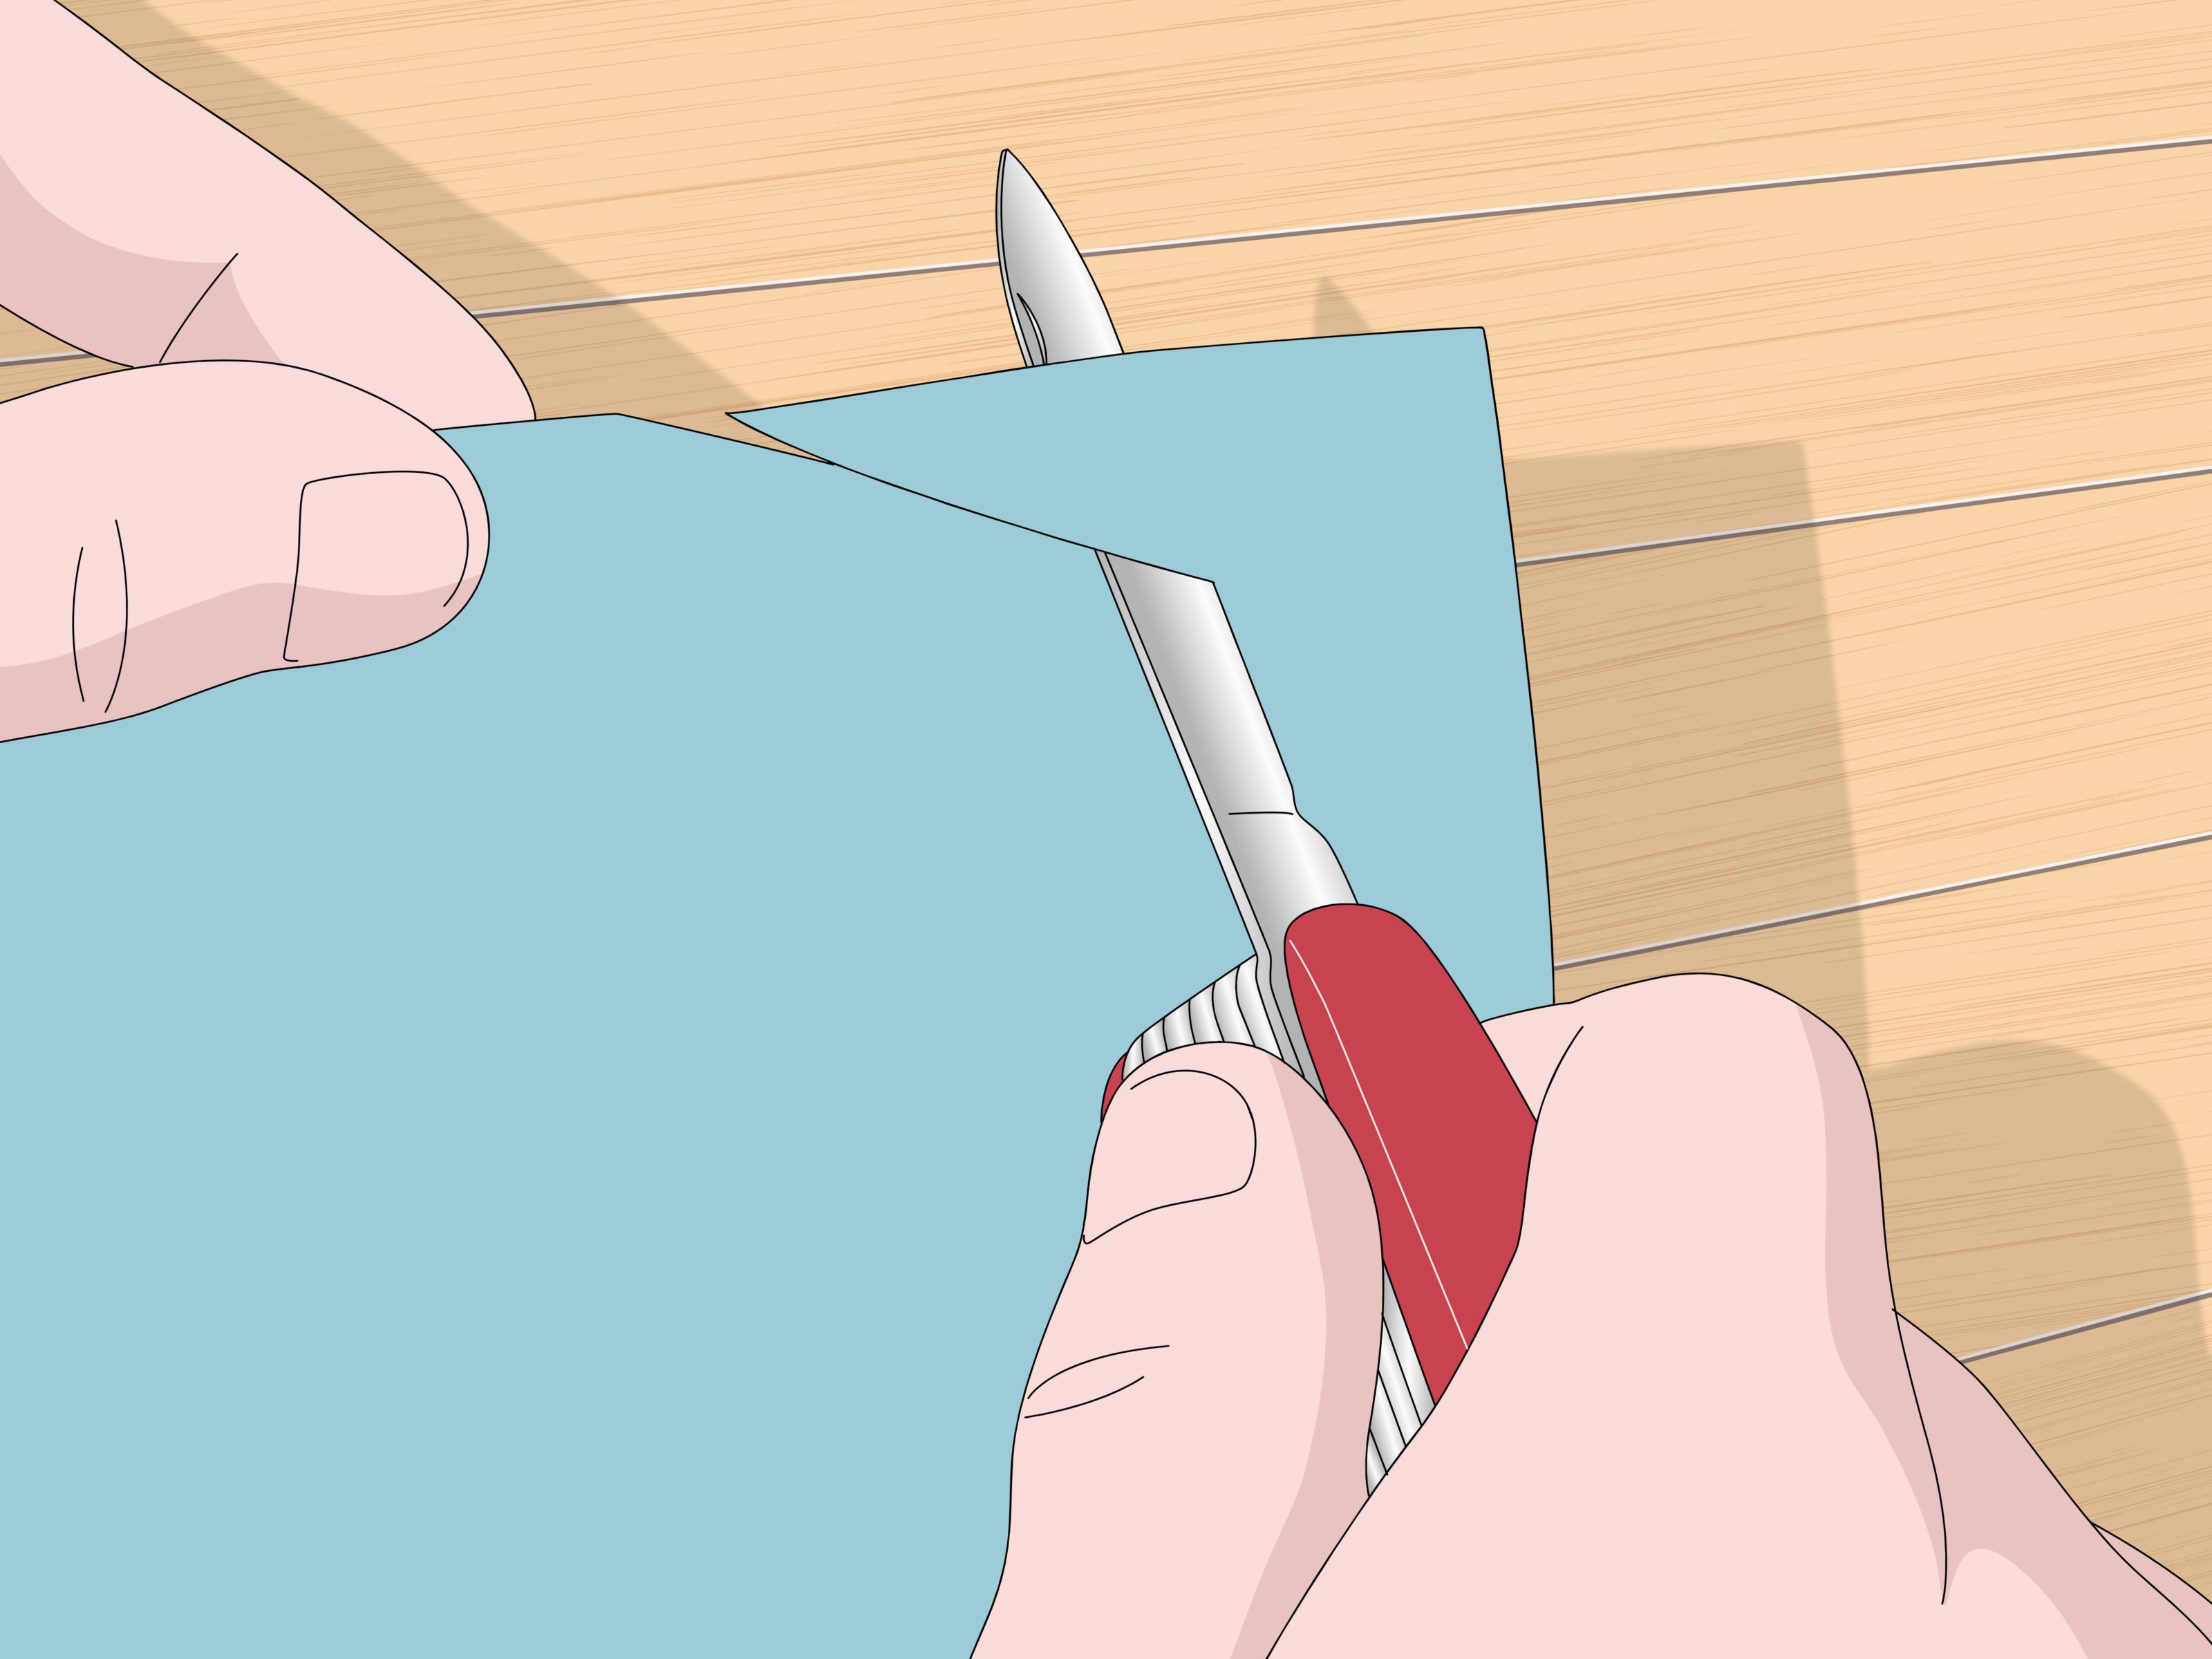
A Swiss Army Knife is the overachiever of pocket tools. It opens boxes, slices fruit, trims string, helps on camp trips, and somehow still ends up opening a bottle at the exact moment everyone forgets the opener. But even a legendary little multitool becomes frustrating when the blade gets dull. Instead of gliding through cardboard or cleanly slicing an apple, it starts mashing, slipping, and behaving like it has lost interest in its job.
The good news is that sharpening a Swiss Army Knife is not complicated. The better news is that you do not need to become a mountain blacksmith with a dramatic beard and a forge glowing in the background. You just need the right angle, a little patience, a sharpening tool that fits the job, and enough self-control not to grind away half the blade in a burst of optimism.
This guide walks you through how to sharpen a Swiss Army Knife in 10 steps, with practical safety advice, tool choices, common mistakes to avoid, and a few real-world experiences people often have while learning. Whether you use a whetstone, ceramic rod, or guided sharpener, the goal is the same: restore a clean, controlled edge without damaging the blade.
Why Sharpening a Swiss Army Knife Is a Little Different
A Swiss Army Knife is a pocket knife, but it is not exactly the same as sharpening a large outdoor blade or a chunky folding knife. The blade is smaller, the working space is tighter, and the handle includes other tools that can get in the way if you are careless. That means control matters more than force, and consistency matters more than speed.
Most guidance for Victorinox-style blades recommends maintaining a sharpening angle around 15 to 20 degrees per side. That range creates a sharp but still practical edge for everyday cutting. In plain English, you are not trying to turn your pocket knife into a samurai movie prop. You are trying to make it cut well, safely, and predictably.
What You Need Before You Start
- A clean Swiss Army Knife
- A whetstone, diamond stone, ceramic sharpener, or guided sharpening system
- Water or lubricant if your stone requires it
- A towel or non-slip mat under the sharpener
- A leather strop or fine ceramic rod for finishing, if available
- A drop of knife-safe oil for the pivot after cleaning
If your blade is only slightly dull, a fine ceramic sharpener may be enough. If it is very dull, chipped, or looks like it lost a fight with a staple gun, start with a coarser abrasive and then move finer.
How to Sharpen a Swiss Army Knife in 10 Steps
Step 1: Clean and Inspect the Knife
Before sharpening, clean the blade and make sure the knife opens and closes properly. Pocket lint, sticky residue, dried food, and mystery grime from the bottom of a backpack all interfere with sharpening. Wash the blade carefully, dry it completely, and inspect the edge under good light.
Look for flat spots, tiny chips, rolled sections, or shiny areas along the edge. Those shiny spots are often the dullest parts because they reflect light instead of disappearing into a crisp edge. Also check that only the blade you are sharpening is open. You do not want the corkscrew or scissors suddenly joining the conversation.
Step 2: Choose the Right Sharpener
You can sharpen a Swiss Army Knife with several tools, but some are easier for beginners than others.
Whetstones and diamond stones give the most control and excellent results. Guided sharpeners help you hold a consistent angle. Ceramic V-sharpeners or rods work well for light touch-ups and maintenance. For most people, a fine or medium-fine stone is the sweet spot for routine sharpening.
Electric grinders and aggressive power wheels are a bad idea for this kind of blade. They remove steel fast, generate heat, and can ruin the temper if used carelessly. That is the sharpening equivalent of trimming your bangs with hedge clippers: technically possible, emotionally regrettable.
Step 3: Prepare the Stone or Sharpener
If you are using a water stone, soak or splash it according to the maker’s instructions. If you are using an oil stone, use the proper oil. If you are using a diamond stone, follow the brand’s guidance; many can be used dry or with water. The point is simple: let the abrasive work smoothly and prevent the edge from grabbing.
Set the sharpener on a stable surface with a towel or non-slip base underneath. Small blades demand extra control, and a sliding stone is a great way to turn a maintenance task into a first-aid event.
Step 4: Set Your Sharpening Angle
For a typical Swiss Army Knife blade, aim for about 15 to 20 degrees per side. If you are new to sharpening, do not obsess over hitting a mathematically perfect angle. Consistency matters more than precision down to the last degree.
A simple trick is to color the bevel with a marker. Make a light pass on the stone and check where the marker was removed. If you rubbed off ink right at the edge, your angle is close. If the marker disappears higher on the bevel, your angle is too steep. If it stays at the edge and disappears above it, your angle is too low. It is the cheapest coaching session your knife will ever get.
Step 5: Sharpen the First Side With Controlled Strokes
Place the blade on the stone at your chosen angle. Starting near the heel of the blade, move it across the stone so the entire edge travels from heel to tip in one smooth pass. Use light to moderate pressure. You are sharpening, not trying to press the stone into next week.
Keep the angle steady and repeat the same motion several times. Some people prefer edge-leading strokes, while others use a guided system that determines the motion for them. Either method can work as long as it is safe and consistent.
Because a Swiss Army Knife blade is compact, it helps to move slowly and deliberately. Fast sharpening looks impressive in videos, but real-life sharpening rewards calm hands more than action-movie energy.
Step 6: Sharpen the Second Side the Same Way
Now switch sides and repeat the process. Try to match the number of strokes and the pressure you used on the first side. If you do ten passes on one side and then three distracted half-passes on the other while thinking about lunch, your edge will show it.
The goal is symmetry. An even edge cuts better, lasts longer, and is easier to maintain the next time around. If your knife was badly dulled on one side or had visible damage, you may need slightly more work on that side, but do not overcorrect without checking your progress.
Step 7: Raise and Detect a Burr
As you sharpen, a tiny burr should form on the opposite side of the edge. This means you have removed enough metal to reach the apex. It is one of the clearest signs that sharpening is actually happening and not just becoming a meditative hand exercise.
Carefully feel for the burr by lightly brushing across the edge, never along it. Use your fingernail or fingertip gently and only from the spine toward the edge. Once you detect a burr along most of the blade, switch sides until the burr flips, then reduce pressure.
If you never raise a burr, your angle may be off, your stone may be too fine for the damage level, or you may be treating the process like a fragile handshake. Controlled pressure is good. Fearful hovering is not.
Step 8: Move to a Finer Grit
Once the edge is established, switch to a finer stone or finer stage on your sharpener. This step refines the scratch pattern, smooths the edge, and makes the blade cut more cleanly. It also helps remove the rough, toothy feel left behind by coarser abrasives.
Use lighter pressure here. The blade should start to feel smoother on the stone, and the edge should look cleaner under light. For routine maintenance, many people can start and finish on medium to fine abrasives without ever needing a coarse stone at all.
Step 9: Hone, Strop, and Test the Edge
After sharpening, refine the edge with a leather strop or a fine ceramic rod if you have one. Stropping helps remove the last bits of burr and polishes the apex. Use light strokes and keep the blade angled consistently. On a strop, pull the edge away from the cutting direction so you do not slice into the leather.
To test sharpness, try slicing paper, shaving a little fuzz from a piece of cardboard, or cutting cleanly through a tomato skin. Use tests that tell you something useful without risking your fingers. Running your thumb dramatically down the edge is a terrible test and an even worse personality trait.
Step 10: Clean, Oil, and Store the Knife Properly
Wipe the blade clean to remove metal particles and abrasive residue. If you washed the knife or used water on the stone, dry it thoroughly before closing it. Add a tiny drop of appropriate oil to the pivot if the action feels dry or sticky.
Store the knife dry. Regular maintenance matters just as much as the sharpening session itself. Light touch-ups done more often are usually better than waiting until the knife is embarrassingly dull and then attacking it with the enthusiasm of a medieval blacksmith.
Common Mistakes to Avoid
Using Too Much Pressure
Heavy pressure removes too much steel, creates uneven bevels, and makes it harder to hold your angle. Let the abrasive do the work.
Changing Angles Mid-Stroke
This is one of the fastest ways to get a blunt edge with lots of scratches and very little actual sharpness. Pick an angle and stay loyal to it.
Starting Too Coarse
If the blade is only moderately dull, you do not need to start with a very rough grit. Coarse abrasives are best for damage repair or serious reprofiling.
Skipping the Fine Stage
A coarse edge may feel aggressive at first, but it often cuts less cleanly and dulls in a rougher, less predictable way. Refinement matters.
Ignoring the Knife’s Other Tools
Swiss Army Knives have springs, scales, and multiple tools packed into a compact body. Keep everything else safely folded and work slowly.
What About Serrated Swiss Army Knife Blades?
If your Swiss Army Knife has a serrated or partially serrated blade, do not sharpen it like a plain edge on a flat stone. Use a tapered rod, ceramic cone, or narrow abrasive that fits the scallops. Work the beveled side of each serration, then lightly remove the burr from the flat side. It takes more patience, but it is far better than flattening the teeth and wondering where your slicing power went.
How Often Should You Sharpen It?
That depends on how you use it. If your Swiss Army Knife mostly opens packages and cuts twine, it may only need occasional touch-ups. If it spends weekends at campsites, fishing trips, picnic tables, and emergency snack duty, you will want to maintain it more often.
A good habit is to do light maintenance before the knife gets truly dull. Frequent, gentle sharpening preserves the blade better than long, aggressive sessions. In other words, do not wait until your knife can barely defeat a banana.
Experience Notes: What People Learn the Hard Way
One of the most common experiences beginners have when sharpening a Swiss Army Knife is realizing that a smaller blade is not automatically easier to sharpen. At first glance, the compact blade looks less intimidating than a chef’s knife or a big camp blade. In practice, though, the small size leaves less room for sloppy technique. A person may start confidently, make a few quick passes, and then notice the edge is still dull because the angle drifted during every stroke. The lesson usually comes fast: slow down, shorten the stroke, and focus on control. The blade is small, but the margin for inconsistency is also small.
Another familiar experience happens when someone tries to sharpen a Swiss Army Knife the same way they sharpen a larger outdoor knife. They use too much force, start on a coarse abrasive, and expect dramatic results in thirty seconds. Instead, they end up with a rough edge that looks busy but does not cut cleanly. What fixes it is almost always the same combination of humility and finer grit. Once people lighten up the pressure and spend more time refining the edge, the knife suddenly behaves the way they hoped. Sharpening becomes less about brute force and more about precision.
There is also the moment many users discover the importance of cleaning before sharpening. A pocket knife that lives in a pocket, bag, glove box, or tackle kit collects grime like it is getting paid for it. Dust, tape residue, dried fruit sugars, and pocket lint can make the knife feel duller than it really is. Some people clean the blade and pivot first and find the knife instantly performs better, even before sharpening begins. Others skip cleaning, struggle through the sharpening session, and then wonder why the knife still feels draggy. With Swiss Army Knives especially, maintenance and sharpening work best as a team.
Beginners also tend to remember their first successful burr. Before that moment, sharpening can feel vague and suspicious, like folding laundry or trying to understand tax forms. You move the blade, you hear the stone, and you hope progress is happening. Then, finally, you feel that tiny burr on the opposite side and everything clicks. Now there is proof. Now the edge is actually reaching the apex. That small discovery often changes sharpening from a frustrating chore into a skill people enjoy practicing.
And then there is the finishing stage, which many people underestimate until they try it. A Swiss Army Knife can seem sharp after the main sharpening passes, but stropping or lightly honing often makes the difference between “pretty good” and “wow, that cuts clean.” People notice this when slicing paper or opening packages: the edge feels smoother, more confident, and less snaggy. That is usually the point when they stop seeing sharpening as emergency repair and start treating it as regular upkeep. Once that habit forms, the knife stays useful, the blade lasts longer, and every little cutting job becomes easier. It is not glamorous, but neither is fighting a dull blade while your sandwich waits impatiently nearby.
Final Thoughts
If you want the simplest answer to how to sharpen a Swiss Army Knife, here it is: clean the knife, hold a steady 15 to 20 degree angle, sharpen both sides evenly, refine the edge with a finer grit, and finish with a light strop or hone. That is the core of the process.
The rest is practice. Your first session may feel awkward, your second will feel better, and by the third or fourth you will start noticing tiny details that make a big difference. Sharpening is one of those practical skills that rewards patience fast. Once you get it right, your Swiss Army Knife goes back to being what it was always meant to be: a compact little problem-solver that actually cuts when asked.