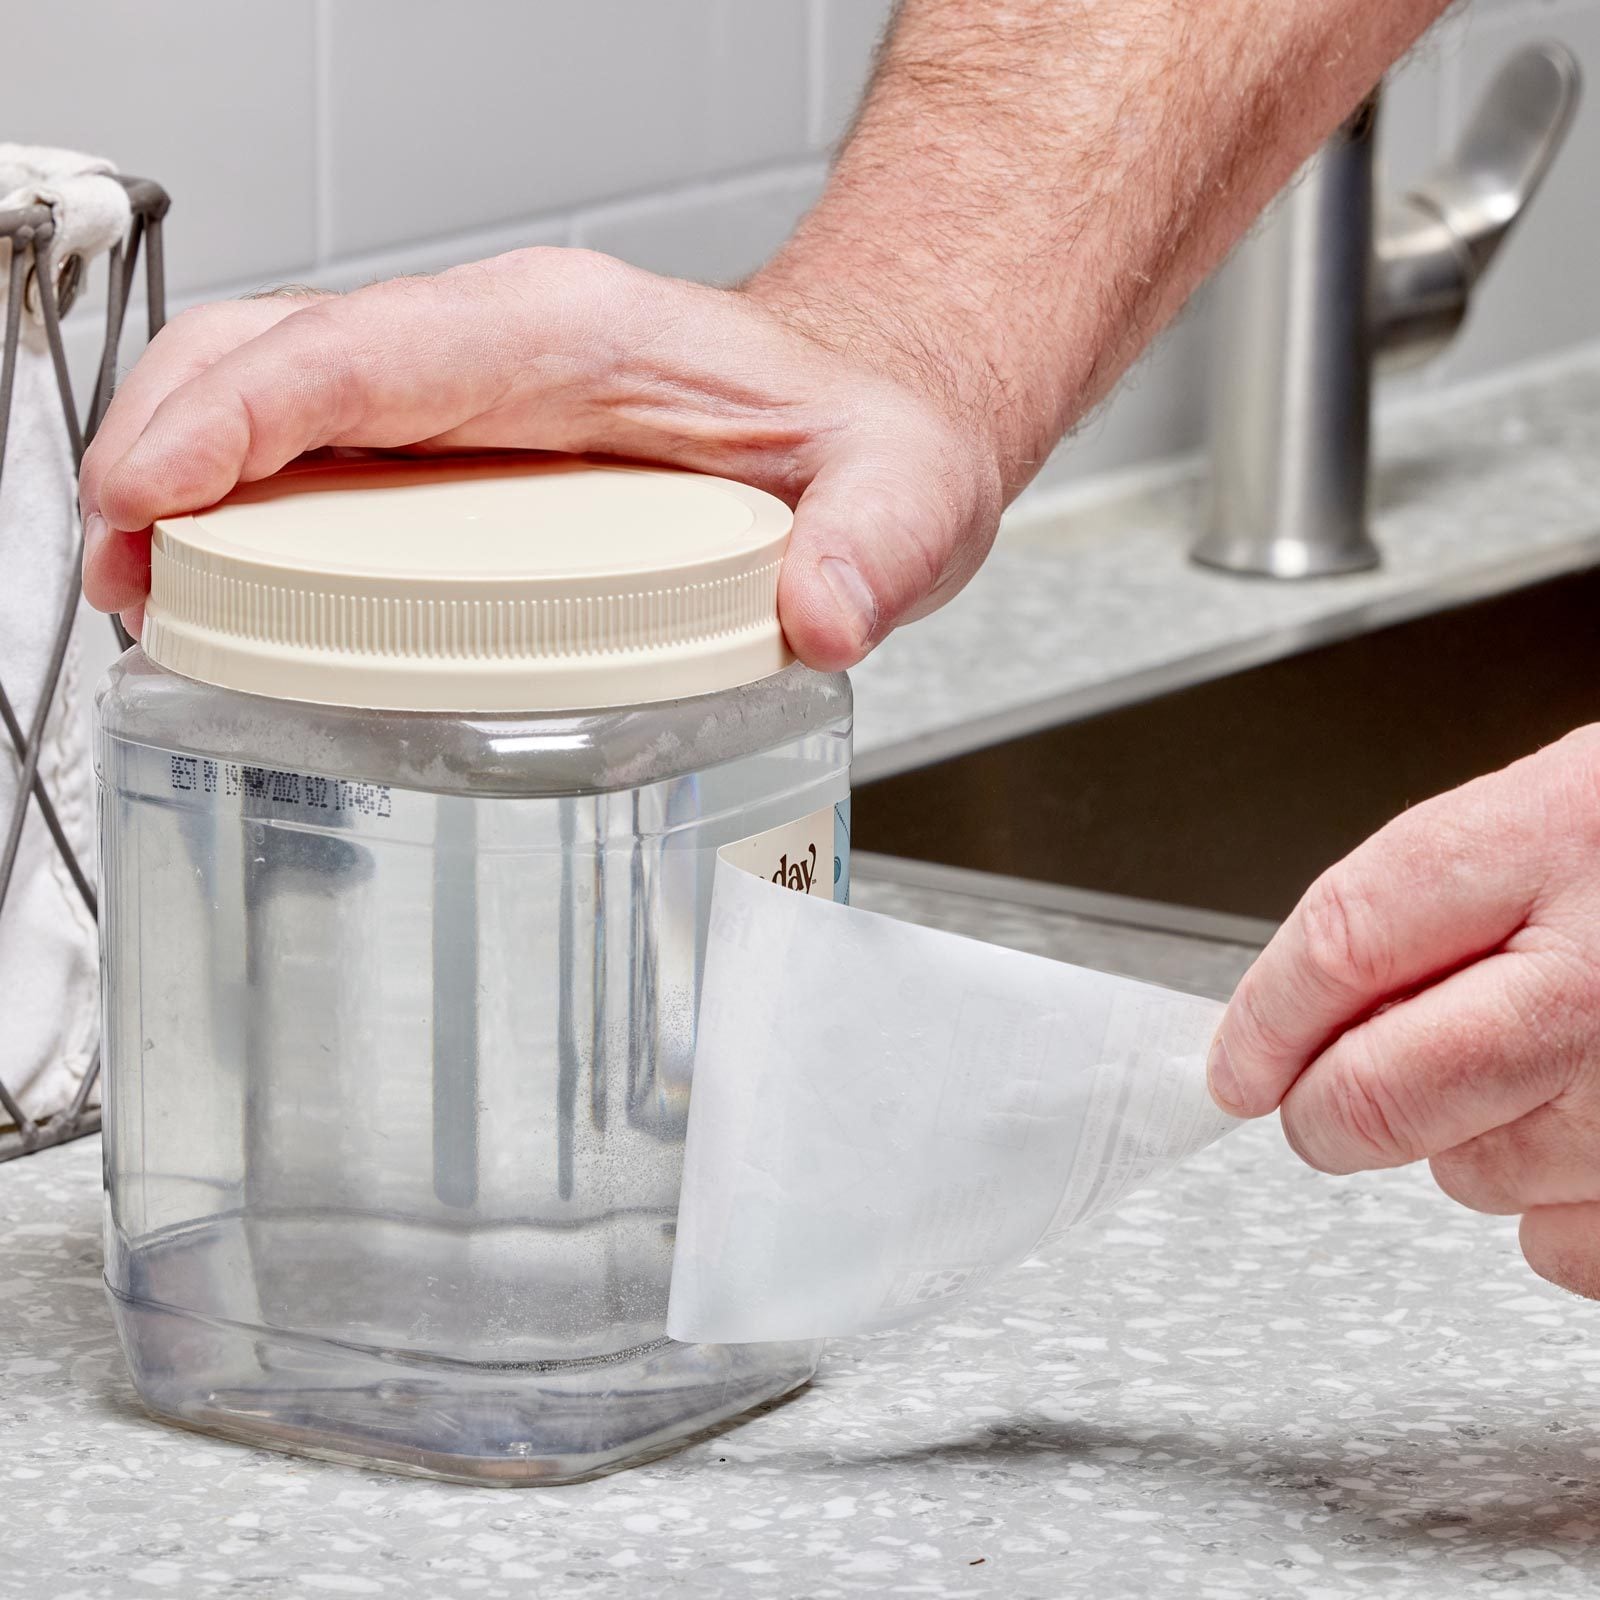
A stuck object can turn a two-minute task into an afternoon showdown. One moment you are opening pasta sauce; the next, you are negotiating with a jar lid as though it has legal representation. Rusted bolts, jammed zippers, stripped screws, nested glasses, swollen fingers, and objects dropped into drains all resist removal for different reasons. Treating them alike usually leads to broken parts, scraped knuckles, or colorful new vocabulary.
The secret is not simply applying more force. Successful removal depends on identifying what is holding the object, choosing the correct technique, and increasing force gradually. These ten practical tips explain how to remove stuck objects safely while reducing the risk of damaging the object, the surrounding surface, or yourself.
1. Identify Why the Object Is Stuck
Before pulling, twisting, or reaching for the largest wrench in the garage, determine what is creating resistance. Most stuck objects fall into one of several categories:
- Corrosion: Rust has bonded metal threads or surfaces together.
- Friction: Two dry or tightly fitted surfaces cannot slide past each other.
- Pressure: A vacuum seal, swelling, or trapped air is holding the object.
- Misalignment: A zipper, drawer, pipe fitting, or threaded part is sitting at an angle.
- Adhesive: Glue, tape residue, paint, mineral deposits, or dried food is acting like cement.
A jar lid needs grip or a released vacuum seal. A rusty bolt needs cleaned threads and penetrating oil. A crooked drawer needs realignment. Diagnosis prevents the classic mistake of using the right amount of determination in entirely the wrong direction.
2. Stabilize the Area Before Applying Force
Secure the stationary part so your effort reaches the obstruction instead of moving everything around it. Place a jar on a nonslip mat, clamp a metal component in a padded vise, or ask someone to hold a piece of furniture steady. Protect finished surfaces with cardboard, a folded towel, painter’s tape, or thin wood scraps.
Prepare for sudden movement
Stuck objects often release abruptly. Position your hands so they will not fly into sharp edges when resistance disappears. Wear safety glasses when working with rust, glass, drills, extractors, or metal fragments. Use work gloves where appropriate, but keep loose gloves away from rotating tools.
3. Improve Your Grip Before Increasing Your Strength
Slipping wastes force and damages surfaces. Rubber gloves, silicone pads, shelf liner, or a wide rubber band can provide enough friction to open a stubborn jar. Better Homes & Gardens notes that textured silicone openers work by improving grip, while handled jar openers add leverage for people with limited hand strength.
For plumbing fixtures, filters, polished tubes, and lids, use a strap wrench. Its flexible strap distributes pressure without leaving the tooth marks produced by ordinary pliers. When removing a bolt, use a snug six-point socket rather than a loose adjustable wrench. A close fit transfers more torque and is less likely to round the fastener.
4. Pull or Turn in the Correct Direction
Many objects become more firmly wedged when pulled sideways. Keep your effort aligned with the object’s intended path. Pull a splinter in the direction it entered, move a zipper slider along the teeth, and turn a standard threaded fastener counterclockwise when viewed from its head.
Use small alternating movements
If steady pressure fails, try a controlled wiggle. Turn a rusty nut slightly tighter, then slightly looser. Rock a drawer while lifting it a fraction of an inch. Twist a ring gently instead of dragging it straight over the knuckle. Alternating motion can break small bonds without concentrating enough force to snap the object.
5. Choose a Lubricant That Suits the Material
Lubrication reduces friction, but one product does not belong everywhere. Use dish soap, petroleum jelly, or hand lotion for a tight ring when there is no injury. Rub a tiny amount of candle wax or zipper lubricant along stubborn zipper teeth, keeping it away from delicate fabric. Food-safe oil can help with certain kitchen parts, while a silicone lubricant may be appropriate for compatible rubber or plastic components.
For corroded metal fasteners, use penetrating oil rather than an ordinary general-purpose lubricant. Remove loose rust with a wire brush, apply the penetrant to the threads, and allow time for it to travel into the joint. This Old House recommends allowing penetrating oil to soak before trying a stuck faucet nut, with repeated applications for severe corrosion.
Do not use industrial solvents on skin, food-contact surfaces, electronics, or plastics unless the manufacturer confirms compatibility. Wipe away excess lubricant so your new solution does not create a fresh slipping problem.
6. Use Temperature Changes Carefully
Materials expand when warmed and contract when cooled, although they do so at different rates. Running warm water over a metal jar lid may expand it slightly while also softening dried residue. Keep the glass body at a moderate temperature and dry the lid before turning it with a rubber grip.
For nested metal bowls, cool the inner bowl while gently warming the outer one. The temperature difference may create a small but useful gap. Avoid extreme temperature changes with glass, ceramic, brittle plastic, or unknown materials because thermal shock can cause cracking or shattering.
Be extremely cautious with heat
Professionals sometimes use controlled heat on seized metal fasteners, but open flames are dangerous near penetrating oils, fuel, wiring, seals, paint, and enclosed spaces. For most household projects, a hair dryer or warm water is safer than a torch. If significant heat appears necessary, call a qualified technician.
7. Apply Tapping and Vibration Instead of a Heavy Blow
Light vibration can fracture rust, dried residue, or mineral deposits. Tap around a metal fitting with a small hammer, using a wood block to protect the surface. A stuck screw may respond to a firm tap on the screwdriver handle while the bit is seated in the head. The goal is to shock the bond, not audition for a demolition crew.
Use several light, controlled taps and inspect after each round. Never strike pressurized containers, batteries, tempered glass, plumbing under pressure, or delicate cast components. If the material begins to crack, deform, or shed fragments, stop immediately.
8. Add Leverage Gradually
A longer handle increases torque, but leverage should be treated like hot sauce: add a little, check the result, and resist the urge to empty the bottle. Start with hand pressure, progress to a suitable wrench, and use a breaker bar only when the fastener and surrounding assembly can withstand the load.
Keep the tool square to the fastener. Side loading can bend bolts, crack fittings, or round corners. Popular Mechanics recommends a well-fitting six-point tool for rusty hardware because open-end or poorly fitting wrenches are more likely to damage the flats.
Never extend a tool handle unless the tool is designed for that load. Do not use leverage on gas fittings, pressurized plumbing, vehicle safety components, or unknown electrical equipment without proper training.
9. Use a Tool Designed for the Specific Obstruction
Specialty tools often succeed because they grip or retrieve an object in a way improvised tools cannot.
- Stripped screw: Try the correct fresh bit, locking pliers if the head is exposed, or a screw extractor. Lowe’s recommends drilling carefully and turning an extractor counterclockwise.
- Dropped metal item: Use a flexible magnetic pickup tool if the object is magnetic.
- Object in a drain: Shut off the water, remove an accessible trap, or use a flexible claw retriever. Avoid pushing the object deeper.
- Stuck glass or suction cup: Work a thin plastic card beneath the edge to admit air. Avoid metal blades.
- Small part in a narrow gap: Use long tweezers, a mechanical pickup claw, or an inspection camera.
Match the tool to the material and size. An oversized extractor can destroy a small screw, while a powerful magnet can interfere with electronics or damage magnetic storage devices.
10. Know When to Stop and Get Professional Help
Repeated failure is useful information. Stop if the object cracks, the fastener rounds, a pipe twists, wires appear, glass chips, or the surrounding material begins moving. Continuing may turn a modest service call into a full replacement.
Professional help is appropriate for gas lines, electrical panels, pressurized systems, major plumbing joints, vehicle brakes, structural hardware, valuable jewelry, and anything lodged in the body. An embedded object in the eye should not be touched with tweezers or cotton swabs; Mayo Clinic recommends gentle flushing only for loose surface debris and medical care when an object remains embedded.
Special rules for rings and splinters
For a mildly stuck ring, elevate and cool the hand, apply a skin-safe lubricant, and twist gently. Harvard Health describes a dental-floss wrapping technique, but the floss must be removed promptly if the ring does not come off. Seek urgent care for discoloration, numbness, increasing swelling, injury, or severe pain.
A small, superficial splinter may be removed with clean tweezers by pulling in the same direction it entered. The American Academy of Dermatology recommends cleaning the area and sterilizing the tweezers with rubbing alcohol. Do not squeeze the splinter, since it may break. Deep, painful, contaminated, or difficult-to-reach splinters require medical care.
Quick Guide for Common Stuck Objects
| Stuck Object | Best First Attempt | What to Avoid |
|---|---|---|
| Jar lid | Dry the lid and use a silicone grip | Hitting glass or using extreme heat |
| Rusted nut or bolt | Brush away rust and apply penetrating oil | Using a loose wrench or immediate maximum force |
| Stripped screw | Seat the correct bit or use locking pliers | High drill speed and excessive pressure |
| Jammed zipper | Realign the fabric and lubricate the teeth lightly | Yanking the slider |
| Nested bowls | Cool the inner bowl and gently warm the outer bowl | Thermal shock or metal prying tools |
| Object in a sink drain | Stop the water and use a claw or remove the trap | Flushing the object farther into the pipe |
| Ring on a swollen finger | Elevate, cool, lubricate, and twist gently | Delaying care when circulation is affected |
Conclusion
Removing stuck objects is less about brute strength than controlled problem-solving. First identify the cause, stabilize the work area, improve your grip, and apply the mildest suitable method. Lubrication, temperature changes, tapping, and leverage can help, but each must be matched to the material and situation. Specialty removal tools are usually cheaper than replacing something damaged by improvisation.
Most importantly, recognize the boundary between a manageable household nuisance and a genuine safety hazard. A stubborn lid deserves patience. A deeply embedded object, compromised finger, gas fitting, or cracking glass deserves professional help.
Practical Experiences: What Stuck Objects Teach You
One of the most useful lessons comes from the ordinary jar lid. People often begin by squeezing harder, which tires the hand without improving traction. Drying the jar, wrapping a silicone pad around the lid, and holding the container close to the body usually produces a better result. If that fails, warming only the lid under the faucet may loosen the seal. The experience demonstrates a rule that applies almost everywhere: increase control before increasing force.
A rusted outdoor bolt teaches patience. The first impulse is often to attach a wrench and lean on it until something moves. Unfortunately, the moving object may be the bolt head separating from the shaft. A better sequence is to brush away surface rust, apply penetrating oil, wait, tap lightly, and use a properly fitted socket. Sometimes the bolt releases with a small squeak that sounds suspiciously pleased with itself. Waiting ten or twenty minutes can save an hour of drilling.
Jammed zippers offer a lesson in observation. A slider may appear mechanically frozen when a tiny fold of lining is trapped beneath it. Pulling harder draws more fabric into the slider. Holding the fabric taut, moving the slider slightly backward, and teasing the cloth free with tweezers is slower but far more effective. Once the fabric is clear, a minute amount of zipper lubricant can restore movement.
Nested bowls are another excellent example. Pulling straight upward creates a partial vacuum and encourages the rims to bind. Introducing a temperature difference and gently rotating the bowls can release them with almost no force. Place cool water in the inner metal bowl and warm water around the outer bowl, keeping water away from the gap if suction is the problem. Glass bowls require gentler, moderate temperatures and protective towels because saving a bowl is never worth turning it into glitter with sharp opinions.
Objects dropped into sink drains teach the value of stopping early. Running water to “see where it went” usually carries the object beyond easy reach. Instead, stop using the faucet, place a bucket below the P-trap, and retrieve the item with a claw tool or by carefully removing the trap when appropriate. Photographing the plumbing before disassembly makes reassembly much easier.
Finally, stuck rings show why safety must outrank property. Mild swelling may improve after elevation, cooling, lubrication, and gentle twisting. Continued pulling, however, can increase swelling. If the finger becomes numb, painful, cold, pale, or blue, the experiment is over. Emergency professionals have tools designed to remove rings while protecting circulation. The ring can often be repaired; a finger is considerably less convenient to resize.
Across all these experiences, the winning pattern remains consistent: pause, diagnose, protect, and escalate gradually. Stuck objects rarely reward panic, but they often surrender to a calm plan and the correct tool.