Finding a tick attached to your skin is not exactly anyone’s idea of a relaxing nature moment. One minute you are enjoying a hike, mowing the lawn, camping, gardening, or petting the dog after a backyard adventure. The next minute, there it is: a tiny, stubborn hitchhiker treating your ankle, scalp, waistline, or armpit like an all-you-can-eat buffet. Gross? Yes. Panic-worthy? Usually, no.
The good news is that learning how to remove a tick is simple, quick, and very doable at home when you have the right tools and a calm hand. The better news is that you do not need a magic trick, a burning match, nail polish, peppermint oil, petroleum jelly, or any other old-school remedy that sounds like it was invented during a campfire argument. In fact, those methods can make the situation worse by delaying removal or irritating the tick.
This guide explains four safe ways to remove a tick, what to do after the tick is out, when to call a healthcare provider, and how to avoid future bites. Whether you are dealing with a tick on yourself, your child, or a pet, the goal is the same: remove it as soon as possible, remove it cleanly, and keep an eye on the bite area afterward.
Why Removing a Tick Quickly Matters
Ticks are small blood-feeding arachnids that can attach to humans and animals. Some ticks can spread illnesses such as Lyme disease, Rocky Mountain spotted fever, ehrlichiosis, anaplasmosis, babesiosis, and alpha-gal syndrome. Not every tick carries disease, and not every tick bite causes illness, but prompt removal lowers the chance of problems.
Many tick-borne infections are more likely when a tick stays attached for a longer period. That is why the best response is not to stare at it for twenty minutes while Googling “is this thing judging me?” Instead, gather your supplies and remove it carefully.
Before you start, take a breath. A steady hand works better than a dramatic one. You want to grasp the tick close to the skin, pull it out with even pressure, clean the area, and monitor for symptoms over the next few weeks.
What You Need Before Removing a Tick
For most tick removals, you only need a few basic supplies:
- Fine-tipped tweezers or a tick-removal tool
- Rubbing alcohol or soap and water
- Gloves, tissue, or a paper towel if available
- A small sealed bag or container for disposal or identification
- A phone camera to photograph the tick and bite site
Fine-tipped tweezers are the most commonly recommended tool because they help you grab the tick close to the skin without squeezing its body. If you only have regular tweezers, use them carefully. If you are outdoors and have no tools at all, there is still a safer backup method, which we will cover below.
Way 1: Remove a Tick With Fine-Tipped Tweezers
This is the classic, reliable, recommended method. It works for most attached ticks and is the first option you should use when fine-tipped tweezers are available.
Step 1: Clean the area if you can
If you have access to soap and water or rubbing alcohol, gently clean around the tick bite. Do not scrub aggressively. The tick has already made a small opening in the skin, so your goal is to keep the area clean, not sand it down like an old picnic table.
Step 2: Grasp the tick close to the skin
Position the tweezer tips as close to the skin’s surface as possible. Try to grab the tick near its head or mouthparts, not around the swollen body. Squeezing the body can increase the risk of pushing tick fluids toward the bite area.
Step 3: Pull upward with steady, even pressure
Pull straight upward slowly and firmly. Do not twist, jerk, scrape, or yank sideways. Ticks attach with mouthparts that can act like tiny anchors, so steady pressure is your friend. Think “smooth elevator,” not “angry lawn mower cord.”
Step 4: Check the bite site
Once the tick is out, look at the bite area. If a tiny dark speck remains, it may be a mouthpart. If you can easily remove it with clean tweezers, do so. If it does not come out easily, leave it alone and let the skin heal. Digging around can irritate the skin and increase the chance of infection.
Step 5: Clean your hands and the bite
Wash your hands and clean the bite area with soap and water or rubbing alcohol. You can apply a small bandage if the spot is irritated or if clothing rubs against it.
Way 2: Remove a Tick With a Tick-Removal Tool
Tick-removal tools, sometimes called tick keys, tick hooks, or tick spoons, are small devices designed to slide under or around the tick so you can lift it away from the skin. They are popular with hikers, campers, pet owners, hunters, gardeners, and anyone who spends time in wooded or grassy areas.
A tick-removal tool can be helpful when the tick is small, when your hands are shaky, or when you are removing ticks from pets with thick fur. Still, the same rule applies: get close to the skin and avoid crushing the tick’s body.
How to use a tick-removal tool
- Read the tool’s directions, because designs vary.
- Slide the notch or opening around the tick as close to the skin as possible.
- Lift or pull steadily according to the tool’s instructions.
- Avoid twisting unless the specific tool is designed for a gentle turning motion.
- Clean the bite area and the tool afterward.
The biggest advantage of a tick-removal tool is convenience. Many are small enough to keep on a keychain, in a first-aid kit, or in a dog-walking bag. The downside is that some tools may be less precise than fine-tipped tweezers for very tiny ticks, especially nymph ticks that look like moving freckles with bad intentions.
If the tool does not grip the tick well, switch to tweezers. The best tick removal method is the one that removes the tick promptly and completely without squeezing it.
Way 3: Remove a Tick With Protected Fingers When No Tools Are Available
Tweezers are best. A tick-removal tool is also a smart choice. But real life has a way of putting ticks on people in inconvenient places at inconvenient times. Maybe you are on a trail, at a campsite, or in the middle of a soccer field with no first-aid kit in sight.
If you do not have tweezers and cannot get them quickly, you can use your fingers as a last-resort method, but do not touch the tick with bare hands. Use a tissue, paper towel, leaf-free clean cloth, plastic bag, or glove as a barrier.
How to do it safely
- Cover your fingers with tissue, paper towel, a glove, or a plastic bag.
- Grip the tick as close to the skin as possible.
- Pull straight upward slowly and steadily.
- Do not crush the tick between your fingers.
- Wash your hands and the bite area as soon as possible.
This method is not ideal because fingers are less precise than tweezers. However, prompt removal is important, and a barrier helps protect your skin from contact with tick fluids. Afterward, clean the area thoroughly and consider taking a photo of the tick if you can.
Once you are home, add fine-tipped tweezers or a tick-removal tool to your outdoor kit. Future you will be very grateful, and possibly less itchy.
Way 4: Get Medical Help for Difficult Tick Removal
Most ticks can be removed at home, but some situations deserve professional help. If the tick is attached near the eye, deep inside the ear, on very sensitive skin, or in a spot where you cannot see or reach it well, contact a healthcare provider or urgent care clinic.
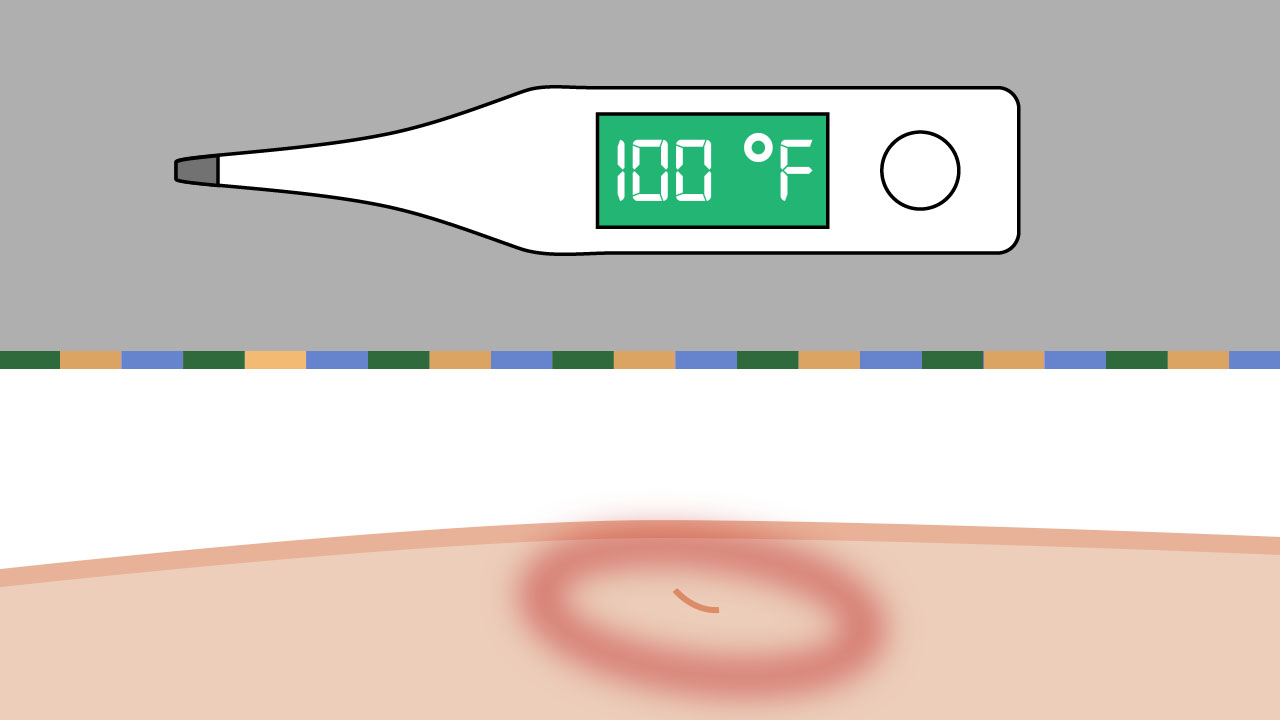
You should also seek medical advice if you cannot remove the tick, if the bite area becomes increasingly red, swollen, painful, warm, or pus-filled, or if you develop symptoms such as fever, chills, headache, fatigue, muscle aches, joint pain, swollen lymph nodes, or a spreading rash.
A circular or expanding rash after a tick bite can be a warning sign, even if it does not look like the classic “bull’s-eye” image people often imagine. Some tick-borne illnesses do not cause an obvious rash at all. That is why it helps to write down the date of the bite, where on the body it happened, and where you likely picked up the tick.
If the tick was attached for a long time or you live in an area where Lyme disease is common, a healthcare provider can help decide whether treatment or monitoring is needed. Do not start antibiotics on your own or ignore symptoms because the tick was “probably nothing.” With tick bites, calm attention is better than both panic and denial.
What Not to Do When Removing a Tick
Tick removal has attracted a surprising amount of folklore. Unfortunately, many old tricks are bad ideas. They may delay removal, irritate the tick, or increase the chance that the tick releases fluids into the bite area.
Avoid these tick removal mistakes
- Do not burn the tick with a match, lighter, or heated pin.
- Do not cover the tick with petroleum jelly.
- Do not paint the tick with nail polish.
- Do not use gasoline, alcohol, essential oils, or harsh chemicals to “make it back out.”
- Do not twist, jerk, crush, or squeeze the tick’s body.
- Do not dig into the skin if tiny mouthparts remain and will not come out easily.
The tick is not a tiny vampire that can be negotiated with. It will not politely detach because you threatened it with lip balm. The safest move is mechanical removal: grip close, pull steadily, clean thoroughly.
How to Dispose of a Tick After Removal
Once the tick is out, do not crush it with your fingers. You can place it in a sealed bag, wrap it tightly in tape, put it in alcohol, or flush it down the toilet. If you are concerned about identification, take a clear photo before disposal. Try to photograph the top and bottom of the tick if possible.
Some people save the tick in a sealed container in case symptoms develop later. This may help with identification, but testing the tick itself is not always useful for deciding whether a person needs treatment. If you feel unwell after a tick bite, call a healthcare provider and share the date of the bite, the likely location of exposure, and any photos you took.
What to Watch for After a Tick Bite
After removing a tick, monitor the bite area and your general health for several weeks. A small bump, mild redness, or itchiness can happen after many insect or tick bites. However, symptoms that spread, worsen, or come with fever-like illness deserve attention.
Call a healthcare provider if you notice:
- A spreading rash or expanding red area
- Fever, chills, or unusual tiredness
- Headache, stiff neck, muscle aches, or joint pain
- Swollen lymph nodes
- Increasing pain, warmth, swelling, or drainage at the bite site
- Any symptoms that feel unusual after a tick bite
Take photos of the bite area if a rash appears. A daily photo in the same lighting can help show whether the redness is expanding. Also, avoid scratching the bite. Scratching may feel satisfying for about three seconds, but irritated skin is more likely to become infected.
How to Prevent Tick Bites in the First Place
Removing a tick safely is important, but preventing the bite is even better. Ticks often live in wooded areas, brush, tall grass, leaf litter, and the edges of trails or yards. They do not jump or fly; they wait on vegetation and grab onto passing people or animals.
Smart tick prevention tips
- Walk in the center of trails when hiking.
- Use an EPA-registered insect repellent according to the label.
- Treat clothing and gear with products containing 0.5% permethrin, or buy pretreated gear.
- Wear long sleeves, long pants, and closed shoes in tick-heavy areas.
- Tuck pants into socks when walking through brush or tall grass.
- Shower after outdoor activities and check your body carefully.
- Check hidden areas such as the scalp, behind ears, armpits, waistline, belly button, groin, backs of knees, and ankles.
- Check pets after outdoor time, even if they use tick prevention products.
Around the yard, you can reduce tick habitat by keeping grass trimmed, removing leaf litter, creating a barrier between lawns and wooded areas, and discouraging deer and rodents from hanging out near your home. Ticks love messy edges. Your yard does not need to look like a golf course, but reducing brushy, damp hiding spots can help.
Common Questions About Tick Removal
What if the tick head stays in the skin?
What people call the “head” is usually the tick’s mouthparts. If they remain and you can remove them easily with clean tweezers, do so. If not, leave the area alone and let the skin heal. Do not carve into your skin trying to remove a tiny speck.
Should I put alcohol on the tick before removing it?
Use alcohol to clean your tweezers, your hands, and the bite area after removal. Do not rely on alcohol to make the tick detach. The goal is to remove the tick quickly, not wait for it to reconsider its life choices.
Can I remove a tick from a dog the same way?
Yes, the basic idea is similar: grasp close to the skin, pull steadily, and avoid squeezing the tick. Because pets have fur and may wiggle, a tick-removal tool can be useful. Contact a veterinarian if the tick is in a difficult location, if your pet develops symptoms, or if you have questions about tick prevention products.
Should I see a doctor after every tick bite?
Not always. Many tick bites can be handled at home with proper removal and monitoring. However, medical advice is important if symptoms develop, if the tick may have been attached for a long time, if you are unsure whether it was fully removed, or if you live in a high-risk area for tick-borne disease.
Real-Life Experiences and Practical Lessons From Tick Removal
Tick removal is one of those small life skills that feels unnecessary until it suddenly becomes the most important thing in the room. The first lesson many outdoor people learn is that ticks rarely appear at convenient times. They show up after a long hike, while you are unloading groceries, during a family camping trip, or right after your dog proudly returns from investigating every suspicious shrub in the neighborhood.
One practical experience that comes up again and again is the value of having a “tick kit.” It does not need to be fancy. A small zip bag with fine-tipped tweezers, alcohol wipes, tissues, a tiny magnifier, and a few adhesive bandages can turn a stressful moment into a manageable one. Keep one in your hiking backpack, one in the car, and one near the door if you live in a tick-prone area. The best tool is the one you can actually find when the tick is attached.
Another lesson: good lighting matters. A tick can look like a speck of dirt, a scab, a freckle, or a tiny seed. People often discover ticks in bathrooms because bright lights and mirrors make full-body checks easier. After a hike or yardwork, check slowly and methodically. Start at the ankles and work upward. Pay attention to sock lines, waistbands, the backs of knees, underarms, and the scalp. Ticks seem to have a talent for choosing the most annoying hiding places, as if they attended a workshop called “How to Be Inconvenient.”
Parents often learn that calm delivery makes a big difference. If a child finds a tick, avoid gasping, shouting, or announcing, “Don’t move, this is bad!” A better approach is simple: “You found a tick. We know what to do. I’m going to remove it carefully.” Children take emotional cues from adults. A calm voice, a clear explanation, and a quick reward afterward can make the experience far less scary.
Pet owners learn a different lesson: check the dog before the dog checks the couch. Ticks can crawl from pets onto furniture or people. After walks through tall grass, wooded trails, or leaf piles, run your hands over your pet’s body. Feel for small bumps around the ears, neck, collar line, toes, tail, and belly. If you find one, remove it carefully and clean the spot. Ask your veterinarian about reliable tick prevention, because pets can bring ticks into the home even when humans never leave the sidewalk.
People who spend a lot of time outdoors also learn not to trust myths. Someone will always suggest petroleum jelly, a hot match, or essential oil. These ideas sound confident, but confidence is not the same as correctness. The safest experience-backed habit is boring in the best possible way: tweezers, steady pull, clean skin, monitor symptoms.
Finally, record-keeping helps. After removing a tick, take a photo of the bite area and note the date. If symptoms appear later, you will not have to guess when it happened. This small detail can help a healthcare provider understand your situation. Tick removal is not about panic; it is about quick action, clean technique, and smart follow-up. Nature may come with tiny freeloaders, but with the right habits, you can handle them without turning the day into a medical mystery drama.
Conclusion: The Safest Tick Removal Method Is Simple
The best way to remove a tick is also the least dramatic: use clean fine-tipped tweezers, grasp the tick close to the skin, pull upward with steady pressure, clean the bite area, and watch for symptoms. A tick-removal tool is also useful, especially for outdoor kits and pet owners. If no tools are available, protected fingers can work as a last resort, but bare-handed removal is not recommended. For difficult cases or concerning symptoms, get medical help.
The main thing is not to wait around for the tick to detach on its own. Skip the petroleum jelly, nail polish, heat, and internet “hacks.” Ticks may be tiny, but your response should be smart, quick, and calm. With a little preparation, you can enjoy the outdoors without letting a sesame-seed-sized troublemaker ruin the adventure.