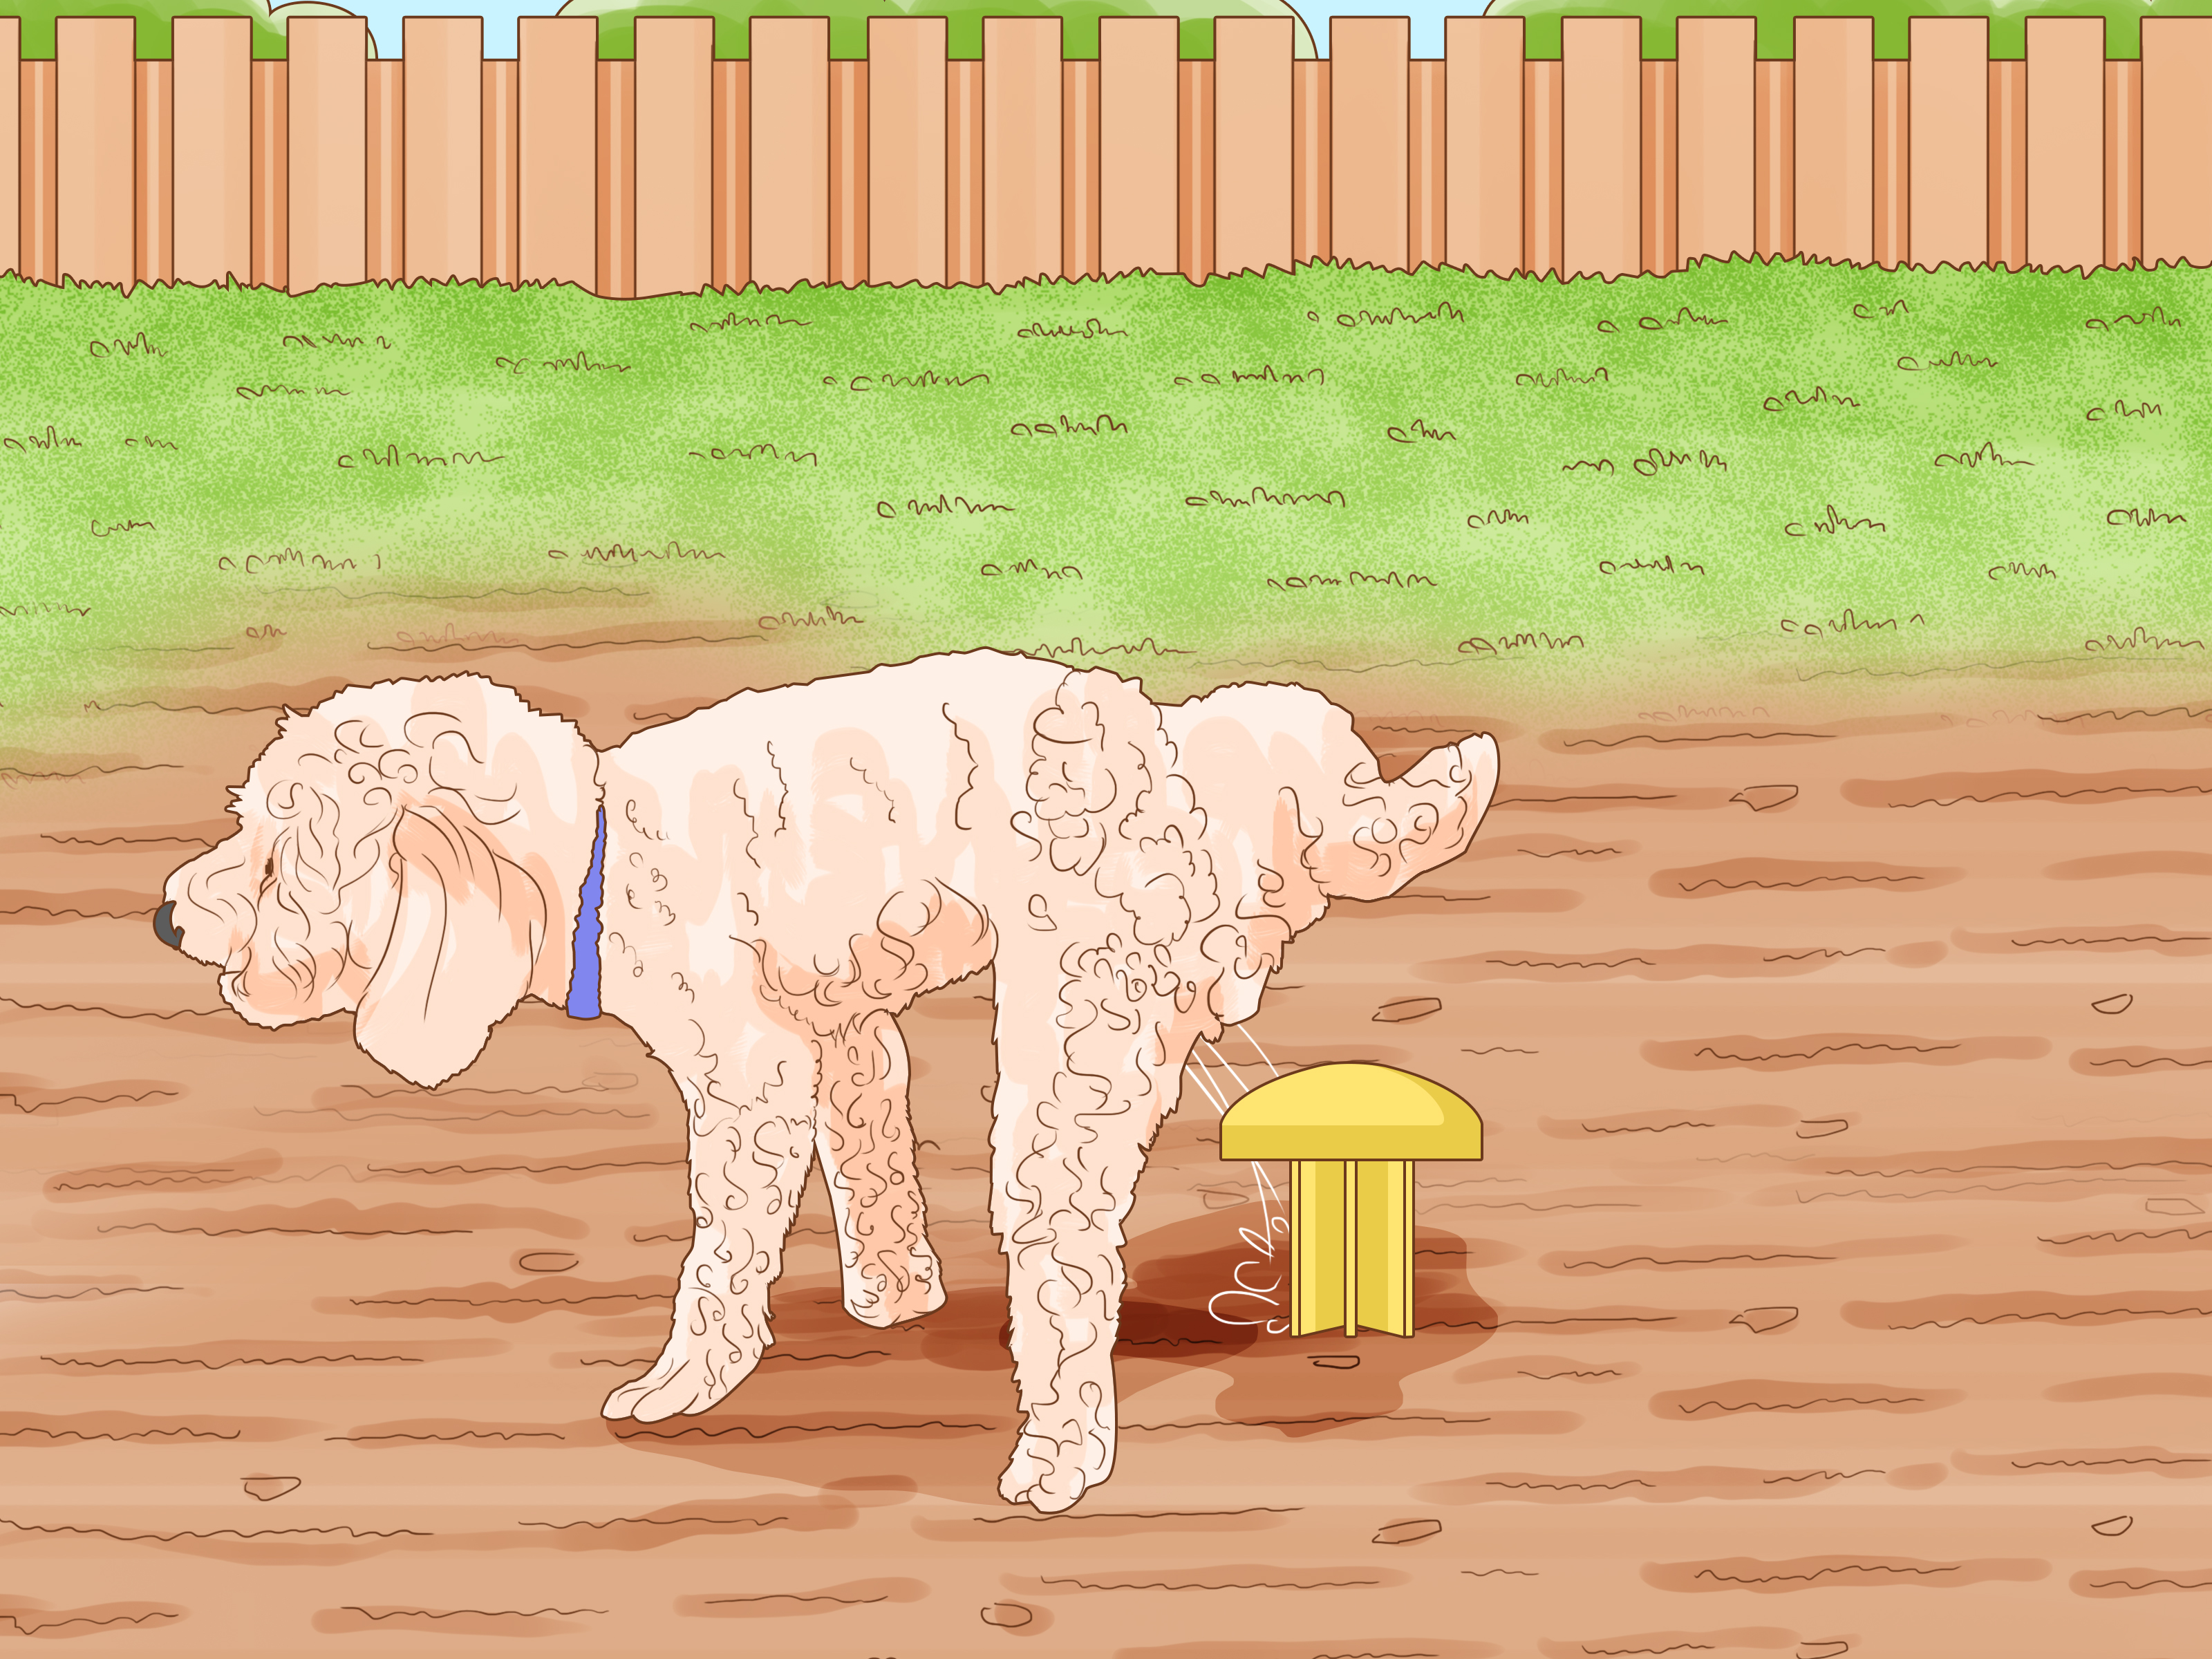
If your lawn suddenly looks like it lost a tiny, weird war in several perfectly round places, your pet may be the top suspect. Those yellow or brown patches with suspiciously greener grass around the edges are classic urine spots. They are frustrating, ugly, and excellent at appearing right where guests will definitely notice them first.
The good news is that pet urine damage in lawn grass is usually fixable. The better news is that you do not need to declare your backyard a no-fun zone or begin a dramatic feud with your dog. In most cases, the real issue is not “bad grass” or “mean dog chemistry.” It is concentration. When urine lands in a small area, the nitrogen and salts can overwhelm the turf. The center may burn and turn straw-colored, while the outer edge gets a strange fertilizer boost and turns dark green. In other words, your lawn gets both overfed and offended at the same time.
This guide breaks the problem down into three practical repair methods. We will cover when a spot can recover on its own, when it needs reseeding, and when it is smarter to patch with sod or plugs. We will also look at how to prevent repeat damage, because repairing the same patch every weekend is not a hobby anyone asked for.
Why Pet Urine Leaves Brown Spots in Grass
Before you repair the lawn, it helps to know what you are looking at. Pet urine spots are usually most obvious on cool-season lawns, especially where grass is already under stress from heat, drought, or foot traffic. The typical pattern is a brown or tan center surrounded by a darker green ring. That outer ring often fools people into thinking the lawn has a disease, but the pattern is closer to a fertilizer spill than a fungus problem.
The center of the spot gets hit with too much concentrated nitrogen and salt at once, which can damage or kill turf tissue. Meanwhile, the surrounding grass gets a lighter dose and responds the way grass responds to a good feeding: it greens up. That is why the lawn sometimes looks like it is wearing a burnt donut.
It is also worth clearing up two popular myths. First, the problem is not simply that urine is “too acidic” or “too alkaline.” Second, changing your pet’s urine chemistry with random home remedies is not a smart lawn-care strategy. Your grass is important, but not “experiment on the dog” important. The safer and more effective approach is to manage the lawn, dilute the area when possible, and repair damaged turf correctly.
How to Tell Whether the Grass Can Recover
Not every urine spot needs major surgery. Some areas are only lightly injured. In those cases, the grass may yellow a bit, grow oddly fast, or look darker green without fully dying. Mild damage often improves if the lawn is healthy and you reduce stress on the area. Severe damage is different. If the center is straw-colored, crispy, bare, or pulls away easily from the soil, the grass there is probably dead and will not magically rise from the turf graveyard.
Use this quick rule: if the crown and roots are dead, you are not “reviving” that grass. You are replacing it. That is where the three repair methods below come in.
1. Flush and Revive Mild Pet Urine Spots
The first repair method is also the simplest: dilute the spot fast. This works best when the damage is fresh or mild. If you catch the area soon after your dog urinates, soaking it with water can reduce the concentration of salts and nitrogen in the root zone. Think of it as sending in a cleanup crew before the lawn files a formal complaint.
When this method works best
- The grass is yellowing but not fully dead
- The spot is recent
- The lawn is otherwise healthy and actively growing
- You see green-up or discoloration but no bare soil yet
What to do
- Water the affected spot deeply as soon as you can. A hose, watering can, or sprinkler zone works.
- Soak a slightly larger area than the visible spot so the salts move away from the concentrated center.
- Repeat over the next day or two if the soil is dry and the area still looks stressed.
- Keep the lawn on a steady watering schedule afterward, but do not create swamp conditions.
- Mow high enough to reduce stress. Scalped grass is already having a hard day.
This method will not resurrect dead blades, but it can reduce damage and help partially injured turf recover faster. If the spot is only discolored, you may see improvement within a couple of weeks during active growing weather. If the lawn is still bare after that, move on to reseeding or patching.
Extra tip
Healthy turf bounces back better. Lawns that are mowed too short, watered inconsistently, or already heat-stressed are more likely to show severe pet urine damage. A lawn under good maintenance is less dramatic about the whole thing.
2. Rake, Rebuild, and Reseed Small Dead Patches
If the grass in the center is dead, reseeding is often the best repair for small spots. This is the go-to fix for patchy damage that is too ugly to ignore but not large enough to justify cutting sod. It is affordable, effective, and oddly satisfying, especially when the new grass finally blends in and erases the evidence.
When reseeding is the right choice
- The damaged area is small to medium in size
- You have visible dead grass or bare soil
- Your lawn type establishes well from seed
- You want a cost-effective repair that matches the surrounding lawn
How to reseed a urine-burned spot
- Remove dead grass. Rake out the brown, dead material so the new seedlings are not competing with a mat of useless thatch.
- Loosen the soil. Use a hand cultivator, small rake, or garden weasel to rough up the top layer. You want a crumbly seedbed, not a concrete slab.
- Leach the area if needed. If the damage is recent or severe, water the spot thoroughly before seeding to help flush remaining salts.
- Add a little topsoil or compost. A thin layer improves seed-to-soil contact and makes the patch easier to level.
- Use the right grass seed. Match the existing lawn as closely as possible. If your lawn is mostly Kentucky bluegrass, use a suitable matching mix. If it is tall fescue, patch with turf-type tall fescue.
- Apply seed evenly. Do not dump half the bag into one crater and hope for the best.
- Lightly cover the seed. A dusting of compost or topsoil helps hold moisture.
- Water lightly and consistently. Keep the surface moist until germination. After seedlings emerge, water less often but more deeply.
For many homeowners, this is the sweet spot between “do nothing” and “full lawn renovation.” It works especially well in cool-season lawns during the best seeding windows, usually late summer to early fall or, in some climates, spring. Timing matters because seed that goes down during brutal heat has a rough start, and baby grass is not famous for emotional resilience.
Choosing a better seed for pet-prone areas
If you are repeatedly repairing the same zones, grass selection matters. Tall fescue is often more tolerant of urine-related stress than Kentucky bluegrass in cool-season lawns, though Kentucky bluegrass can recover and spread well because of its growth habit. Some homeowners also have better luck with mixes that include perennial ryegrass or fine fescues, depending on sun, shade, and maintenance level. In warm-season lawns, patching with matching sod or plugs is often easier than trying to force the wrong grass into the wrong climate.
The practical takeaway is simple: do not just buy the cheapest seed with a nice picture on the bag. Match the species to your existing lawn and site conditions. Your repair will look better, establish faster, and stand a better chance of surviving your pet’s next bathroom decision.
3. Patch Large or Repeatedly Damaged Areas with Sod or Plugs
Sometimes the most efficient fix is not reseeding at all. If the damaged area is large, repeatedly burned, or located in a high-visibility spot near the patio, walkway, or back door, sod or plugs can give you a faster and cleaner repair. This is especially useful when you are dealing with warm-season turf such as bermudagrass or zoysiagrass, or when you want instant visual improvement instead of a few weeks of staring at a dirt patch.
When to choose sod or plugs
- The spot is larger than a dinner plate
- The area gets repeated pet traffic
- You need a faster cosmetic fix
- Your lawn type spreads well from plugs or is commonly repaired with sod
How to patch with sod or plugs
- Cut out the dead area, including damaged roots and thatch.
- Loosen and level the soil below.
- Water the area to help flush salts if the damage is recent.
- Install matching sod or plugs so they sit level with the existing lawn.
- Press the patch firmly into the soil for good root contact.
- Water well after installation and keep it moist until established.
- Keep pets off the repair zone until roots take hold.
This last step matters more than people think. Installing beautiful new sod and then letting your dog christen it on day two is not lawn care. It is performance art. Temporary fencing, small garden edging, or a short-term potty zone can save the repair from becoming a rerun.
How to stop the same spot from failing again
If one section of lawn is a favorite pet bathroom target, the smartest repair plan includes prevention. Designating a potty area with gravel, mulch, or hardy groundcover can protect the showpiece part of the lawn. So can training your dog to use a less visible section of the yard. Some homeowners also make peace with the fact that the perfect lawn and the enthusiastic backyard dog are occasionally negotiating from opposite corners.
Common Mistakes That Make Pet Urine Spots Worse
Repairing lawn grass is not difficult, but a few mistakes can slow everything down.
Using the wrong seed mix
A repair patch that does not match the existing grass will stand out like a cheap toupee. Color, texture, and growth habit matter.
Skipping soil preparation
Seed tossed onto dead thatch rarely establishes well. New grass needs seed-to-soil contact, moisture, and light.
Overfertilizing the patch
Urine damage already mimics fertilizer burn. Dumping more nitrogen on the area can make the problem look even worse.
Trying gimmicky pet supplements first
Changing a dog’s diet or urine chemistry without veterinary guidance is a poor trade for a lawn problem. It is safer to manage the grass and watering routine than to treat your dog like a chemistry experiment with paws.
Ignoring overall lawn health
A stronger lawn recovers faster. Mow at the recommended height, water deeply but not constantly, and avoid extra stress from scalping, compaction, or neglect.
Which Repair Method Is Best?
The best method depends on the condition of the grass. If the spot is fresh and the turf is only stressed, flushing with water may be enough. If the grass is dead in a small patch, reseeding is usually the best value. If the damage is large, repeated, or very visible, sod or plugs give the fastest reset.
In many yards, the winning strategy is actually a combination. Flush new spots quickly, reseed the old dead ones, and patch the worst offenders near the house with sod. That approach saves time, money, and your patience.
Final Thoughts
Pet urine spots in lawn grass are annoying, but they are not unbeatable. Once you understand that the issue is concentrated stress rather than some mysterious lawn disease, the repair plan gets much simpler. Water fresh spots. Reseed the dead ones. Patch the big scars. Then make small management changes so the same section of turf is not stuck reliving the experience every week.
A good lawn with pets is absolutely possible. It may not look like a golf course every day, but it can still be green, healthy, and pleasant to use. And frankly, a backyard that survives zoomies, fetch, naps in the shade, and the occasional urine mishap is doing real work. That counts for something.
Experience and Practical Lessons from Real Pet Lawn Repairs
One of the most common experiences homeowners report is that the problem seems to show up overnight. The lawn looks fine, then suddenly there are several tan circles with dark green rings, almost like someone used a stencil and a bad attitude. In reality, the damage usually builds over time. A dog may favor the same route or the same patch near the patio door, and once the grass is stressed there, every new visit makes the area look worse. That is why many people think the lawn has a disease at first. The spots feel sudden, but the stress was stacking up quietly.
Another common experience is learning that not every brown area needs the exact same fix. Homeowners often start by treating the whole lawn with a general product, only to realize later that one patch just needed deep watering while another needed a full reseed. People tend to get better results when they slow down, inspect each area, and choose the repair method based on whether the turf is merely injured or completely dead. That small shift in mindset saves money and prevents the classic cycle of buying too many lawn products and still staring at the same sad circles.
Many pet owners also discover that timing makes an enormous difference. When someone happens to rinse the area soon after the dog urinates, the spot often stays lighter or never fully burns out. When the patch is ignored during hot, dry weather, the center usually turns crispy and bare. This is why experienced homeowners often keep a hose nearby, especially in summer. It is not glamorous, but it works. Lawn care is full of moments where the boring solution defeats the fancy one.
There is also a very relatable emotional stage during lawn repair: the “I seeded it yesterday, why is nothing happening?” phase. Grass repair tests patience. Small patches can improve quickly, but visual blending takes longer. New seedlings rarely match mature turf in color and thickness right away. People who have the best results usually accept that patching is a process, not an overnight makeover. They keep the seed moist, stay off the area, and resist the urge to reseed three more times out of panic.
Another practical lesson from real yards is that repeat damage usually points to a pattern, not bad luck. Maybe the dog always stops at the same corner. Maybe the most damaged strip is the sunny, dry edge by the fence. Maybe the lawn near the back steps gets both foot traffic and urine, which is the turf equivalent of being hit from two directions at once. Once homeowners notice the pattern, they can solve more than the symptom. Some redirect the dog to a mulch or gravel potty zone. Others patch the area with a tougher grass mix or add a path so the lawn is not absorbing every bit of traffic and every bathroom stop.
Perhaps the most helpful experience-related takeaway is this: pet-friendly lawns improve when expectations become more realistic. Homeowners who insist on perfect, uniform turf in the exact place their dog uses every day often end up frustrated. Homeowners who combine smart repair, decent maintenance, and a little yard design usually get a much better outcome. The lawn does not have to be flawless to look good. It just has to be healthy, mostly even, and free of obvious dead patches. That is a very achievable standard, even in a yard run by a cheerful animal with absolutely no opinion on turf aesthetics.