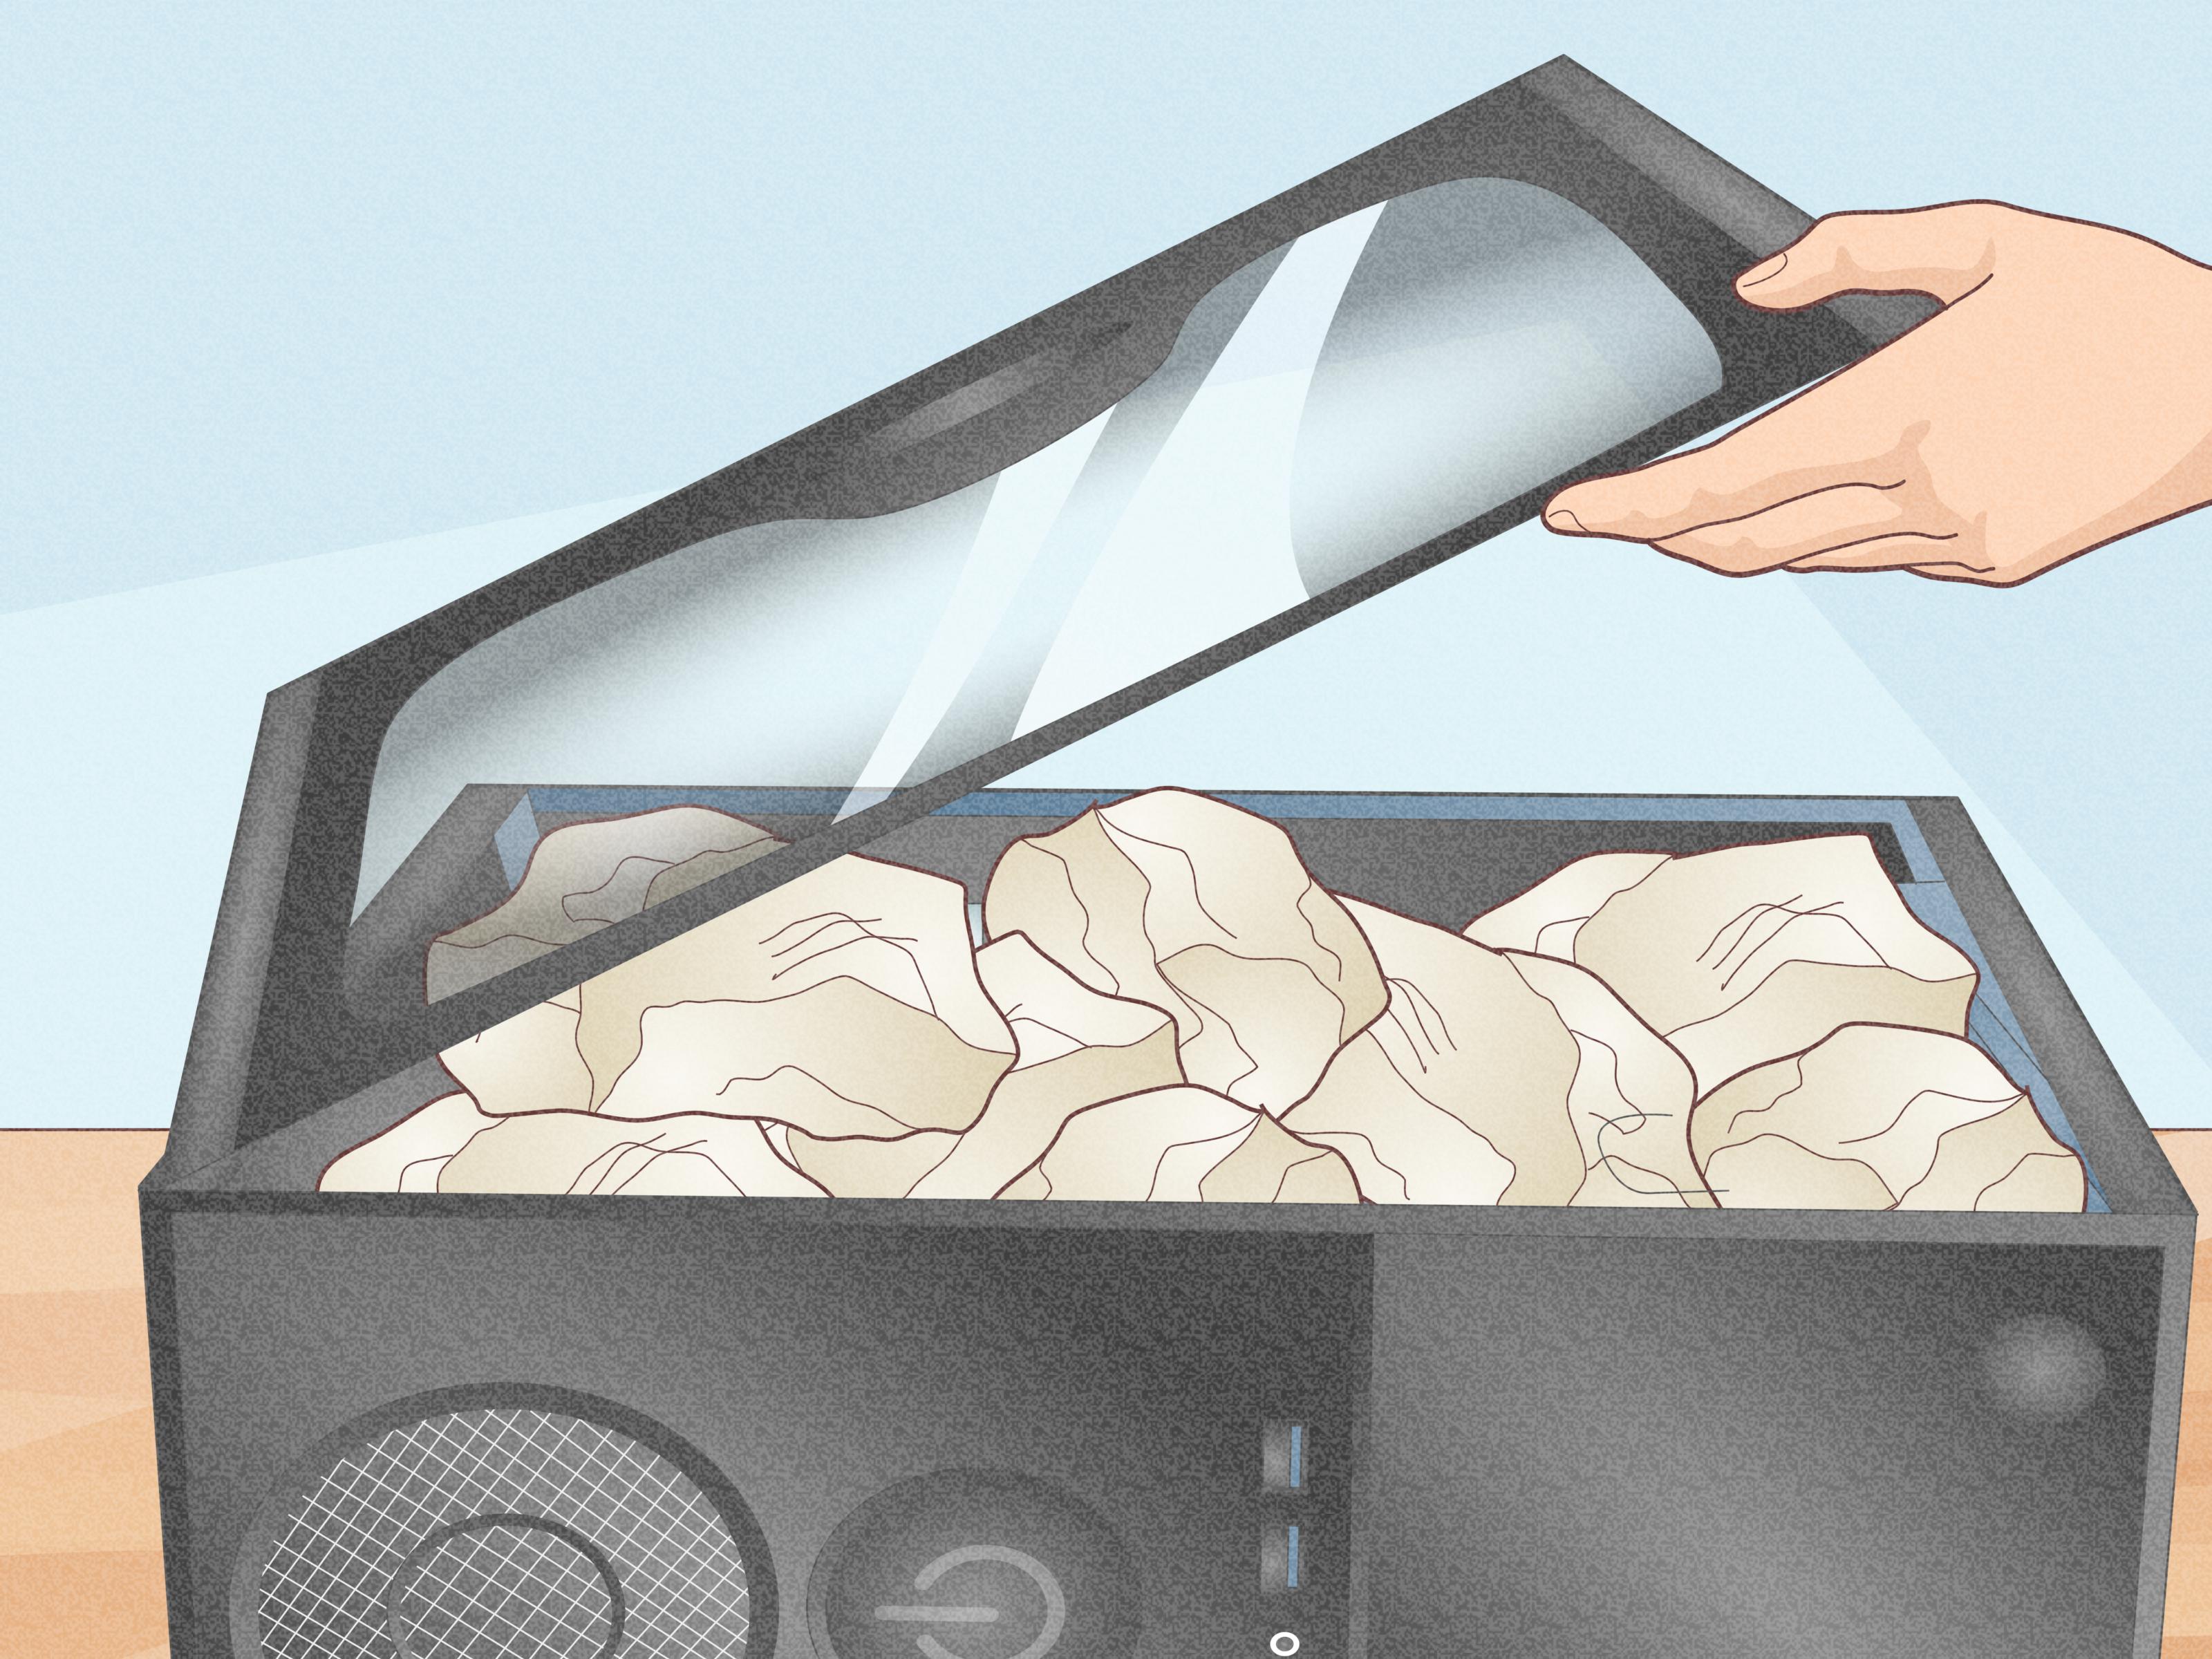
Moving a desktop computer is not quite the same as tossing a toaster into a box. A computer tower may look sturdy, but inside it lives a miniature city of circuit boards, cables, cooling fans, storage drives, and expensive components that strongly object to being dropped down a staircase.
The safest packing method depends on the computer, the distance of the move, and who will handle the box. A basic office desktop traveling across town needs less preparation than a custom gaming PC riding in a moving truck for 1,500 miles. Either way, the goal is the same: prevent movement inside the case, cushion the exterior, control static electricity, and keep moisture away.
This guide explains three reliable ways to pack a desktop computer for moving, from reusing the original packaging to disassembling valuable components. It also covers data backup, cable organization, monitor protection, loading, unpacking, and the mistakes that can turn moving day into an unplanned computer-shopping day.
What You Need Before Packing a Desktop Computer
Gathering the right supplies before disconnecting anything makes the process faster and safer. Searching for packing tape while holding a graphics card is not an efficient moving strategy.
Recommended packing materials
- The computer’s original box and molded foam inserts, when available
- A strong double-walled electronics or moving box
- A second, larger box for double-boxing
- Anti-static bubble cushioning or anti-static bags
- Firm foam blocks or corner protectors
- Clean packing paper for filling empty spaces
- Heavy-duty packing tape at least two inches wide
- Resealable bags for screws, adapters, and accessories
- Cable ties or reusable hook-and-loop straps
- Permanent markers and fragile labels
- A moving blanket for loading and vehicle transport
Use materials specifically intended for electronics whenever they may touch components. Ordinary plastic foam and some standard packing materials can create static electricity. Loose packing peanuts also have an impressive ability to crawl into vents, fans, and every corner of a room.
Prepare the Computer Before Choosing a Packing Method
All three packing methods begin with the same preparation. These steps protect both the machine and the information stored inside it.
Back up important data
Create a current backup before packing the computer. Windows users can use Windows Backup, OneDrive, File History, or an external storage drive. Mac users can use Time Machine, iCloud, or a separate external drive. For especially important files, keep more than one copy and store at least one copy separately from the computer.
A backup traveling in the same moving box as the desktop is better than no backup, but it can still be lost in the same accident. Keep the external drive in a personal bag, secure vehicle, or another protected location.
Photograph the cable connections
Take clear photographs of the back of the tower, monitor, router, speakers, and power equipment before unplugging them. These pictures will be surprisingly valuable when every cable appears to fit into three different ports at the new home.
Add small labels to both ends of each cord. Simple labels such as “monitor power,” “PC to monitor,” and “speakers” are more useful than a bag containing seven mysterious black cables.
Shut down and disconnect the system
Close programs, complete the backup, and perform a normal operating-system shutdown. Do not simply switch off the surge protector. After the computer is fully powered down, unplug the power cord and disconnect all peripherals.
Remove USB drives, memory cards, wireless receivers, discs, external antennas, and adapters. Small accessories can snap, bend, or damage ports if left connected during transportation.
Clean the exterior
Use a dry microfiber cloth to remove dust from the case. If the vents are heavily clogged, carefully clean them according to the computer manufacturer’s instructions. Avoid spraying liquid directly onto the machine.
This is also a good time to photograph the computer’s condition and serial number. The pictures can help document pre-move damage if a mover or shipping carrier handles the box.
Way 1: Pack the Desktop in Its Original Box
The original manufacturer packaging is usually the easiest and most precise way to pack a desktop computer for moving. Its foam inserts were designed around the exact shape of the case, including vulnerable corners and protruding areas.
How to use the original packaging
- Inspect the box for crushed corners, water damage, soft cardboard, or torn seams.
- Reinforce the bottom with heavy-duty packing tape using strips across the center seam and side edges.
- Place the lower molded foam insert into the box.
- Cover the computer with its original protective sleeve or a suitable anti-static or clean protective covering.
- Lower the tower into the foam without forcing it.
- Install the upper foam insert and confirm that the computer cannot slide or rotate.
- Close the box and seal every major seam.
- Label the carton “Desktop Computer,” “Fragile,” and “Keep Dry.”
If the original packaging has a separate accessory compartment, use it only when cords and accessories cannot press against the computer case. Wrap each item individually so plugs do not scratch the finish or enter ventilation openings.
When to double-box the original carton
Original retail packaging may be adequate for a short move in a personal vehicle. For parcel shipping, storage, or a long-distance moving truck, place the original carton inside a larger, heavy-duty outer box.
Add several inches of firm cushioning on the bottom, sides, and top. The inner carton should remain centered and should not touch the outer walls. This box-in-box method creates a second impact zone, allowing the outer package to absorb dents and punctures before force reaches the computer.
Best for
This method works well for standard office towers, compact desktops, computers that still have complete factory packaging, and owners who wisely resisted the temptation to throw every product box away five minutes after opening it.
Way 2: Build a Protective Double-Box Package
If the original carton disappeared years ago, a custom double-box package is the most practical do-it-yourself solution. The key is not simply surrounding the computer with soft material. The tower must be cushioned and immobilized.
Choose the inner and outer boxes
Select an inner box large enough to provide approximately two to three inches of protection around the tower. Use a sturdy, double-walled electronics box rather than an oversized lightweight carton.
The outer box should provide additional cushioning around the sealed inner carton. Avoid boxes that previously held food, liquids, chemicals, or products with strong odors. Cardboard that looks tired before the move will not become more ambitious once loaded into a truck.
Wrap and cushion the tower
- Cover the enclosed tower with anti-static bubble cushioning or a suitable protective bag.
- Protect every corner with molded foam, dense foam blocks, or several layers of anti-static cushioning.
- Build a firm cushioning layer in the bottom of the inner box.
- Place the tower upright, preferably in its normal operating orientation.
- Fill all side gaps so the case cannot shift when the box is gently moved.
- Add cushioning above the tower without placing heavy pressure on the top panel.
- Seal the inner box completely.
Test the package by gently rocking it. You should not hear sliding, clunking, or the deeply unsettling sound of something expensive gaining momentum.
Complete the second box
Place a cushioning layer in the outer carton, center the sealed inner box, and fill the remaining space on all sides. Use firm packing material that will not immediately collapse under the computer’s weight.
Seal the top and bottom using the H-taping method: tape the center seam and both edge seams so the tape resembles the letter H. Label the top and at least two sides in case one label becomes damaged or hidden.
Pack the monitor separately
Never place a monitor in the same box as the tower. Use the original monitor packaging or a dedicated adjustable electronics box with foam corner protectors. Cover the screen with a soft, clean layer before adding bubble cushioning, and keep pressure away from the display panel.
Transport flat-panel monitors upright whenever possible. Do not stack boxes, furniture, or household items against the screen.
Best for
This method is appropriate for most home and office computers, especially when professional movers will handle the shipment or the computer will travel in a crowded moving truck.
Way 3: Remove Valuable Internal Components and Pack Them Separately
High-performance gaming computers and professional workstations may contain graphics cards, large air coolers, multiple storage drives, or custom water-cooling hardware. These systems deserve more preparation because a heavy component can place substantial leverage on its mounting point during a hard bump.
Decide whether disassembly is necessary
Consider component-level packing when the computer contains a large graphics card, an unusually heavy tower-style CPU cooler, unsecured internal hardware, or a custom system that will be shipped long-distance.
Do not open the case unless you understand the system and can follow the manufacturer’s service instructions. Prebuilt computers may have special brackets, connectors, or warranty conditions. When uncertain, use a qualified technician or professional electronics-packing service.
Remove a large graphics card safely
After shutting down and unplugging the computer, place the tower on a stable, non-carpeted work surface. Ground yourself appropriately, remove the side panel, disconnect the graphics-card power cables, release the case bracket, and unlock the motherboard’s PCIe retaining tab.
Hold the card by its edges or solid shroud, not by exposed contacts or delicate fan blades. Place it in an anti-static bag and then into a snug box lined with suitable foam or anti-static cushioning. Label the package clearly and do not allow loose accessories to press against it.
Secure other internal parts
Check that storage drives, memory modules, cooling brackets, and cables are firmly mounted. Do not fill the inside of the computer with ordinary packing peanuts, newspaper, loose foam pieces, clothing, or household pillows. Those materials may create static, shed debris, obstruct fans, or place pressure on components.
Specialized internal expanding packing systems exist for computer shipping, but they must be used according to their instructions. Incorrectly applied material can expand against delicate parts or become difficult to remove.
Consider professional packing
A professional service is sensible for an expensive custom PC, a liquid-cooled workstation, a computer being shipped by parcel carrier, or a machine containing irreplaceable business data. Ask whether the service provides electronics packaging, custom foam, double-boxing, declared-value options, and written packing documentation.
Best for
This method is best for gaming PCs, editing workstations, scientific computers, custom builds, and systems with components that are heavy enough to move independently during transportation.
How to Load the Packed Computer
Keep it upright and immobilized
Place the computer box upright on a level surface. Do not balance it on top of furniture or leave it where other boxes can fall against it. Use moving blankets, straps, or surrounding lightweight cartons to prevent sliding without crushing the package.
Avoid heat, moisture, and extreme cold
Do not leave the computer in a hot parked vehicle, an open trailer during rain, or a damp storage unit. If electronics become very cold during transportation and are carried into a warm building, condensation may form. Allow the packed computer to reach room temperature and confirm that it is dry before powering it on.
Keep high-value equipment with you
When practical, transport the computer tower, backup drive, and critical accessories in a personal vehicle. Secure the box so it cannot become a projectile during sudden braking. A seat belt around a weak cardboard carton is not enough; the package still needs proper cushioning and a stable position.
Unpacking and Testing at the New Home
- Move the package to a clean, dry room before opening it.
- Inspect the outer box for punctures, crushed areas, or water exposure.
- Photograph serious package damage before removing the computer.
- Unpack the tower and inspect the case, ports, and internal components.
- Reinstall separately packed hardware according to the manufacturer’s instructions.
- Place the computer in its final position before connecting cables.
- Reconnect the monitor, keyboard, mouse, network cable, and power equipment.
- Start the computer and listen for unusual scraping, clicking, or fan noise.
- Confirm that storage drives, memory, and graphics hardware are detected.
- Open several important files to verify that the system and backup are healthy.
If the machine produces a burning smell, repeated clicking, electrical crackling, or visible smoke, turn it off immediately and disconnect power. Moving day is already dramatic enough without adding special effects.
Common Mistakes to Avoid
- Using a box that is too large: Extra room allows the computer to build speed before striking the side.
- Leaving accessories connected: USB receivers, Wi-Fi antennas, and display cables can bend or damage ports.
- Packing the tower and monitor together: The heavier tower can destroy the screen during a sudden impact.
- Using ordinary static-producing material against components: Internal electronics require appropriate anti-static protection.
- Skipping the backup: Physical packing cannot guarantee that a drive will survive every accident.
- Allowing cables to rub against the case: Plugs and adapters can scratch panels or break ventilation grilles.
- Powering on a cold or damp computer: Let the system acclimate before reconnecting it.
- Failing to label the box: An unlabeled computer may end up underneath a heroic collection of kitchen appliances.
Moving Experiences: What Three Common Scenarios Teach Us
The following composite scenarios reflect recurring experiences reported by movers, computer owners, and electronics-packing professionals. They are useful because the biggest packing lessons often become obvious only after something goes wrong.
Experience 1: The easy local move that became expensive
Imagine a standard desktop moving six miles across town. Because the trip is short, the owner places the bare tower on the back seat and surrounds it with two pillows. The computer arrives without a scratch, but it had tipped onto its side during a sudden stop.
When the system starts, a fan makes a grinding noise. A loose cable has shifted into the fan blades. The repair is minor, but the experience demonstrates an important point: distance is not the only risk. A computer can experience its strongest impact before the vehicle reaches the end of the driveway.
A better approach would have been to disconnect every accessory, inspect the internal cables, place the tower in a fitted box, and secure that box on the vehicle floor. Pillows can add exterior cushioning, but they do not replace a rigid container that controls movement.
Experience 2: The gaming PC with the oversized graphics card
In another common scenario, a custom gaming computer is packed carefully in a strong box with thick foam around the case. From the outside, the preparation looks excellent. Inside, however, a large graphics card remains installed horizontally with no additional support.
After a long truck ride, the computer appears normal, but the display does not work. Inspection reveals that movement placed stress on the PCIe connection. Even when nothing visibly breaks, a heavy card can shift enough to loosen a connector or damage a mounting point.
The lesson is not that every graphics card must always be removed. Compact and properly supported cards may travel safely in a well-packed case. The lesson is to evaluate the internal design rather than focusing only on the outside of the tower. For a large card, separate anti-static packing is often the safer choice.
Experience 3: Excellent packing, missing cable
A third owner does almost everything correctly. The desktop travels in its original foam inserts, the monitor has its own box, and the data is backed up. At the destination, the computer is placed on the desk and unpacked without damage. Then comes the discovery: the monitor’s proprietary power adapter is in an unlabeled box somewhere beneath the contents of the garage.
The computer is safe but unusable for several days. This illustrates why organization is part of protection. Essential cords should be labeled, grouped by device, and placed in a clearly marked accessories box. Small bags can hold screws, adapters, wireless receivers, and mounting hardware. A printed inventory or phone photo provides another layer of certainty.
The practical lesson from all three moves
Successful computer packing combines four ideas: protect the data, prevent internal movement, cushion the exterior, and maintain an organized chain of accessories. People often concentrate on bubble wrap because it is visible. The less glamorous stepsbacking up files, labeling cables, inspecting brackets, and choosing the loading positionfrequently make the greatest difference.
The best method is therefore not necessarily the most expensive one. It is the method matched to the computer. A small office tower may need its original carton and careful loading. A typical home desktop may benefit from double-boxing. A heavy gaming system may require component removal and professional assistance. Treating all three machines identically is convenient, but convenience is not famous for protecting graphics cards.
Conclusion
There are three dependable ways to pack a desktop computer for moving: reuse the original fitted packaging, create a protective double-box system, or remove heavy internal components and pack them separately. Whichever method you select, begin with a verified data backup, disconnect every accessory, photograph the cable layout, and keep the tower immobilized throughout transportation.
Original packaging offers the simplest fit. Double-boxing provides practical protection when factory materials are unavailable. Component-level packing gives valuable gaming PCs and workstations additional security against vibration and impact. Add thoughtful loading, moisture control, and careful unpacking, and your computer should arrive ready to work rather than ready to file a complaint.