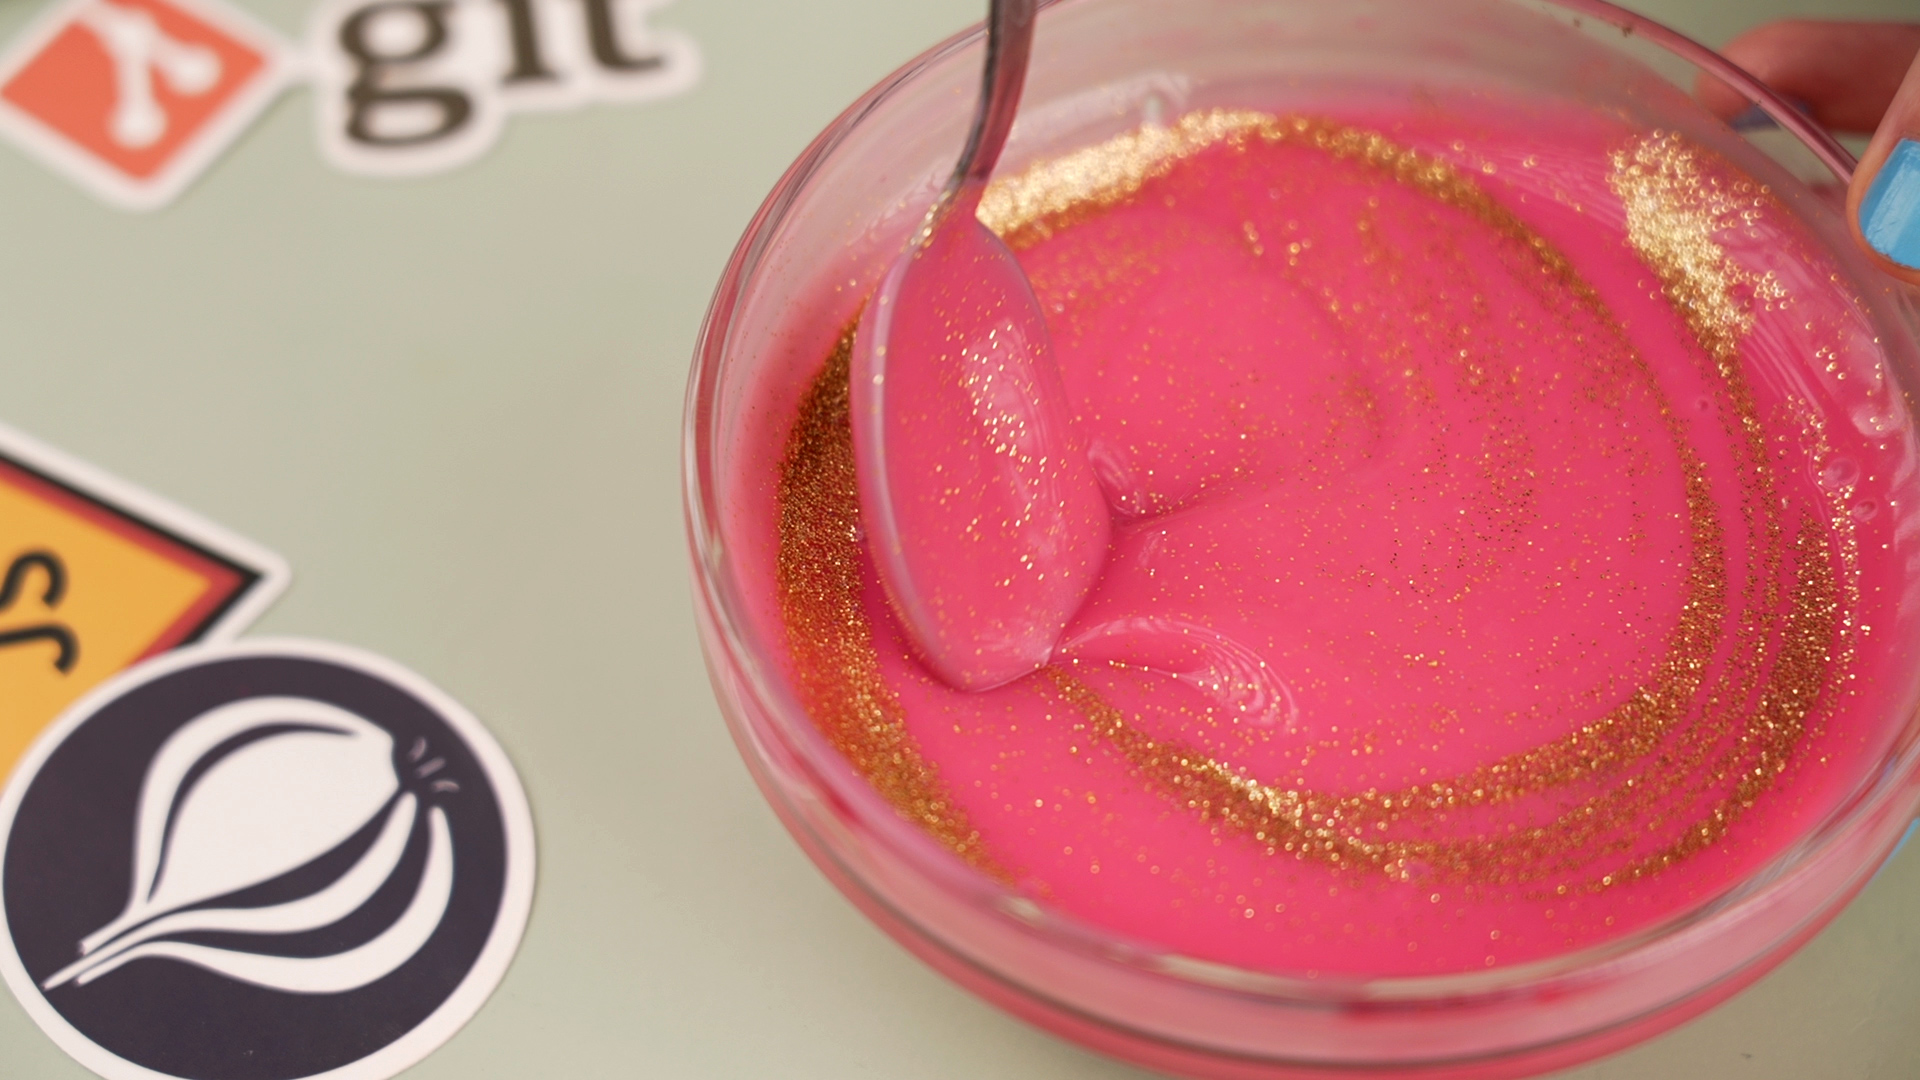
Cornstarch paste is the quiet overachiever of the craft cupboard. It costs very little, requires only basic kitchen equipment, and can hold together paper, cardboard, tissue, and lightweight decorations without filling the room with industrial-strength fumes. It is especially useful for papier-mâché, collages, classroom art, homemade decorations, and temporary paper projects.
The basic science is straightforward. Cornstarch does not truly dissolve in cold water; it forms a suspension. When that suspension is heated, the starch granules absorb water, swell, and create a thicker gel through a process called gelatinization. The paste usually becomes even thicker as it cools, which explains why a mixture that looks slightly loose in the saucepan can turn into craft pudding 20 minutes later.
Below are three reliable ways to make cornstarch paste: a classic stovetop version, a quick microwave batch, and a reinforced paste for projects that need a stronger grip. Each recipe can be adjusted with a little water, so do not panic if your first batch looks more like gravy or building mortar than glue.
Before You Begin: Choosing the Right Cornstarch Paste
Although all three methods rely on the same thickening process, they are suited to slightly different jobs.
- Classic stovetop paste: Best for papier-mâché, collages, paper chains, cardboard models, and general crafts.
- Microwave cornstarch paste: Best when you need a small amount quickly and do not want to wash a saucepan.
- Reinforced cornstarch paste: Best for thicker paper, cardboard structures, masks, props, and decorations that need more holding power.
These homemade adhesives are intended for ordinary craft materials. Do not use them on valuable books, photographs, collectible posters, original artwork, or important documents. Professional paper conservators often use carefully purified starch pastes, controlled recipes, specialized papers, and tested application methods. Even then, moisture sensitivity and long-term stability must be considered.
Method 1: Classic Stovetop Cornstarch Paste
This is the most versatile method and the best place to start. Heating the mixture slowly gives you control over the consistency and makes it easier to produce a smooth, spreadable paste.
Ingredients
- 1/4 cup cornstarch
- 2 cups water, divided
- 1 teaspoon white vinegar, optional
Equipment
- Small or medium saucepan
- Mixing bowl or measuring cup
- Whisk
- Heat-resistant spoon or silicone spatula
- Clean storage container with a lid
Step 1: Make a Cold Slurry
Place the cornstarch in a bowl and add 1/2 cup of cold or room-temperature water. Whisk until the mixture is completely smooth. This initial mixture is called a slurry.
Do not pour dry cornstarch directly into boiling water. The outside of each clump can gelatinize before the inside becomes wet, leaving you with stubborn white lumps that behave as though they have signed a long-term lease in your paste.
Step 2: Heat the Remaining Water
Pour the remaining 1 1/2 cups of water into the saucepan. Heat it over medium heat until it is steaming and beginning to simmer. It does not need to reach a dramatic rolling boil.
Step 3: Add the Slurry
Whisk the cornstarch slurry again because some starch may have settled at the bottom. Slowly pour it into the hot water while whisking continuously.
Continue stirring over medium-low heat. Within a few minutes, the cloudy liquid should become thicker, smoother, and slightly translucent. Scrape the bottom and sides of the pan so the paste cooks evenly and does not form a scorched layer.
Step 4: Finish and Cool
When the paste resembles a loose pudding or thick white sauce, remove it from the heat. Stir in the optional vinegar. Vinegar may help discourage rapid spoilage, but it does not make homemade paste permanently shelf-stable.
Transfer the paste to a clean container and let it cool completely before applying it to paper. Hot paste can soften craft materials, warp thin sheets, or give an enthusiastic young artist a very unpleasant surprise.
How to Adjust the Consistency
For papier-mâché strips, use a thinner paste that feels similar to heavy cream. For collage work, aim for a consistency closer to yogurt. For cardboard construction, keep it thick enough to cling to a brush without immediately dripping off.
If the cooled paste is too thick, whisk in cold water one teaspoon at a time. If it is too thin, return it to low heat and stir for another minute or prepare a small additional slurry before reheating.
A similar cooked cornstarch formula is used by the Minneapolis Institute of Art for papier-mâché activities, while museum art programs also use simple cornstarch-and-water liquid starch glue for paper projects.
Method 2: Quick Microwave Cornstarch Paste
The microwave method is ideal for small projects, quick repairs to disposable crafts, or afternoons when using a saucepan feels like an unreasonable administrative burden.
Ingredients
- 1 tablespoon cornstarch
- 1 cup cold water
- 1/2 teaspoon white vinegar, optional
Step 1: Combine the Ingredients
Add the cornstarch and cold water to a large microwave-safe bowl. Whisk until no dry pockets remain.
Use a bowl that holds at least twice the volume of the mixture. Cornstarch paste can bubble upward as it heats, and cleaning glue-like starch from the microwave ceiling is not the kind of character-building activity anyone needs.
Step 2: Microwave in Short Intervals
Microwave the mixture for 30 seconds. Remove it carefully and whisk thoroughly. Continue heating in 20- to 30-second intervals, stirring after each interval.
Depending on your microwave, the paste may require approximately 90 seconds to three minutes in total. Stop when it has thickened and looks evenly cooked. Short intervals are important because the edges heat faster than the center.
Step 3: Cool and Smooth
Stir in the optional vinegar and let the paste cool. If small lumps remain, press the paste through a fine-mesh strainer or blend it briefly with an immersion blender after it has cooled enough to handle safely.
Best Uses for Microwave Paste
This recipe works well for tissue-paper collage, paper mosaics, lightweight decorations, homemade greeting cards, and small papier-mâché pieces. Because the batch is small, you are less likely to store half a jar until it evolves into a new ecosystem.
Microwave heating can produce the same basic starch-thickening effect as stovetop cooking, but the mixture must be stirred frequently to distribute the heat. The paste will continue setting as it cools, so stop heating while it is slightly thinner than the final consistency you want.
Method 3: Reinforced Cornstarch Craft Paste
Plain cornstarch paste is excellent for porous materials, especially paper. However, thicker cardboard models, masks, stage props, and dimensional decorations may need a stronger bond. Adding a small amount of white polyvinyl acetate craft glue creates a hybrid paste with better initial tack and a firmer dried bond.
Ingredients
- 1 cup cooled stovetop or microwave cornstarch paste
- 2 to 4 tablespoons white PVA craft glue
- 1 to 2 teaspoons water, if needed
Step 1: Cool the Base Paste
Prepare either of the first two recipes and allow it to cool to room temperature. Do not add craft glue while the cornstarch mixture is hot. Excessive heat may alter the glue’s texture or cause the mixture to become stringy.
Step 2: Mix in the Craft Glue
Begin with two tablespoons of white glue for every cup of cornstarch paste. Stir thoroughly until the mixture is uniform. For a stronger adhesive, add another tablespoon or two.
A higher proportion of glue generally improves strength, but it also makes the paste more expensive, less washable, and less suitable for young children who may treat the craft table as an all-you-can-touch buffet.
Step 3: Test Before Using
Spread a thin layer between two pieces of scrap paper or cardboard. Press them together and let the test piece dry. If the mixture is difficult to brush, add water one teaspoon at a time. If it soaks through the paper, use less paste or allow it to thicken before application.
Where the Reinforced Version Works Best
- Cardboard architecture models
- Paper masks and costume accessories
- Thick papier-mâché shells
- Holiday ornaments
- Party props and temporary displays
- Layered paper sculpture
This version is not edible or archival, even when the craft glue is labeled nontoxic. It is also harder to remove with water after it dries. Reserve it for projects where durability matters more than reversibility.
How to Use Cornstarch Paste Successfully
Apply Thin, Even Layers
More paste does not automatically produce a stronger project. An overloaded sheet can wrinkle, slide out of position, or take days to dry. Brush on a thin, complete layer and smooth the paper from the center toward the edges.
Let Air Reach the Project
Drying is just as important as mixing. Place wet crafts in a well-ventilated area and turn three-dimensional pieces occasionally. Papier-mâché applied in several thick layers can feel dry outside while remaining damp beneath the surface.
Work With Porous Materials
Cornstarch paste performs best when it can soak slightly into both surfaces. Paper, newsprint, tissue, paperboard, and unfinished cardboard are good candidates. It is less reliable on plastic, metal, glass, glossy coatings, waxed paper, or heavily painted surfaces.
Test Colors and Inks
The water in homemade paste can cause markers, printer ink, tissue-paper dye, and watercolor paint to bleed. Test a hidden corner or scrap piece before covering an entire project.
Troubleshooting Homemade Cornstarch Paste
The Paste Is Lumpy
Lumps usually form when dry starch meets hot water too quickly. Strain the finished paste, blend it after cooling, or start again with a properly mixed cold slurry.
The Paste Is Too Thick
Add cold water gradually and whisk after each addition. A small amount of water can produce a surprisingly large change, so resist the urge to pour in half a cup at once.
The Paste Is Too Thin
Cook it a little longer over low heat. Remember that it will become thicker during cooling. If the mixture remains watery after cooling, make a separate slurry using one teaspoon of cornstarch and two teaspoons of cold water. Whisk it into the paste and reheat gently.
The Paste Does Not Hold
Check the materials first. Smooth, sealed, oily, or glossy surfaces may not absorb starch paste. Apply less paste, roughen disposable surfaces lightly, allow additional drying time, or switch to the reinforced formula.
The Paste Smells Sour
Discard it. A sour odor, visible mold, unusual discoloration, bubbling during storage, or major separation indicates spoilage. Do not try to rescue the batch by adding perfume, more vinegar, or a brave expression.
Storing Cornstarch Paste Safely
Homemade cornstarch paste contains water and food-grade starch, which means microorganisms can eventually treat it as lunch. Make only what you expect to use within a few days.
Transfer cooled paste to a clean glass or food-safe plastic container. Cover it tightly, label it with the preparation date, and refrigerate it. Use a clean spoon or brush each time so dirt and microorganisms are not repeatedly introduced.
Storage recommendations vary with the formulation and cleanliness of the preparation process. Conservation guidance for carefully prepared starch paste emphasizes clean containers, limited storage, and immediate disposal when the paste separates, sours, changes color, or develops an unpleasant smell.
For ordinary home crafts, a practical rule is to use refrigerated paste within three to five days. When in doubt, throw it out and make a fresh batch. Cornstarch is inexpensive; replacing an entire papier-mâché dragon because its glue developed mold is considerably less convenient.
Practical Experience Notes: What Makes Cornstarch Paste Work Better
The most valuable lessons about cornstarch paste usually appear after the recipe is finished. Measuring ingredients is easy. Understanding how the paste behaves on real paper, in different weather, and during drying is what turns a usable batch into a dependable one.
Consistency Matters More Than Exact Ratios
Recipes provide a starting point, but cornstarch brands, measuring habits, cooking temperatures, and evaporation rates vary. A paste made in a wide saucepan may lose water faster than one heated in a narrow pot. Microwave power also makes a noticeable difference.
Instead of judging the batch only by the clock, watch how it moves. A good general-purpose paste should spread easily, leave a continuous film, and remain on a vertical brush without falling off in a single blob. For papier-mâché, it should be loose enough to saturate paper strips without leaving heavy ridges.
Cold Water Prevents Most Mixing Problems
One of the most repeatable practical lessons is that cornstarch should first be dispersed in cold water. Rushing this stage creates lumps that become increasingly difficult to remove once heat is applied.
Whisk the slurry immediately before adding it to hot water. Cornstarch settles surprisingly quickly. A bowl that looked perfectly mixed two minutes earlier may have a compact layer at the bottom and nearly clear water on top.
Thin Layers Dry Stronger and Flatter
Beginners often apply extra paste because the paper does not feel firmly attached during the first few seconds. That usually creates more trouble than strength. Excess moisture causes wrinkles, stretches thin paper, and increases the time during which pieces can slide.
For collage, brush a light coat onto the receiving surface, position the paper, and smooth it gently. A second very thin coat can be brushed over tissue paper when a decoupage-like finish is desired. Heavy paper may need paste on both surfaces, followed by light pressure while drying.
Drying Conditions Change the Result
Warm, dry, moving air helps cornstarch paste set efficiently. Humid rooms slow evaporation and increase the risk of musty odors or mold, especially in thick papier-mâché projects.
Placing a wet project directly in front of intense heat is not always better. Rapid surface drying can cause curling or cracking while moisture remains trapped underneath. Gentle airflow and patience usually produce flatter paper and fewer splits.
Cardboard Requires More Patience Than Paper
Corrugated cardboard can absorb a great deal of water. When too much paste is applied, the outer paper layers may buckle or separate from the fluted center. A thicker paste applied sparingly generally works better than a watery mixture.
For structural models, temporarily hold joints with clips, low-tack tape, or weights until the paste has dried. The reinforced formula is helpful when pieces are under tension, but mechanical support during drying remains important.
Fresh Paste Is Usually the Best Paste
A newly prepared batch spreads more evenly and has a cleaner smell than paste stored for several days. Refrigerated paste may become firmer or develop a skin. Gentle whisking and a teaspoon of water can sometimes restore its texture, provided there are no signs of spoilage.
Small batches are therefore more practical than heroic stockpots of homemade adhesive. The ingredients are cheap, preparation is quick, and fresh paste avoids the suspense of opening a forgotten jar at the back of the refrigerator.
Final Thoughts
Learning how to make cornstarch paste gives you an inexpensive adhesive for paper crafts, papier-mâché, collage, cardboard models, and temporary decorations. The classic stovetop recipe offers the most control, the microwave method handles small jobs quickly, and the reinforced version adds strength when plain starch is not quite enough.
Start with cold water, heat the mixture gradually, stir continuously, and remember that the paste thickens as it cools. Apply it in thin layers, allow projects to dry thoroughly, and prepare fresh batches rather than attempting to preserve one jar until the next craft season.
Cornstarch paste may not replace every commercial adhesive, but for an afternoon of paper, paint, cardboard, and creative chaos, it is remarkably capable. It is also reassuring to know that when the glue runs out, the solution may already be waiting beside the baking soda.
Note: This article synthesizes established starch-gelatinization principles and practical guidance from museum art programs, conservation resources, food-science publications, and reputable craft references. Recipes are intended for ordinary craft projects, not professional restoration or archival treatment.