Quack grass is the weed that shows up in your lawn or garden like it pays rent, then quietly expands its underground empire while you are busy watering tomatoes and pretending the yard is “basically under control.” Also called quackgrass, couch grass, quick grass, or by gardeners muttering less printable names, this tough perennial grass spreads through long, pale underground stems called rhizomes. Those rhizomes are the real troublemakers. Break one into pieces, and each piece may act like a tiny green villain with a comeback plan.
The good news? You can get rid of quack grass. The slightly less good news? It usually takes patience, repetition, and a strategy better than “yank whatever is green and hope.” Because quack grass is a perennial weed, it returns from the same underground system year after year. It is not like crabgrass, which mostly starts fresh from seed each season. Quack grass already has a pantry underground, and that pantry is full of stored energy.
This guide explains three practical ways to get rid of quack grass in lawns, vegetable gardens, flower beds, and problem patches. You will learn how to identify it, remove it without accidentally multiplying it, smother or solarize larger areas, and use targeted herbicide methods when appropriate. No magic wand required, although a sturdy garden fork and a little stubbornness help.
What Is Quack Grass?
Quack grass is a cool-season perennial grass known botanically as Elymus repens. It grows upright, often with blue-green leaves that look coarser than typical lawn grass. In a neat lawn, it may appear as rough, fast-growing patches that stand taller and darker than the surrounding turf. In garden beds, it snakes between perennials, vegetables, shrubs, and edging stones as if it studied urban planning.
The easiest way to identify quack grass is to look for its rhizomes. Gently loosen the soil and pull up a plant. If you see long, white to pale yellow underground runners with sharp tips, you are probably dealing with quack grass. These rhizomes may spread several feet from the original plant and commonly sit in the upper soil layer, though they can dive deeper in loose or cultivated soil.
Quack Grass vs. Crabgrass
Many homeowners confuse quack grass with crabgrass, but the difference matters because the control methods are different. Crabgrass is an annual warm-season weed that germinates from seed, sprawls low, and usually becomes obvious in summer. Quack grass is a perennial cool-season weed that comes back from rhizomes and is often noticeable earlier in spring. Crabgrass does not have long underground rhizomes; quack grass does. That one detail changes the whole battle plan.
Why Quack Grass Is So Hard to Kill
Quack grass survives because it is built for persistence. Its underground rhizomes store energy, produce new shoots, and spread sideways beneath the soil. When you rototill an infested area, you may chop those rhizomes into dozens of pieces. Unfortunately, that can turn one large problem into many small problems. Think of it as making quack grass confetti. Festive? No. Regrettable? Absolutely.
Another challenge is that quack grass can mingle with desirable grass in lawns or wrap through the roots of perennials. Pulling only the leafy top does very little because the rhizomes remain underground and resprout. Mulch alone may slow it down, but mature quack grass can punch through thin mulch, landscape fabric, and gaps in cardboard. The key is to exhaust or remove the entire underground system.
3 Ways to Get Rid of Quack Grass
The best method depends on where the weed is growing, how large the infestation is, and whether you want an organic, mechanical, or chemical approach. In many yards, the most effective plan combines all three methods over time.
1. Dig Out Quack Grass and Remove Every Rhizome
For small patches, new invasions, raised beds, and flower borders, hand digging is often the best first move. It is chemical-free, precise, and surprisingly satisfying once you start pulling up long white rhizomes like garden spaghetti. The trick is to dig carefully, not aggressively.
When Digging Works Best
Digging works best when the infestation is limited and the soil is moist but not muddy. A day after deep watering or a soaking rain is ideal. Moist soil releases rhizomes more easily, reducing breakage. Dry, compacted soil makes rhizomes snap, and every snap can leave behind a piece that may regrow.
Early spring and early fall are excellent times to dig because quack grass is actively growing and easier to spot. In vegetable gardens, tackle it before planting or after harvest. In perennial beds, work slowly around desirable plants so you do not damage roots you actually invited to the party.
How to Dig Quack Grass Correctly
- Mark the visible patch, then assume the rhizomes extend several inches beyond it.
- Use a garden fork, not a rototiller, to loosen the soil deeply and gently.
- Lift the soil in sections and shake it apart by hand.
- Remove every white or yellow rhizome you can find, including small fragments.
- Place rhizomes in the trash or dry them thoroughly before composting only if your compost gets hot enough to kill perennial weeds.
- Return a week later and repeat the process for any missed shoots.
A digging fork is better than a shovel for this job because it loosens soil without slicing rhizomes into as many pieces. If you do use a shovel, lift chunks carefully and inspect them. Do not toss quack grass rhizomes into a casual backyard compost pile unless you enjoy surprise weeds in future compost. Quack grass is not impressed by your optimism.
Common Digging Mistakes
The biggest mistake is pulling only the top growth. The leaves may come off cleanly while the rhizome remains tucked underground like a smug little root noodle. Another mistake is rototilling too soon. Repeated cultivation can sometimes exhaust quack grass in managed agricultural systems, but in a home garden, one quick tilling often spreads the rhizomes faster than you can remove them.
After digging, replant the area quickly with desirable plants or cover it with mulch. Bare soil is an open invitation for weeds. In lawns, reseed the patch with a suitable turfgrass mix. In garden beds, use dense plantings, clean mulch, and regular monitoring.
2. Smother or Solarize Quack Grass in Larger Areas
If quack grass has taken over a garden bed, a future planting area, or a strip along a fence, digging every rhizome may feel like trying to alphabetize glitter. In that case, smothering or solarization can help weaken and kill the plants over time.
Smothering With Cardboard, Tarp, or Heavy Mulch
Smothering works by blocking sunlight so the leaves cannot photosynthesize. Without leaves feeding the rhizomes, the underground system slowly runs out of energy. The word “slowly” is important. Quack grass is not a weed that reads one cardboard memo and resigns.
To smother quack grass, mow or cut it as low as possible first. Then cover the area with overlapping cardboard, heavy paper, black plastic, a silage tarp, or another light-blocking material. Overlap seams generously because quack grass will find gaps. Weeds are very good at gap analysis. Secure edges with bricks, boards, soil, or landscape staples. Leave the cover in place for several months, and preferably through a full growing season for heavy infestations.
Organic mulch can be added over cardboard to improve appearance and hold everything down. Wood chips, straw, shredded leaves, or composted bark may help suppress new seedlings and protect soil. However, mulch alone is usually not enough for established quack grass. A thin layer of mulch is more like a blanket than a prison. The rhizomes may simply grow through it.
Solarization With Clear Plastic
Solarization uses heat instead of darkness. It works best in hot, sunny weather and in open areas that receive full sun. Cut the quack grass short, water the soil, then cover the area tightly with clear plastic. Seal the edges so heat builds underneath. Leave it in place for six weeks or longer during the hottest part of summer.
Clear plastic allows sunlight to enter and heat the soil, which can damage weed shoots, seeds, and shallow rhizomes. In cooler climates, shaded sites, or cloudy summers, solarization may be less effective. Black plastic or opaque tarps are better for long-term light exclusion, while clear plastic is better for heating soil when conditions are right.
What to Do After Smothering
Once you remove the cover, inspect the area carefully. Pull or dig any surviving rhizomes before planting. Then replant immediately with strong competition: turfgrass in lawns, cover crops in garden areas, or dense perennials and mulch in landscape beds. Leaving the soil bare after smothering is like clearing the stage and letting quack grass audition again.
For vegetable gardens, consider planting a quick cover crop after the treatment period. Buckwheat in warm weather or cereal rye in fall can help shade soil and reduce new weed establishment. Keep garden edges mowed and tidy because quack grass often creeps in from borders, fence lines, paths, and neighboring turf.
3. Spot Treat Quack Grass and Renovate the Area
In lawns, quack grass is especially frustrating because it is itself a grass. That means many selective lawn weed killers used for broadleaf weeds will not touch it. Products that kill dandelions and clover usually leave grassy weeds smiling politely. For established quack grass in turf, the most reliable chemical option is often spot treatment with a non-selective herbicide, followed by reseeding or sodding.
When Spot Treatment Makes Sense
Spot treatment makes sense when quack grass has invaded a lawn patch too thoroughly to dig without wrecking the turf anyway. Because non-selective herbicides can kill desirable grass and nearby plants, this method is best used carefully on defined patches. It is not a casual “spray and wander” project. Your roses, tomatoes, and Kentucky bluegrass would all prefer not to be included.
Apply products only according to the label. Choose a calm day to avoid drift. Treat actively growing quack grass so the herbicide can move through the leaves and into the rhizomes. Late summer to early fall is often practical for cool-season lawns because the weed is active and the treated area can be reseeded afterward. Some patches may need a second application if regrowth appears after two to four weeks.
How to Rebuild the Lawn After Treatment
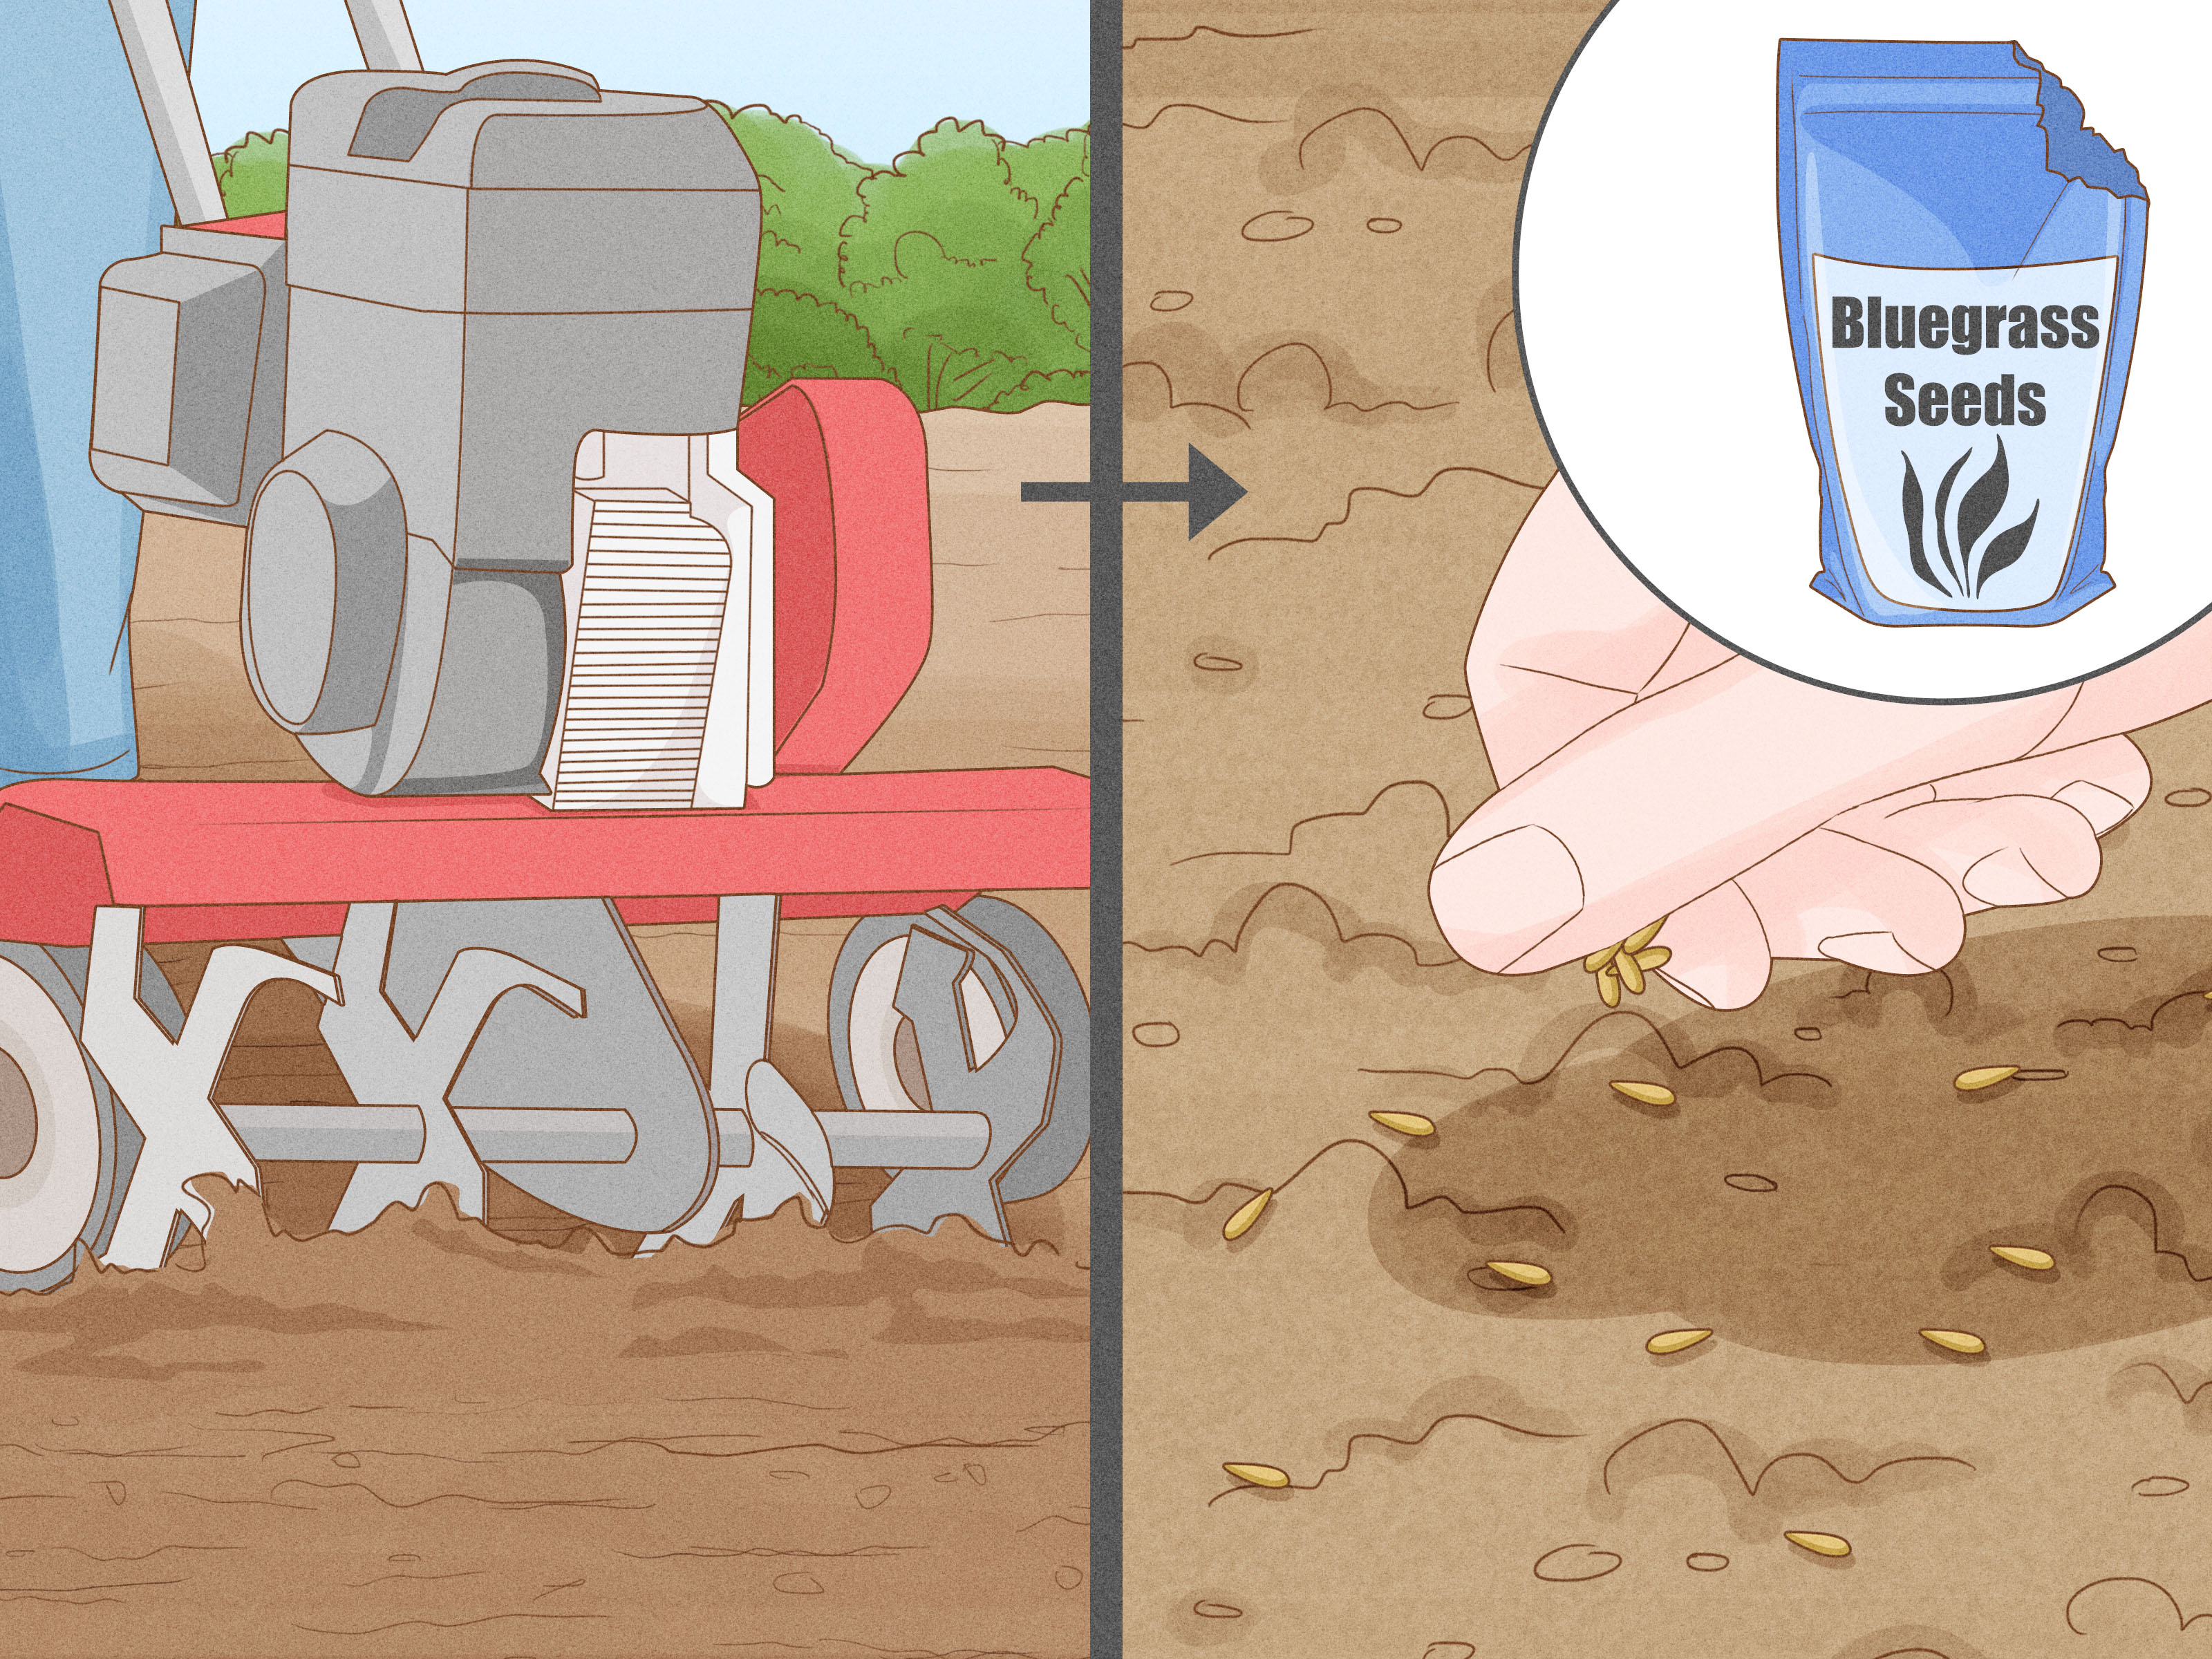
Once the quack grass has browned and died, rake away loose debris and roughen the soil surface. Add a thin layer of compost if needed, then reseed with a high-quality grass seed blend suited to your region and light conditions. Keep the seedbed consistently moist until germination and establishment. Late summer into early fall is usually one of the best windows for cool-season lawn seeding because temperatures are more forgiving and weed pressure is lower than in spring.
For severe infestations, a full lawn renovation may be more efficient than chasing patch after patch. This involves killing the existing vegetation, preparing the soil, correcting compaction or drainage issues, and starting fresh with seed or sod. It sounds dramatic, but sometimes the lawn equivalent of “new phone, who dis?” is exactly what the yard needs.
Use Herbicides Responsibly
Always read and follow the product label. The label is the law and the best guide for safe use, timing, rates, protective equipment, reseeding intervals, and where the product can be applied. Avoid spraying on windy days or near desirable plants. Keep children and pets away from treated areas according to label directions. If you are unsure what product is appropriate, contact your local Cooperative Extension office or a licensed lawn-care professional.
How to Prevent Quack Grass From Coming Back
Getting rid of quack grass is only half the job. Preventing its return is where long-term success happens. The best prevention strategy is healthy competition. In lawns, maintain dense turf through proper mowing height, watering, fertilization, overseeding, and soil care. Thin, drought-stressed lawns are easier for quack grass to invade.
In gardens, inspect new compost, soil, mulch, and plant divisions. Quack grass rhizomes can hitchhike in soil clumps, nursery plants, and poorly finished compost. Avoid bringing unknown sod or weedy fill into garden areas. Keep paths and bed edges clean. Install physical edging where lawn meets garden beds, but remember that rhizomes can travel under shallow borders, so regular inspection still matters.
Do Not Let Quack Grass Go to Seed
Rhizomes are the main problem, but quack grass can also reproduce by seed. Mow or cut plants before they form mature seedheads. This will not kill the rhizomes, but it reduces one more way the weed can spread. In neglected corners, seed production can quietly expand the infestation.
Improve Soil and Lawn Conditions
Quack grass often gains ground where desirable plants are weak. Compacted soil, drought stress, poor fertility, and bare patches all create opportunities. Aerate compacted lawns when appropriate, water deeply but less frequently, mow at the recommended height for your grass type, and overseed thin areas. In garden beds, use mulch, cover crops, and close plant spacing to shade soil and reduce weed establishment.
Which Method Should You Choose?
If you have a few scattered quack grass shoots in a flower bed, dig them out carefully. If you have a whole vegetable bed tangled with rhizomes, smothering or solarization may save your back and your vocabulary. If quack grass is woven through a lawn patch, spot treatment followed by reseeding may be the cleanest path to recovery.
The most realistic answer is often a combination. Dig the edges. Smother the center. Spot treat the lawn. Reseed bare areas. Repeat inspections every couple of weeks. Quack grass control is not a one-afternoon project; it is a season-long negotiation with a plant that has never heard the word “boundaries.”
Experience Notes: What Actually Helps in a Real Yard
In real-life gardening, quack grass usually teaches one lesson very quickly: shortcuts become longcuts. The first time many gardeners meet quack grass, they pull the green blades, feel victorious for about nine days, and then watch the same patch return thicker than before. That is because the visible grass is only the tip of the problem. The real plant is underground, spreading through rhizomes that behave like extension cords with leaves.
One practical experience is that small patches are worth attacking immediately. When quack grass first appears along a garden edge, do not wait until “next weekend” turns into “next season.” A small clump can often be loosened with a fork and removed in ten minutes. A mature patch wrapped around iris, peonies, or strawberries can take hours because the rhizomes thread through the root systems of plants you want to keep. Early action saves time, plants, and emotional stability.
Another lesson is to avoid rototilling an infested garden unless you have a follow-up plan. Many gardeners till in spring, see the soil look fluffy and clean, and then discover hundreds of green shoots a few weeks later. Tilling can cut rhizomes into smaller pieces and spread them evenly through the bed. If tilling is used, it should be followed by repeated drying, raking, removal, or a planned fallow period. Otherwise, the tiller becomes a quack grass distribution machine with handles.
Smothering works best when gardeners are patient and generous with overlap. Cardboard seams should overlap widely, and edges should be weighted down. Quack grass loves edges. It will emerge beside a brick, through a torn corner, or around a forgotten irrigation line. Using large sheets of cardboard or a heavy tarp reduces gaps. If a shoot appears, lift the edge, pull the rhizome, and reseal the cover. Treat the setup like a slow-cooker recipe: do not keep opening it unless you need to fix something.
In lawns, spot treatment feels annoying because it creates temporary dead patches, but those patches are often easier to repair than a lawn slowly being conquered. The best results usually come when the homeowner accepts that reseeding is part of the process. Killing quack grass without rebuilding the turf leaves bare ground, and bare ground is basically a welcome mat for weeds. After treatment, rake, seed, water, and protect the area until new grass fills in.
The biggest long-term win is routine inspection. Walk the garden after rain. Check fence lines. Look under shrubs. Watch the edges of raised beds. Quack grass control becomes much easier when the weed is handled as a recurring maintenance task rather than a once-a-decade emergency. A few minutes every week can prevent a full weekend of digging later. Your future self will be grateful, and your garden fork may finally get a day off.
Conclusion
Quack grass is persistent, but it is not unbeatable. The best way to get rid of quack grass is to understand how it grows: through underground rhizomes that store energy and resprout when pieces are left behind. For small infestations, careful digging and rhizome removal can work well. For larger areas, smothering or solarization can weaken the weed before replanting. For lawn patches, spot treatment with a non-selective herbicide followed by reseeding may be the most practical solution.
Whatever method you choose, plan for follow-up. Quack grass control rewards persistence more than panic. Remove rhizomes, block light, treat carefully when needed, rebuild healthy turf or beds, and keep watch along the edges. With a steady approach, you can turn a quack grass invasion into a manageable garden problem instead of a backyard soap opera.
Note: This article is written for general home gardening and lawn-care education. Always follow local regulations and product labels when using herbicides, and consult your local Cooperative Extension office for region-specific recommendations.