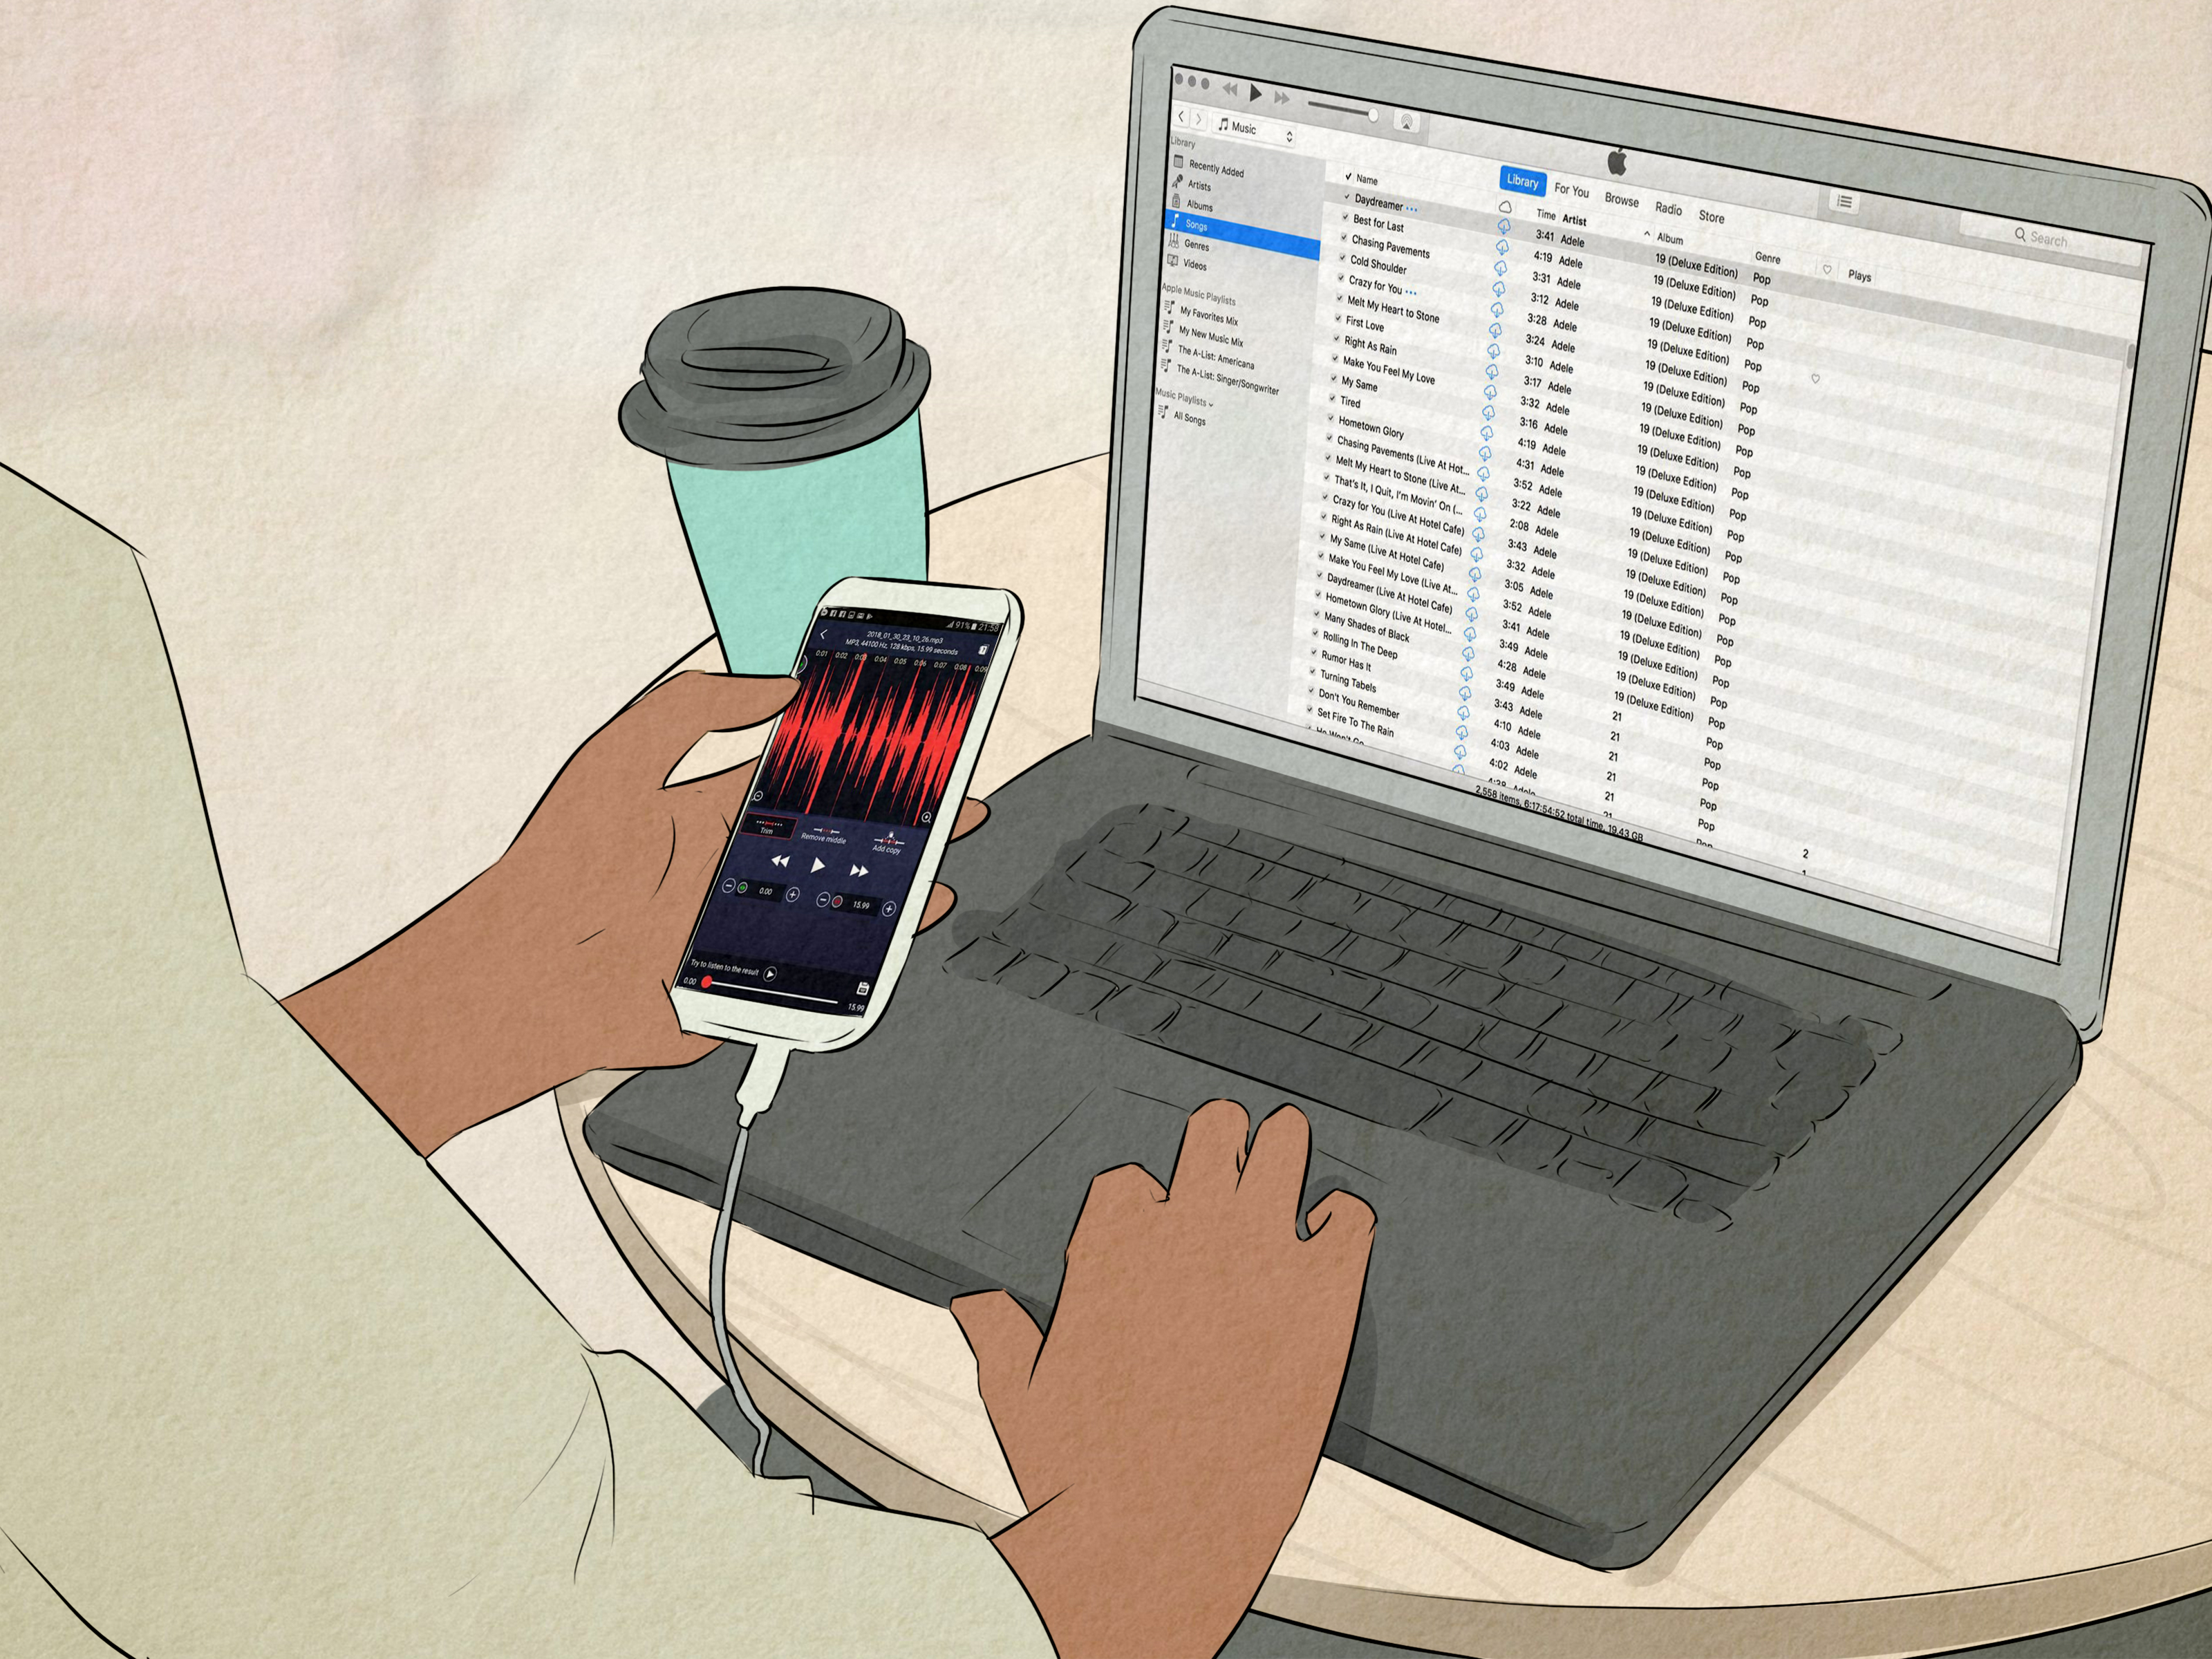
Ever listened to a 45-minute interview and thought, “Surely there must be an easier way to turn this into text than repeatedly pressing pause like I am defusing a bomb”? Good news: there is. Writing a transcript is a learnable skill, not an ancient talent reserved for court reporters, podcast wizards, and people who can understand muffled audio at 1.75x speed.
A transcript is simply a written version of spoken audio or video. You might need one for an interview, podcast, meeting, lecture, YouTube video, research project, legal matter, accessibility purpose, or content repurposing plan. A strong transcript makes spoken information searchable, readable, reusable, and far less likely to disappear into the void of an audio folder called “final_final_REALfinal.mp3.”
This beginner-friendly guide explains how to write a transcript from start to finish, choose the right transcript format, use transcription tools wisely, edit for accuracy, and avoid the mistakes that make readers wonder whether your keyboard was haunted.
What Is a Transcript?
A transcript is a written record of spoken words from an audio or video recording. It may include only the dialogue, or it may also contain timestamps, speaker names, pauses, sound effects, and notes about nonverbal actions.
For example, a simple transcript may look like this:
A more detailed transcript may include timestamps and sound cues:
The right version depends on why you are creating the transcript in the first place.
Why Writing a Transcript Matters
Transcripts do much more than turn sound into words. They can make content easier to search, review, quote, translate, repurpose, and share. A podcast transcript can become a blog post. A meeting transcript can become a list of action items. A research interview transcript can become the raw material for analysis. A video transcript can help viewers who prefer reading, cannot play audio, or need a quick way to scan the content.
For creators and businesses, transcripts can also support content marketing. One recorded conversation may become a newsletter, article, social media post, quote graphic, video captions, or FAQ page. That is a lot of mileage from one conversation, which is the content equivalent of getting fries at the bottom of the takeout bag.
Types of Transcripts You Should Know
Before you start typing, decide what kind of transcript you need. This saves time and prevents the classic beginner mistake of creating a courtroom-level transcript for a casual team meeting.
Verbatim Transcript
A verbatim transcript captures speech exactly as it is spoken. It includes filler words, false starts, repeated phrases, stutters, pauses, and sometimes nonverbal sounds.
Example:
Verbatim transcription is useful for legal proceedings, research interviews, investigative reporting, performance analysis, and projects where the exact wording matters.
Clean Verbatim Transcript
Clean verbatim keeps the speaker’s meaning but removes unnecessary filler words, repeated phrases, and obvious verbal clutter.
Example:
This is often the best choice for podcasts, interviews, business meetings, webinars, and articles because it is easier to read without changing the speaker’s meaning.
Edited Transcript
An edited transcript is polished for clarity and readability. Grammar may be lightly corrected, rambling phrases may be tightened, and repeated thoughts may be removed. However, the core meaning should stay faithful to what the speaker said.
This format works well for published interviews, thought-leadership articles, speeches, and educational content.
Timestamped Transcript
A timestamped transcript includes time markers that show when a statement occurs in the recording. Timestamps are helpful for video editors, researchers, legal teams, podcast producers, and anyone who needs to jump back to a specific moment quickly.
What You Need Before You Start Transcribing
You do not need a fancy studio, three monitors, or a suspiciously expensive keyboard to write a transcript. But a few basics will make the job much easier.
- A clear audio or video file
- Headphones that let you hear speech clearly
- A word processor or transcription platform
- A reliable playback tool with speed controls
- A quiet place to work
- A style guide or formatting plan
Good audio saves a shocking amount of time. Background noise, overlapping speakers, distant microphones, and people whispering while chewing potato chips can make transcription difficult for both humans and software.
How to Write a Transcript Step by Step
Step 1: Listen to the Entire Recording First
Do not begin transcribing blindly. Listen to the opening, middle, and ending of the recording before you type. This quick preview helps you identify the number of speakers, sound quality, accents, technical terms, interruptions, and any sections that may need extra attention.
Take notes on names, company terms, product names, locations, acronyms, and unusual vocabulary. A five-minute preparation step can prevent 30 minutes of replaying one mysterious phrase that turns out to be “quarterly revenue dashboard.”
Step 2: Choose Your Transcript Style
Decide whether the transcript should be verbatim, clean verbatim, edited, or timestamped. Also decide how you will label speakers.
You can use full names:
Or simple labels:
For confidential interviews or research projects, anonymous labels such as “Participant A” and “Moderator” are often safer and more practical.
Step 3: Set Up Your Document
Create a clean document before you begin. Include the title of the recording, date, names of speakers if available, and the transcript style.
Use a readable font, clear paragraph breaks, and consistent speaker labels. A transcript should feel organized, not like a wall of text that escaped from a malfunctioning printer.
Step 4: Transcribe in Short Sections
Work in small chunks, usually between five and 20 seconds at a time. Listen, pause, type, then replay the section if needed. Beginners often try to type while the audio runs continuously, which is brave but usually produces a document full of missing words and emotional regret.
Use playback speed strategically. Slow difficult sections to 0.75x or 0.5x. Speed up clear, familiar sections to 1.25x or 1.5x once you feel comfortable.
Step 5: Add Speaker Labels and Paragraph Breaks
Start a new paragraph every time the speaker changes. Long paragraphs are hard to scan, especially in interviews and meetings.
Use meaningful labels consistently:
If you do not know who is speaking, use temporary labels such as “Unknown Speaker 1” until you can confirm their identity later.
Step 6: Mark Unclear Audio Honestly
Never guess when you cannot hear a word clearly. Guessing can change the meaning of the transcript, especially in legal, medical, financial, or research-related material.
Use a notation such as:
Example:
Later, you can revisit the section with headphones, lower playback speed, or ask the speaker for clarification.
Step 7: Include Sound Cues Only When They Matter
Not every cough, chair squeak, or dog bark needs a starring role in your transcript. Add sound cues only when they affect meaning, tone, or context.
Useful examples include:
- [laughs]
- [applause]
- [phone rings]
- [long pause]
- [music playing]
- [overlapping speech]
For example, “I love that idea” has a very different flavor when followed by [laughs sarcastically]. Context is doing some heavy lifting there.
Step 8: Review While Listening Again
The first draft is not the final transcript. Read your transcript while listening to the recording again. This second pass catches missing words, incorrect names, wrong speaker labels, punctuation problems, and places where automatic transcription tools became overly creative.
Pay special attention to:
- Names and job titles
- Numbers, dates, prices, and percentages
- Industry terminology
- Speaker changes
- Quotes and key statements
- Words that sound alike but have different meanings
Step 9: Proofread for Readability
Once the words are accurate, clean up the layout. Add punctuation, correct obvious spelling errors, create paragraph breaks, and make sure every speaker label is consistent.
For a clean verbatim transcript, remove unnecessary filler words only when doing so does not alter tone or meaning. Do not “improve” a speaker’s message so aggressively that the transcript becomes a completely different conversation wearing a nice blazer.
How to Use AI Transcription Tools Without Trusting Them Too Much
Automatic transcription tools can save time by creating a first draft from audio or video. Popular platforms can identify speakers, generate timestamps, export text files, and let you edit the transcript while listening to the source recording.
That said, AI transcription is a starting point, not a finish line. Automatic tools may struggle with accents, multiple speakers, crosstalk, poor microphone quality, slang, names, technical jargon, and people who speak at the speed of an auctioneer after three coffees.
A smart workflow looks like this:
- Upload the recording to a transcription tool.
- Generate the automated draft.
- Correct speaker labels.
- Review names, numbers, and terminology.
- Listen to difficult sections again.
- Format the final transcript for its intended use.
Tools can reduce typing time, but human review protects accuracy. This is especially important when the transcript may be published, submitted for research, used in legal work, or shared with clients.
Best Practices for Transcript Formatting
Use Consistent Speaker Names
Choose one labeling style and stick with it. Do not start with “Sarah,” switch to “Sarah Johnson,” then suddenly use “Speaker 2” halfway through. The reader should never need a detective board and red string to figure out who is talking.
Use Timestamps Strategically
You do not always need a timestamp after every sentence. For many projects, adding one every 30 seconds, every minute, or every speaker change is enough. Use more frequent timestamps for video editing, legal review, research coding, or long interviews.
Use Brackets for Notes
Brackets help separate nonverbal information from spoken dialogue.
Preserve Meaning Over Perfection
A transcript should represent what the speaker said, not what you wish they had said. Correct obvious transcription errors, but do not rewrite the speaker’s personality out of existence. A transcript is documentation, not a makeover show.
Common Transcription Mistakes Beginners Make
Trying to Type Every Word in Real Time
Unless you are highly trained, typing live audio word for word is difficult. Pause often. Work in short sections. Accuracy wins over speed.
Guessing Unclear Words
Never invent missing words. Mark unclear audio and return later. A confident wrong word can be worse than an honest “[inaudible].”
Ignoring Speaker Changes
A transcript without speaker labels becomes confusing fast, especially during interviews, focus groups, and meetings. Label speakers clearly and consistently.
Skipping the Final Review
Even a good automated transcript can contain errors. Review the full document against the original recording before publishing or sharing it.
Forgetting Privacy and Permission
Before recording or transcribing a conversation, make sure you have the appropriate permission to do so. Be especially careful with confidential business discussions, private interviews, healthcare-related information, legal material, and sensitive research conversations.
When sharing a transcript, remove private data when necessary. This may include phone numbers, addresses, account details, medical information, or identifying details about participants.
Simple Transcript Template for Beginners
How Long Does It Take to Write a Transcript?
Transcription time depends on the audio quality, number of speakers, subject complexity, required formatting, and your experience level. A beginner may need several hours to transcribe one hour of clear audio manually. Difficult recordings with interruptions, accents, heavy jargon, or multiple speakers can take much longer.
Using automated transcription software can speed up the first-draft process, but editing and checking the result still takes time. The best way to get faster is not to rush. It is to build a repeatable process: prepare, transcribe in chunks, review carefully, and use a consistent format.
How to Get Better at Transcription
Like most skills, transcription improves with practice. Start with short recordings of five to 10 minutes. Choose clear audio with one or two speakers. Practice identifying speakers, adding punctuation, and using timestamps.
As you improve, try more difficult material such as interviews, podcasts, panel discussions, webinars, or meetings with overlapping conversation. Create a glossary for recurring names and industry terms. Learn keyboard shortcuts for pause, rewind, playback speed, and timestamp insertion. Tiny workflow improvements add up quickly.
Most importantly, build the habit of reviewing your work. Accuracy is what turns a rough text dump into a transcript people can actually trust.
Experience-Based Lessons: What Beginners Learn After Their First Few Transcripts
The first time you write a transcript, you may feel oddly optimistic. You press play, hear a clear opening sentence, type three beautiful lines, and think, “I have discovered my calling.” Then minute four arrives. Someone starts talking over someone else. A truck drives past. The guest says the name of a software platform that sounds like a sneeze. Suddenly, transcription feels less like typing and more like audio archaeology.
That experience teaches an important lesson: good transcription is not just about fast fingers. It is about patience, attention, and a willingness to replay the same three seconds without throwing your headphones into the nearest decorative plant.
One of the most useful habits beginners develop is listening for meaning instead of chasing individual sounds. At first, it is easy to get stuck on one unclear word. Experienced transcriptionists learn to listen to the whole sentence, the speaker’s topic, and the surrounding conversation. Context often helps reveal what a speaker meant, although it should never be used as an excuse to guess recklessly.
Another lesson is that speaker labels are more important than they seem. In a two-person interview, it may feel obvious who is talking. But after 20 minutes of conversation, especially when people have similar voices, a missed speaker change can create real confusion. A funny answer may get assigned to the wrong person. A serious statement may suddenly appear to come from the host. That is how innocent transcripts become accidental drama.
Beginners also discover that names are the final boss of transcription. Common words are usually easy. Proper names, unfamiliar brands, technical terms, and acronyms are where mistakes hide. A practical solution is to create a reference list before you begin. Write down the names of guests, companies, products, cities, and jargon that might appear. This small preparation step makes editing faster and helps you avoid turning “SaaS platform” into “sad platform,” which would be a very different business model.
Many people are surprised by how much punctuation changes readability. Spoken language is messy in a normal and human way. People pause, change direction, repeat themselves, and begin sentences they never finish. A transcript without punctuation makes every speaker sound like they are running through a maze while carrying groceries. Adding periods, commas, paragraph breaks, and question marks gives the reader a path through the conversation.
There is also a lesson about automation: transcription software can feel magical until it confidently mishears a key sentence. Automated tools are excellent for producing a draft quickly, especially when the audio is clean. But they are not immune to confusion. They may mix up speakers, misunderstand names, merge two people into one paragraph, or interpret background noise as a mysterious new participant.
The most reliable workflow is usually a hybrid one. Let software handle the repetitive first pass, then let a human handle judgment. Review the important sections. Check numbers, dates, names, quotes, and conclusions. Listen carefully when a sentence affects a decision, a research finding, a public statement, or a client deliverable. AI can save you time, but it cannot accept responsibility for an embarrassing typo in a published interview.
Finally, beginners learn that transcription is easier when they stop trying to be perfect on the first pass. Write the draft. Mark unclear spots. Keep moving. Review later with fresh ears. This prevents one difficult sentence from swallowing 15 minutes of your day like a tiny audio black hole.
With practice, transcription becomes less intimidating. You begin to recognize speech patterns, predict punctuation naturally, spot speaker changes faster, and develop a rhythm that works for you. The process may never be glamorous, but it becomes satisfying. You start with a recording full of voices, pauses, and background noise. You finish with a clear document that people can search, read, quote, analyze, and use. That is a pretty good transformation for something that begins with a play button.
Conclusion
Learning how to write a transcript is one of those practical skills that becomes more valuable the more content you work with. Whether you are transcribing an interview, podcast, lecture, meeting, video, or research discussion, the process is the same: choose the right transcript style, prepare your audio, work in short sections, label speakers clearly, mark unclear moments honestly, and review every important detail.
Start simple. Use a short recording. Build a repeatable workflow. Let transcription tools help, but keep a human ear in charge. Before long, you will be turning spoken conversations into organized, useful, publication-ready text without feeling like you need a degree in advanced pause-button engineering.
Note: This article is intended as a general educational guide. For legal, medical, regulatory, or highly confidential transcription work, follow the applicable professional, organizational, and privacy requirements.