Moving photos from one Google account to another sounds like it should be as easy as dragging a folder across the digital kitchen table. Unfortunately, Google Photos is not quite that simple. There is no big red button labeled “Move My Entire Life to a New Account,” probably because half the internet would press it by accident before finishing their coffee.
The good news? You can transfer Google Photos from one account to another safely. The even better news? You have several practical methods, depending on whether you want to move your full photo library, selected albums, a few important memories, or every picture from the “why did I take 47 photos of this sandwich?” era.
This guide explains the best ways to transfer Google Photos between accounts, including Partner Sharing, Google Takeout, shared albums, manual download and upload, and a few careful tips to avoid missing photos, losing metadata, or turning your storage quota into a tiny screaming calculator.
Before You Transfer: Understand How Google Photos Works
Google Photos is tied to a specific Google Account. That means your photos, videos, albums, shared memories, backup settings, and storage usage belong to the account where they were uploaded or saved. If you used the wrong Gmail account on your phone, created a new personal account, left a school or work account, or simply want all your memories in one place, transferring can be a smart move.
However, “transfer” can mean different things. Sometimes you want a true copy in the new account. Sometimes you just want access. Sometimes you want to keep albums organized. And sometimes you want to escape an old account before it becomes a museum exhibit of forgotten passwords.
The Main Transfer Methods
The most useful options are:
- Partner Sharing: Best for copying many or all photos from one Google Photos account to another.
- Google Takeout: Best for exporting your entire Google Photos library as downloadable files.
- Shared albums: Best for moving selected albums or specific groups of photos.
- Manual download and upload: Best for small batches or careful curated transfers.
- Third-party cloud transfer tools: Useful in some cases, but they require caution because you are granting account access.
Method 1: Use Partner Sharing to Transfer Google Photos
For many people, Partner Sharing is the easiest way to move photos from one Google account to another. Despite the romantic name, your “partner” does not need to be your spouse, soulmate, or person who knows exactly how you like your fries. It can be your second Google account.
Partner Sharing lets one Google Photos account share photos automatically with another Google Account. Once the second account accepts the invitation, it can save the shared photos into its own Google Photos library.
When Partner Sharing Is the Best Choice
Use Partner Sharing when you want to transfer a large number of photos without manually downloading thousands of files. It is especially helpful if your goal is to move your main Google Photos library from Account A to Account B.
This method works well for:
- Moving photos from an old Gmail account to a new Gmail account
- Copying pictures from a work or school account to a personal account
- Combining memories into one main Google Photos account
- Saving backed-up photos before closing or abandoning an account
How to Transfer Google Photos Using Partner Sharing
- Open Google Photos in the old account.
- Go to Settings.
- Find Sharing and choose Partner Sharing.
- Select the new Google Account as the partner.
- Choose whether to share all photos or photos from a specific date.
- Send the invitation.
- Sign in to the new Google Account.
- Accept the Partner Sharing invitation.
- In the new account, go to Partner Sharing settings.
- Choose Save to your account.
- Select All photos if you want the full shared library saved.
Once saved, the photos appear in the new account’s Google Photos view, search results, and Memories. That is the big moment. Your pictures have crossed the account border and are now unpacking their emotional baggage in a new digital home.
Important Partner Sharing Notes
Partner Sharing is convenient, but it has a few rules worth knowing before you start clicking like a caffeinated raccoon.
First, you can use Partner Sharing with only one person at a time. If your old account is already sharing with someone else, you may need to stop that connection before starting a new one.
Second, only backed-up photos are shared. If pictures exist only on your phone and have not been backed up to Google Photos, they will not magically appear in the new account. Check your backup status first.
Third, photos saved from Partner Sharing may not count against the new account’s storage as long as the original partner continues sharing them. However, if you want a more independent copy, you should confirm the photos are saved and consider your long-term storage plan carefully.
Fourth, photos from other Android apps may not always be shared by default. If you want screenshots, downloads, WhatsApp images, edited files, or pictures from other app folders included, review Partner Sharing settings and backup folders before assuming everything transferred.
Method 2: Use Google Takeout to Export and Reupload Photos
Google Takeout is Google’s official data export tool. It lets you download a copy of your Google data, including Google Photos. This method is more old-school, but it gives you a local archive of your pictures and videos. Think of it as packing your memories into digital moving boxes, taping them shut, and hoping you labeled them better than “misc stuff.”
When Google Takeout Is the Best Choice
Use Google Takeout when you want a full backup outside Google Photos or when Partner Sharing is not enough. It is also useful if you want to keep a copy on an external hard drive before uploading to another account.
Google Takeout is a strong option for:
- Exporting a full Google Photos library
- Creating an offline backup before migration
- Moving away from a work, school, or old account
- Keeping photos on a computer or external drive
- Archiving photos before deleting anything from the original account
How to Transfer Google Photos with Google Takeout
- Sign in to the old Google Account.
- Go to Google Takeout.
- Choose Deselect all so you do not export every Google product by accident.
- Select Google Photos.
- Choose whether to export all albums or selected albums.
- Pick your file type and archive size.
- Select a delivery method, such as email download link, Google Drive, Dropbox, OneDrive, or Box.
- Create the export.
- Download the archive when it is ready.
- Extract the files on your computer.
- Sign in to the new Google Account.
- Upload the photos and videos to Google Photos.
Google Takeout exports can take anywhere from a short while to much longer, depending on how much data is in the account. A small library may be ready quickly. A giant library filled with years of vacations, pet photos, screenshots, memes, and mystery videos from your pocket may require patience.
What to Watch Out for with Google Takeout
Google Takeout is powerful, but it is not always elegant. Your export may include folders, image files, video files, and metadata files. Some metadata may appear as separate JSON files. That does not mean your photos are broken. It means Google gave you the data with extra information attached separately.
When reuploading, check a sample batch first. Make sure dates, locations, and file order look acceptable in the new Google Photos account. Do not delete anything from the old account until you have verified that the important files are safely available in the new one.
Method 3: Share Albums Between Google Accounts
If you do not need to transfer everything, shared albums are a neat and tidy option. This method is great when you want to move vacation albums, family collections, client image folders, event photos, or carefully curated memories.
How to Transfer Albums
- Open Google Photos in the old account.
- Select the album you want to transfer.
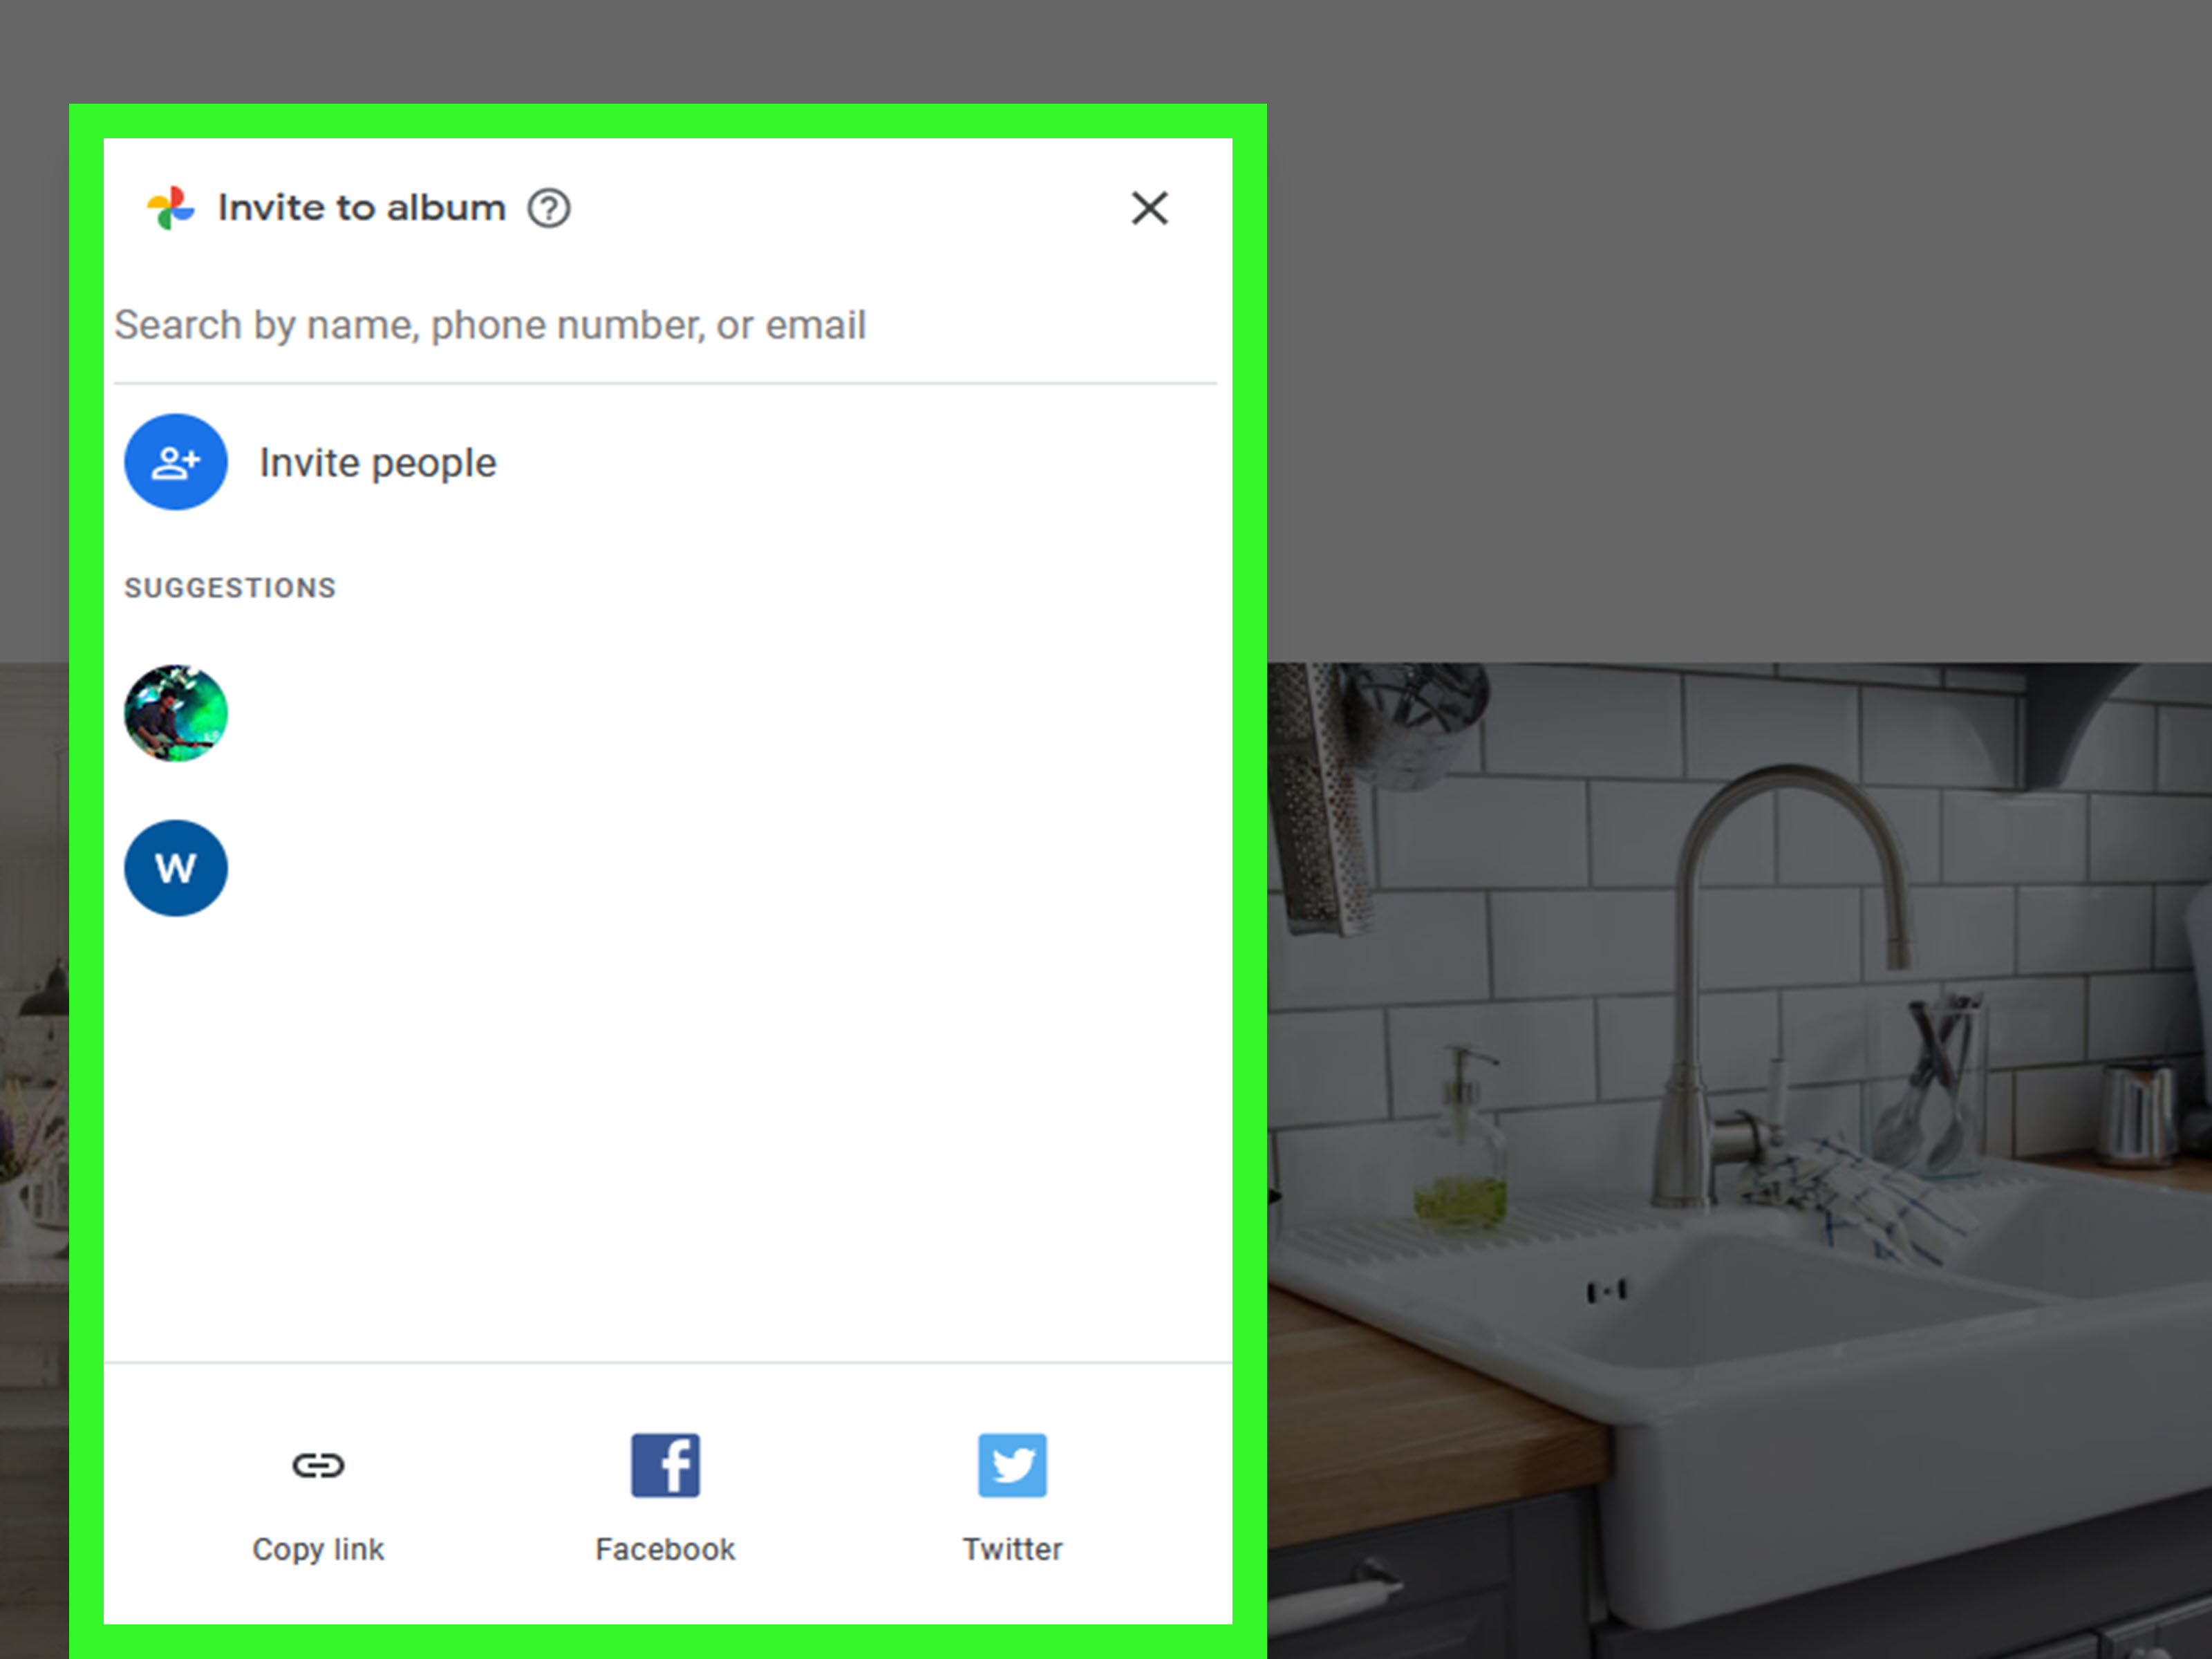
- Click or tap Share.
- Send the album to the new Google Account.
- Sign in to the new account.
- Open the shared album.
- Select the photos and choose Save or Save to library.
This method is clean, but it can be repetitive if you have hundreds of albums. It is best for selected collections, not for moving a massive library that contains every photo since flip phones roamed the earth.
Shared Album Tip
After saving photos to the new account, check whether the album structure itself moved the way you expected. Saving images may add them to the new library, but you may need to recreate or organize albums manually in the new account. In other words, the photos may arrive safely, but the seating chart may need work.
Method 4: Download and Upload Photos Manually
Manual download and upload is the simplest method for small transfers. It is not glamorous, but it works. If you only need to move 20 photos, 100 photos, or a single album, this method may be faster than setting up a full migration.
How to Manually Move Photos
- Open Google Photos in the old account on a computer.
- Select the photos or videos you want to move.
- Choose Download.
- Sign out or switch to the new Google Account.
- Open Google Photos in the new account.
- Upload the downloaded files.
This approach gives you control. You can choose only the best photos, skip duplicates, and avoid carrying over old screenshots of dinner reservations from 2018. The downside is time. Manually moving thousands of photos can become a heroic quest, and not the fun kind with dragons.
Which Method Should You Choose?
The right method depends on your goal. If you want the easiest way to copy most of your library, start with Partner Sharing. If you want a complete offline backup, use Google Takeout. If you only need certain albums, use shared albums. If you need only a few files, download and upload manually.
Quick Recommendation Guide
- Full library transfer: Use Partner Sharing or Google Takeout.
- Backup plus transfer: Use Google Takeout.
- Selected albums: Use shared albums.
- Small batch transfer: Use manual download and upload.
- Careful long-term migration: Use Partner Sharing first, then Google Takeout as a backup.
Storage Rules You Should Know Before Moving Photos
Google Account storage is shared across Google Photos, Gmail, and Google Drive. That means a photo transfer can affect the available space in your new account, especially if you upload original-quality photos or videos after downloading them.
Photos and videos backed up in Original quality count toward storage. Storage Saver and Express quality files backed up after June 1, 2021 also count toward storage. Some older files backed up before that date may not count, depending on backup quality and Google’s storage rules.
Before you transfer, open the new account and check available storage. If the new account has only a few gigabytes free and your old Google Photos library is 80 GB, the transfer may run into a storage wall. A storage wall is like a regular wall, except it sends passive-aggressive emails.
How to Avoid Losing Photos During Transfer
The safest photo transfer is slow, boring, and verified. That may not sound exciting, but neither is discovering that your favorite wedding photo is missing because you deleted the original too soon.
Use This Safety Checklist
- Check that all important photos are backed up in the old account.
- Make sure you are signed in to the correct accounts before sharing or uploading.
- Transfer a small test batch first.
- Confirm photos appear in the new account’s Photos view and search.
- Check several dates, albums, videos, and older memories.
- Do not delete the old library immediately.
- Keep a local backup if the photos are truly important.
For major transfers, keep the old account untouched for a few weeks. That gives you time to notice missing albums, odd dates, duplicates, or files that did not upload correctly.
Common Problems and How to Fix Them
Problem: Photos Do Not Appear in the New Account
First, confirm that the new account accepted the Partner Sharing invitation. Then check whether Save to your account is enabled. Viewing shared photos is not always the same as saving them to your own library.
Problem: Screenshots or App Images Are Missing
Check whether those folders were backed up in the old account. On Android, images from other apps may require separate backup settings. Also review Partner Sharing settings to see whether content from other apps is included.
Problem: Albums Did Not Transfer Properly
Google Photos may save images to the new library without perfectly recreating every album structure. If album organization matters, transfer albums one by one using shared albums or rebuild key albums manually.
Problem: Storage Is Suddenly Full
Large uploads can quickly consume Google Account storage. Review Google Photos backup quality, remove unwanted large videos, clean up Gmail attachments, and check Google Drive files. If needed, consider a Google One storage plan before uploading a huge archive.
Problem: There Are Duplicates
Duplicates can happen when you download and reupload photos that already exist in the destination account. Before doing a full manual upload, search the new account for a few sample photos. If duplicates appear, pause and rethink your method before creating a photo jungle.
Privacy and Security Tips
Photo libraries are deeply personal. They include faces, locations, receipts, documents, children, pets, homes, vacations, and possibly several photos of your thumb partially covering the lens. Treat the transfer like sensitive data.
- Use private Wi-Fi when downloading large archives.
- Avoid using shared or public computers.
- Sign out of accounts after finishing.
- Do not share Takeout archives through public links.
- Delete local export files from temporary devices after confirming backup.
- Use strong passwords and two-step verification on both accounts.
If you are transferring from a school or work account, check the organization’s rules first. Some managed accounts may have restrictions, and some data may belong to the organization rather than the individual user.
Should You Delete Photos from the Old Account?
Not right away. Once you think the transfer is complete, wait. Review the new account on both desktop and mobile. Search by dates, places, people, pets, and albums. Open a few videos to make sure they play. Check older years, not just recent uploads.
Only delete photos from the old account when you are completely confident the new account contains what you need. Even then, consider downloading a Google Takeout archive or keeping a copy on an external drive. Cloud storage is convenient, but backup wisdom says one copy is a wish, two copies are better, and three copies make you the responsible adult in the room.
Real-World Example: Moving From an Old Gmail to a New One
Imagine you have used [email protected] for years, but now you want everything in [email protected]. The easiest route is to open Google Photos in the old account, enable Partner Sharing, invite the new account, accept the invite, and choose Save to your account for all photos.
After that, leave both accounts connected for a while. Check that old vacation photos, family videos, screenshots, and important memories appear in the new account. If the new account looks complete, create a Google Takeout export from the old account as a safety backup. Then, and only then, decide whether to stop Partner Sharing or clean up the old account.
Best Practices for a Smooth Google Photos Transfer
The best transfer strategy is not always the fastest one. A good migration protects your memories, keeps your albums understandable, and avoids storage surprises.
- Use Partner Sharing for convenience.
- Use Google Takeout for backup security.
- Use shared albums for organized collections.
- Use manual download only for small batches.
- Check storage before uploading large archives.
- Verify everything before deleting anything.
Most importantly, be patient. Google Photos libraries can be enormous, and transfers may take time to display fully. If your memories include years of birthdays, trips, school events, pets, projects, and accidental ceiling photos, give the process room to breathe.
Extra Experience: What It Feels Like to Transfer Google Photos Between Accounts
Transferring Google Photos from one account to another is not just a technical task. It can feel surprisingly emotional. You start by thinking, “I just need to move some files.” Then ten minutes later, you are staring at a photo from six years ago, wondering why your haircut looked like it was assembled during a power outage.
One practical experience many users run into is account confusion. Google makes it easy to switch accounts, but that also means it is easy to upload photos to the wrong place. Before starting any transfer, look carefully at the profile icon in the top-right corner. Do not assume. Confirm. The tiny circular avatar is the gatekeeper of your entire photo universe.
Another common experience is underestimating the library size. A person may think, “I probably have a few thousand pictures.” Then Google Takeout reveals a mountain of files, including videos, burst shots, edited copies, downloaded images, and screenshots from apps they forgot existed. This is normal. Modern photo libraries are not photo albums anymore; they are life archives with bonus clutter.
Partner Sharing often feels like the smoothest method because you do not have to babysit downloads. Still, it is smart to verify the transfer from different angles. Search for old years. Search for names. Search for locations. Open videos. Check albums. Look at random months. If you only check the first page of recent photos, you may miss gaps hiding deep in the timeline.
Google Takeout feels more serious, almost like preparing a digital emergency kit. The files arrive in archives, and the folder structure can look intimidating at first. Do not panic when you see metadata files. They are part of the export. The key is to extract the archive carefully, keep the original download safe, and test uploads before moving everything into the new account.
Storage is another lesson people learn quickly. A new Google Account may look spacious until thousands of photos and videos arrive. Videos are usually the heavy lifters. A few long clips can use more space than hundreds of photos. Before uploading a full archive, check the new account’s storage dashboard and decide whether you want Original quality or Storage Saver.
Albums can also surprise you. Photos may transfer successfully, but album organization may not always follow perfectly, depending on the method. If albums matter for your workflow, family history, business, or personal sanity, move important albums separately and rename them clearly. “Summer Trip 2022” is much more helpful than “Album 47,” unless your goal is to create a treasure hunt for your future self.
The most valuable experience-based tip is simple: never delete the old account’s photos immediately. Give yourself a safety window. Keep both accounts active until you are confident. For irreplaceable memories, store an extra backup on an external drive or another cloud service. Your future self will not complain about having too many backups. Your future self may absolutely complain about having none.
In the end, transferring Google Photos is very manageable when you treat it like a careful move instead of a quick copy-paste chore. Pack the memories, label the boxes, check the new house, and only then decide what to do with the old one. Your photos deserve a smooth landing.
Conclusion
Learning how to transfer Google Photos from one account to another is mostly about choosing the right method. Partner Sharing is usually the easiest option for moving many photos. Google Takeout is best when you want a full archive and backup. Shared albums are perfect for selected collections, while manual download and upload works well for smaller batches.
The golden rule is simple: verify before deleting. Make sure photos, videos, albums, dates, and important memories appear correctly in the new account. Check storage space, protect your privacy, and keep at least one backup of anything you cannot replace.
Once the transfer is complete, your new Google Photos account can become the organized home base for your memories. And yes, that includes the blurry pet photos. Those are historically important.