Fake nails are delightful right up until removal day. One week, they are glossy little confidence boosters; the next, they are lifting at the corners and catching on every sweater you own. At that point, peeling them off can feel extremely tempting. Unfortunately, turning your manicure into a miniature demolition project is one of the fastest ways to peel away layers of your natural nails, too.
The safest way to take off fake nails at home depends on what is actually attached to your fingers. Acrylic, soak-off gel, hard gel, dip powder, and press-on nails may look similar from a distance, but they do not dissolve or release in exactly the same way. Before reaching for acetone, identify the product, gather the right supplies, and accept one important truth: careful nail removal requires patience.
Important note: This guide is for routine cosmetic nail removal. Stop if you experience severe pain, bleeding, spreading redness, swelling, pus, a strong odor, or separation of the natural nail from the nail bed. Those symptoms may require evaluation by a dermatologist or another healthcare professional.
Why You Should Never Peel Off Fake Nails
Artificial nail products bond to the upper layers of the natural nail plate. When you rip, pry, bite, or pop off a stubborn enhancement, the product may take some of those natural layers with it. The result can be thin, rough, tender nails that bend every time you look at them suspiciously.
Aggressive scraping can also create white patches, grooves, splitting, and small injuries around the cuticle. Those injuries make it easier for bacteria, fungi, and irritants to cause trouble. Dermatology guidance consistently favors soaking or controlled filing over picking and peeling.
First, Identify the Type of Fake Nails You Have
Acrylic nails
Acrylic enhancements are made by combining a liquid monomer with a powder polymer. They are usually thick, firm, and commonly used to create added length. Acrylic generally softens in pure acetone, although a thick application may require several soaking rounds.
Soft gel or soak-off gel
Gel polish, many soft-gel extensions, and some builder gels are designed to soak off with acetone. Filing through the shiny topcoat helps the solvent penetrate the layers below.
Hard gel
True hard gel does not dissolve in acetone. It must be carefully filed down, usually by a trained nail technician. Some products called builder gel are soak-off formulas, while others are hard gels, so check the original product label or ask the salon that applied it. When the product type is uncertain, professional removal is the safer choice.
Dip powder nails
Dip manicures contain multiple layers of resin, powder, activator, and topcoat. They typically require substantial surface filing followed by an acetone soak. Because dip is durable, removal often takes longer than removing ordinary gel polish.
Press-on nails
Press-ons may be attached with temporary adhesive tabs or liquid nail glue. Tab-applied nails can often be loosened with warm, soapy water and oil. Glue-on versions may need acetone, particularly when the bond is still strong.
Supplies for Removing Fake Nails at Home
You will not need a suitcase full of salon equipment, but collecting everything before starting prevents the classic problem of discovering that your cotton balls are in another room while nine fingers are wrapped in foil.
- Nail clippers
- A coarse nail file and a finer buffer
- Pure acetone for soak-off products
- Cotton balls or cotton pads
- Plastic food wrap or aluminum foil
- Petroleum jelly
- A wooden manicure stick
- A glass or acetone-resistant bowl, if using a bowl soak
- Cuticle oil and fragrance-free hand cream
- An old towel to protect the work surface
Work in a well-ventilated area and keep acetone away from cigarettes, candles, stoves, space heaters, and other heat or flame sources. Acetone is highly flammable and may irritate the eyes, skin, nose, or throat. Never microwave acetone or heat it directly.
How to Remove Acrylic Nails at Home
Step 1: Shorten the extensions
Clip off the extra length, but do not cut into your natural nail or any area that feels painful. Shorter acrylics create less leverage and require less product to dissolve.
Step 2: File away the topcoat
Use a coarse file to remove the glossy seal and reduce some of the acrylic’s thickness. File slowly and stop before reaching the natural nail. Your goal is to thin the enhancement, not excavate your fingertip.
Step 3: Protect the surrounding skin
Apply a thin layer of petroleum jelly around the cuticles and sides of each finger. Avoid coating the artificial nail itself, since an oily layer can interfere with acetone penetration.
Step 4: Apply acetone-soaked cotton
Saturate cotton with pure acetone and position it directly over each acrylic nail. Wrap the fingertip snugly with plastic food wrap or foil. Plastic wrap can create a close seal and help prevent acetone from evaporating or dripping.
Step 5: Wait 15 to 30 minutes
The exact soaking time depends on the thickness and formula of the acrylic. Check one nail after approximately 15 minutes. Properly softened acrylic should appear gummy, flaky, or swollen rather than hard and glassy.
Step 6: Remove softened product gently
Use a wooden manicure stick to nudge away material that releases without resistance. Do not force the tool underneath firmly attached acrylic. If the product remains stubborn, reapply acetone-soaked cotton and wait another 10 minutes.
Step 7: Smooth and moisturize
Lightly buff away loose residue, wash your hands, and apply cuticle oil followed by hand cream. Avoid aggressively buffing the natural nail to make it perfectly smooth. A little remaining texture is preferable to removing healthy nail layers.
Pure acetone is an effective acrylic-removal method, but prolonged or repeated exposure can leave nails and surrounding skin dry and brittle. Using petroleum jelly, limiting exposure to the nail area, and moisturizing afterward can reduce discomfort.
How to Remove Gel Nail Polish
Gel polish removal follows the same general soak-and-wrap method, but it is usually faster than acrylic removal.
- Lightly file away the shiny topcoat.
- Coat the surrounding skin with petroleum jelly.
- Place acetone-soaked cotton over each nail.
- Seal each fingertip with plastic wrap or foil.
- Wait about 10 to 15 minutes.
- Wipe away loosened gel with the cotton.
- Repeat the soak instead of scraping resistant patches.
One of the gentlest options is to use a warm, damp washcloth to rub away the gel after soaking. Avoid digging at the nail with a metal tool. Although gel may lift in satisfying sheets, that does not mean it is volunteering to leave peacefully.
How to Remove Soft-Gel Extensions
Soft-gel tips, including many full-cover gel extensions, are generally soakable. Begin by clipping away excess length and filing through the color, topcoat, and some of the extension’s thickness. Then apply acetone-soaked cotton and wrap each nail for 15 to 20 minutes.
Once softened, remove only the loose material. Because extensions are thicker than a gel manicure, two or more soaking cycles may be necessary. Trying to finish the job in one dramatic scrape defeats the purpose of using a gentle removal method.
How to Remove Hard Gel or File-Off Builder Gel
Do not keep soaking hard gel in acetone while wondering why nothing is happening. Hard gel is designed to resist solvents and must be filed away. Using an electric nail drill without training can quickly generate heat, cut the skin, or file into the natural nail plate.
For at-home care, shorten the length and carefully reduce only the obvious bulk with a hand file. Leave a thin protective layer rather than attempting to reach the bare natural nail. Then schedule professional removal or allow the remaining product to grow out. Soft builder gels may soak off, but the product label should specifically say “soak-off.”
How to Remove Dip Powder Nails
Break through the sealed surface
Clip away extra length and file off the glossy topcoat. Continue reducing the dip layers until the color looks dull and uneven, but stop before reaching the natural nail.
Soak with acetone
Apply acetone-soaked cotton and wrap each fingertip, or soak the nails in a small acetone-resistant bowl. The wrapped method limits skin exposure, while direct soaking may work faster on very thick dip powder.
Check after 10 to 15 minutes
The dip should soften, wrinkle, or flake. Gently wipe or push away loosened material. Repeat the process for anything that remains firmly attached.
Vinegar, toothpaste, baking soda, and other viral “acetone-free” hacks are unlikely to dissolve a fresh dip manicure effectively. They may turn a 20-minute task into an evening-long science fair project. Acetone remains the standard removal agent for dip powder, although it can dry the nail plate and skin.
How to Remove Press-On Nails
Press-ons attached with adhesive tabs
Fill a bowl with comfortably warm water, a few drops of dish soap, and a small amount of cuticle oil. Soak for 10 to 15 minutes. Apply additional oil around the edges and gently test whether the nail moves.
Slide a wooden stick under only the portion that has already lifted. Never force the stick toward the center of the nail. Continue soaking until the press-on releases with minimal pressure.
Press-ons attached with nail glue
Glue-on nails may need a longer warm-water soak or targeted acetone. Shorten the press-on, lightly file the surface, protect the surrounding skin, and wrap the nail with acetone-soaked cotton for 10 to 15 minutes. Repeat as necessary.
Waiting until the end of the recommended wear period can make removal easier because the adhesive bond naturally weakens. Freshly applied glue is far less cooperative and considerably more likely to take natural nail layers with it when forced.
Common Fake Nail Removal Mistakes
Using dental floss to pry off nails
Dental floss methods frequently shown online can place concentrated pressure between the enhancement and the natural nail. If the product is not already almost completely detached, the floss may lift or split the nail plate.
Scraping harder instead of soaking longer
If an acrylic, gel, or dip layer will not move, it usually needs additional filing or soaking. Resistance is not a personal challenge issued by your manicure.
Filing until the nail feels hot
Heat, tenderness, or a sudden change in color can indicate that you are filing too aggressively or have reached the natural nail. Stop immediately.
Heating acetone directly
Do not microwave acetone, place it on a stove, or position it near an open flame. To make a bowl soak feel less cold, place the sealed acetone container or acetone bowl inside a larger bowl of warm water, keeping water out of the solvent.
Applying another set immediately
Covering irritated, thin, or discolored nails with a new enhancement can hide a developing problem. Give stressed nails time to recover and inspect them before applying fresh product.
How to Care for Your Natural Nails After Removal
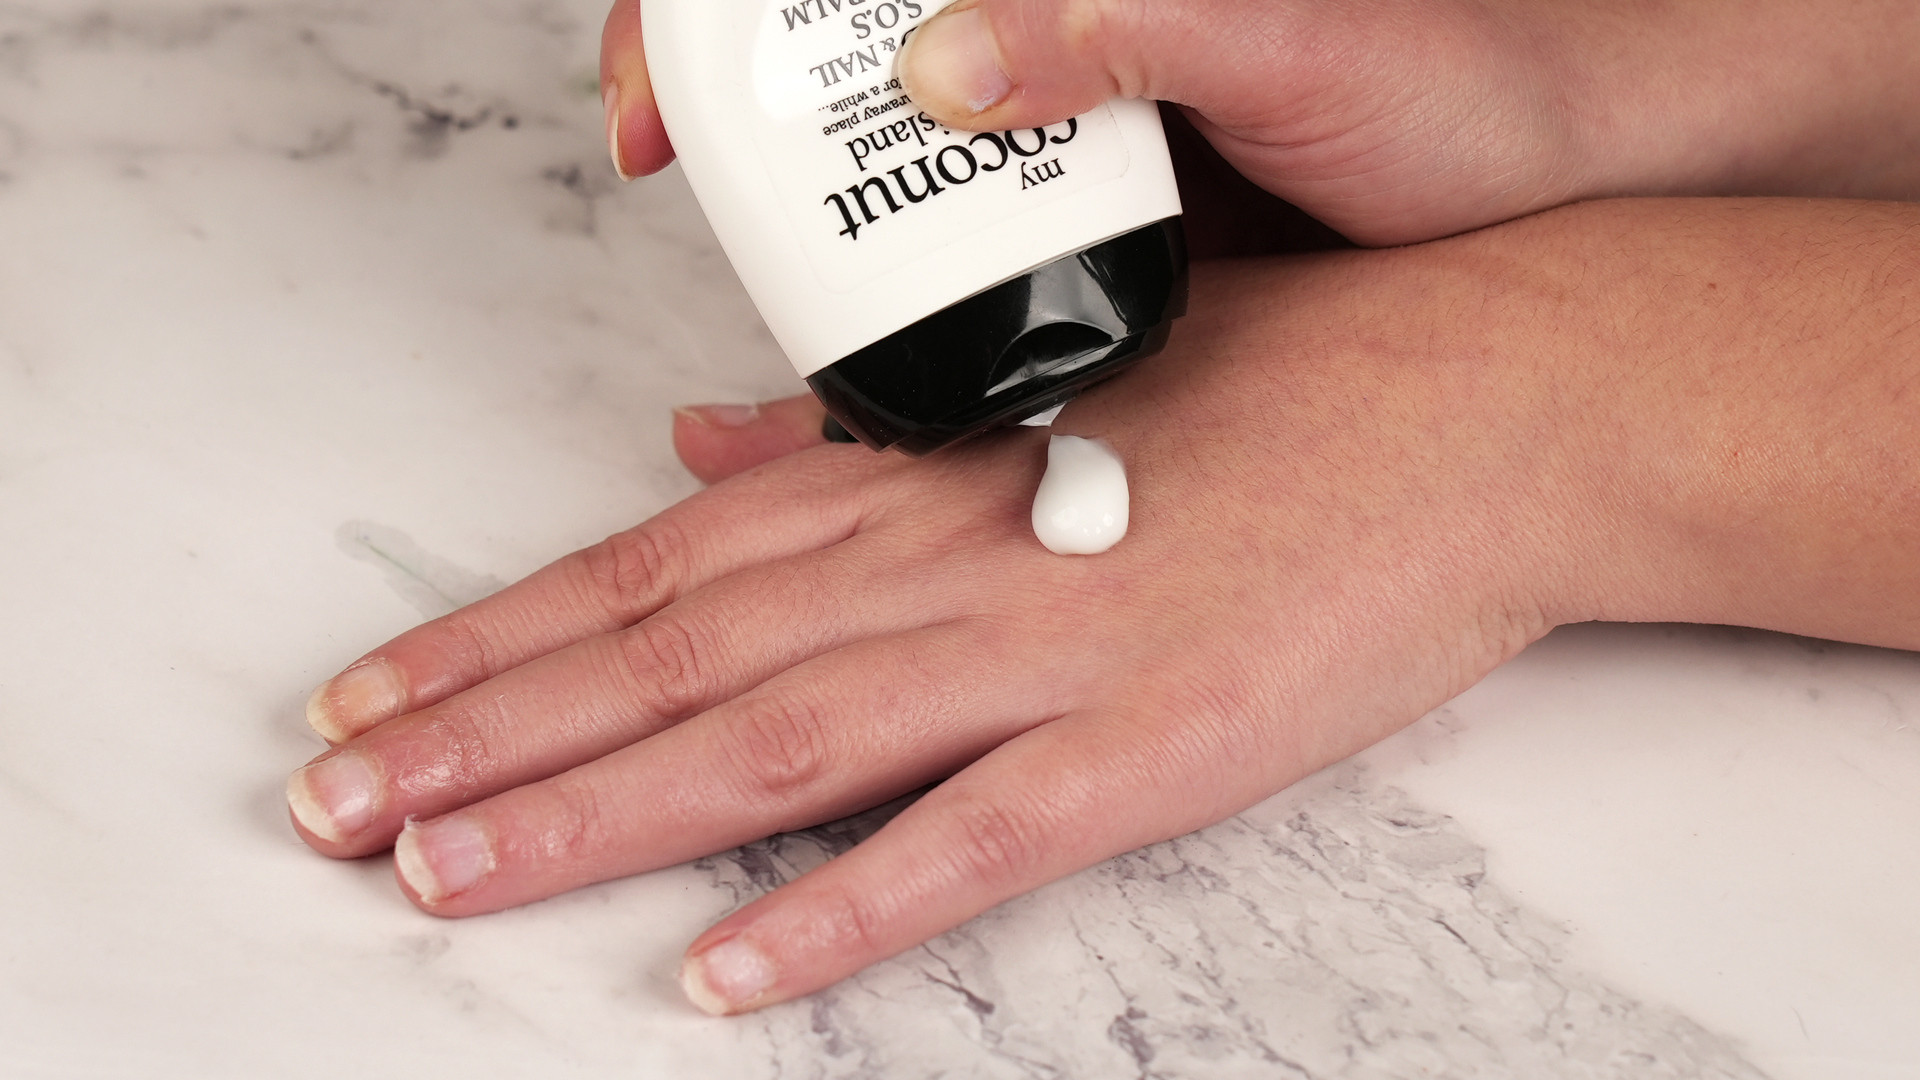
Wash off any remaining solvent and apply cuticle oil to the nail plate and surrounding skin. Follow with a thick hand cream or petroleum-based moisturizer. Reapply moisturizer after handwashing for the next several days.
Keep nails short while weak areas grow out. File snags gently in one direction, wear gloves when cleaning or washing dishes, and avoid using your nails as package openers, screwdrivers, or emergency scraping tools.
If the nails feel particularly thin, consider taking a break from gel, acrylic, and dip manicures. Regular polish may be easier to remove during the recovery period. Natural nails grow slowly, so damaged areas must generally grow forward before they can be clipped away.
When to Call a Professional
Professional removal is recommended when you have hard gel, heavily embellished acrylics, extreme lifting, a cracked natural nail, pain beneath the enhancement, or uncertainty about the product. You should also seek medical advice for redness, warmth, swelling, pus, worsening tenderness, green or yellow discoloration, deep dark streaks, or separation from the nail bed.
A gap beneath an artificial nail can trap moisture and create an environment where infection develops. Allergic reactions to acrylates or adhesives may cause itching, burning, redness, blisters, or swelling around the fingers. Stop using the suspected product and consult a dermatologist when symptoms persist or spread.
Practical Experiences: What At-Home Removal Usually Teaches You
The following is a composite of common at-home nail-removal experiences rather than a claim of personal salon work. The first lesson is that removal almost always takes longer than expected. Someone may begin at 9:30 p.m. believing the process will be finished before one episode of a television show ends. Forty minutes later, one hand is wrapped like a baked potato, the other hand cannot operate a phone, and the acrylic remains emotionally committed to the nail.
The most successful removals begin before the acetone is opened. The workspace is covered, every cotton pad is cut to size, the plastic wrap is prepared, and the moisturizer is within reach. This preparation sounds fussy until you attempt to tear foil while wearing five-inch coffin-shaped extensions. Organization is not glamorous, but neither is chasing a rolling cotton ball across the floor with partially wrapped fingers.
Another recurring experience is the temptation to reward progress with force. After the first soak, the enhancement may lift around the edges, creating the illusion that one small tug will finish the job. Sometimes it does. More often, the product bends while the natural nail bends with it, producing the unmistakable sensation that something has gone very wrong. The better response is boring but effective: rewrap the nail and wait.
People also discover that every finger may require a different soaking time. Thumbs often carry thicker product, while nails repaired during a salon appointment may contain extra acrylic or builder gel. Treating every nail identically can lead to over-soaking the easy ones and aggressively scraping the stubborn ones. Checking each nail individually produces better results.
Press-on removal offers its own lesson in timing. Adhesive tabs may release after a warm, oily soak, while strong liquid glue can remain firmly attached. Trying to pop off a recently applied press-on usually damages the natural nail more than waiting several additional days. When reuse matters, patience also helps preserve the artificial nail’s shape.
After removal, many people are surprised by how dry their fingertips feel. Acetone evaporates quickly and removes oils along with the enhancement, leaving the skin temporarily chalky or tight. Cuticle oil followed by a rich hand cream makes a noticeable difference. Applying only a tiny decorative drop of oil is less effective than thoroughly massaging moisturizer around each nail and fingertip.
The final lesson is that a bare nail does not need to look flawless immediately. Mild surface roughness, temporary dryness, or faint staining may improve as the nail grows and rehydrates. Repeatedly buffing to create an instant glass-smooth finish can make the nail thinner. A shorter shape, a protective clear coat if tolerated, and a few product-free weeks may be more helpful than rushing into another enhancement.
In practical terms, the best at-home fake nail removal is usually uneventful. There is no dramatic pop, no heroic scraping, and no viral-video finale. The product gradually softens, releases with minimal resistance, and leaves the natural nail intact. It may not be exciting content, but your fingernails will appreciate the lack of drama.
Conclusion
Learning how to take off fake nails at home begins with identifying the manicure. Acrylic, gel polish, soft-gel extensions, and dip powder generally require filing and acetone, while hard gel should usually be filed by a professional. Press-on nails may release with warm soapy water, oil, acetone, or a combination, depending on the adhesive.
No matter which method you use, the central rule remains the same: never force firmly attached product. File only the artificial surface, soak in stages, protect your skin, work away from flames, and moisturize afterward. When pain, infection symptoms, allergic reactions, or nail separation appear, stop the DIY session and get professional help. A manicure is temporary; your natural nails deserve to survive the breakup.
Editorial research note: This guide synthesizes nail-removal and safety information from dermatology organizations, academic health systems, U.S. government agencies, medical publishers, beauty publications, and nail-care educators, including the American Academy of Dermatology, Harvard Health, Cleveland Clinic, Mayo Clinic, FDA, OSHA, CDC/NIOSH, WebMD, Healthline, Allure, Byrdie, Good Housekeeping, Teen Vogue, Southern Living, and peer-reviewed cosmetic safety literature.