Note: This article is an original, publish-ready guide based on real tennis stringing principles, current racquet-string guidance, and practical stringer workflow. It is written for players who want to understand how racquet stringing works before attempting it at home or discussing it with a professional stringer.
Stringing a tennis racquet looks mysterious the first time you see it. There is a machine, clamps, knots, little holes around the frame, and enough string to make a small cat believe you bought it a personal playground. But once you understand the order of the job, racquet stringing becomes a careful, repeatable process: inspect the frame, mount it securely, install the main strings, weave the crosses, tie clean knots, and check the final result.
Learning how to string a tennis racquet can save money, help you customize your game, and make you sound impressively technical at the club without needing to wear a lab coat. The goal is not just to “put string in the racquet.” The goal is to create a consistent string bed that feels predictable, protects the frame, and matches your playing style.
This 13-step guide explains the process in plain American English, with practical examples and enough humor to keep the tension where it belongs: in the strings, not in your shoulders.
Before You Start: What Racquet Stringing Actually Does
The strings are the hitting surface of the racquet. They affect power, control, spin, comfort, feel, and durability. A lower string tension generally creates more power and comfort because the ball sinks deeper into the string bed. A higher tension usually offers more control and a firmer response, though it can feel harsher on the arm. Polyester strings are often installed at lower tensions than synthetic gut, multifilament, or natural gut because polyester is stiffer.
Most recreational players should begin near the middle of the tension range printed on the racquet frame. For many modern racquets, that may land somewhere around 50 to 60 pounds, though the exact number depends on the frame, string type, player level, and arm comfort. If your racquet says “recommended tension: 50–60 lbs,” starting around 54 or 55 pounds is sensible for synthetic gut or multifilament. For polyester, many players drop several pounds to avoid a board-like feel.
Tools and Materials You Need
To string a tennis racquet properly, you need a racquet stringing machine, tennis string, cutters, needle-nose pliers, an awl or pathfinder tool, and a starting clamp if available. A stringing machine has three major jobs: it holds the racquet, pulls tension, and uses clamps to keep the string from slipping while you work. Machines may be drop-weight, crank, or electronic. Electronic machines are fast and consistent, crank machines are common in shops, and drop-weight machines are budget-friendly but slower.
You will also need the correct string length. A standard set of tennis string is usually about 40 feet, which is enough for most adult racquets. For two-piece stringing, many stringers divide the set into two sections: one for the main strings and one for the cross strings. Always check the racquet’s stringing instructions because patterns, skipped holes, tie-off holes, and starting points vary by model.
How to String a Tennis Racquet: 13 Steps
Step 1: Inspect the Racquet Frame
Before cutting anything or mounting the racquet, inspect the frame carefully. Look for cracks, crushed grommets, sharp edges, damaged bumper guards, or blocked holes. If the frame is cracked, do not string it. A stringing machine applies strong pulling force, and a damaged racquet can fail under tension. That is not a fun surprise. It is more like a very expensive potato chip snapping in your hands.
Check the grommet strip as well. Grommets protect the string from rubbing directly against the racquet frame. If a grommet is split or missing, the string may break early. A professional stringer may use tubing as a temporary repair, but badly damaged grommets should be replaced.
Step 2: Choose the Right String
Pick a string based on your playing style and comfort needs. Synthetic gut is affordable and balanced. Multifilament is soft, powerful, and arm-friendly. Polyester offers control, spin, and durability for harder hitters, but it can feel stiff. Natural gut provides premium comfort, tension maintenance, and feel, but it is expensive and more sensitive to moisture.
Gauge matters too. A thicker string, such as 15 or 16 gauge, usually lasts longer but may feel firmer. A thinner string, such as 17 or 18 gauge, may offer more feel and spin but tends to break faster. If you are new to stringing, a basic synthetic gut or multifilament is easier to handle than stiff polyester, which can behave like a stubborn garden hose with athletic ambitions.
Step 3: Select the Proper Tension
Find the racquet’s recommended tension range, usually printed inside the throat of the frame. Use that range as your starting point. Higher tension can produce a firmer, more controlled response. Lower tension can add depth, comfort, and power. If you have arm discomfort, avoid very high tension and be cautious with full polyester setups.
For example, if the racquet recommends 50–60 pounds and you are using multifilament, 54 pounds is a reasonable starting tension. If you are using polyester, you might choose 48–52 pounds depending on the frame and your preference. Keep notes after each string job. The best string tension is not a magic number found under a tennis rock. It is discovered through testing.
Step 4: Measure and Prepare the String
If you are doing a one-piece string job, you will use one continuous length of string. If you are doing a two-piece string job, cut separate lengths for the mains and crosses. Two-piece stringing is common for hybrids, where one type of string is used for the main strings and another for the crosses. It is also required for some racquets.
A common beginner mistake is cutting without checking the pattern. Do not guess. The difference between “enough string” and “almost enough string” is the difference between a finished racquet and a long sigh. If you are unsure, leave extra length. You can always trim extra string later, but you cannot stretch three inches of regret into a tie-off knot.
Step 5: Mount the Racquet Securely
Place the racquet on the stringing machine and secure it according to the machine’s instructions. Most machines use a two-point, four-point, or six-point mounting system. The frame should be stable but not crushed. Tighten the supports evenly and make sure the racquet sits level.
Proper mounting protects the frame from distortion while tension is applied. Do not overtighten the mounts. You are securing a racquet, not closing a submarine hatch. The frame should not move during stringing, but it should also not be squeezed so aggressively that the machine becomes the villain of the story.
Step 6: Identify the String Pattern
The string pattern tells you how many main and cross strings the racquet uses. Common patterns include 16×19, 16×20, and 18×20. The first number refers to the main strings, which run vertically when the racquet is held normally. The second number refers to the cross strings, which run horizontally.
An open pattern like 16×19 generally offers easier spin and power. A denser pattern like 18×20 usually offers more control and a firmer, more predictable response. Before you begin, identify skipped holes and tie-off holes. Many racquets have small markings or manufacturer instructions showing where strings should pass and where knots should be tied.
Step 7: Start the Main Strings in the Center
Main strings usually begin in the center of the racquet. Insert the two center mains through the correct grommet holes and pull the string until both sides are even. The starting direction depends on the racquet design. Some racquets start at the head, while others start at the throat.
Once the center mains are in place, pull tension on one side and clamp it. Then pull tension on the opposite side and clamp that side. Work outward from the center, alternating sides as evenly as possible. This keeps stress balanced across the frame. Do not string one entire side before the other unless the racquet’s instructions specifically allow it. Uneven stress can distort the frame.
Step 8: Tension and Clamp Each Main String
For each main string, pull tension using the machine, clamp the string close to the frame, release the tension head, and move to the next string. The clamp should hold the string securely without crushing it. If the clamp slips, the string loses tension. If the clamp is too tight, it can leave marks or damage the string.
Keep your rhythm steady: thread, pull, clamp, release, repeat. On a crank or electronic machine, wait until the tension pull is complete. On a drop-weight machine, make sure the bar settles correctly. Consistency matters because uneven pulling can create a racquet that feels unpredictable, like it has opinions about where your backhand should go.
Step 9: Tie Off the Main Strings
After all main strings are installed, tie them off at the correct tie-off holes. Common racquet stringing knots include the double half hitch, Parnell knot, and pro knot. The knot should be compact, secure, and seated neatly against the frame or anchor string. Avoid bulky knots that block nearby holes or damage the string.
Some stringers slightly increase tension on the final pull before tying off to compensate for tension loss from the knot. This should be done carefully and according to your machine, string, and racquet setup. Beginners should focus first on clean technique and correct tie-off locations.
Step 10: Start the Cross Strings
The cross strings run across the racquet and are woven over and under the main strings. Depending on the stringing pattern, crosses may start at the top or bottom. Many racquets are designed to have crosses installed from head to throat, but not all racquets are the same. Always follow the manufacturer’s instructions.
If you are doing a two-piece job, you may need a starting knot or starting clamp for the first cross. A starting clamp is useful because it holds the string outside the frame without creating a bulky knot right away. If you use a starting knot, make sure it is appropriate for the string and grommet size.
Step 11: Weave the Crosses Carefully
Weaving crosses is where patience earns its snack. Start the first cross over one main, under the next, then continue alternating across the string bed. The next cross must use the opposite pattern. If the first cross starts over a main, the second cross should start under that same main. This alternating pattern creates the woven string bed.
To reduce friction, weave slightly ahead in a diagonal motion and pull the string through slowly. Do not yank hard, especially with soft multifilament or natural gut. Fast pulling can burn or notch the string. As you approach the lower crosses, space gets tighter. Take your time. The final crosses are often the part where beginners start negotiating with the universe.
Step 12: Tension Each Cross and Keep the String Bed Straight
After weaving each cross, pull tension, clamp, release, and continue. Crosses tend to create more friction than mains because they slide against every main string. Straighten the cross string before or immediately after tensioning so the finished string bed looks clean and plays consistently.
Many stringers straighten crosses as they go rather than waiting until the end. This saves time and reduces stress on the string. Make sure each cross is properly woven before pulling tension. A misweave is easy to miss at first and annoying to fix later. It is the racquet-stringing version of realizing your shirt has been inside out since breakfast.
Step 13: Tie Off, Trim, and Check Your Work
When the final cross is tensioned, tie it off at the correct tie-off hole. Pull the knot snug, trim the extra tail, and check the entire racquet. Count the mains and crosses. Confirm there are no missed holes, blocked grommets, loose knots, slipped clamps, or misweaves. Look at the string bed from several angles.
Remove the racquet from the machine only after all strings are tied off. Once it is off the machine, gently tap the string bed with your hand. A newly strung racquet should feel firm and even. The strings should be straight, the knots should be neat, and the frame should look normal. Congratulations: you have turned a loose coil of string into a racquet that can now blame the player instead of the equipment.
One-Piece vs. Two-Piece Stringing
One-piece stringing uses a single continuous string for both mains and crosses. It can be efficient, but it is not right for every racquet. Two-piece stringing uses separate pieces for mains and crosses. It is required for hybrid setups and often recommended when the racquet manufacturer specifies it.
Two-piece stringing is beginner-friendly because the mains and crosses are easier to manage separately. It also lets you combine strings. For example, a player might use polyester in the mains for spin and durability, then multifilament in the crosses for comfort. That setup can soften the feel while preserving some control.
Common Beginner Mistakes
Using the Wrong Tension
Stringing too tight can make the racquet feel harsh and low-powered. Stringing too loose can create too much launch and make control difficult. Start in the recommended range and adjust gradually.
Ignoring the Pattern
Every racquet has specific skipped holes and tie-off points. Guessing can lead to misalignment, blocked holes, or an impossible final knot. Check the pattern before starting.
Letting Clamps Slip
A slipping clamp ruins consistency. Adjust the clamp so it grips firmly without crushing the string. Clean clamps regularly because dust and string residue reduce grip.
Pulling Crosses Too Fast
Quick pulling creates friction burns, especially on softer strings. Pull crosses smoothly and straighten them as you go.
How Often Should You Restring a Tennis Racquet?
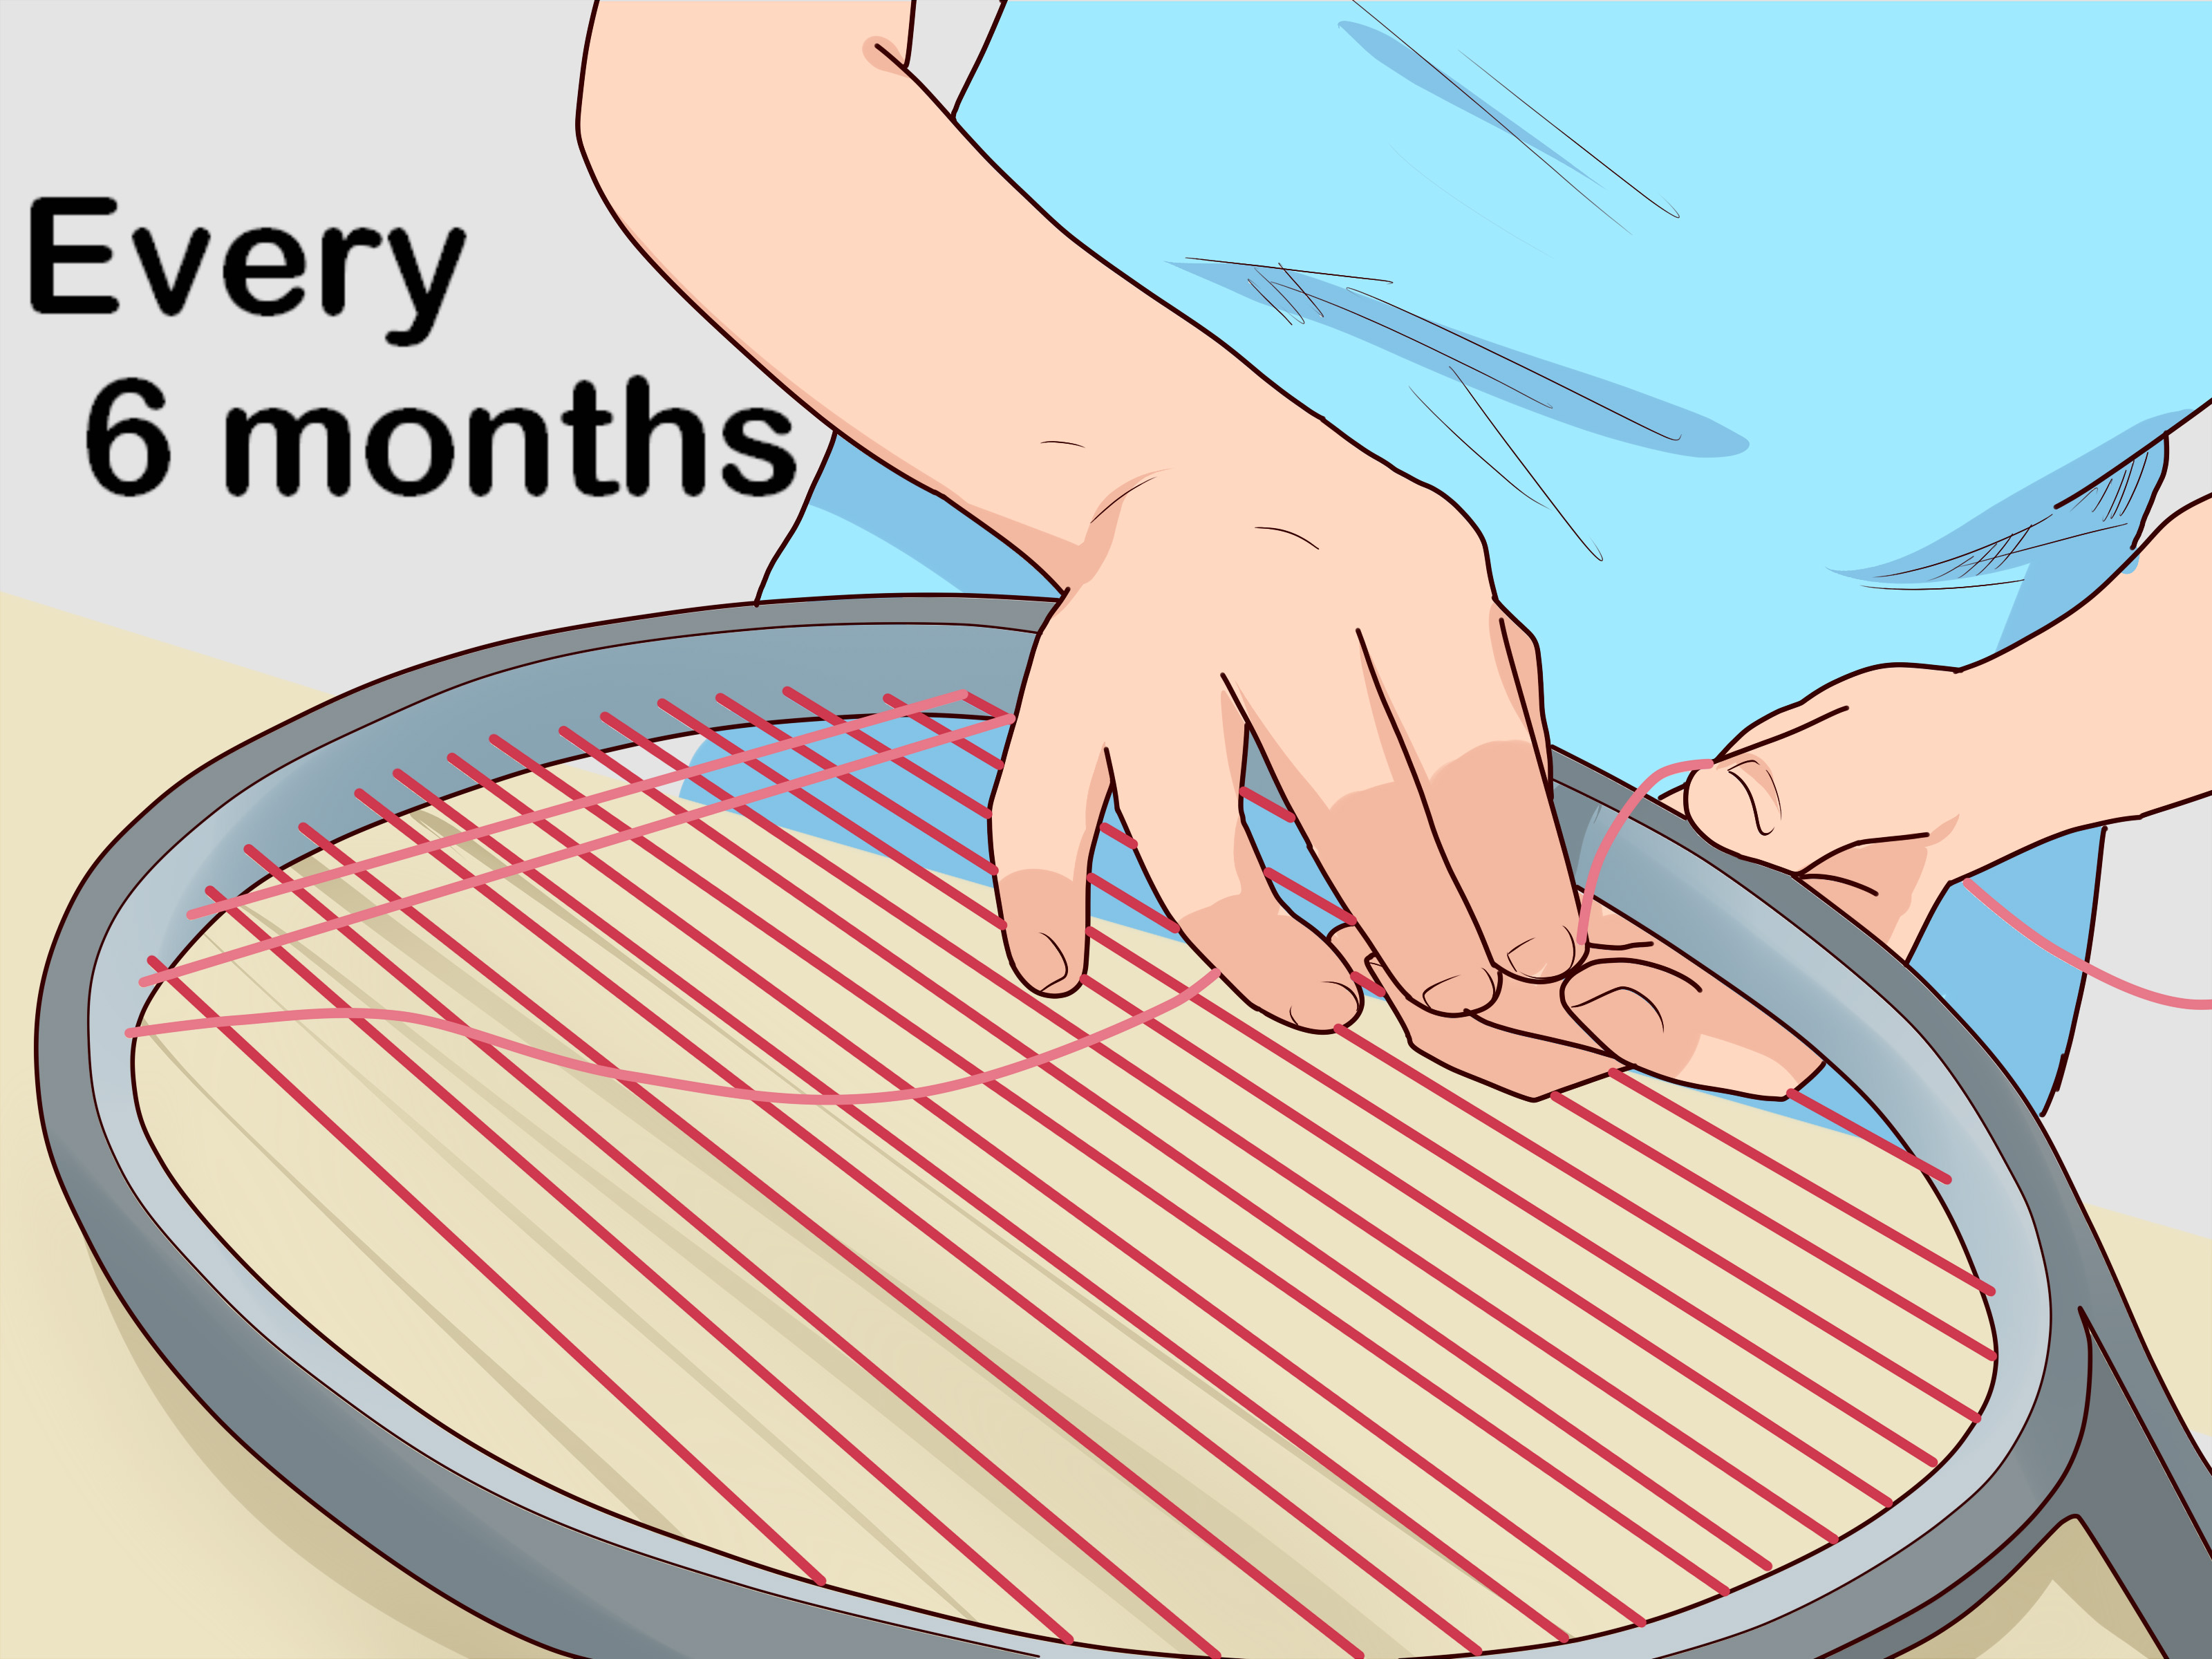
A common rule says you should restring as many times per year as you play per week. If you play twice per week, restring about twice per year. However, that rule is only a starting point. Competitive players, heavy topspin hitters, and polyester users may need restringing more often. Strings lose tension over time even if they do not break.
If your racquet feels dull, your shots fly unpredictably, the strings move constantly, or you notice deep notching, it may be time to restring. For players who care about consistent performance, restringing every few months is often better than waiting for the string to snap dramatically during the best rally of your life.
Practical Example: A Simple Setup for a Recreational Player
Suppose you are a 3.5-level recreational player using a 100-square-inch racquet with a 16×19 pattern and a recommended tension range of 50–60 pounds. You want comfort, decent control, and durability without spending luxury-car-seat money on strings.
A sensible setup would be 16-gauge synthetic gut or multifilament at 54 pounds. If the racquet feels too powerful, try 56 pounds next time. If it feels harsh or the ball lands short, try 52 pounds. Change only one variable at a time. Do not switch string type, gauge, tension, and racquet on the same day unless you enjoy solving equipment mysteries with no clues.
Extra Experience: What You Learn After Stringing a Few Racquets
The first racquet you string will probably take longer than expected. That is normal. You may spend ten minutes finding the correct grommet, five minutes wondering why the cross string refuses to pass through a blocked hole, and another five minutes talking to a knot as if it can hear you. It cannot, but somehow it still feels personal.
After a few string jobs, patterns start to make sense. You learn that the mains set the foundation of the string bed, while the crosses fine-tune feel and consistency. You learn to keep the string organized so it does not twist into a noodle sculpture on the floor. You learn that clamps are not just accessories; they are the guardians of tension. If they slip, the string job loses its integrity.
You also learn that string choice changes everything. A racquet strung with soft multifilament at mid tension may feel lively and comfortable. The same frame with firm polyester at high tension may feel controlled but demanding. Players with fast swings often appreciate polyester because it helps them swing big without launching the ball into the parking lot. Players who want comfort, depth, and easier power often prefer multifilament or synthetic gut.
One of the best habits is keeping a stringing log. Write down the racquet model, string name, gauge, tension, date, and how it played. For example: “June 11, synthetic gut 16, 55 lbs, good control, slightly firm after two hours.” This simple record helps you make smart changes instead of guessing. Tennis already includes enough guessing, especially when your opponent hits a framed winner and pretends it was intentional.
Another useful experience is learning to slow down near the finish. Many mistakes happen at the end because the stringer gets excited. The final crosses are tight, the tie-off holes can be crowded, and the string tail may be shorter than expected. Stay calm. Use an awl carefully if needed, but never force it against the string. A pathfinder tool or careful planning can prevent blocked-hole drama.
Stringing also teaches respect for professional stringers. A good stringer is not merely someone who owns a machine. They understand frame stress, string behavior, knot quality, tension loss, grommet wear, player preferences, and consistency. They can look at a racquet and know whether the player needs more comfort, more control, or simply fewer excuses.
For home stringers, the biggest reward is control. You can experiment with tension, try hybrids, restring before important matches, and avoid waiting days for a shop. Over time, the machine pays for itself if you play often or string for family and friends. Just be warned: once people know you can string racquets, someone will appear with a frame from 2008, a mystery string, and the sentence, “Can you do this real quick?” Smile politely. Then check the grommets.
The best approach is to treat each racquet like a small craft project. Be accurate, patient, and consistent. Do not rush the weaving. Do not ignore the pattern. Do not tie giant knots that look like fishing accidents. With practice, stringing becomes less intimidating and more satisfying. When you hit with a racquet you strung yourself, every clean forehand feels a little sweeter.
Conclusion
Stringing a tennis racquet is a skill built on details. The basic process is simple: inspect the racquet, choose the right string and tension, mount the frame, install the mains, weave the crosses, tie secure knots, and check the final job. The quality comes from consistency. Clean clamps, correct patterns, careful tensioning, and neat knots all matter.
If you are a beginner, start with an inexpensive string and practice slowly. Follow the racquet’s official stringing pattern and avoid extreme tensions. Once you gain confidence, experiment with different strings, gauges, and tensions to match your playing style. A well-strung racquet will not magically turn a casual player into a Grand Slam champion, but it can make the racquet feel better, respond more predictably, and give your game a sharper, more personalized edge.
And if your first attempt takes two hours, do not worry. That is not failure. That is tuition. The racquet is the classroom, the string is the homework, and the final knot is the tiny graduation ceremony.