A failing universal joint is one of those car problems that starts with a tiny squeak and can end with your driveshaft auditioning for a disaster movie. The good news? On many rear-wheel-drive, four-wheel-drive, and truck applications, replacing universal jointsalso called U-jointsis a very doable DIY repair if you have patience, the right tools, and a healthy respect for spinning driveline parts.
This guide explains how to replace universal joints step by step, how to spot bad U-joint symptoms, what tools you need, what mistakes to avoid, and when the job is better left to a professional. We’ll keep it practical, detailed, and lightly funnybecause if you’re about to wrestle rusty snap rings, you deserve emotional support.
What Is a Universal Joint?
A universal joint is a cross-shaped driveline component that lets the driveshaft transfer power while operating at an angle. In simple terms, it allows your transmission, transfer case, driveshaft, and differential to work together even though they are not lined up in a perfectly straight line.
Most U-joints have four bearing caps filled with needle bearings. The caps press into the driveshaft yoke and are held in place with snap rings, clips, straps, or U-bolts depending on the vehicle. When the grease dries out, the bearings wear, or water and grit sneak inside, the joint becomes loose or stiff. That is when the clunks, chirps, and vibrations begin.
Signs You Need to Replace a U-Joint
Before replacing universal joints, make sure the U-joint is actually the problem. A bad tire, bent wheel, worn differential, loose transmission mount, or damaged driveshaft can create similar symptoms. Still, worn U-joints often leave clues.
Common bad U-joint symptoms include:
- Clunking when shifting into Drive or Reverse: This is one of the classic signs of excessive play in the joint.
- Vibration that increases with speed: A worn U-joint can throw the driveshaft out of smooth rotation.
- Chirping or squeaking at low speeds: Dry needle bearings may squeak as the shaft rotates.
- Visible rust around the bearing caps: Rust-colored powder can mean the joint has lost lubrication.
- Loose movement in the driveshaft: If you can twist or move the shaft and feel play at the joint, replacement is likely.
- Grease leakage or missing seals: Damaged seals let contaminants in and lubrication out.
If the driveshaft is badly loose or the vehicle shudders violently, stop driving it. A failed U-joint can allow the driveshaft to separate, which is not a roadside inconvenienceit is a metal-javelin situation.
Tools and Parts You’ll Need
The exact tools depend on the vehicle, but most universal joint replacement jobs require a similar setup. A shop press is nice, but many DIYers use a U-joint press, large bench vise, or ball joint press-style tool.
Recommended tools:
- Floor jack and jack stands
- Wheel chocks
- Safety glasses and gloves
- Socket set and wrenches
- Torque wrench
- Paint marker or punch for alignment marks
- Snap ring pliers or picks
- U-joint press, bench vise, or hydraulic press
- Penetrating oil
- Hammer and brass drift
- Wire brush or emery cloth
- Grease gun if the new joint is greaseable
Parts to have ready:
- Correct replacement U-joint
- New snap rings or retaining clips
- New straps, bolts, or U-bolts if recommended
- Driveshaft flange bolts if they are torque-to-yield or badly corroded
- Transmission tailshaft plug or drain pan if fluid may leak
Do not guess the U-joint size. Universal joints come in different series, widths, cap diameters, and retaining styles. Use your vehicle information, measure the old joint carefully, or match it by part number. “Close enough” is not a driveline specification.
Safety First: Don’t Skip This Part
Replacing U-joints is not extremely complicated, but you are working under a vehicle and around heavy rotating components. Park on a flat surface, chock the wheels, support the vehicle securely with jack stands, and never rely on a jack alone. If the vehicle must be in Neutral to rotate the driveshaft, make sure it is stable and cannot roll.
Also, mark the driveshaft before removal. Driveshafts are balanced assemblies, and reinstalling them in the same orientation helps prevent vibration. Think of it like putting your furniture back exactly where it was after cleaningexcept the furniture spins at highway speed.
How to Replace Universal Joints Step by Step
Step 1: Inspect the Driveshaft and Confirm the Problem
Before unbolting anything, crawl under the vehicle safely and inspect the driveshaft. Look for dents, missing balance weights, rust trails at the caps, broken seals, or loose hardware. Hold the driveshaft near the U-joint and try to twist it back and forth while watching the joint. Any visible play between the bearing caps and cross usually means the joint is worn.
If the joint is stiff instead of loose, it can still be bad. A seized U-joint may bind through its range of motion and cause vibration or driveline stress.
Step 2: Mark the Driveshaft Orientation
Use a paint marker, punch, or scribe to mark the relationship between the driveshaft and the differential flange or yoke. If the driveshaft has a slip yoke at the transmission, mark that orientation too if applicable.
This step takes 20 seconds and can save you from chasing mysterious vibration later. Future you will be grateful. Future you might even buy present you a coffee.
Step 3: Remove the Driveshaft
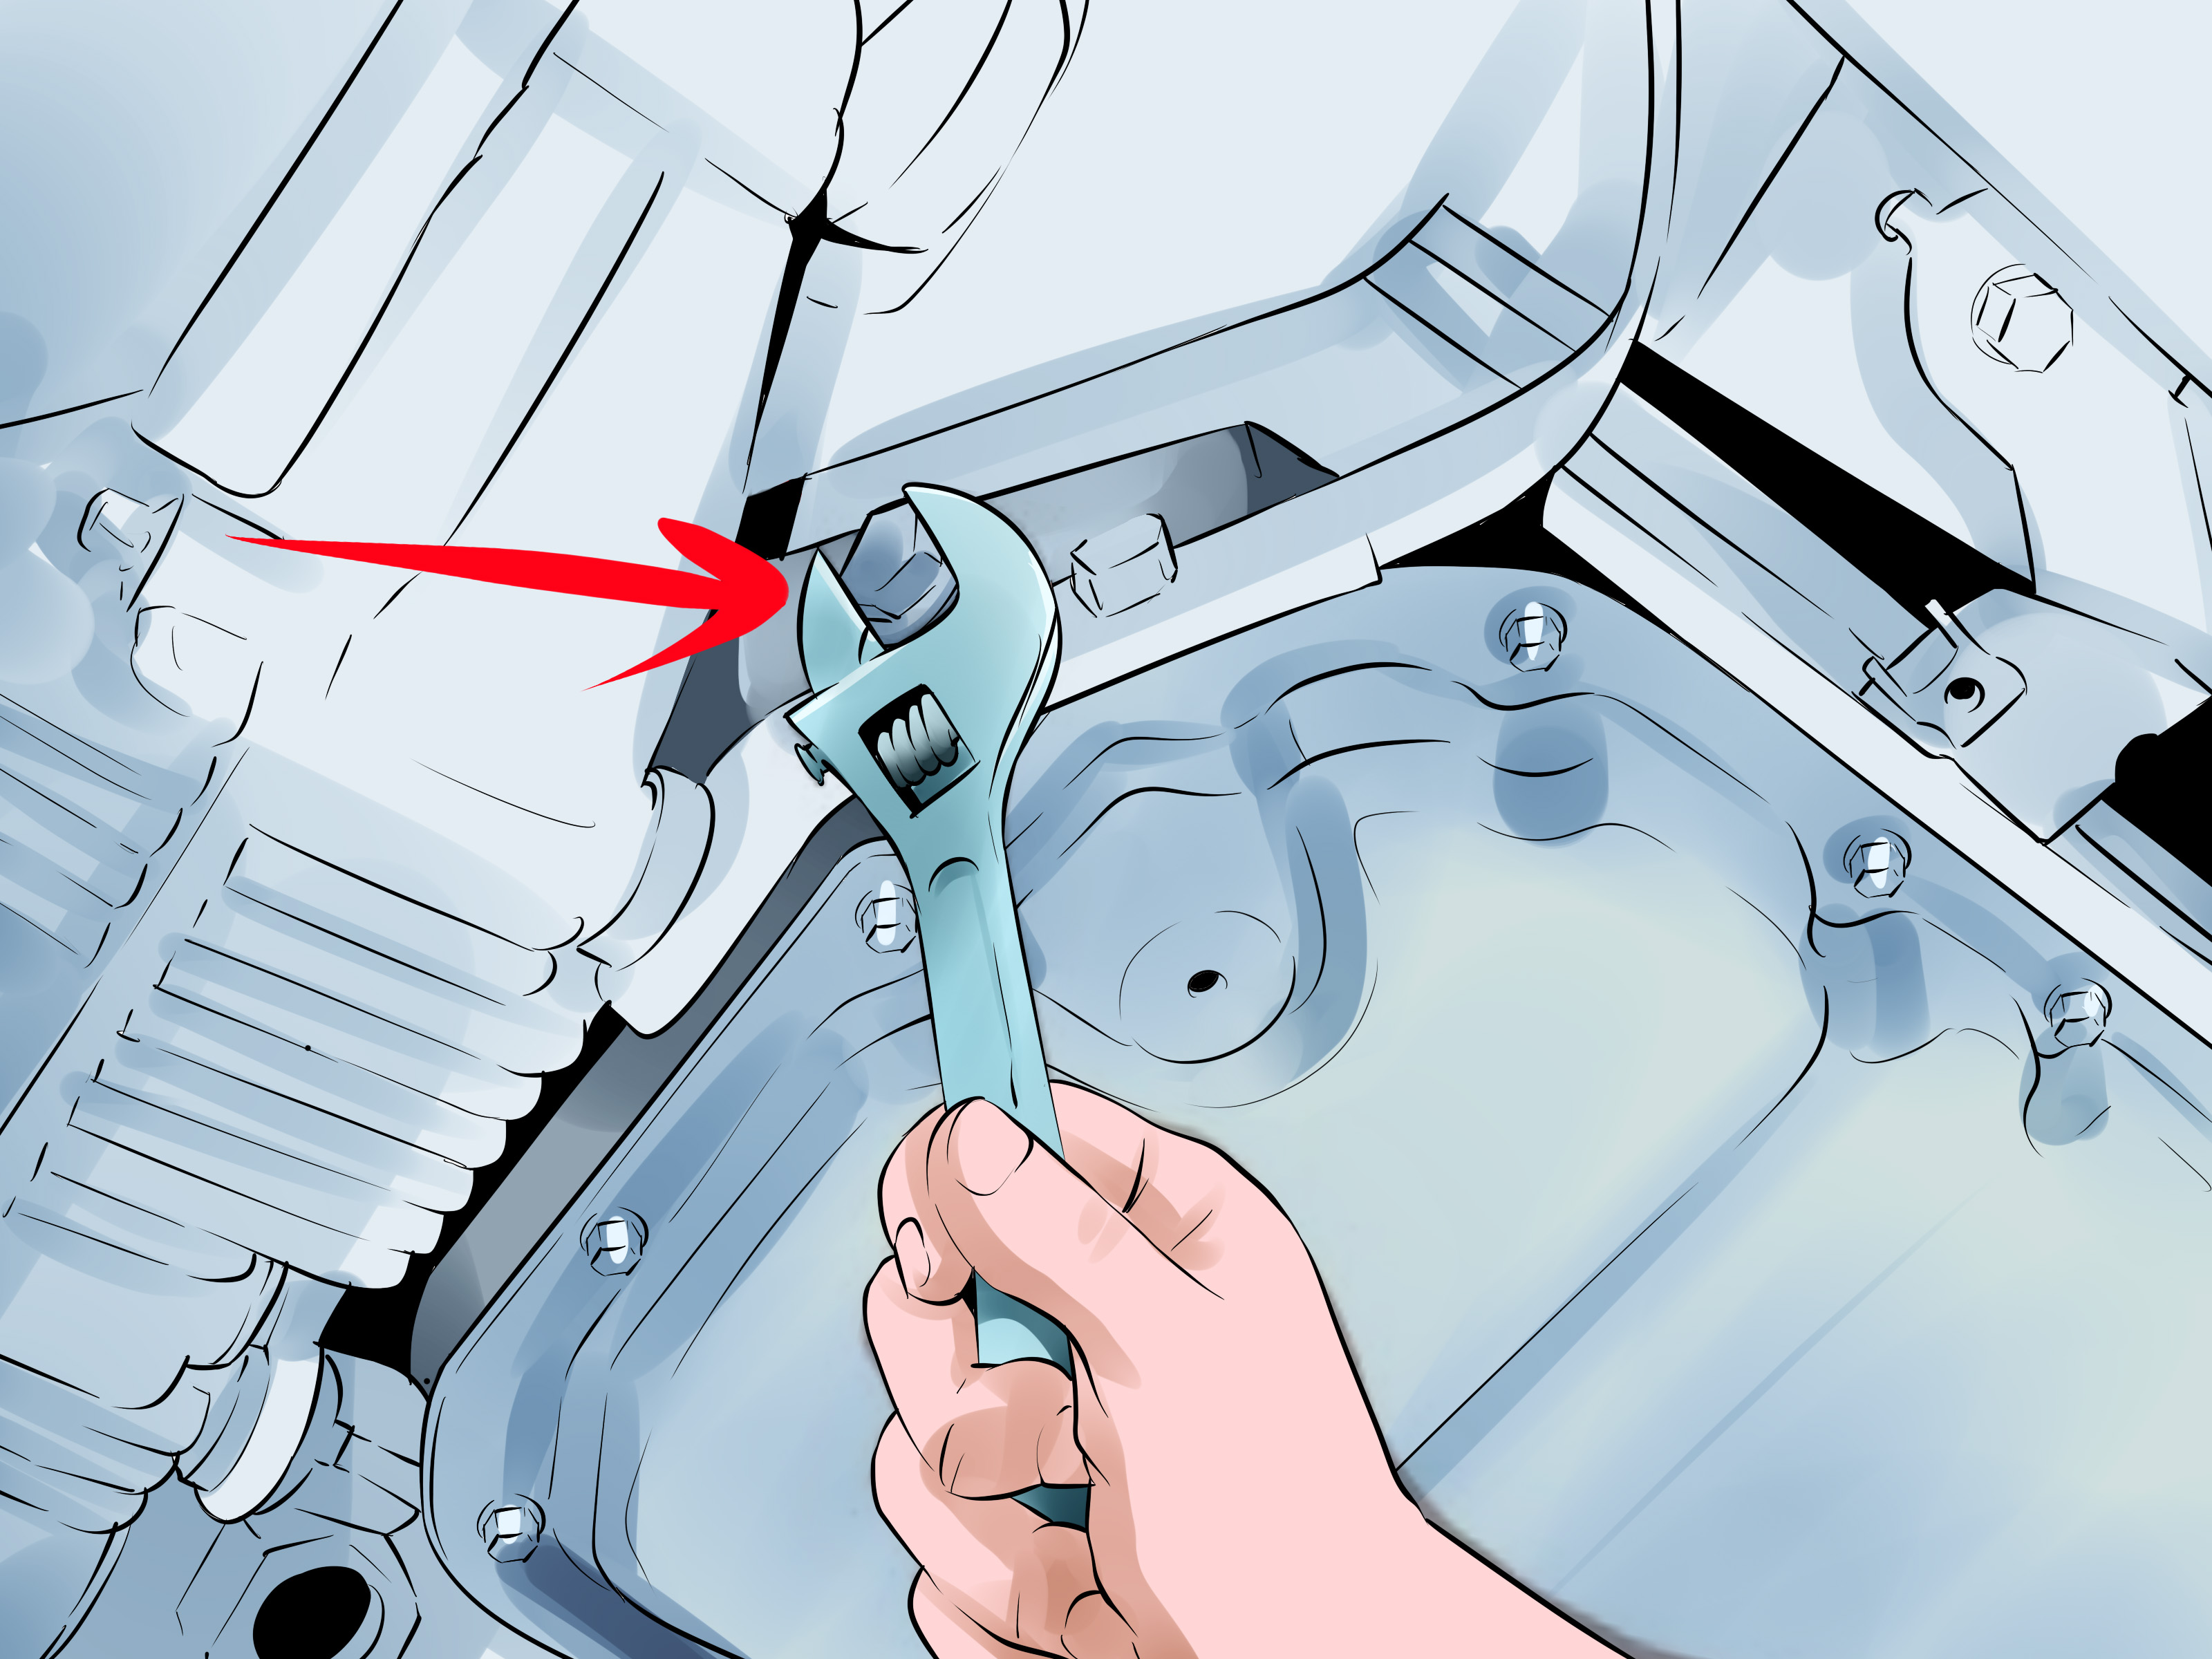
Remove the bolts, straps, or U-bolts holding the rear U-joint to the differential yoke. Support the driveshaft so it does not fall. If your vehicle uses a slip yoke, slide the driveshaft carefully out of the transmission or transfer case. Some fluid may leak, so place a drain pan nearby.
On flange-style driveshafts, remove the flange bolts and lower the shaft. Keep hardware organized and note the location of any washers or retainers.
Step 4: Remove the Retaining Clips or Snap Rings
Clean the yoke area with a wire brush and spray penetrating oil around the snap rings. Remove the retaining clips with snap ring pliers or a pick. Rusty clips can be stubborn, so work carefully. If a clip breaks, remove every piece before pressing out the joint.
If the snap rings will not budge, tap the bearing cap lightly to relieve pressure. Do not gouge the yoke. The yoke must hold the new cap squarely, and “I attacked it with a screwdriver” is not a precision-machining technique.
Step 5: Press Out the Old U-Joint
Place the driveshaft in a U-joint press, bench vise, or shop press. Press one bearing cap inward so the opposite cap moves out of the yoke. Remove the exposed cap, then press the joint back the other way to remove the opposite cap. Repeat for the other two caps if you are removing the joint completely from both yokes.
Do not hammer wildly on the driveshaft tube. A dented tube can cause imbalance. If the caps are seized from rust, use penetrating oil, controlled pressure, and patience. Heat may be used by experienced technicians in some cases, but be cautious around seals, grease, aluminum driveshafts, and nearby flammable materials.
Step 6: Clean and Inspect the Yokes
Once the old universal joint is out, clean the bearing cap bores with a wire brush or emery cloth. Remove rust, dirt, and old grease. Inspect the yoke ears for cracks, stretching, grooves, or damage from previous repairs.
If the yoke is bent or the cap bore is worn, do not install a new joint and hope for the best. A damaged yoke can destroy the new U-joint quickly or cause vibration. In that case, the driveshaft may need professional repair or replacement.
Step 7: Prepare the New Universal Joint
Remove the new U-joint from the box carefully. Keep the bearing caps upright so the needle bearings stay in place. If a needle bearing falls over inside a cap, the cap may not seat correctly. Forcing it can crush the bearing and ruin the joint before the vehicle even leaves the driveway.
If the joint is greaseable, check the position of the grease fitting. Install it so you can access it later with a grease gun whenever possible. Some fittings are installed after the joint is in place to prevent damage during pressing.
Step 8: Install the New U-Joint
Remove two opposite bearing caps from the new joint. Place the cross into the yoke, then start one bearing cap into the bore by hand. Press it in gently, keeping it straight. Install the opposite cap and press both caps until the snap ring grooves are visible.
Install the snap rings or retaining clips. Then repeat the process for the remaining pair of caps. The joint should move smoothly in all directions without binding. If it feels tight, tap the yoke ears lightly with a brass hammer to relieve pressure against the clips. Do not smash the yoke like it owes you money.
Step 9: Grease the Joint If Required
If your new U-joint has a grease fitting, apply the correct grease until fresh grease appears at the seals. Some new greaseable joints contain only enough grease to hold the needle bearings during assembly, not enough for long-term operation. Sealed U-joints usually do not require greasing.
Wipe away excess grease so it does not sling around under the vehicle. Grease belongs inside the joint, not decorating the exhaust, underbody, and your favorite shirt.
Step 10: Reinstall the Driveshaft
Reinstall the driveshaft using the alignment marks you made earlier. Slide the slip yoke carefully into the transmission or transfer case if equipped. Attach the rear U-joint to the differential yoke with the correct straps, bolts, or U-bolts.
Tighten all fasteners to the manufacturer’s torque specification. This is important. Undertightened hardware can loosen; overtightened straps can distort bearing caps. Neither outcome improves your weekend.
Step 11: Final Checks and Road Test
Before lowering the vehicle, rotate the driveshaft by hand and check for smooth movement. Make sure the clips are seated, bolts are tight, and no tools are hiding under the vehicle. Lower the vehicle and take a careful test drive.
Start at low speed and listen for clunks, squeaks, or scraping. Then gradually increase speed and check for vibration. A properly installed U-joint should feel smooth and quiet. If vibration remains, recheck the driveshaft orientation, inspect the other U-joints, and look for driveshaft damage or imbalance.
Common Mistakes to Avoid
Installing the Wrong U-Joint
Many universal joints look similar but differ in cap diameter, width, and retaining style. Measure carefully or use the exact application listing. A wrong-size joint may fit badly, bind, or fail quickly.
Letting Needle Bearings Fall Over
This is the sneaky little villain of U-joint replacement. If a needle bearing tips inside the cap, the cap will not seat fully. If you force it, the joint can bind or fail. Remove the cap, reset the bearings with grease, and try again.
Forgetting to Mark the Driveshaft
Driveshaft phasing and balance matter. Reinstalling the shaft in a different orientation can introduce vibration, especially on older vehicles or shafts with slight wear patterns.
Reusing Damaged Straps or Bolts
U-joint straps and U-bolts hold the bearing caps securely. If they are stretched, rusty, or distorted, replace them. They are cheap compared with a dropped driveshaft.
Ignoring the Other U-Joint
If one U-joint is worn, inspect the others. On a rear driveshaft, replacing only one joint while the other is dry and loose may solve half the problemand half a driveline repair is still a whole headache.
Greaseable vs. Sealed U-Joints
Greaseable U-joints have fittings that allow periodic lubrication. They are useful for trucks, off-road vehicles, and applications exposed to water, mud, or heavy loads. The downside is that they require maintenance, and some designs may be slightly less strong than comparable non-greaseable performance joints because of drilled grease passages.
Sealed U-joints are pre-lubricated and designed to run without service. They are clean, simple, and common on many modern vehicles. However, once the grease breaks down or contaminants get inside, replacement is the only fix.
The best choice depends on the vehicle, usage, and manufacturer recommendation. A daily commuter may do fine with sealed joints. A trail rig that sees mud baths more often than a spa influencer may benefit from greaseable joints.
When You Should Call a Professional
Replacing universal joints is DIY-friendly on many vehicles, but not all driveline repairs are simple. Consider professional help if your driveshaft uses staked-in joints, if the yoke is damaged, if the shaft is aluminum or carbon fiber, if the joint is part of a double Cardan assembly, or if vibration remains after replacement.
A driveline shop can balance the driveshaft, replace worn yokes, correct phasing issues, and identify problems that are hard to spot at home. If the driveshaft has been dented, dropped, or previously repaired with a hammer and optimism, professional inspection is a smart move.
How Much Does U-Joint Replacement Cost?
The part itself is often affordable, especially for common trucks and SUVs. Labor costs vary based on rust, access, driveline design, and whether the driveshaft must be removed or sent out for service. DIY replacement can save money, but only if you have the tools and install the joint correctly.
If you need to buy a press, snap ring tools, a torque wrench, and a grease gun, the first job may not feel cheap. But those tools can pay for themselves if you maintain multiple vehicles. Tools are basically adult collectibles with practical excuses.
Maintenance Tips After Replacing Universal Joints
After replacing U-joints, check the driveline periodically. If the joint is greaseable, lubricate it at the recommended interval and after deep water or muddy off-road driving. Watch for fresh rust trails, missing clips, loose straps, or returning vibration.
Also inspect transmission mounts, differential mounts, and driveshaft balance weights. A healthy U-joint cannot compensate for a bent shaft, bad angle, or worn mount. Driveline parts work as a team, and one lazy teammate can make everyone look bad.
Real-World Experience: What Replacing Universal Joints Teaches You
Replacing universal joints is one of those repairs that looks simple in a diagram and becomes a tiny mechanical wrestling match in real life. The concept is easy: remove clips, press out old caps, press in new caps, reinstall the driveshaft. The experience, however, depends heavily on rust, access, previous repairs, and how politely the old joint feels like leaving.
One of the biggest lessons is that cleanliness matters more than brute force. Many first-time DIYers fight the new cap because the yoke bore still has rust or debris in it. A few extra minutes with a wire brush can make the new joint press in smoothly. Skip that step, and the cap may go in crooked, the snap ring groove may not appear, and suddenly you are negotiating with a piece of steel like it has a legal department.
Another useful lesson is to trust your hands. A good U-joint should move smoothly after installation. It should not flop loosely, but it also should not feel notchy, gritty, or locked in one direction. If it binds, something is wrong. The most common cause is a displaced needle bearing inside a cap. The fix is not more force. The fix is taking the cap back off, resetting the bearings, and pressing it again carefully.
Marking the driveshaft is another habit that separates a calm repair from a mystery vibration saga. Even when a driveshaft technically bolts up in more than one position, reinstalling it the way it came out is good practice. A paint mark across the flange and yoke gives you a reference point. It costs nothing and can prevent an annoying highway vibration that makes you question every life choice since breakfast.
Rusty snap rings are often the most irritating part of the job. They hide under dirt, seize in their grooves, and sometimes break into pieces. The best approach is patience: clean the groove, soak it with penetrating oil, tap the cap slightly to release pressure, and remove the clip completely. Leaving even a tiny broken piece in the groove can stop the cap from moving and make the press feel like it is pushing against a brick wall.
Another real-world tip: replace questionable hardware. U-joint straps, bolts, and U-bolts are small parts doing an important job. If the threads are damaged or the straps are distorted, new hardware is cheap insurance. Reusing tired hardware because “it’ll probably be fine” is how a ten-dollar decision becomes a tow-truck story.
Finally, remember that U-joint replacement is not always the final answer to driveline vibration. If the vehicle still vibrates after the repair, inspect the driveshaft tube, balance weights, slip yoke, pinion angle, transmission mount, and remaining joints. A new universal joint can fix a worn joint, but it cannot magically straighten a bent shaft. It is a part, not a wizard.
The satisfying part is that when the job goes right, the reward is immediate. The clunk disappears. The squeak is gone. The driveline feels smoother. And you get the quiet pride of knowing you replaced a critical component with your own handsplus maybe a little grease on your elbows, your tools, and somehow the dog.
Conclusion
Learning how to replace universal joints is a valuable skill for anyone maintaining a rear-wheel-drive, four-wheel-drive, or truck driveline. The job requires careful setup, the correct replacement part, clean yokes, properly seated bearing caps, and torque-accurate reassembly. The process is not complicated, but precision matters. A U-joint spins fast, carries serious load, and does not forgive sloppy installation.
If you hear clunks, chirps, or speed-related vibration, inspect your U-joints before the problem becomes more expensive. Replace worn joints promptly, grease serviceable joints as needed, and never ignore damaged yokes or driveshaft imbalance. Done correctly, a new U-joint can restore smooth power delivery and keep your vehicle driving like it shouldquietly, confidently, and without the driveshaft trying to become modern art.