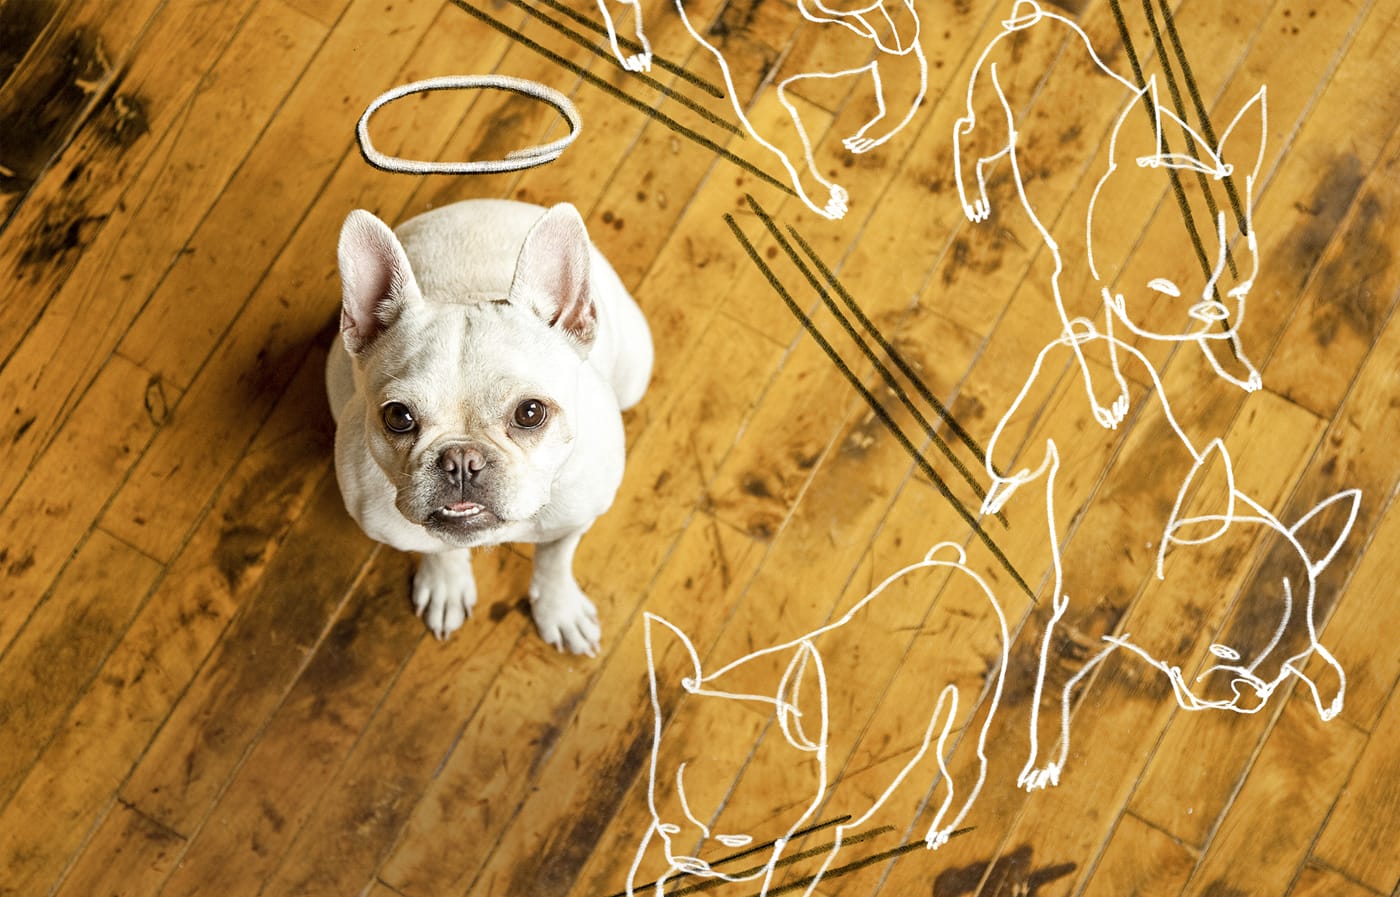
Dogs bring joy, personality, suspiciously loud midnight drinking sessions, and occasionally the kind of wood floor damage that makes homeowners stare at the ground like detectives at a crime scene. Claw scratches, cloudy finish marks, little dents, water rings from bowls, and the dreaded “what happened here?” stain can all show up when a happy dog meets a beautiful wood floor.
The good news: most dog damage to wood flooring is repairable. In many cases, the problem is not actually deep damage to the wood itself, but damage to the floor finish. That means a smart cleaning, touch-up marker, wax stick, wood filler, stain match, or fresh protective topcoat may bring the area back to life without replacing boards. The trick is knowing which repair matches the damage. A tiny surface scratch does not need the same treatment as a deep claw gouge, and a urine-darkened plank may require more than a cute little repair pen and optimism.
This guide explains how to repair dog scratches on hardwood floors, how to fix deeper gouges, when to sand and refinish, how to deal with pet stains, and how to prevent your four-legged flooring inspector from repeating the project next week.
First, Identify the Type of Dog Damage
Before grabbing sandpaper like a weekend warrior in a tool aisle, inspect the floor carefully. Dog damage usually falls into several categories: light surface scratches, deeper claw marks, dents, chew marks, moisture damage, and pet urine stains. Each one needs a slightly different repair strategy.
Light Surface Scratches
These are the fine white or pale lines you see when sunlight hits the floor. They often sit in the finish rather than the wood. If your fingernail does not catch in the scratch, you are probably dealing with a surface-level issue. This is the easiest kind of dog damage to repair.
Moderate Scratches and Claw Marks
If your dog launched across the room like a furry sports car and left visible tracks, the scratches may cut through the finish and slightly into the wood. These usually require cleaning, light sanding, color blending, and a protective finish.
Deep Gouges
Deep gouges are scratches you can feel clearly with your fingernail. They may look like narrow trenches. For these, you will likely need wood filler or wood putty, followed by sanding, staining, and sealing.
Pet Stains and Water Damage
Dog bowls, wet paws, accidents, and repeated moisture exposure can leave cloudy patches, dark spots, or raised grain. Light marks may be finish damage. Dark stains often mean moisture reached the wood fibers. These repairs can be more involved, especially if the stain is old.
Know Your Floor Before You Repair It
Wood flooring is not one-size-fits-all. A solid hardwood floor can usually be sanded and refinished multiple times. Engineered wood flooring has a thinner real-wood veneer on top, so aggressive sanding can ruin it quickly. Laminate flooring is not true wood and usually requires a laminate repair kit or plank replacement rather than sanding and staining.
You should also consider the finish. Many modern floors have polyurethane or water-based finishes. Older floors may have wax, oil, shellac, or varnish. This matters because some repair products, cleaners, and topcoats do not play nicely together. For example, applying polyurethane over a waxed floor can create adhesion problems. In plain English: the new finish may refuse to stick, like a toddler refusing vegetables.
If you do not know the finish, test any cleaner, stain, polish, or repair product in a hidden spot first, such as inside a closet or behind furniture. Let it dry fully and check the color in daylight before using it in the middle of the room.
Tools and Materials You May Need
You do not need every item for every repair, but these are the common supplies used to repair dog damage to wood flooring:
- Soft microfiber cloths
- Hardwood floor cleaner suitable for your finish
- Fine-grit sandpaper, such as 180- to 220-grit
- Extra-fine sanding pad or fine steel wool for compatible finishes
- Wood touch-up marker or stain marker
- Wax repair stick or wood crayon
- Stainable wood filler for deeper gouges
- Putty knife or plastic scraper
- Matching wood stain
- Clear polyurethane, water-based finish, shellac, or finish matching your floor
- Painter’s tape
- Vacuum with a hard-floor setting
- Dust mask or respirator, safety glasses, and gloves
Always clean and dry the area before repairing it. Dirt and grit trapped under filler or finish can make the final result look bumpy, dull, or oddly speckled. Your goal is “beautifully restored,” not “floor with acne.”
How to Repair Light Dog Scratches on Wood Flooring
Light scratches are often cosmetic. Start with the gentlest repair method and move up only if needed.
Step 1: Clean the Scratched Area
Use a hardwood floor cleaner made for your floor finish. Spray the cleaner onto a cloth rather than soaking the floor. Wipe away dust, pet hair, paw grime, and old polish residue. Moisture is not a friend of wood flooring, so avoid wet mops and steam cleaners.
Step 2: Try a Touch-Up Marker or Blending Pencil
For pale scratches, a wood floor touch-up marker can restore color and make the scratch blend into the surrounding grain. Choose a shade slightly lighter than the floor first. You can darken a repair gradually, but making a too-dark line lighter is much harder.
Apply the marker along the scratch, let it sit according to the product instructions, then wipe away excess color with a clean cloth. The goal is to color the scratch, not draw a permanent eyebrow on your floor.
Step 3: Use a Wax Stick for Tiny Gaps
If the scratch is shallow but visible, rub a wax repair stick over the mark. Work it into the scratch, scrape away the extra wax with a plastic scraper, and buff gently with a soft cloth. Wax sticks are especially helpful for quick cosmetic fixes in low-traffic areas.
How to Repair Moderate Dog Scratches
Moderate scratches need a little more patience. These marks often go through the clear finish and expose raw or lighter wood underneath.
Step 1: Tape Off the Area
Use painter’s tape around the damaged section. This protects nearby boards and helps keep your repair controlled.
Step 2: Sand Lightly With the Grain
Use fine-grit sandpaper and sand only in the direction of the wood grain. Do not scrub in circles. Circular sanding marks can stand out after stain is applied, and nobody wants a tiny crop circle in the living room.
Sand just enough to smooth rough edges and feather the scratch into the surrounding finish. Vacuum the dust, then wipe with a dry microfiber cloth.
Step 3: Apply Matching Stain
Use a stain marker, small brush, or cloth to apply a matching stain. Work slowly and build color in thin layers. Let each layer dry before adding more. Wood species, age, sunlight exposure, and existing finish all affect how stain looks, so testing first is essential.
Step 4: Seal the Repair
Once the color looks right, protect the repair with a clear finish compatible with your floor. A small artist’s brush works well for narrow scratches. Apply thin coats instead of one thick blob. Let the finish dry fully before allowing paw traffic again.
How to Fix Deep Gouges From Dog Claws
Deep gouges require filling. This is common near doors, hallways, stairs, and favorite launch zones where dogs accelerate like they are trying to qualify for the Olympics.
Step 1: Clean and Remove Loose Fibers
Vacuum the gouge and wipe the area clean. If there are splinters or raised edges, trim or sand them carefully. The filler needs a clean, stable surface to bond properly.
Step 2: Choose the Right Filler
Use stainable wood filler for unfinished or sanded areas that will be stained. Use color-matched filler or wood putty for small finished-floor repairs where sanding is limited. Read the label carefully. Some putties do not harden enough to sand, while many fillers are designed to dry hard and be sanded smooth.
Step 3: Fill Slightly Above the Surface
Press filler into the gouge with a putty knife. Slightly overfill the damaged area because some fillers shrink as they dry. Keep the filler mostly inside the gouge instead of smearing it across the floor. Less mess now means less sanding later, which is basically the DIY version of eating your vegetables.
Step 4: Let It Dry Completely
Dry time depends on the product and depth of the repair. Do not rush this step. Sanding filler before it is fully dry can pull it out of the gouge or leave a soft, uneven patch.
Step 5: Sand, Stain, and Seal
Sand the filler flush with the floor using fine-grit sandpaper. Remove dust thoroughly. Apply stain if needed, let it dry, then seal with a compatible clear finish. For the best blend, feather the finish slightly beyond the repair so there is no obvious hard edge.
How to Repair Cloudy Marks, Water Rings, and Bowl Damage
Dog water bowls are tiny indoor splash parks. Over time, repeated moisture can dull the finish or create cloudy white marks. If the wood itself is not dark or swollen, the damage may be in the finish.
Start by cleaning the area and drying it thoroughly. If the mark remains, lightly buff the spot with a fine pad compatible with your floor finish. Then apply a small amount of matching floor polish or finish restorer if your floor manufacturer recommends it. Avoid generic oily mixtures on floors with polyurethane finishes unless the product is specifically safe for that surface.
If the board is cupped, swollen, blackened, or soft, the damage is deeper. That may require sanding, bleaching by a professional, or replacing the affected board. A waterproof mat under the dog bowl is one of the easiest prevention upgrades you can make.
How to Handle Dog Urine Stains on Wood Floors
Pet urine can be more serious than surface scratching because it can soak through the finish, discolor the wood, and leave odor behind. Fresh accidents should be blotted immediately with a dry or slightly damp cloth. Avoid soaking the area. Too much water can make the damage worse.
For older stains, inspect the color. A light cloudy stain may be finish damage. A dark brown or black stain often means the liquid reached the wood. In that case, sanding may expose whether the discoloration is shallow or deep. If the stain remains after light sanding, the board may need specialty treatment or replacement.
Be cautious with enzyme cleaners on wood floors. Some pet cleaners are excellent for carpets but may affect certain wood finishes. Always check the label and test in a hidden area first. When odor remains after cleaning, it may be trapped below the finish or between boards, which is when a flooring professional can save a lot of frustration.
When to Recoat Instead of Spot Repair
If the dog damage is spread across a large area, spot repairs may create a patchy look. In that case, a screen-and-recoat may be the better option. This process lightly abrades the existing finish and adds a fresh protective coat. It is less aggressive than full sanding and refinishing, but it can dramatically improve floors with widespread surface scratches.
A recoat works best when scratches are mostly in the finish and the wood color is still even. It is not enough for deep gouges, severe stains, failing finish, or boards that have been sanded through. Also, floors with wax, oil soaps, or certain cleaning residues may need special preparation before recoating.
When Full Sanding and Refinishing Makes Sense
Full refinishing is the reset button for solid hardwood floors. It removes the damaged finish and a thin layer of wood, allowing the floor to be stained and sealed again. This is the right move when dog scratches are everywhere, the finish is worn down to bare wood, or the floor has widespread discoloration.
However, refinishing is not casual work. It creates dust, requires careful sanding, and involves finish products that may release strong odors or fumes. Ventilation matters. Wear proper protective gear, follow product labels, and keep pets and children away from the work area until the finish is dry and safe for normal use.
If you have engineered hardwood, confirm the thickness of the top veneer before sanding. Some engineered floors can be lightly refinished once; others cannot. When in doubt, ask a flooring professional before turning your floor into a very expensive learning experience.
How to Prevent Future Dog Damage
Repairing dog damage is satisfying. Preventing it is cheaper. The biggest scratch-makers are long nails, grit, moisture, and high-speed dog traffic.
Trim Your Dog’s Nails Regularly
If you hear clicking when your dog walks across the floor, the nails are probably long enough to scratch. Regular trimming or grinding keeps nails smoother and reduces claw marks. For dogs who dislike nail trims, a groomer or veterinarian can help make the process safer and less dramatic.
Use Rugs and Runners in Traffic Lanes
Place washable runners in hallways, near exterior doors, and in front of stairs. Use rug pads labeled safe for hardwood floors. Some cheap rubber-backed mats can discolor finishes, so choose carefully.
Wipe Paws at the Door
Dirt and grit act like sandpaper under paws. Keep a towel or paw-cleaning mat near entrances. This one habit can reduce both scratches and muddy paw art.
Protect Food and Water Areas
Put bowls on a waterproof, floor-safe mat with a raised edge. Dry spills quickly. If your dog believes drinking water is a competitive splash event, consider a no-spill bowl.
Maintain the Finish
Dust mop or vacuum with a hard-floor setting often. Use cleaners designed for wood floors. Avoid steam mops, soaking wet mops, harsh abrasives, and random internet cleaning potions that sound like salad dressing.
Common Mistakes to Avoid
The most common mistake is over-sanding. A small scratch only needs a small repair. Sanding too aggressively can create a low spot, remove stain, or damage engineered wood veneer.
Another mistake is using the wrong color filler. Wood filler that looks perfect in the container may dry lighter, darker, or flatter than expected. Test first. Also, remember that wood grain has variation. A repair that is one solid color may stand out unless you blend it with a marker or stain.
Do not apply polish, wax, or oil without knowing your floor finish. Some products create residue that makes future recoating difficult. Finally, do not let your dog back onto a fresh repair too soon. A finish may feel dry before it is fully cured. Follow the product label for drying and recoat times.
Specific Repair Examples
Example 1: The Hallway Sprint Scratch
Your dog runs to the door every time the delivery driver appears. The hallway has long, pale scratches, but your fingernail does not catch. Clean the area, apply a matching touch-up marker, wipe excess, and buff. If the shine is uneven, use a compatible floor polish or maintenance coat.
Example 2: The Deep Claw Gouge Near the Back Door
A deep scratch catches your fingernail. Clean the gouge, press in stainable filler, let it dry, sand smooth, stain to match, and seal with a thin clear coat. Add a runner near the door to prevent repeat damage.
Example 3: The Water Bowl Cloud
The floor under the bowl looks dull and cloudy. Move the bowl, clean and dry the area, lightly buff if appropriate, and apply a compatible finish restorer. If the boards are dark or raised, consider professional evaluation.
Experience Notes: What Homeowners Learn After Repairing Dog-Damaged Floors
One of the biggest lessons from repairing dog damage to wood flooring is that the first repair is usually not about tools; it is about patience. Many homeowners see claw marks and immediately assume the floor is ruined. Then they clean the area and discover half the “damage” was actually dirt, dull finish, or residue catching the light. A clean floor tells the truth. Sometimes the truth is kind. Sometimes it says, “Yes, your Labrador did remodel the hallway.”
Another practical experience is that color matching takes longer than filling the scratch. Wood is not a flat brown surface. It has grain lines, amber tones, gray undertones, sun fading, and natural variation from board to board. A repair marker that matches one plank may look slightly off on the next. The best results usually come from layering color slowly. Start light, wipe back excess, and add depth only where needed. A repair that is slightly lighter often disappears better than one that is too dark.
Homeowners also learn that shine matters as much as color. A perfectly matched stain can still stand out if the sheen is wrong. For example, a satin floor with a glossy repair spot will flash in the light like a tiny mirror. When choosing a topcoat or repair finish, match the sheen: matte, satin, semi-gloss, or gloss. If you are unsure, satin is common on many modern hardwood floors, but testing is still the smarter move.
Deep gouges teach another lesson: less filler is usually better. Packing filler neatly into the damaged area is more effective than spreading it like frosting over half the plank. Extra filler means extra sanding, and extra sanding increases the chance of making the repair larger than the original scratch. A narrow, controlled repair blends better and preserves more of the surrounding finish.
Dog owners also discover that prevention is part of the repair. If the same dog keeps skidding through the same doorway, the same scratches will come back. Rugs, nail trimming, paw cleaning, and bowl mats may not sound exciting, but they protect the work you just did. Think of them as the security guards for your floor.
Finally, many people learn when to stop. DIY spot repair is great for small scratches, isolated gouges, and light wear. But if the floor has widespread damage, dark stains, peeling finish, or boards that feel soft, professional help can be cheaper than repeated failed fixes. A good flooring contractor can tell whether the floor needs a maintenance coat, full refinish, board replacement, or simply a better cleaning routine. The goal is not perfection under a microscope. The goal is a floor that looks warm, cared for, and ready for real life with a dog.
Conclusion
Dog damage to wood flooring can look alarming, but it is often fixable with a careful, step-by-step approach. Start by identifying whether the damage is in the finish, the stain, or the wood itself. Clean first, repair gently, match color slowly, and seal the area properly. Use touch-up markers for light scratches, wax sticks for small surface marks, wood filler for deeper gouges, and recoating or refinishing for widespread wear.
Most importantly, protect the floor after the repair. Trim nails, add runners, wipe paws, use bowl mats, and clean with products made for wood flooring. Your dog does not need to move out, and your floors do not need to live under plastic forever. With the right repair method and a few smart habits, wood flooring and dogs can absolutely share the same home peacefully.