A flooded room has a special talent for turning an ordinary day into a soggy emergency. Oxt, your hallway is auditioning to become an indoor swimming pool.
Removing water quickly can limit damage to flooring, drywall, furniture, and personal belongings. However, speed should never outrank safety. Floodwater may hide electrical hazards, sewage, chemicals, broken glass, unstable flooring, or enough bacteria to make your cleanup crew deeply regret skipping protective gear.
This DIY guide explains how to remove water from a flooded room, choose the right equipment, dry the space properly, and recognize when the job requires professional water-damage restoration.
First, Identify Where the Water Came From
Before grabbing a mop, stop the source of the flooding whenever it is safe to do so. The cleanup will accomplish very little if fresh water continues pouring into the room like an enthusiastic but poorly supervised fountain.
Common indoor flooding sources include:
- A burst or leaking supply pipe
- An overflowing bathtub, sink, or toilet
- A failed washing-machine or dishwasher hose
- A leaking water heater
- A backed-up drain or sewer line
- Rain entering through a roof, window, door, or foundation
- Groundwater entering a basement after a storm
For a plumbing leak, close the fixture’s shutoff valve or the home’s main water valve. If outdoor floodwater is still entering, leave the area and wait until authorities say it is safe to return. Do not attempt to fight moving water; your living room rug is replaceable, while you are considerably less so.
Check for Electrical, Structural, and Contamination Hazards
Never step into standing water to reach an electrical panel, outlet, appliance, extension cord, or switch. Do not turn electricity on or off while standing in water. Have the utility company or a licensed electrician disconnect the power when the panel cannot be reached safely from a completely dry location. e the building immediately if you smell gas, hear unusual cracking or shifting noises, see sagging ceilings, notice buckled walls, or suspect foundation damage. A flooded ceiling or weakened floor can fail without providing a courteous countdown first.
Treat water from rivers, storm runoff, sewer backups, overflowing toilets, and groundwater as contaminated. It may carry sewage, microorganisms, petroleum products, pesticides, or other hazardous substances. Avoid direct skin contact and keep children and pets away from the affected area. ument the Damage Before Starting
When there is no immediate threat to health or the building, take photographs and videos before moving furniture or removing materials. Capture wide shots of the entire room, close-ups of damaged items, visible water lines, appliance model numbers, and the apparent source of the flooding.
Contact your insurance company or landlord promptly. Ask whether you should keep damaged materials for inspection and whether your policy covers emergency water extraction. Save receipts for pumps, fans, cleaning supplies, temporary lodging, contractor work, and replacement items. Current federal recovery guidance recommends documenting damage before cleanup whenever it is safe and keeping accurate records of related expenses. ls and Supplies for DIY Water Removal
The equipment you need depends on the water depth, room size, flooring type, and contamination level. For a small clean-water leak, towels and a wet-dry vacuum may be enough. A deeply flooded basement requires a more serious plan.
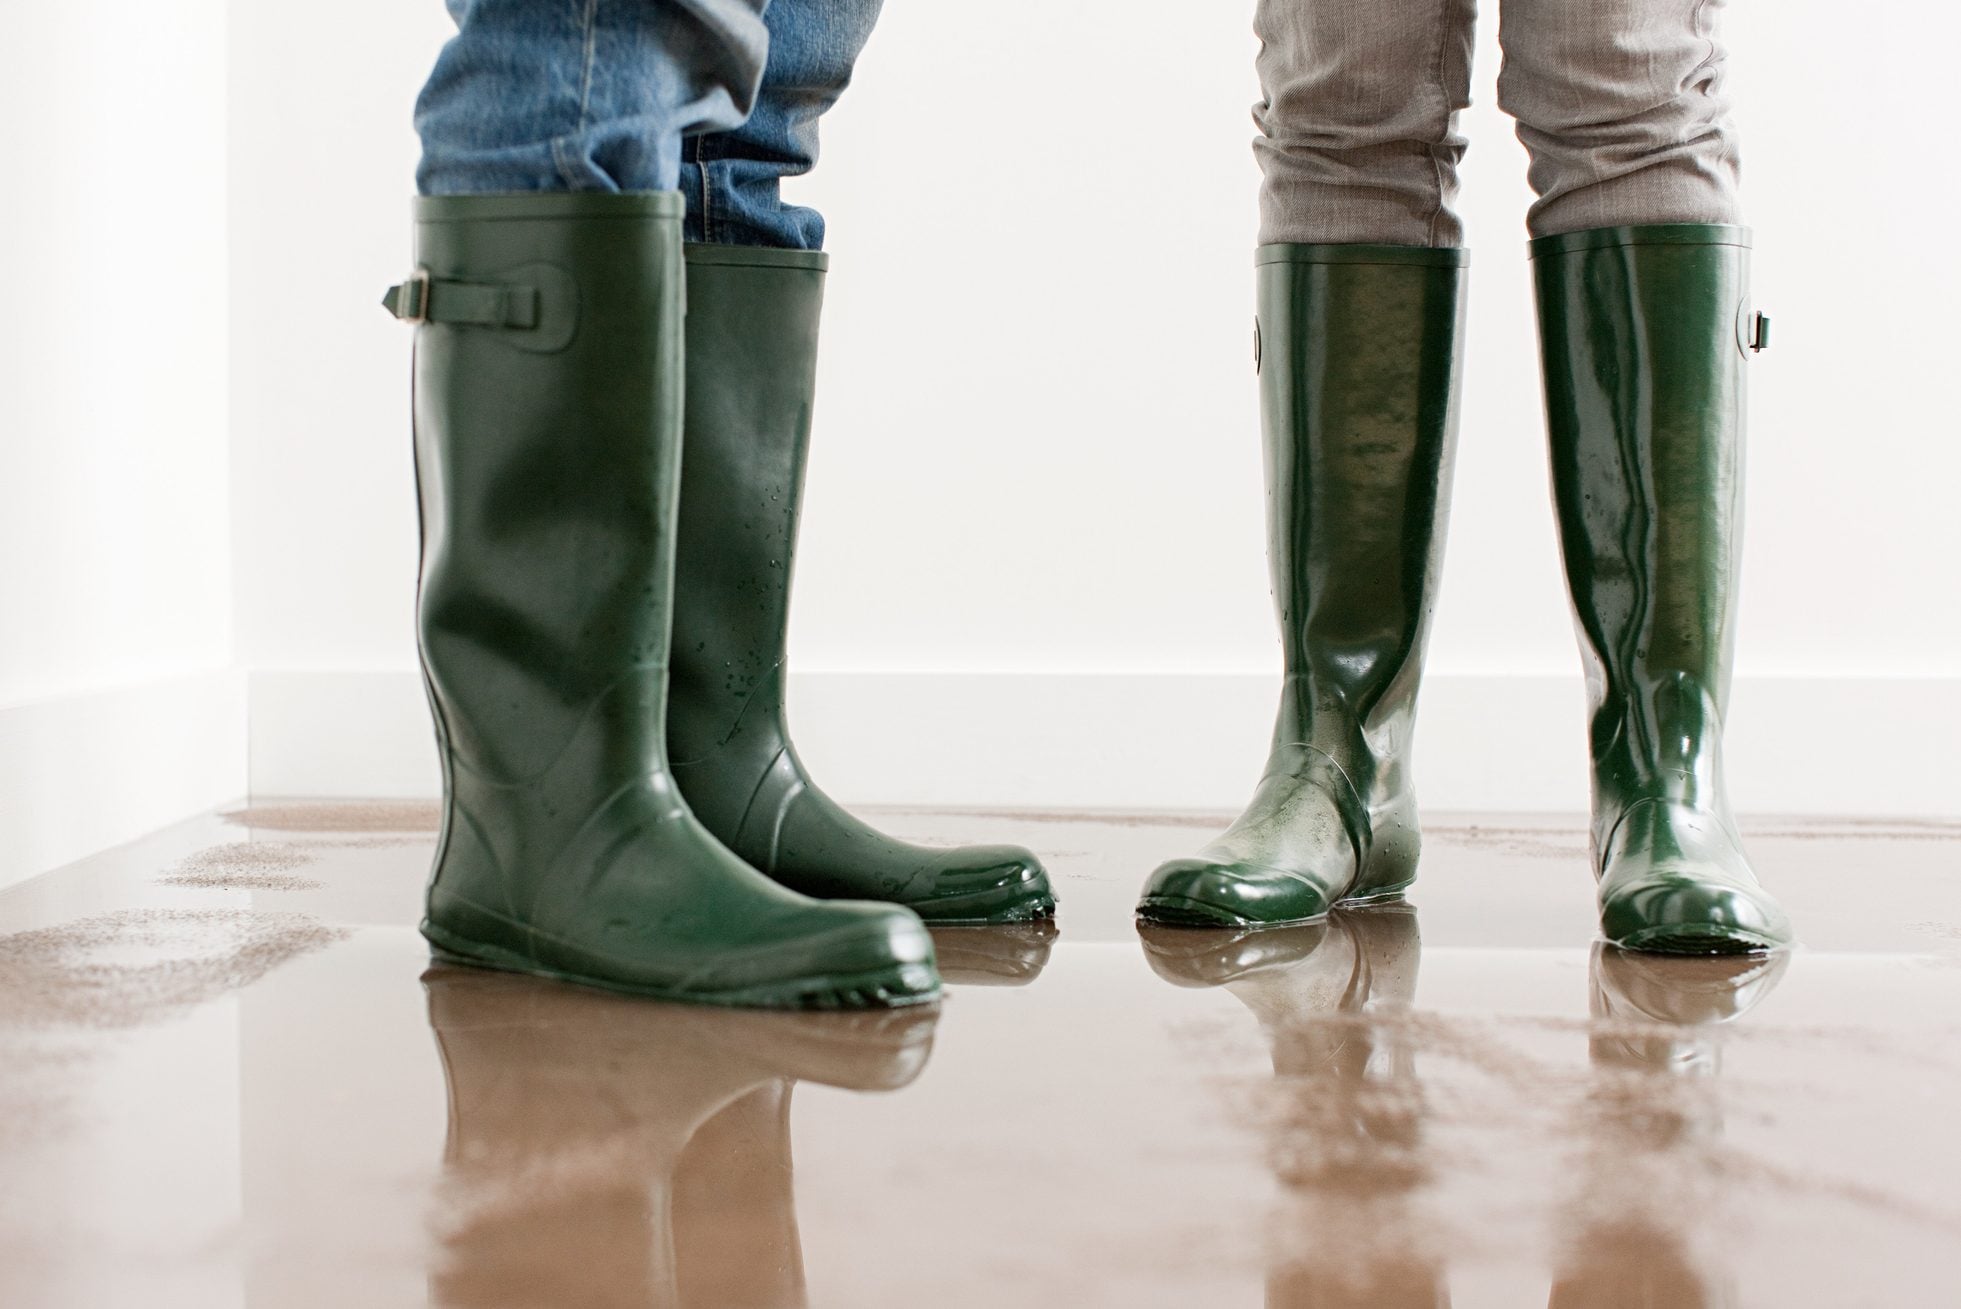
- Rubber or waterproof boots
- Heavy-duty waterproof gloves
- Safety goggles
- An N95 respirator when mold, dust, or contaminated material may be present
- Buckets, mops, towels, and floor squeegees
- A wet-dry shop vacuum rated for water pickup
- A submersible utility pump or sump pump
- A garden hose or suitable discharge hose
- Fans and dehumidifiers
- Plastic bags or heavy-duty debris bags
- Detergent and an appropriate disinfectant
- A moisture meter, if available
Wear protective equipment during cleanup, especially when the water may contain sewage or outdoor contaminants. Waterproof gloves, boots, eye protection, and respiratory protection help reduce exposure to dirty water, mold, splashes, and airborne debris. to Remove Water From a Flooded Room
Step 1: Ventilate the Room Safely
Open exterior doors and windows when weather and security conditions allow. Open closets, cabinets, and interior doors so trapped moisture can escape. If the building has been closed for several days, enter briefly, open it up, and allow fresh air to circulate before remaining inside for an extended period.
Do not operate the HVAC system if ducts or equipment were submerged or contaminated. A technician should inspect flooded heating and cooling components before they are used.
Step 2: Remove Shallow Water With Manual Tools
For less than an inch of relatively clean water, push it toward a safe drain with a floor squeegee. Use buckets, mops, absorbent towels, or a wet-dry vacuum to collect what remains.
Never use an ordinary household vacuum cleaner. Standard vacuums are not designed to collect liquids and can create an electrical shock hazard. Use only a wet-dry vacuum specifically rated for water removal, and connect it only after an electrician has confirmed the electrical system is safe.
Step 3: Pump Out Deeper Standing Water
A submersible utility pump can remove several inches of water more efficiently than buckets or a shop vacuum. Position the pump at the room’s lowest point and run its discharge hose outdoors to a legal drainage location well away from the foundation.
Do not discharge dirty water into a septic system, neighboring property, storm drain, or street unless local rules permit it. Floodwater containing sewage, fuel, chemicals, or heavy sediment may require specialized disposal.
Step 4: Drain a Deeply Flooded Basement Slowly
Do not immediately empty a basement while the surrounding ground remains saturated or outdoor floodwater is still high. Water outside the foundation creates pressure against basement walls and floors. Removing the indoor water too rapidly can contribute to cracking, wall movement, floor heaving, or structural failure.
FEMA guidance recommends allowing exterior floodwater to recede and then pumping cautiously. One approach is to lower the water level by approximately one foot, mark the level, and wait about 24 hours. If the water rises again, groundwater pressure is still forcing water inward, so pumping should pause. basement flooding, foundation movement, or continuous groundwater entry should be evaluated by a restoration contractor or structural professional.
Step 5: Keep Fuel-Powered Equipment Outdoors
Gasoline- and diesel-powered pumps and generators produce carbon monoxide, an odorless gas that can be fatal. Operate them outdoors and away from doors, windows, vents, crawlspaces, and garages. Never run a generator or fuel-powered pump inside the flooded room, basement, attached garage, or any enclosed area. p 6: Remove Mud and Debris
Once most standing water is gone, shovel out mud and silt before they harden. Use plastic shovels, buckets, and squeegees to avoid unnecessarily damaging flooring. Watch for nails, glass, splintered wood, insects, and sharp metal hiding below the sludge.
Wet building materials are significantly heavier than dry ones. Cut carpet into manageable sections, use proper lifting techniques, and get help with soaked furniture. Your lower back has already seen the flood; it does not need its own disaster declaration.
Step 7: Remove Unsalvageable Porous Materials
Porous materials absorb contaminated water and may remain wet internally long after the surface appears dry. Carpet padding, fiberglass insulation, particleboard furniture, saturated drywall, ceiling tiles, and heavily soaked upholstered items are often difficult or impossible to clean thoroughly.
Bag contaminated debris before carrying it through unaffected rooms. Follow local requirements for construction waste, appliances, household chemicals, and flood-damaged materials.
What Can Usually Be Saved?
| Material | Possible Action |
|---|---|
| Tile, concrete, metal, and glass | Clean with detergent, disinfect when appropriate, and dry completely. |
| Solid wood furniture | Clean, dry slowly, and inspect for swelling, separation, or mold. |
| Washable clothing and linens | Wash separately using the warmest safe setting and dry completely. |
| Area rugs exposed to clean water | Extract water quickly and have valuable rugs professionally cleaned. |
| Carpet padding | Usually discard, particularly after contaminated-water exposure. |
| Drywall and insulation | Remove sections that are saturated, contaminated, crumbling, or moldy. |
| Mattresses and upholstered furniture | Usually discard after sewage or outdoor floodwater exposure. |
| Electrical appliances | Do not operate until inspected by a qualified technician. |
University and state health guidance generally supports saving cleanable, nonporous materials while removing items that absorbed contaminated water and cannot be washed, disinfected, and dried thoroughly. an Before You Disinfect
After removing standing water and debris, wash hard surfaces with clean water and detergent to remove dirt, silt, and organic material. Disinfectants are less effective when surfaces remain coated with grime.
Use an EPA-registered disinfectant suitable for the material, following its label for dilution, contact time, ventilation, and protective equipment. Never mix bleach with ammonia, vinegar, acids, toilet cleaners, or other cleaning products. Dangerous gases can form faster than you can say, “Maybe combining every bottle under the sink was a mistake.”
Do not apply bleach indiscriminately to porous materials. Mold cleanup requires physical removal of damaged material and correction of the moisture problem; spraying a surface does not magically repair wet drywall or insulation.
Dry the Room Within 24 to 48 Hours
Water extraction is only the beginning. Moisture can remain beneath flooring, behind baseboards, inside wall cavities, under cabinets, and within furniture. EPA guidance emphasizes drying wet materials as quickly as possibleideally within 24 to 48 hoursto reduce the likelihood of mold growth. several drying methods together:
- Run dehumidifiers continuously and empty or drain them as needed.
- Use fans to move dry air across damp surfaces.
- Open cabinet doors, closets, and drawers.
- Lift furniture away from wet floors.
- Remove baseboards when moisture is trapped behind them.
- Use gentle heat only when it can be operated safely.
- Check walls and floors with a moisture meter.
Do not use fans when visible mold is already present because airflow may spread spores into previously unaffected areas. Isolate the room and consult a mold-remediation professional when growth is extensive, hidden inside walls, or associated with sewage. k for Hidden Water Damage
A room may look dry while remaining wet underneath. Press gently along drywall, trim, and flooring. Softness, swelling, bubbling paint, loose wallpaper, dark staining, and musty odors may indicate trapped moisture.
Check the rooms below and beside the flooded area. Water can travel through floor penetrations, wall cavities, ductwork, and ceiling assemblies. Laminate flooring may trap moisture underneath, while hardwood can cup or buckle several days after the original leak.
Continue operating dehumidifiers until affected materials return to normal moisture levels. Indoor relative humidity should generally be maintained below 60 percent and, when practical, between approximately 30 and 50 percent to discourage mold growth.
When to Call a Water-Damage Professional
DIY water extraction is best limited to small, recent, clean-water incidents that can be addressed safely. Contact a licensed restoration company when:
- Water came from a sewer, river, storm surge, or contaminated groundwater.
- Several rooms or an entire level are flooded.
- The water has reached electrical outlets, panels, or major appliances.
- The basement contains several feet of water.
- Walls, ceilings, floors, or foundations appear unstable.
- Fuel oil, pesticides, chemicals, or unknown substances are present.
- Mold covers a large area or is growing inside the HVAC system.
- The room remained wet longer than 48 hours.
- Someone in the household has asthma, severe allergies, immune suppression, or another condition that increases sensitivity to mold and contaminants.
Prevent the Room From Flooding Again
Once cleanup is complete, repair the cause rather than merely admiring your newly acquired collection of industrial fans. Replace damaged appliance hoses, repair plumbing, seal exterior openings, clean gutters, extend downspouts away from the foundation, and correct soil grading that directs water toward the house.
Basement owners may benefit from a sump pump with a battery backup, a water-powered backup pump, drain inspection, backwater valve, or professionally installed flood alarm. Small wireless leak sensors placed near washing machines, water heaters, toilets, and sinks can provide an early warning before a minor leak becomes a major renovation project.
Practical Experiences and Lessons From Flooded-Room Cleanup
The following scenarios combine common experiences reported during residential water-damage cleanup. They are not a substitute for professional inspection, but they illustrate why the order of operations matters.
The Washing-Machine Hose Failure
A washing-machine supply hose can release a surprising amount of water in a short time. In a typical incident, the homeowner discovers water spreading from the laundry room into a hallway and nearby bedroom. The first useful action is not searching for every towel in the house. It is closing the washing-machine valves or the main water shutoff.
After stopping the flow, removing standing water may take only an hour with a wet-dry vacuum. The hidden work takes longer. Water often slips under baseboards, beneath floating laminate, and into the wall beside the appliance. A room that feels dry under bare feet may still contain wet padding or saturated drywall paper.
The practical lesson is to inspect beyond the visible puddle. Removing a section of baseboard and using a moisture meter can reveal dampness that towels alone would never reach. Replacing old rubber supply hoses with reinforced braided hoses and installing a leak alarm can also reduce the chance of a repeat performance.
The Storm-Flooded Basement
A basement containing several inches of rainwater creates a strong temptation to install the largest available pump and empty it immediately. That approach can be risky while groundwater remains high outside. A more careful cleanup waits for exterior water to recede, checks the electrical system, and lowers the indoor water gradually.
Basement cleanup also demonstrates how heavy wet materials become. A small roll of soaked carpet can feel as though it has been filled with bowling balls. Cutting it into strips, working with another adult, and using carts or buckets reduces strain and makes removal safer.
Another lesson is to place the pump discharge far from the foundation. Sending extracted water three feet outside the basement wall may simply give it a complimentary return ticket.
The “Clean Water” Leak That Sat All Weekend
A supply-line leak begins as clean water, but time changes the situation. When water sits in carpet, drywall, dust, and building debris for several days, bacteria and mold can begin growing. By Monday morning, the room may smell musty even though the original water source was potable.
In this scenario, saving the carpet may cost more than replacing it, especially when the padding remains wet and the subfloor has absorbed moisture. The experience reinforces the 24-to-48-hour drying goal. Fast extraction, dehumidification, and airflow are not cosmetic steps; they are part of controlling microbial growth and limiting demolition.
The Sewer Backup That Looked Manageable
A small amount of dark water around a floor drain may appear to be a simple mop-and-bucket job. However, sewage exposure changes the required precautions. Porous materials can retain pathogens, splashes can contaminate nearby surfaces, and ordinary household gloves may provide inadequate protection.
The safest response is usually to isolate the room, prevent family members and pets from entering, avoid using connected plumbing fixtures, and contact a sewer or restoration professional. Throwing extra fragrance into the room does not make the contamination disappear; it merely gives the bacteria a more cheerful atmosphere.
The Most Valuable Overall Lesson
Successful water cleanup follows a specific sequence: protect people, stop the source, document the damage, remove standing water, discard unsalvageable materials, clean, disinfect when appropriate, and dry every hidden layer. Skipping ahead often creates additional work.
Homeowners commonly focus on what they can see, but the greatest problems develop where water remains unnoticed. Checking behind trim, beneath flooring, inside cabinets, and along adjoining rooms can prevent a seemingly completed cleanup from turning into a mold-remediation project several weeks later.
Conclusion
Knowing how to remove water from a flooded room can help you control damage before moisture spreads through the rest of the house. For a small clean-water leak, shutting off the source, using a wet-dry vacuum, removing wet materials, cleaning hard surfaces, and running dehumidifiers may be a realistic DIY project.
For deep water, sewage, chemical contamination, electrical exposure, structural damage, or widespread mold, step away and bring in qualified help. The best flood cleanup is not necessarily the one completed with the fewest professionals. It is the one completed without electrocution, toxic exposure, a collapsing wall, or a mysterious mushroom colony behind the couch.