Few DIY moments are more annoying than a broken screw. One second you are tightening a hinge, a deck board, or a cabinet pull like a capable adult. The next second, snapyou are staring at a stubborn little metal stump that seems personally offended by your existence. The good news is that broken screw removal is usually fixable without destroying the surrounding wood, drywall, or metal.
If you know how to remove a broken screw the right way, you can often save the material, save the hardware, and save yourself from turning a five-minute repair into a full-blown weekend drama. The trick is not brute force. It is working in the right order: start gently, create grip, use the correct tools, and only move to more aggressive methods when needed.
In this guide, you will learn five simple steps to remove a broken screw, plus practical examples, tool tips, and a few “please-don’t-do-this” mistakes that can make the situation worse. Whether you are dealing with a snapped wood screw, a rusted fastener, or a stripped screw head that refuses to cooperate, this method will help you get that little troublemaker out.
What You Need Before You Start
You may not need every tool below, but having a few options nearby makes broken screw removal much easier:
- Safety glasses
- Work gloves
- Needle-nose pliers or locking pliers
- Manual screwdriver
- Drill/driver with reverse setting
- Metal drill bits or left-hand drill bits
- Screw extractor set
- Penetrating oil
- Rotary tool with a cutting wheel
- Small hammer
- Center punch or awl
One more thing: slow down. A broken screw is not the time to channel action-movie energy. Fast spinning, over-tightening, and random tool swapping are how small problems become decorative damage.
Why Screws Break in the First Place
Understanding the cause helps you choose the best broken screw removal method. Screws usually break for one of four reasons:
Too Much Torque
Power drivers are wonderful until they become overconfident. Too much torque can shear the screw head or snap the shank below the surface.
No Pilot Hole
Driving a screw into dense hardwood or tough material without a pilot hole adds friction and stress. The screw loses patience before you do.
Rust and Corrosion
Outdoor screws, bathroom hardware, and older fasteners often seize up from rust. When you try to back them out, the head strips or the screw breaks.
The Wrong Screw or Bit
Cheap, brittle screws and poorly fitted driver bits are a classic bad combo. If the bit slips, the head strips. If the screw binds, it snaps.
Step 1: Inspect the Screw and Clean the Area
Before you grab the drill, stop and look closely. Is part of the screw head still visible? Is the shank sticking up above the surface? Is the fastener rusted? Is the surrounding material wood, metal, or plastic? Those details matter.
Wipe away sawdust, paint flakes, rust, or debris so you can actually see what you are working with. If the screw is rusted or seized, apply a little penetrating oil around the threads and let it sit for several minutes. This can help loosen the bond before you try to turn anything.
If the broken screw is in wood, be careful not to chew up the surrounding fibers. If it is in metal, pay extra attention to tool alignment so you do not damage the threads in the hole.
When This Step Alone Can Help
Sometimes the screw is not deeply broken. It is just stubborn, rusty, or partially stripped. Cleaning the area and adding lubricant may be enough to make the next step work without drilling.
Step 2: Try the Easiest Removal Method First
This is where patience pays off. If any part of the screw is accessible, try a gentle method before reaching for the extractor.
If the Screw Is Protruding
Use locking pliers or needle-nose pliers to grip the exposed shank firmly. Turn the screw counterclockwise in small, controlled movements. Do not yank sideways. You want to twist it out, not snap it off flush and make your day worse.
If the Head Is Damaged but Still There
Try a manual screwdriver that fits tightly. You can also place a rubber band, steel wool, or even a bit of duct tape over the damaged head to improve traction. In some cases, lightly tapping a flathead screwdriver into the slot with a hammer can create just enough bite to start backing the screw out.
If the Screw Is Slightly Raised
A pair of locking pliers may still work even when the head is mangled. This is often the fastest way to remove a snapped screw without drilling.
These low-drama methods are especially useful for removing broken screws from wood furniture, cabinet hardware, door hinges, and light-duty home repairs. If none of them work, do not keep forcing it. That is your cue to move on.
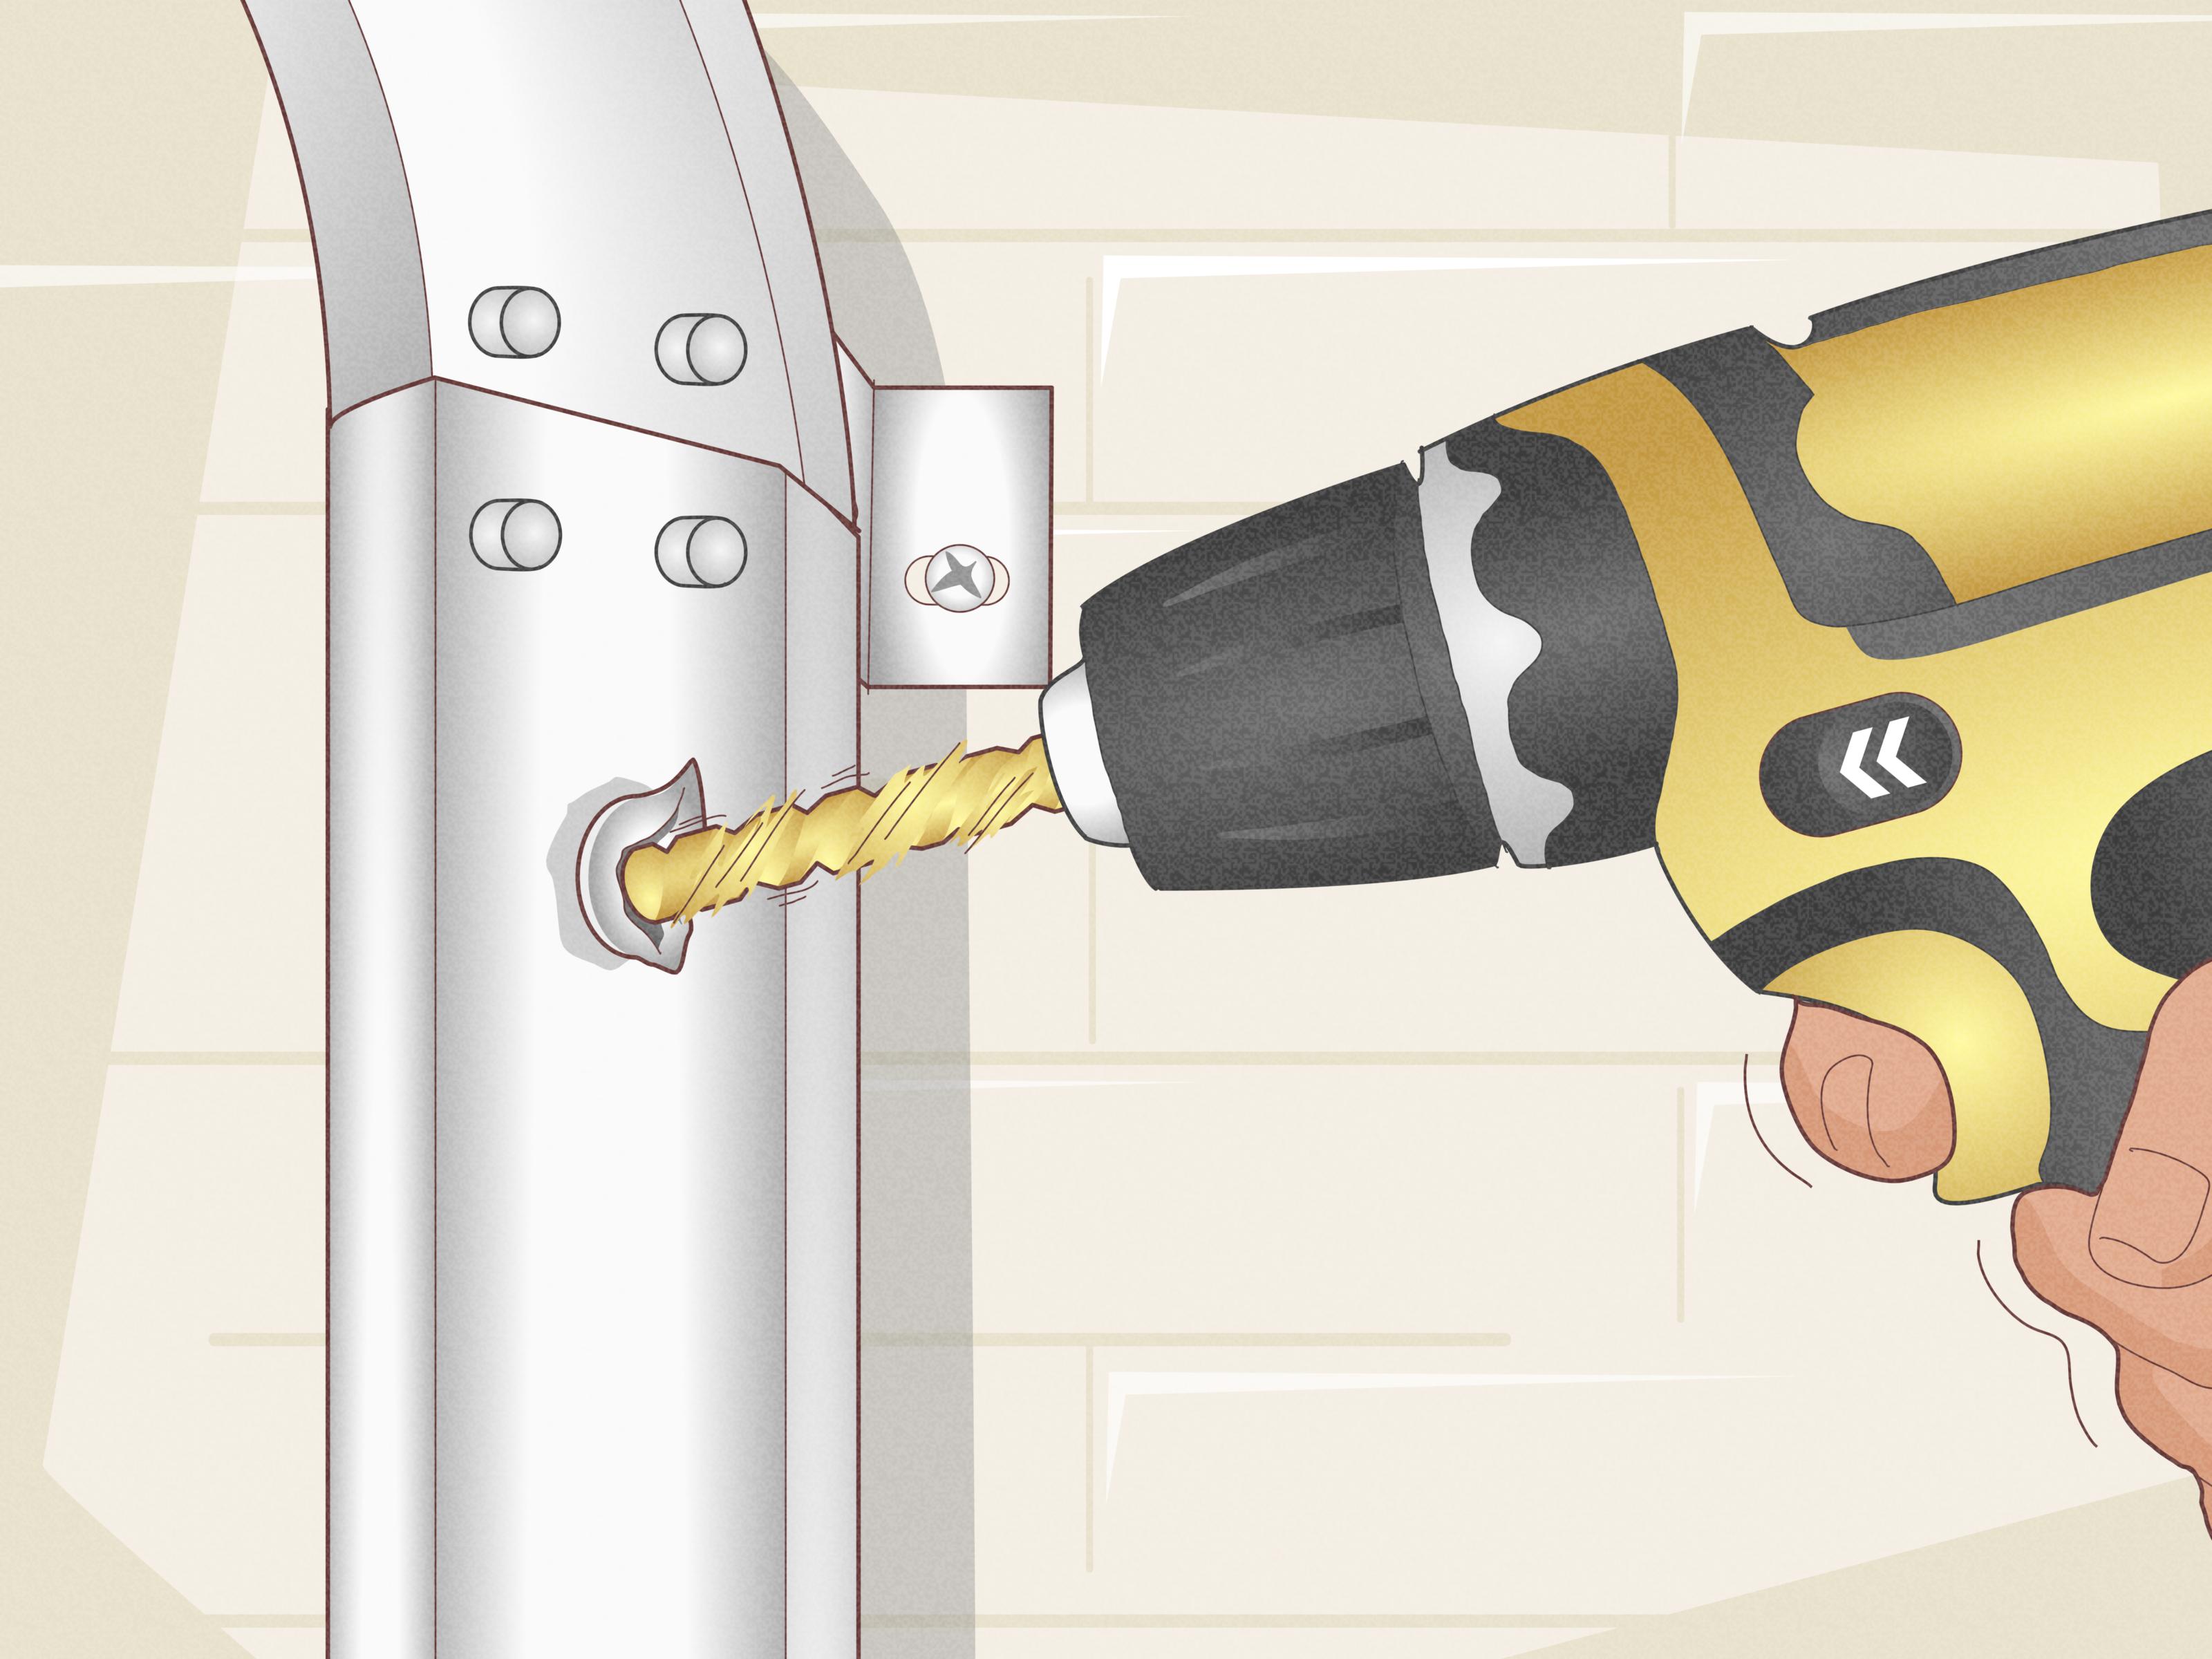
Step 3: Drill a Centered Pilot Hole
If the screw will not come out with grip alone, the next step is to drill a pilot hole into the center of the broken screw. This is the foundation for using a screw extractor, and accuracy matters a lot here.
How to Do It
- Use a center punch or awl to mark the middle of the broken screw.
- Choose the correct drill bit size recommended for your extractor.
- Set your drill to a slow speed.
- Drill straight into the center of the screw.
A slow speed helps you stay controlled and reduces the chance of skating off the screw and damaging the surrounding surface. If you rush this part, the bit can wander, enlarge the hole, or make extraction harder.
Left-Hand Drill Bits: The Sneaky Good Option
If you have left-hand drill bits, this is a great time to use them. Because they spin in reverse, they sometimes grab the screw and back it out while you are drilling the pilot hole. When that happens, it feels like the tool gods have smiled upon you. Accept the blessing and do not ask questions.
Step 4: Use a Screw Extractor in Reverse
Now for the main event. A screw extractor is designed to bite into the pilot hole so you can turn the broken screw out counterclockwise. It is the go-to method for removing a snapped screw that is flush with the surface or buried slightly below it.
How to Use a Screw Extractor
- Insert the extractor into the pilot hole.
- Set the drill or driver to reverse.
- Run the tool slowly.
- Let the extractor bite into the screw.
- Continue turning counterclockwise until the screw backs out.
The key word here is slowly. A screw extractor is not a race car. If you run it too fast, you can break the extractor inside the screw, which is basically the DIY version of stepping on a rake.
Common Mistakes to Avoid
- Using the wrong extractor size
- Drilling the pilot hole off-center
- Applying too much pressure too quickly
- Forgetting to set the drill to reverse
- Trying to extract a rusted screw without loosening it first
If the extractor starts slipping, stop. Recheck the pilot hole, try a slightly larger extractor if appropriate, and make sure the screw is not so seized that you need one of the fallback methods below.
Step 5: Escalate Carefully if the Screw Still Will Not Budge
Sometimes a broken screw is extra dramatic. Maybe it is rusted solid. Maybe the head is gone. Maybe the surrounding material is awkward and cramped. When the basic extraction method fails, you still have options.
Option 1: Cut a New Slot
Use a rotary tool with a cutting wheel to cut a straight notch across the screw head. Then use a large flathead screwdriver to turn it out. This method works best when the head is still exposed and there is room to work.
Option 2: Add Gentle Heat
Heat can help crack the bond on rusted screws, but it should be a last resort. It is risky around wood finishes, paint, plastic, insulation, and any flammable penetrant you just sprayed. If you use heat, do it cautiously and only where it is appropriate.
Option 3: Drill It Out and Repair the Hole
If the screw is hopelessly stuck, drilling it out completely may be your cleanest path forward. In wood, you can often fill the damaged hole with a dowel or plug and re-drill a new pilot hole. In metal, you may need to retap the threads or use a new fastener location if the original threads are destroyed.
This is also the smartest approach when the screw is tiny, badly corroded, or buried too deep for pliers or a normal extractor to grab.
How to Remove a Broken Screw From Different Materials
Wood
Wood is forgiving, but it is easy to scar the surface. Start with pliers if the screw is exposed. If not, use a pilot hole and extractor. If the screw must be drilled out, fill the hole neatly before reinstalling hardware.
Metal
Metal requires more precision. Keep the drill centered, use cutting oil if needed, and avoid enlarging the hole. A straight, patient approach works better than force.
Plastic or Composite Materials
Be especially careful with heat and aggressive drilling. These materials can crack, melt, or deform. Use light pressure and manual control whenever possible.
Best Tips to Prevent Broken Screws Next Time
- Drill pilot holes in hardwood and dense material.
- Match the bit correctly to the screw head.
- Use a manual screwdriver for delicate finishes.
- Lubricate screws for certain wood and outdoor applications.
- Do not overdrive screws with high torque.
- Replace low-quality screws with better fasteners when possible.
Prevention is not as exciting as rescue, but it is much cheaper and involves less muttering.
Quick Example: A Broken Deck Screw
Let’s say you are replacing an old deck board and one of the exterior screws snaps off just below the surface. First, brush away debris and apply penetrating oil if there is visible rust. Since the screw is below the surface, pliers are out. Next, mark the center, drill a pilot hole, and use a screw extractor in reverse at low speed. If the extractor fails because the screw is badly corroded, drill out the screw and shift the replacement screw slightly to one side in sound material. Problem solved. Mild irritation remains, but progress is progress.
Conclusion
If you have been wondering how to remove a broken screw without wrecking the project, the answer is simple: work in stages. Clean the area, try the easiest grip method first, drill a centered pilot hole, use a screw extractor in reverse, and escalate only when needed. That order gives you the best chance of removing the fastener while protecting the surrounding material.
Broken screws look intimidating because they are small, awkward, and weirdly smug. But with the right tools and a little patience, most of them come out just fine. Go slow, stay centered, and remember that the goal is not to win a wrestling match with the screw. The goal is to outsmart it.
Real-World Experiences With Broken Screw Removal
The funny thing about broken screws is that they almost never fail during a calm, well-planned project. They break when you are hanging a door and already late. They break when the weather is turning and you just want to replace one loose board on the deck. They break when you say the dangerous sentence every DIYer has said at least once: “This will only take five minutes.” That is usually when the screw decides it wants a dramatic exit.
One of the most common experiences people have is realizing they made the problem worse by rushing. A screw head starts to strip, so they press harder. The bit slips, so they switch to a bigger drill. The screw gets hotter, rougher, and angrier. Eventually the head snaps off, and suddenly a tiny piece of hardware has become the main character of the afternoon. The lesson is almost always the same: the first mistake is not the broken screw. The first mistake is refusing to slow down.
Another common experience happens with old outdoor hardware. Deck screws, gate hinges, fence fasteners, and exterior trim screws often look removable until you try to turn them. Rust has quietly bonded the threads, and what seemed like a simple repair becomes a lesson in patience. People often discover that penetrating oil is not magic in one second. It needs a little time to work. Once they stop forcing the screw and let the lubricant do its job, the removal process gets much easier.
Furniture repairs tell a different story. In cabinets, chairs, and bed frames, the surrounding material matters as much as the fastener itself. Many people learn the hard way that attacking a broken screw in wood with aggressive drilling can damage the piece more than the original problem ever did. A careful grip with pliers, a manual screwdriver, or a neatly drilled pilot hole often saves the finish and preserves the hole. In these situations, finesse beats force almost every time.
Then there is the magical moment when a left-hand drill bit or extractor works exactly as promised. Anyone who has dealt with a stubborn snapped screw knows that feeling. You line up the drill, go slowly, keep everything centered, and suddenly the screw begins to back out as if it had planned to cooperate all along. That moment feels wildly satisfying, mostly because it comes after ten minutes of assuming the screw had won.
There are also valuable lessons in failure. Sometimes the extractor slips. Sometimes the pilot hole goes off-center. Sometimes the screw is too rusted, too tiny, or too buried to save cleanly. Experienced DIYers learn not to take that personally. Drilling out the screw and repairing the hole is not defeat. It is just the next logical repair step. Good home repair is not about never running into problems. It is about choosing the least destructive solution and moving forward.
Over time, these experiences teach a few habits that make future jobs easier: use better screws, drill pilot holes, keep a real extractor set in the toolbox, and stop using mystery bits that should have retired three projects ago. Most importantly, they teach respect for small hardware. A broken screw may be tiny, but it can absolutely run the room if you let it. Approach it with patience, proper tools, and a little humor, and it usually loses its power fast.