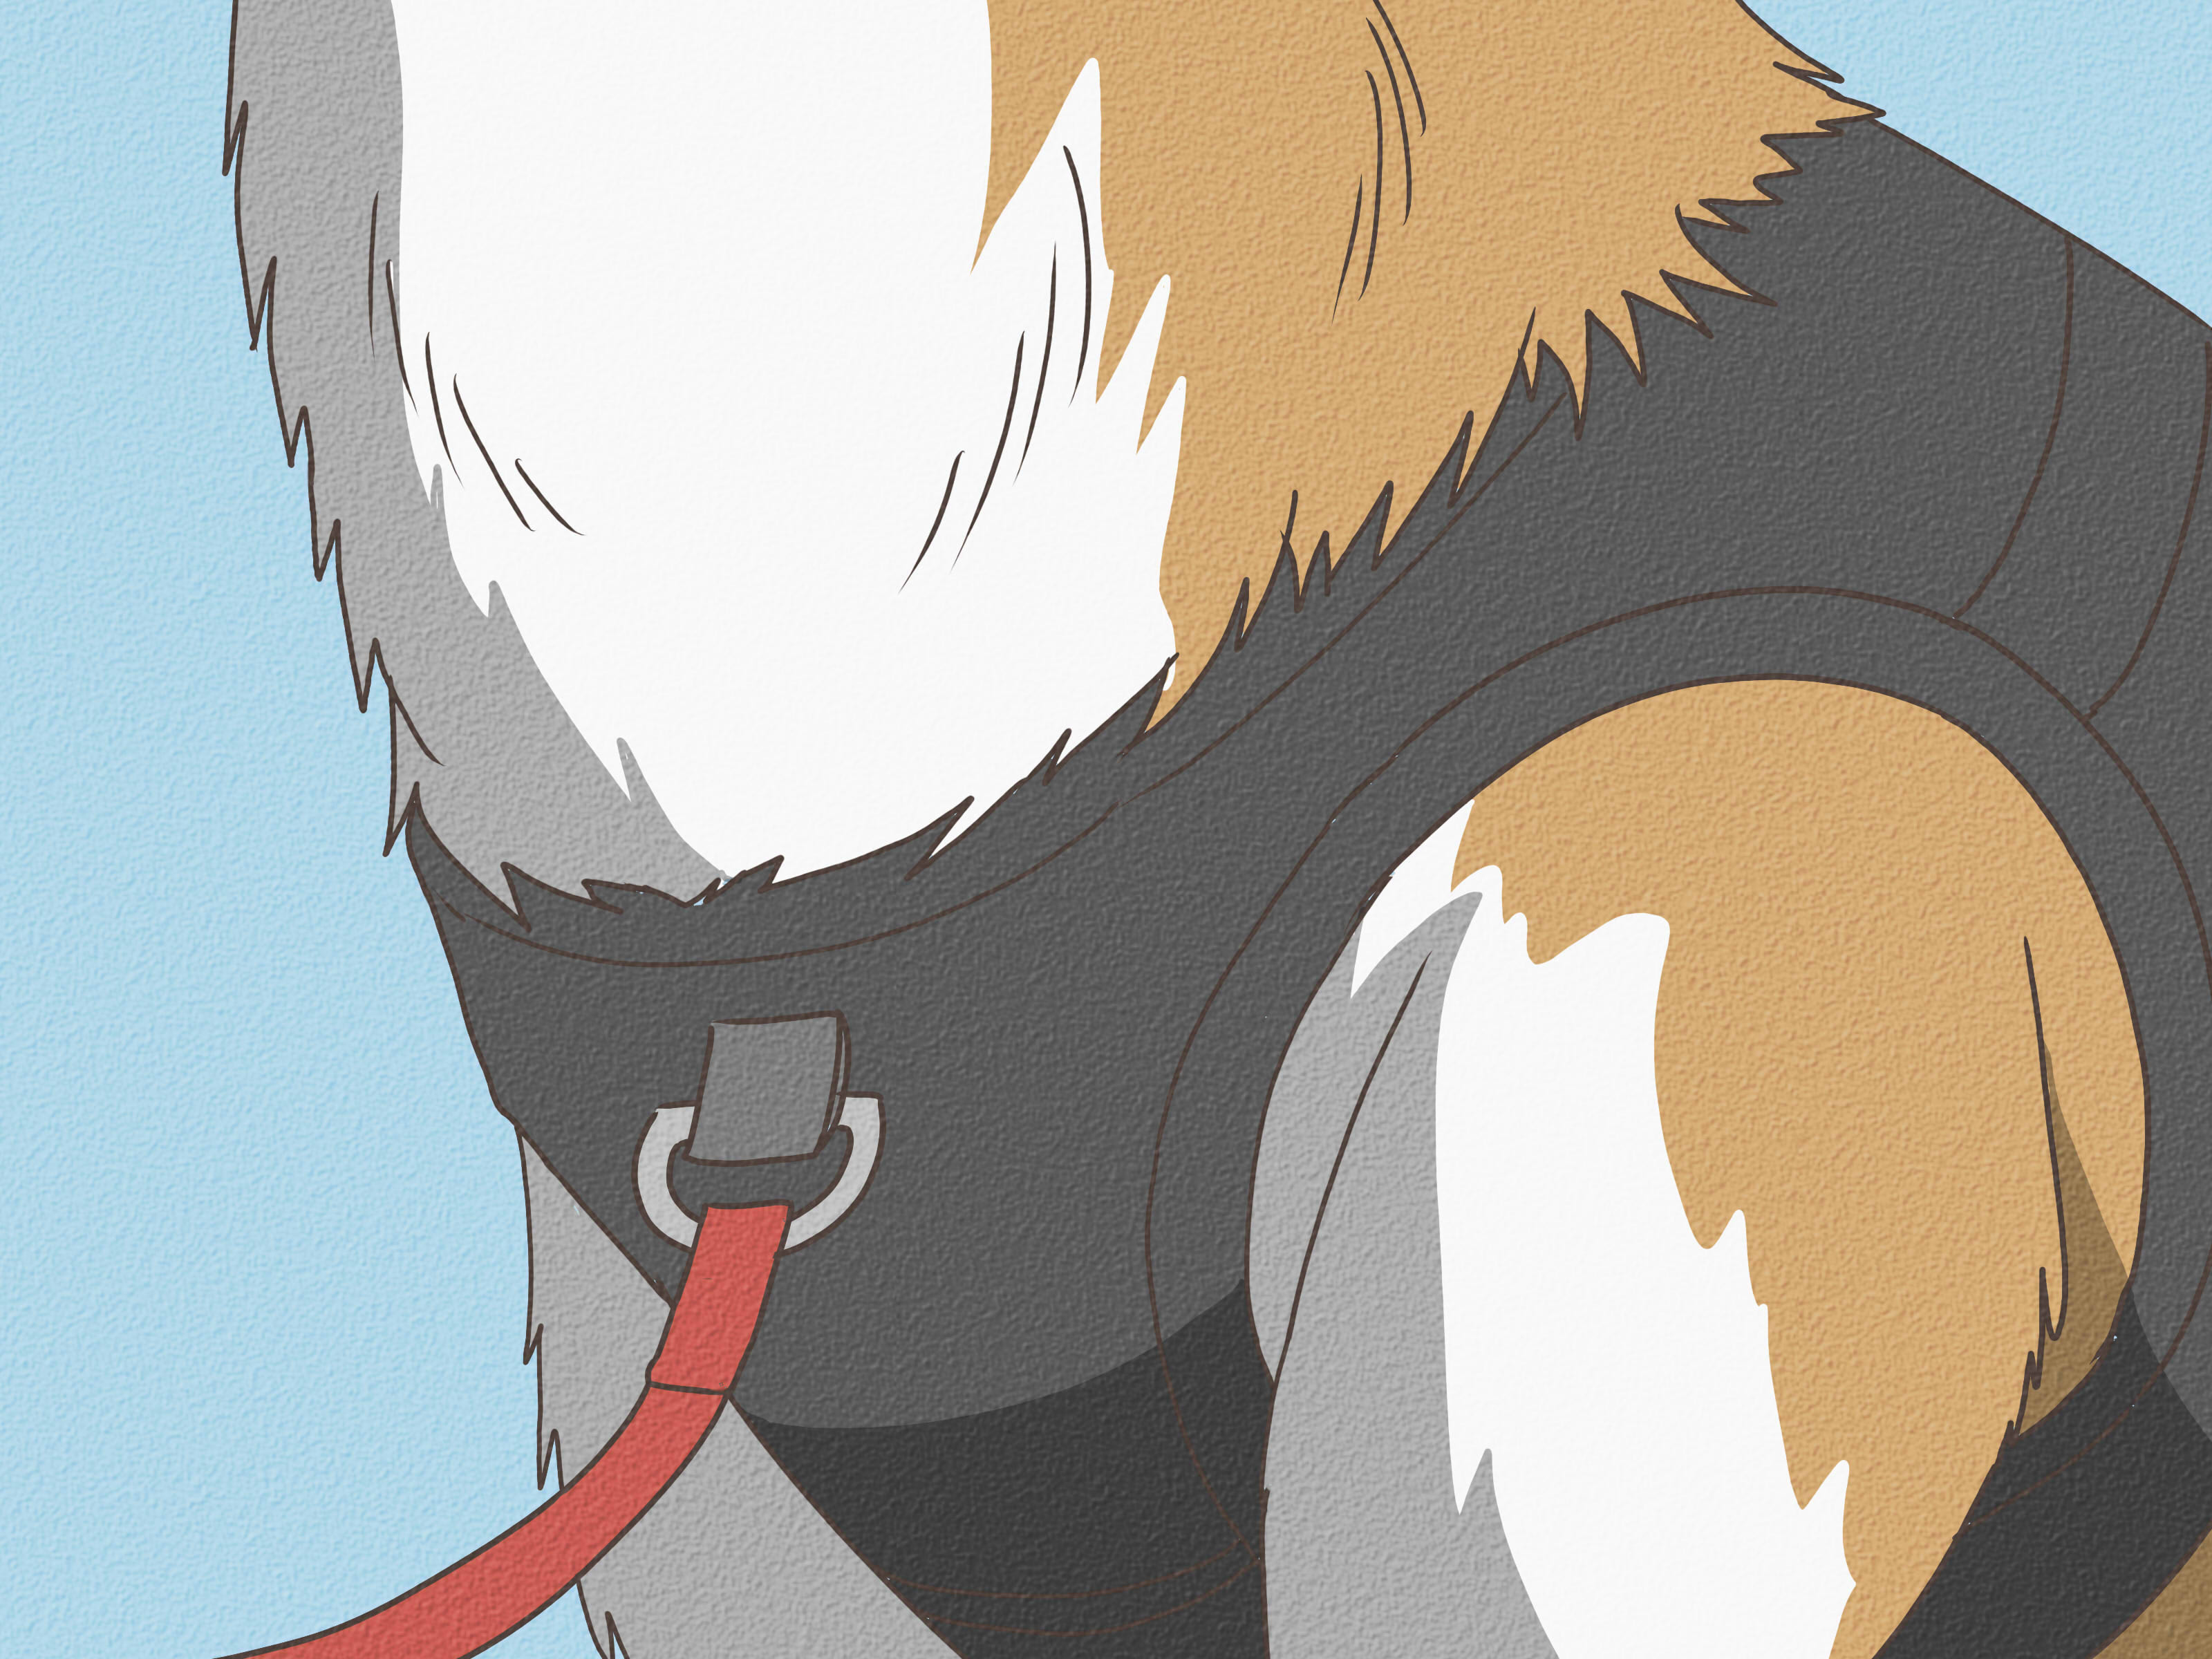
Putting on a dog harness sounds simpleuntil your dog turns into a furry noodle, the straps look like spaghetti, and the buckle has somehow migrated to another dimension. The good news? Once you understand the type of harness you have and how it should sit on your dog’s body, the whole process becomes quick, calm, and far less like assembling patio furniture without instructions.
A properly fitted dog harness can make walks safer, more comfortable, and easier to manage. Unlike a collar, which concentrates pressure around the neck, a harness spreads leash pressure across the chest and shoulders. That can be especially helpful for puppies, small breeds, dogs with short noses, senior dogs, and enthusiastic pullers who believe every squirrel is a personal emergency.
This expert guide explains how to put on a dog harness step by step, how to tell whether it fits correctly, what to do if your dog resists wearing it, and how to avoid common harness mistakes. Grab a few treats, take a breath, and let’s turn your pup’s walking gear from “mystery webbing” into “easy daily routine.”
Why Use a Dog Harness?
A dog harness gives you more control during walks while reducing direct pressure on your dog’s throat. This matters because dogs do not always walk like polite little citizens. Some lunge toward friends, some freeze at the sight of a trash can, and some attempt to tow their human like a sled team in a suburban driveway.
Harnesses are often recommended for leash training because they help guide the body instead of yanking the neck. They are also useful for dogs who cough when walked on a collar, puppies still learning leash manners, and breeds with delicate necks or flatter faces. A harness is not a magic “stop pulling forever” button, but it is a smart tool when paired with positive reinforcement, consistency, and a leash that is not long enough to qualify as a zip line.
Know Your Dog Harness Type Before You Start
Before putting on a harness, identify which style you have. Most confusion happens because owners try to put a step-in harness on like an overhead harness, or an overhead harness on like a tiny backpack. The dog, naturally, judges silently.
1. Standard Overhead Harness
An overhead dog harness slips over your dog’s head first. One strap usually sits around the neck or shoulders, another goes around the rib cage, and a chest piece runs between the front legs. Many no-pull and dual-clip harnesses use this structure.
2. Step-In Harness
A step-in harness lies flat on the floor and forms two leg openings. Your dog places one front paw into each opening, then you lift the harness up and clip it over the shoulders or back. This style is popular for small dogs and dogs who dislike having things pulled over their heads.
3. Vest Harness
A vest harness wraps around the chest and torso like a soft little jacket. Some close with buckles; others use hook-and-loop fasteners. Vest harnesses can be comfortable for small dogs, but the fit must be secure enough that your dog cannot back out of it.
4. Front-Clip or No-Pull Harness
A front-clip harness has a leash attachment point on the chest. When the dog pulls, the front connection gently redirects their body toward you, making pulling less rewarding. Some harnesses also include a back clip, giving you more options for training and everyday walks.
How to Put on an Overhead Dog Harness
Use this method if your harness has a neck opening and one or two side buckles. This is one of the most common styles, especially for adjustable walking harnesses.
Step 1: Loosen the Straps
Before the harness ever touches your dog, loosen the neck and chest straps. A too-tight harness can make your dog nervous, while a properly loosened harness is easier to slide into place and adjust later.
Step 2: Show the Harness and Reward Calm Behavior
Let your dog sniff the harness. Offer a treat when they stay calm. This tiny step can prevent a lot of drama, especially if your dog thinks new objects are suspicious government devices.
Step 3: Slip the Neck Opening Over the Head
Hold a treat near the neck opening and encourage your dog to move their head through voluntarily. Avoid forcing the harness over the head. If your dog backs away, pause, reward curiosity, and try again slowly.
Step 4: Position the Chest Piece
The chest strap or panel should rest at the front of your dog’s chest, while the lower strap should run between the front legs. Make sure the harness is not twisted. Twisted straps can rub, pinch, and make your dog walk like they are wearing a badly folded beach chair.
Step 5: Buckle the Side Straps
Bring the girth strap around your dog’s rib cage and fasten the buckle on one or both sides, depending on the design. Keep your fingers clear of skin and fur when clipping the buckle. Long-haired dogs especially deserve a buckle check, unless you enjoy receiving the offended side-eye.
Step 6: Adjust for a Secure Fit
Adjust the straps so the harness sits snugly but not tightly. You should be able to slide two fingers between the harness and your dog’s body. The back clip should sit centered on the back, and the chest clip, if present, should sit centered on the chest.
How to Put on a Step-In Dog Harness
A step-in harness is usually easier for dogs who dislike gear going over their head. It can take a little coordination, but once you see the two leg openings, the process becomes straightforward.
Step 1: Lay the Harness Flat
Place the harness on the floor with the inside facing up. You should see two openings, often shaped like triangles. The buckles and leash ring usually face upward.
Step 2: Guide Each Front Paw Into an Opening
Have your dog stand over the harness. Gently place one front paw into each loop. If your dog is small, you can lift each paw carefully. For larger dogs, lure them forward with a treat so they step into position themselves.
Step 3: Pull the Harness Up
Lift both sides of the harness up along your dog’s chest and shoulders. The straps should come together above the back.
Step 4: Clip the Buckle
Fasten the buckle over your dog’s back. Listen for the click, then gently tug the harness to confirm it is secure.
Step 5: Check Strap Placement
The harness should not sit directly in your dog’s armpits. A strap that rubs behind the front legs can cause chafing, especially during longer walks. Adjust the fit so your dog can move naturally.
How to Put on a Front-Clip or No-Pull Harness
Front-clip harnesses are excellent training tools when fitted correctly. The key is making sure the chest ring is actually on the chest, not drifting sideways like a crooked name tag at a conference.
Step 1: Find the Front Ring
Locate the leash attachment ring that should rest on your dog’s chest. Some harnesses have both a front ring and a back ring. The front ring is usually used for loose-leash training and pull management.
Step 2: Place the Harness Over the Head
Most front-clip harnesses go over the head first. Slide the neck opening into place and let the chest strap settle across the front of the body.
Step 3: Buckle Around the Rib Cage
Bring the side straps behind the front legs and buckle them around the torso. The girth strap should rest around the rib cage, not the soft belly.
Step 4: Center the Chest Clip
Adjust the front panel so the leash ring sits in the middle of the chest. If it slides too far to one side, the harness may be too loose or unevenly adjusted.
Step 5: Attach the Leash and Test Indoors
Clip the leash to the front ring and practice a few steps indoors. Reward your dog when they walk with a loose leash. If the harness twists dramatically, stop and readjust before heading outside.
How Tight Should a Dog Harness Be?
A dog harness should be snug enough that your dog cannot slip out, but loose enough that it does not restrict breathing, walking, sitting, or shoulder movement. The classic two-finger rule is a helpful starting point: you should be able to fit two fingers comfortably between the harness and your dog’s body.
Check these areas carefully:
- Neck and shoulder area: The harness should not press into the throat.
- Chest strap: It should sit across the chest, not up against the windpipe.
- Girth strap: It should sit behind the front legs without rubbing the armpits.
- Back clip: It should remain centered, not slide to one side.
- Movement: Your dog should walk, sit, turn, and sniff dramatically without restriction.
After the first few walks, recheck the fit. New harnesses can settle, straps can loosen, and dogs can change shape with growth, weight loss, weight gain, or seasonal coat changes. Puppies may need frequent adjustments because they grow at the speed of a houseplant in a science experiment.
How to Measure Your Dog for a Harness
The best harness fit begins before you buy the harness. Use a soft measuring tape and measure your dog while they are standing.
Measure the Chest Girth
Wrap the tape around the widest part of your dog’s rib cage, usually just behind the front legs. This is the most important measurement for most harnesses.
Measure the Neck
Measure around the base of the neck where the harness opening will sit. This is especially important for overhead harnesses.
Check the Weight Range
Harness sizing charts often include weight ranges, but weight alone is not enough. A 25-pound French Bulldog and a 25-pound Whippet may have very different body shapes. Always prioritize actual measurements over a generic size label.
Choose Adjustable Straps
For most dogs, an adjustable harness is the safest choice. Multiple adjustment points help you fine-tune the fit around the neck, chest, and rib cage. This is especially useful for deep-chested breeds, stocky breeds, growing puppies, and dogs built like adorable barrels.
Common Dog Harness Mistakes to Avoid
Mistake 1: Putting the Harness on Backwards
If the leash ring is in the wrong place or the chest strap sits oddly, the harness may be backwards. Check the brand’s instructions and look for labels such as “front,” “back,” or “belly.” When in doubt, lay the harness flat and identify the neck opening first.
Mistake 2: Leaving Straps Too Loose
A loose harness can shift, twist, or allow your dog to escape. This is especially risky for nervous dogs who may back out when startled. A secure fit matters every time, not just when your dog is behaving like a tiny angel with paws.
Mistake 3: Making the Harness Too Tight
A tight harness can cause rubbing, restrict movement, or make your dog dislike wearing it. Check for red skin, flattened fur, limping, reluctance to walk, or repeated scratching after walks.
Mistake 4: Skipping Positive Reinforcement
If the harness only appears right before a rushed walk, your dog may associate it with pressure and excitement. Instead, use treats, praise, and calm practice sessions. Let the harness predict good things.
Mistake 5: Using the Harness as a Permanent Outfit
Most dogs should not wear a walking harness all day without supervision. Harnesses can catch on objects, trap moisture, rub the skin, or become chew toys during downtime. Remove the harness after walks unless your veterinarian or trainer has advised otherwise.
What If Your Dog Hates the Harness?
Some dogs accept a harness immediately. Others look at it like you have presented them with a haunted octopus. If your dog runs away, freezes, mouths the straps, or ducks their head, slow down.
Start With Short Sessions
Place the harness on the floor and reward your dog for looking at it, sniffing it, or standing near it. Do not rush to buckle it right away.
Use Treats as a Lure
For overhead harnesses, hold a treat through the neck opening so your dog chooses to put their head through. For step-in harnesses, scatter a few treats near the harness so your dog calmly steps around it.
Practice Without Walking
Put the harness on for a few seconds indoors, reward your dog, then remove it. Gradually build up to longer periods. The goal is to teach your dog, “Harness equals snacks and adventure,” not “Harness equals wrestling match in the hallway.”
Try a Different Style
If your dog strongly dislikes gear going over the head, try a step-in or vest-style harness. If your dog backs out of harnesses, consider a more secure design with additional adjustment points. For severe fear, reactivity, or escape behavior, consult a qualified positive-reinforcement trainer or veterinarian.
Expert Tips for Safer, Happier Walks
Once the harness is on, the walk itself should be calm and controlled. Clip the leash before opening the door, keep your dog close in busy areas, and reward loose-leash walking. A harness gives you better equipment; training gives you better teamwork.
Use a standard leash rather than a retractable leash in crowded neighborhoods, near roads, or during training. Retractable leashes can make it harder to maintain control and can teach dogs that pulling creates more distance. For everyday walks, a sturdy leash between four and six feet is usually practical.
Also remember that your dog should still wear identification. A harness is not a replacement for an ID tag or microchip. Many owners use both: a collar for ID and a harness for leash attachment. That way, your dog is both walk-ready and return-home-ready.
Quick Harness Fit Checklist
- The harness is facing the correct direction.
- No straps are twisted.
- The leash ring is centered on the chest or back.
- You can fit two fingers under the straps.
- The harness does not rub behind the front legs.
- Your dog can walk, sit, turn, and breathe comfortably.
- The buckles are fully clicked and secure.
- Your dog receives praise or treats for cooperation.
Real-Life Experience: What Actually Happens When You Put Harness Advice Into Practice
In real life, putting on a dog harness rarely looks like the polished demonstration videos. The dog is excited, the leash is missing, someone is already late, and the harness has developed a personality of its own. But with repetition, the process becomes surprisingly smooth.
One of the most useful lessons is that dogs learn the emotional meaning of the harness before they learn the physical routine. If the harness comes out and everyone starts rushing, the dog may bounce, hide, bark, or spin in circles. If the harness comes out and the human calmly offers a treat, waits for stillness, and moves slowly, the dog begins to understand that this is a predictable process.
For example, a young Labrador who treats every walk like a parade may need a “sit before harness” routine. The owner can hold the harness, ask for a sit, reward the sit, slip the harness over the head, reward again, buckle one side, reward again, and then clip the leash only when the dog is calm. This breaks the process into small wins. It also prevents the dog from learning that jumping like popcorn makes the walk happen faster.
A small rescue dog may need a different approach. Some dogs are sensitive about paws being handled, so a step-in harness can be challenging at first. Instead of lifting the paws immediately, the owner can place the harness on the floor, sprinkle treats around it, and let the dog walk over it voluntarily. Over time, the dog learns to place one paw, then two paws, into the openings. The first successful buckle may take several short sessions, and that is perfectly fine. Slow progress is still progress.
Another common experience is discovering that the “right size” on the package is not always the right fit on the dog. Dogs are wonderfully inconvenient shapes. A Beagle may need extra room around the chest, a Greyhound may need a harness that accounts for a deep rib cage and narrow waist, and a Bulldog may need a design that avoids pressure around the throat. The best owners become detectives: they watch how the harness moves, check for rubbing after walks, and adjust as needed.
Many people also learn that the first walk in a new harness should be boring on purpose. A short trip around the yard or hallway is better than immediately testing the harness at a busy park full of dogs, bikes, joggers, squirrels, and mysterious sandwich wrappers. The first goal is not distance. The first goal is comfort, confidence, and making sure the harness stays in place.
The biggest practical takeaway is this: the harness is part equipment and part relationship. When you put it on patiently, reward cooperation, and adjust for comfort, your dog learns to trust the routine. That trust pays off every time you step outside together.
Conclusion
Learning how to put on a dog harness is mostly about three things: knowing your harness style, fitting it correctly, and helping your dog feel comfortable with the process. Overhead harnesses slip over the head and buckle around the chest. Step-in harnesses start on the floor and fasten over the back. Front-clip harnesses need careful centering so they can help with leash control without twisting.
A good dog harness should be snug, secure, and comfortable. Use the two-finger rule, keep straps away from the armpits, check for twisting, and reward your dog generously. With a little practice, the harness will stop being a daily puzzle and become what it should be: the start button for a safe, happy walk.
Note: This guide is for general educational use. If your dog has pain, breathing issues, skin irritation, severe pulling, fear, or escape behavior, ask your veterinarian or a qualified positive-reinforcement trainer for personalized advice.